
Sorry to hear that.
Glad you have it pretty much fixed, until the respray.
Jensen
Looking forward to seeing the CF replacements. There’s a guy local to me that does some seriously high end CF items.
I was hoping to source a good condition mk1 aero tray and was going to look into a small run of CF copies.
I was told that the aero tray design changed between mk1 and mk2. Are you producing CF versions of both?
2 Likes
On some Mk2 and Mk3 / Mk4 cars the tray is in 3 and 4 pieces !
1 Like
Mk1and mk2 GTO TT trays are the same.
Mk 3 and 4 GTO have a 3 piece tray with the mk4 having an extra front lip as well.
Na GTO has 3 piece different from TTS
MR TT has another 3 piece one but different to the mk 3 and 4 And also n/a
The 3000gt trays have extra parts on the sides.
Believe it’s been a headache.
All will be available.
Some will be to order.
As I’m sure you can understand to make A number of cf parts this size would be costly if there was no demand.
6 Likes
Where can we get the plastic washers and bits for the brackets as in most cars have worn down and there is excessive play on the brackets !
2 Likes
I would like to know what price one could expect on those items… I would really like to refurbish mine front aero to new, but it is really hard to get any info about it
If Jensen hasn’t got them. I should be able to get them but delivery time is presently 6-8 weeks. Everything from Japan and the Far East in general is backed up at the moment. I don’t want to take anyone’s business away as this is just a hobby for me so lets just see if anyone else has them first.
2 Likes
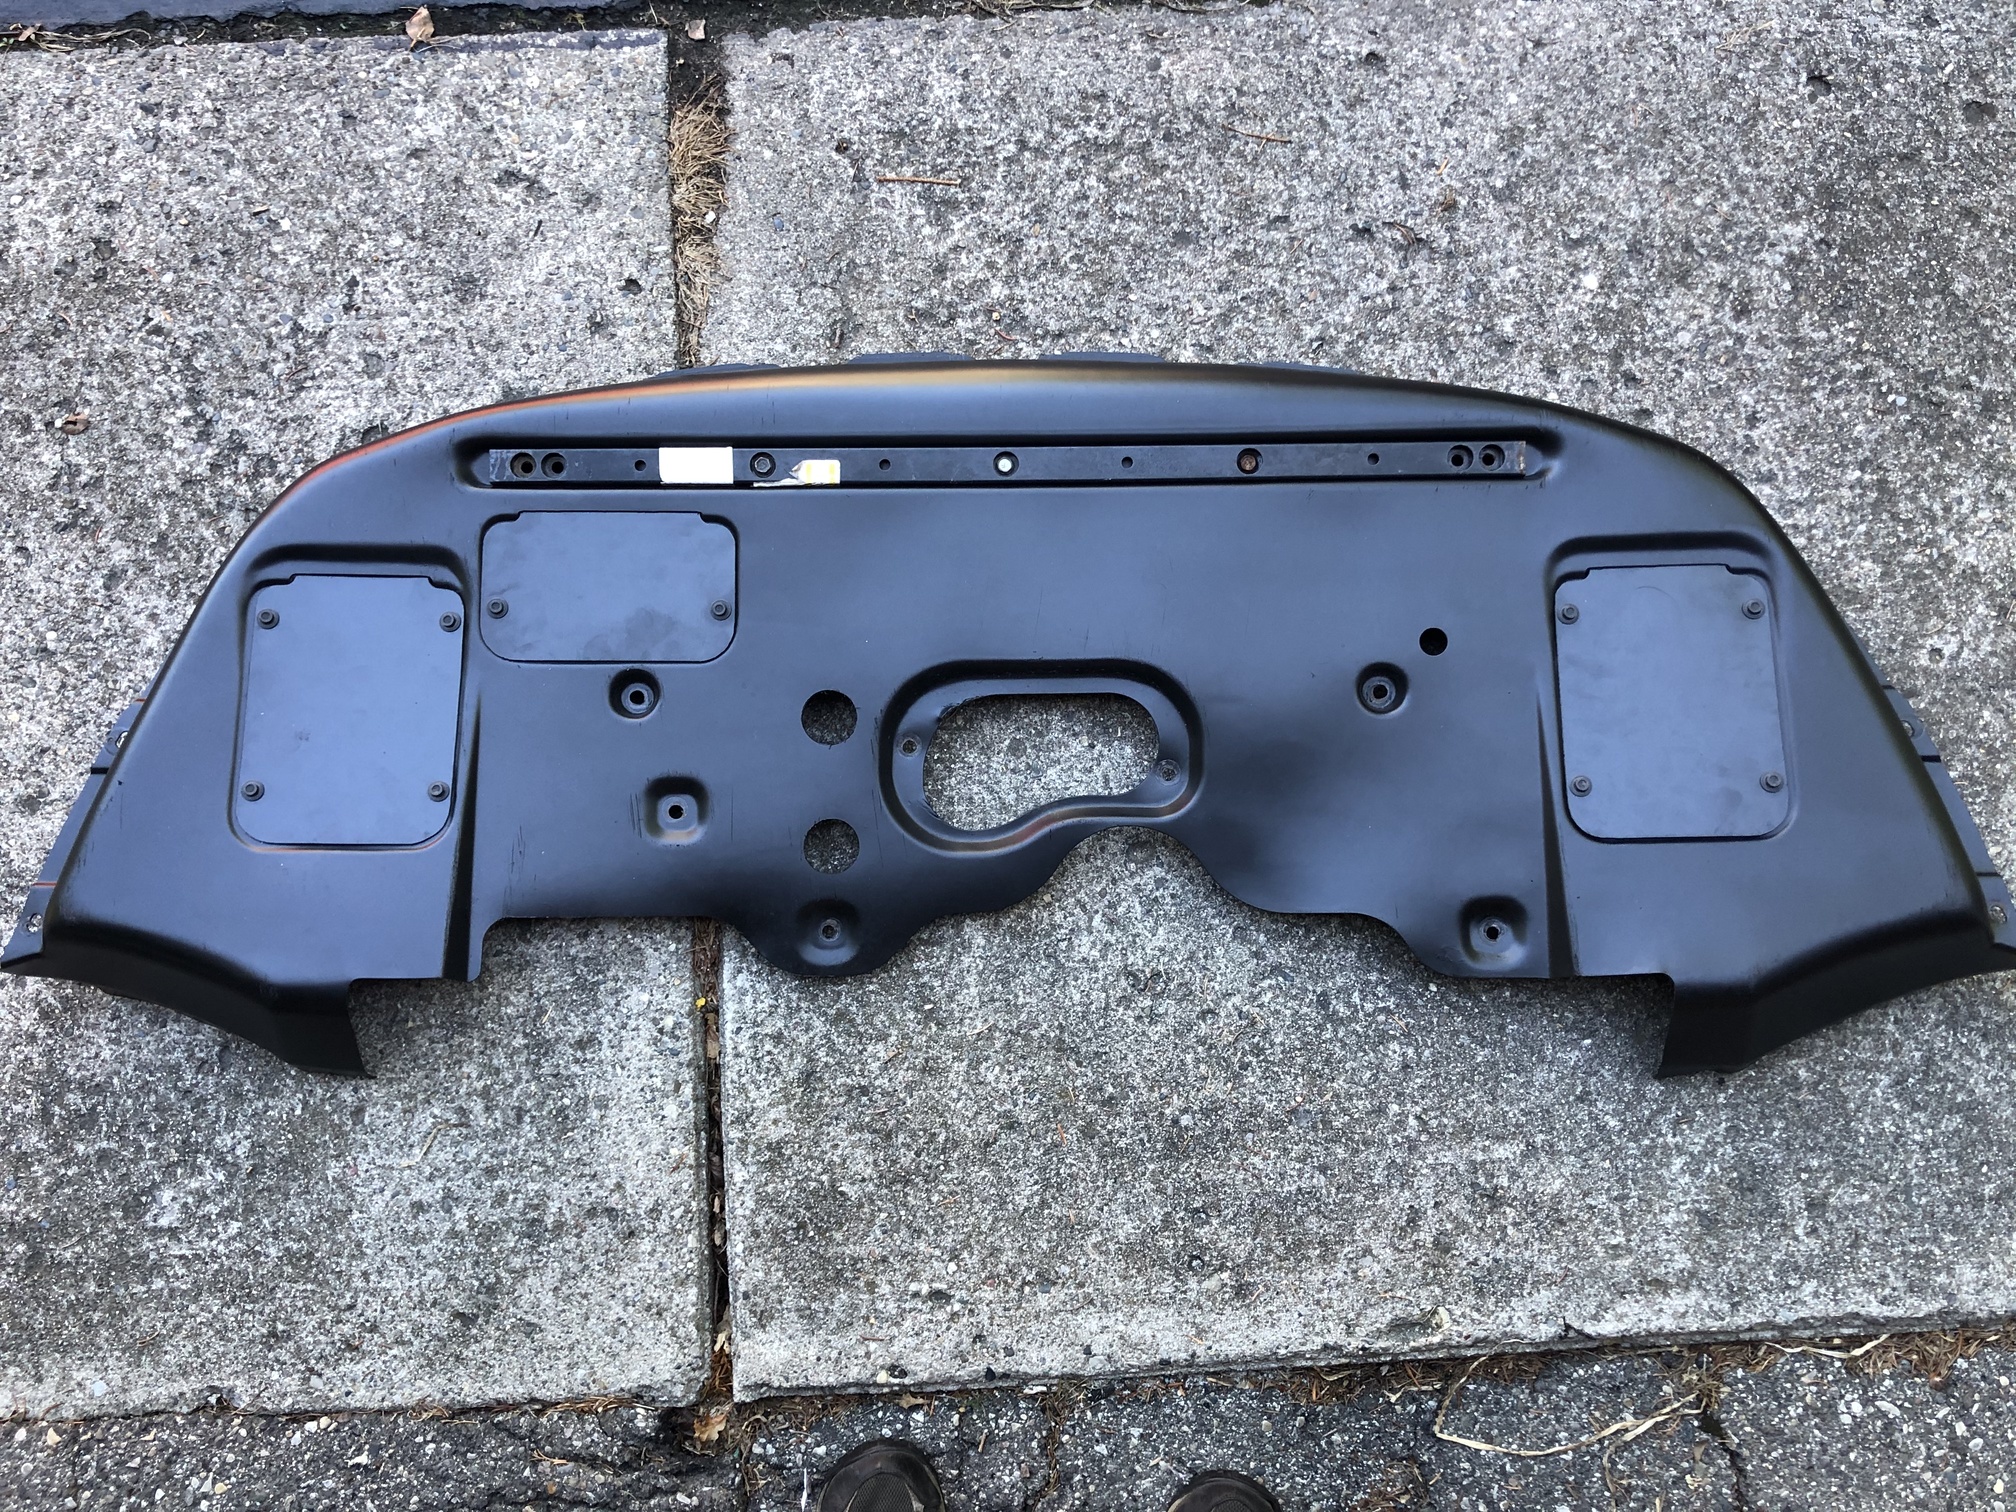
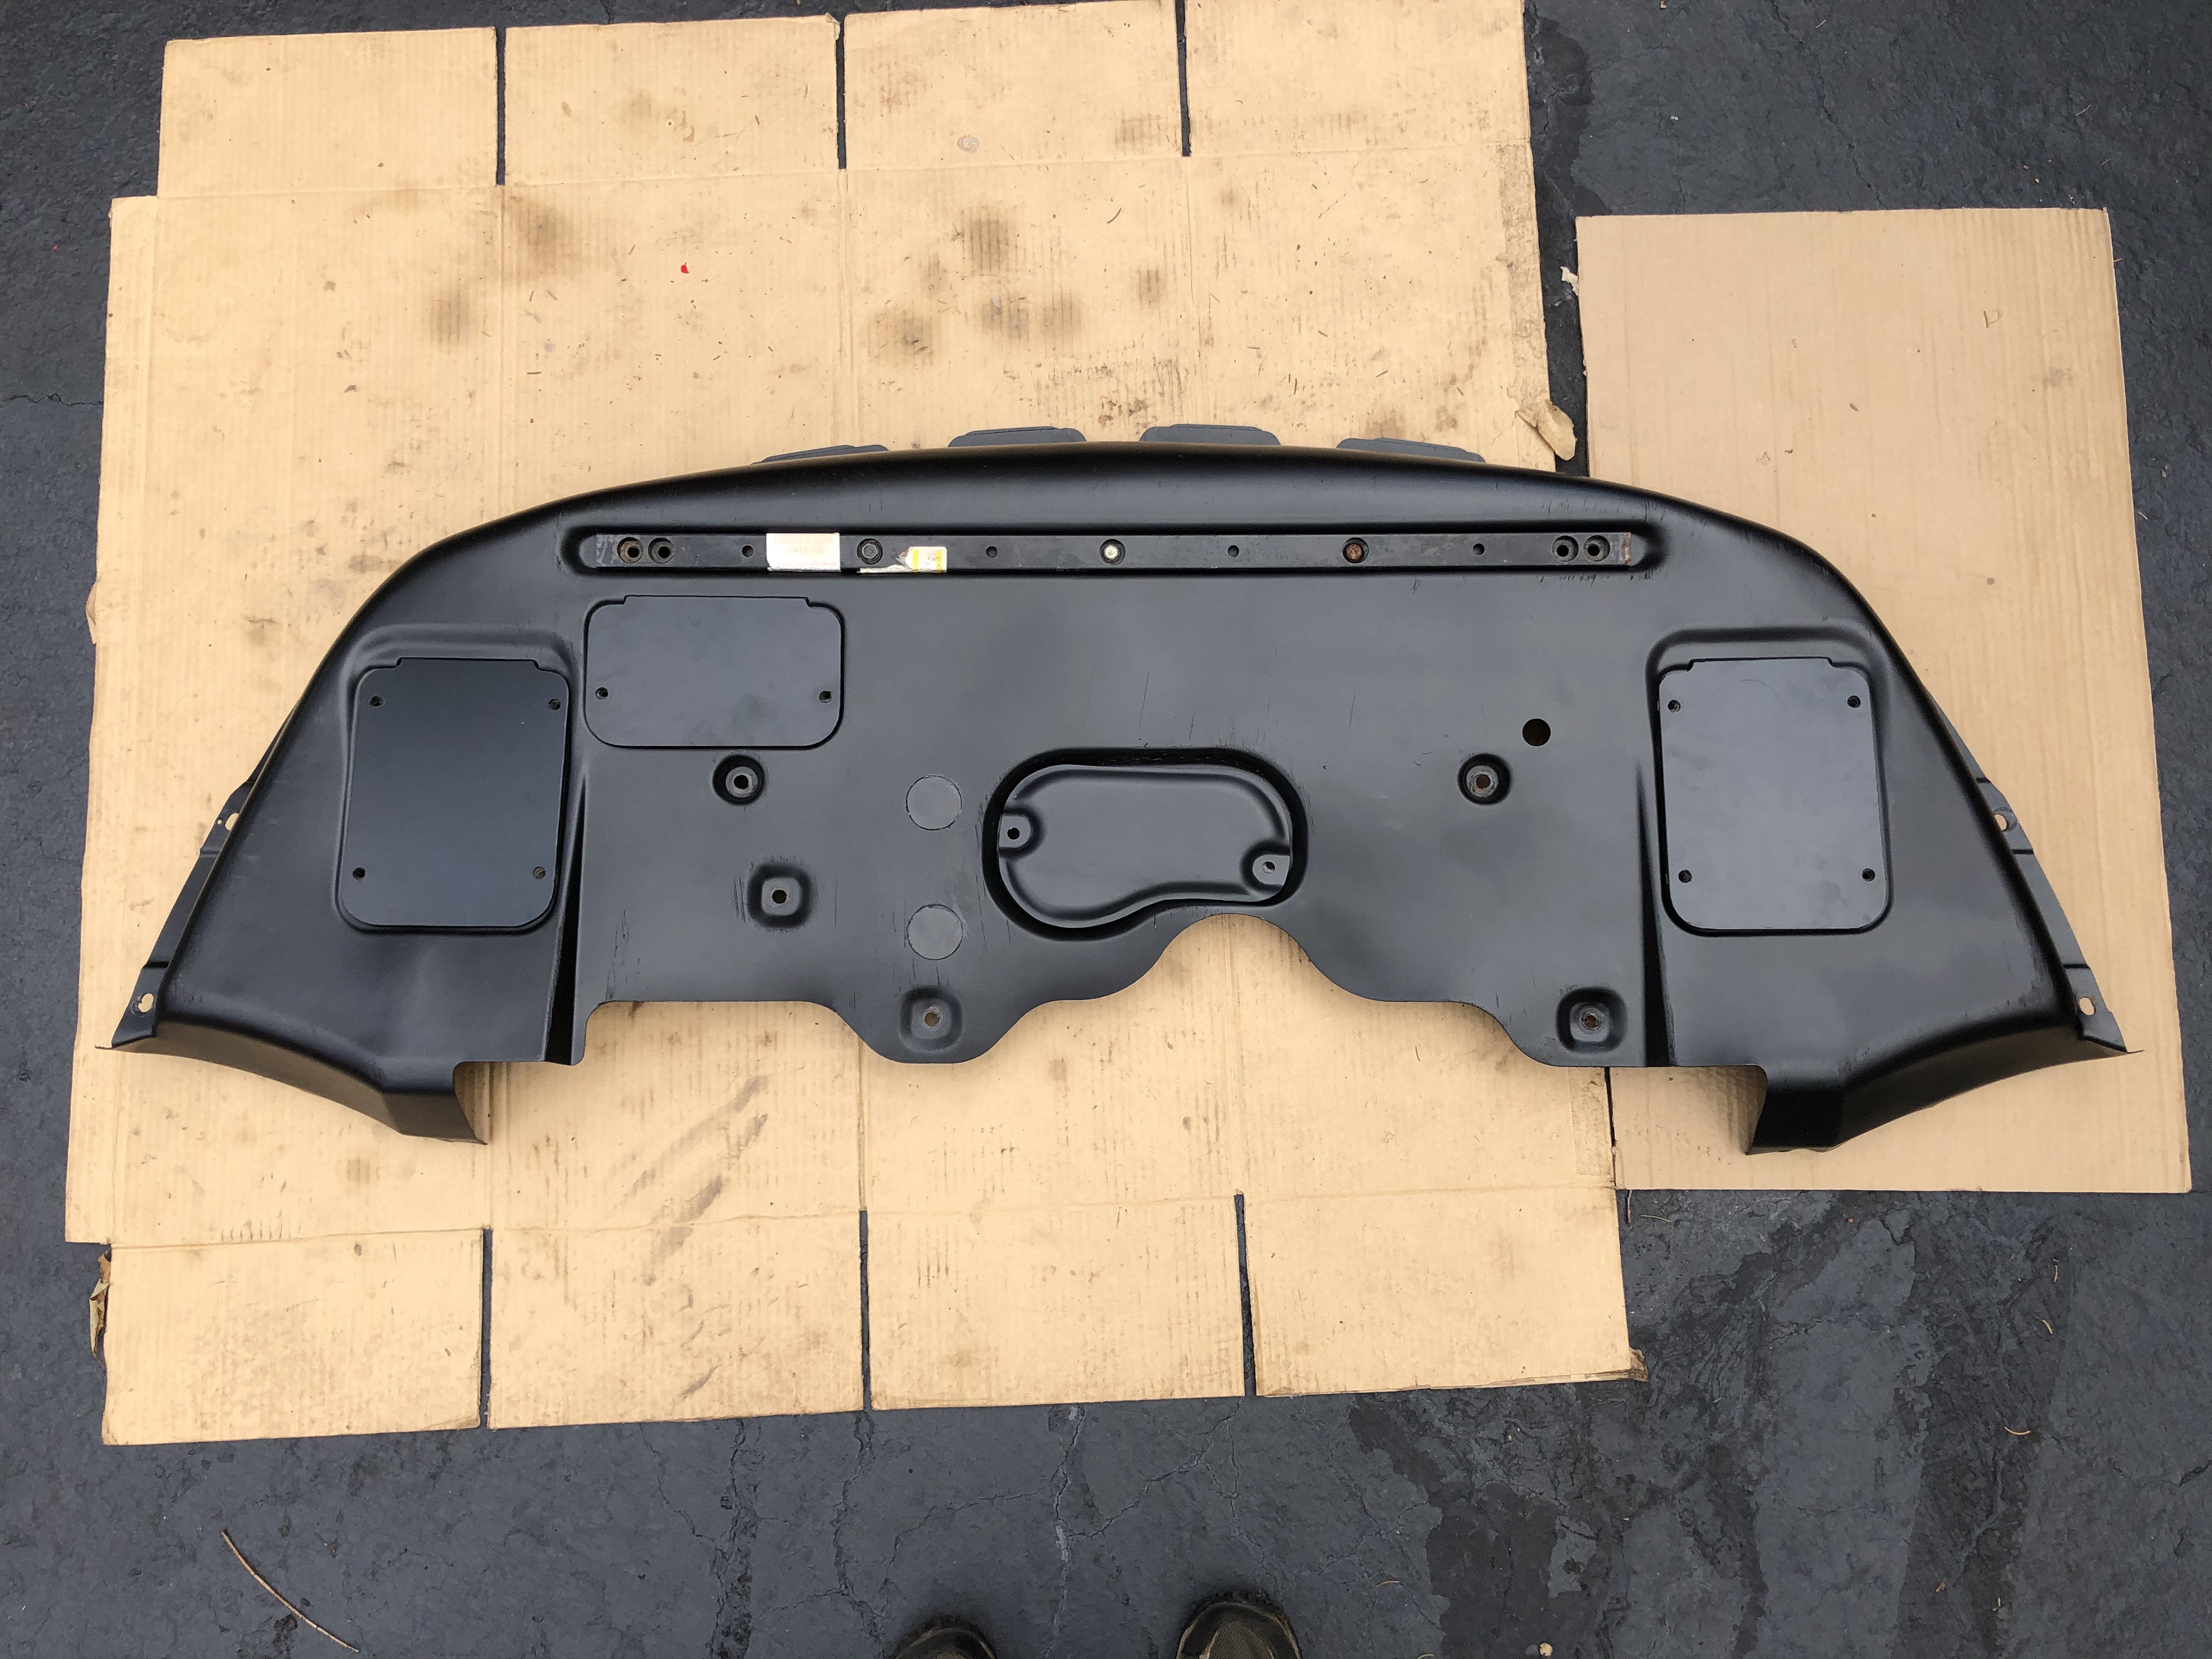
I made some replacements for the active aero tray access panels!
I bought some ABS plastic sheets on eBay, 12" x 12", 1/16" thick. It was about $10 USD for 2 sheets, shipped within the USA (YMMV in other parts of the world). 2 sheets is enough to make all 3 flat access panels.
I made templates with card-stock (thick and sturdy) paper, used a pair of tin-snips to cut the main shape out, finished off the curves with a Dremel drum sanding bit, and drilled bolt holes.
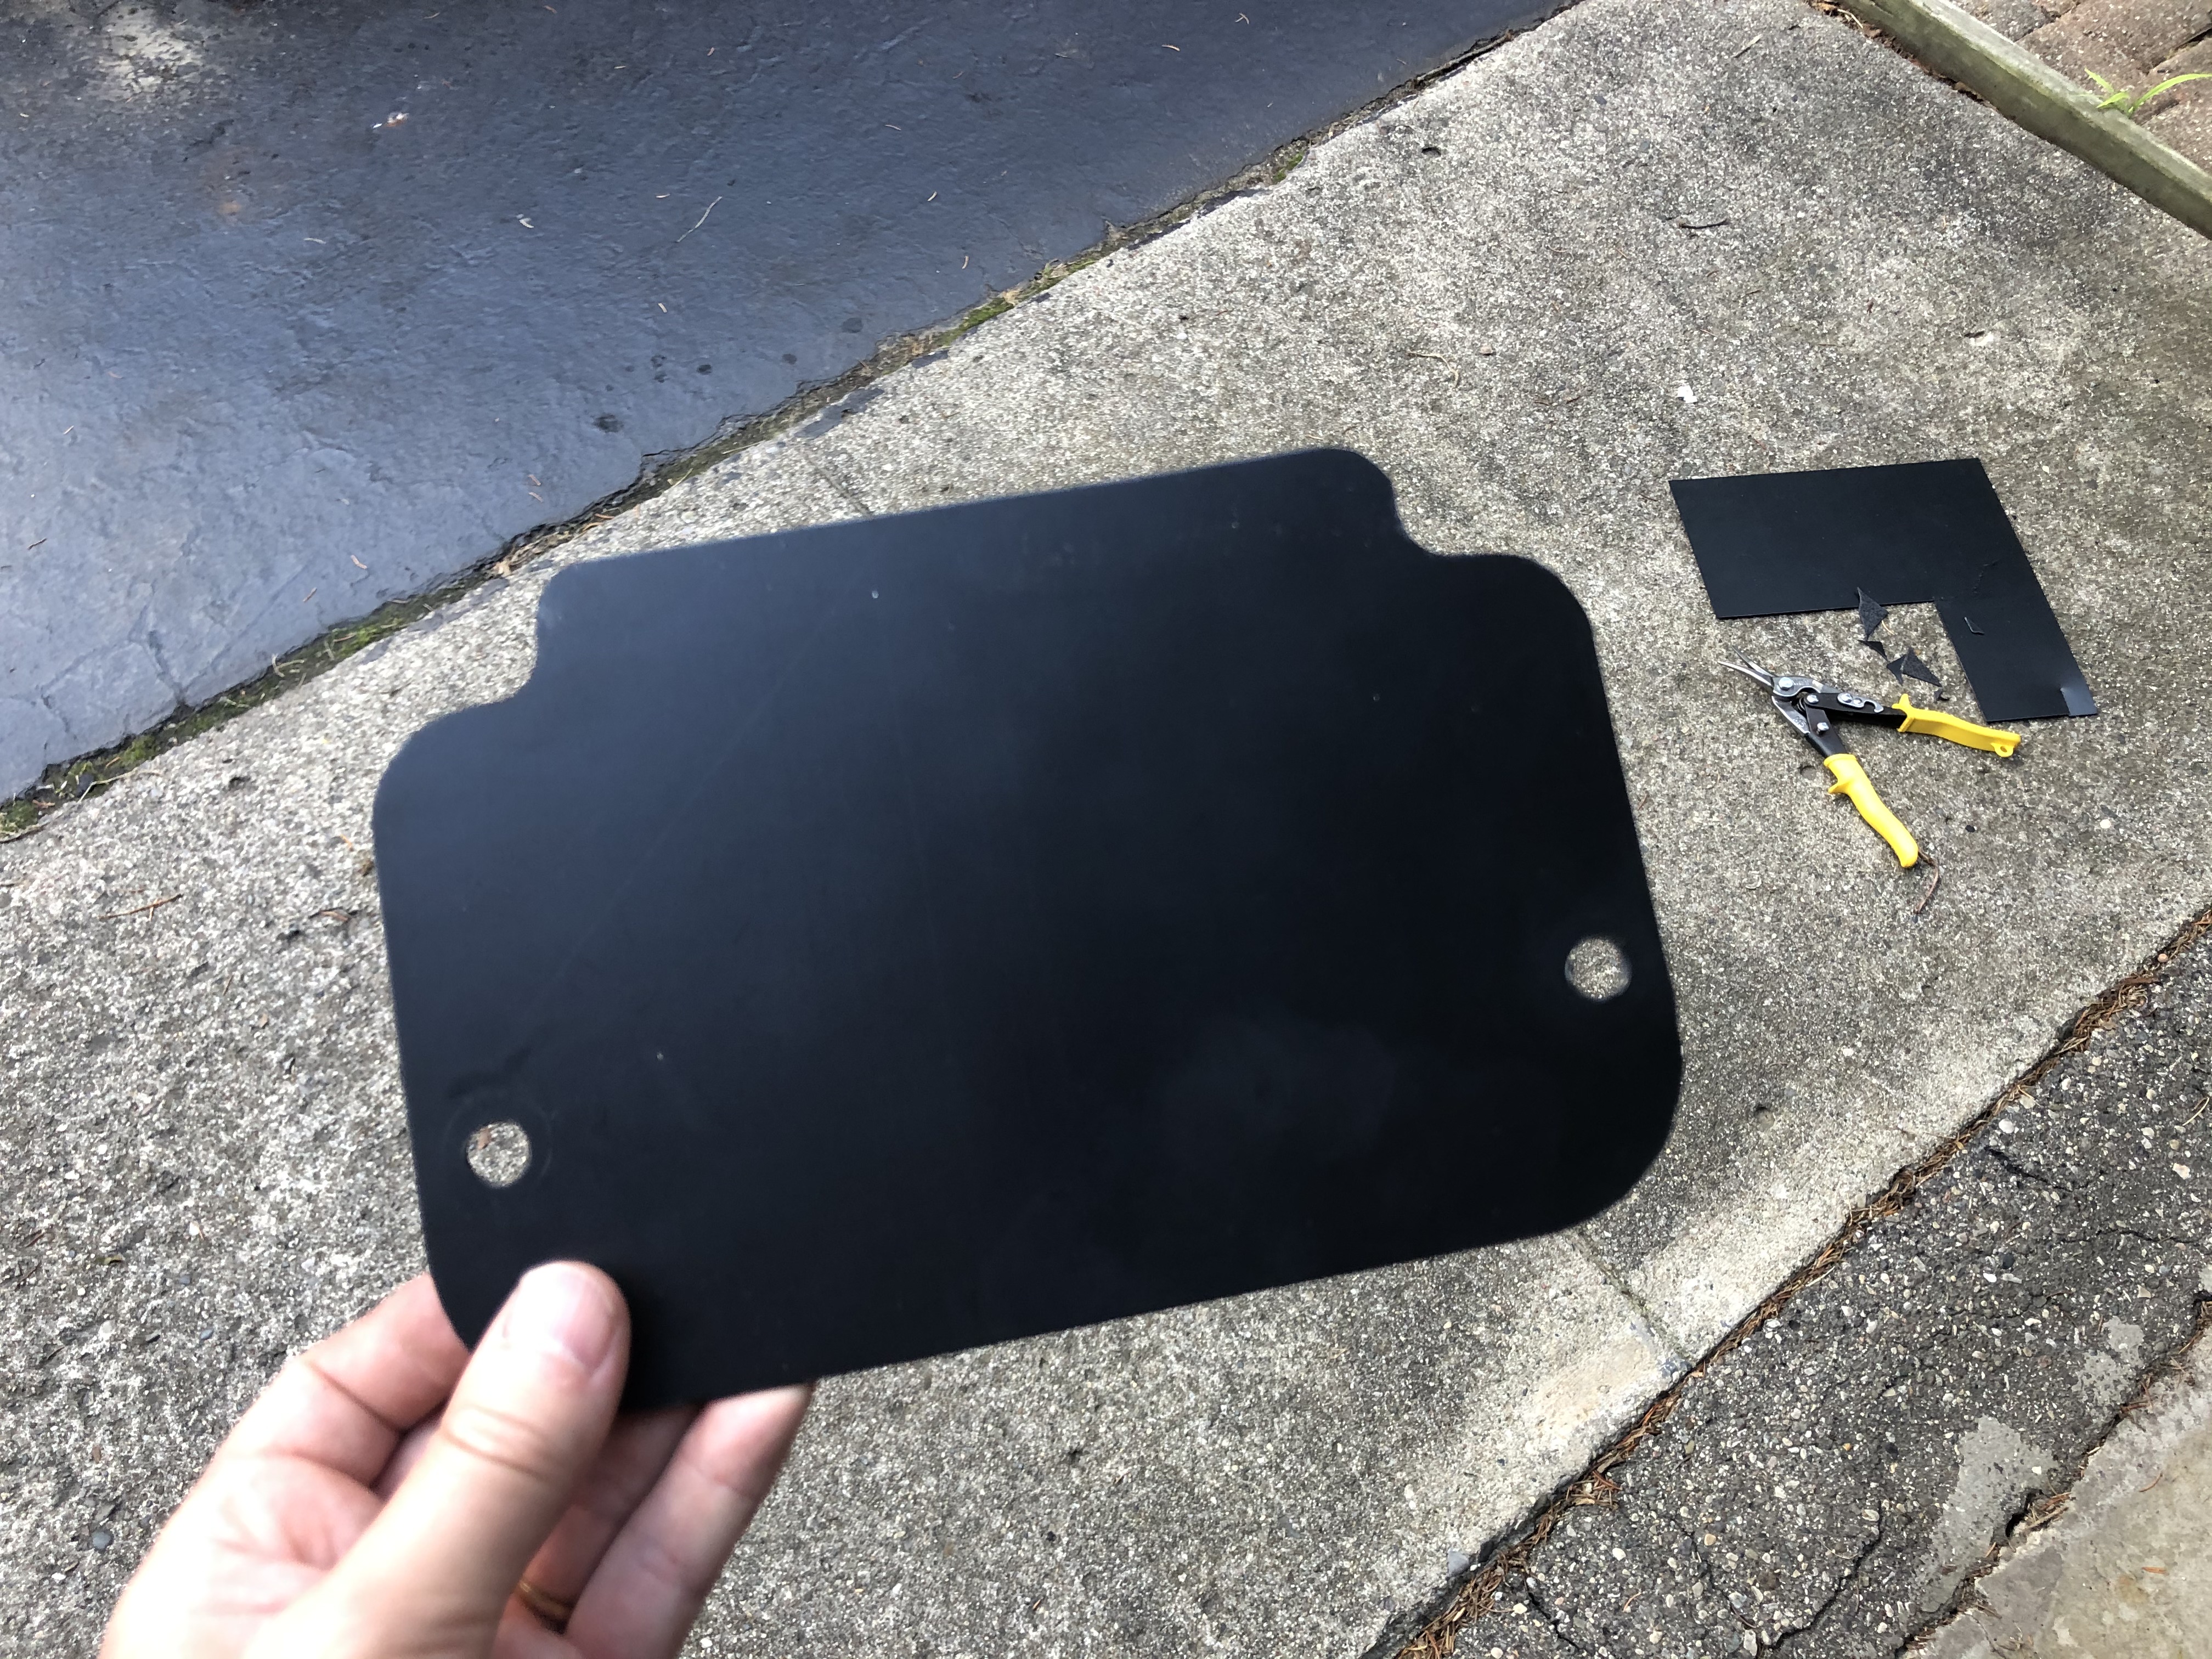
It’s a bit easier if you have at least one original panel so that you can trace the shape of the rounded corners when making the template. The corner shapes are the same on all 3 panels, but notice that the corners at the back of the panels are larger radius than the corners at the front.
If you are making an exact replacement of an original panel you already have, and the original is in good enough shape, then you can trace the shape of the original directly onto the plastic sheet using something hard and pointy (a punch/scribe, a nail, etc).
Here’s all the new panels:

I could also cut out a replacement for the center cover (for the jacking point), but I’m holding out for an OEM replacement due to the more complex 3D shape. I don’t have the equipment necessary to make a mold and form a sheet of plastic. A simple flat replacement would probably work fine at covering the hole, but may not lay perfectly flat (I think some parts of the jacking point may protrude a bit?), and would not provide the same exact aero as the original part.
4 Likes
blue one up on ramp for mot at end of month . Will do the same . So simple but well done that man
Previous post about making replacement access panels has been updated with some more tips.
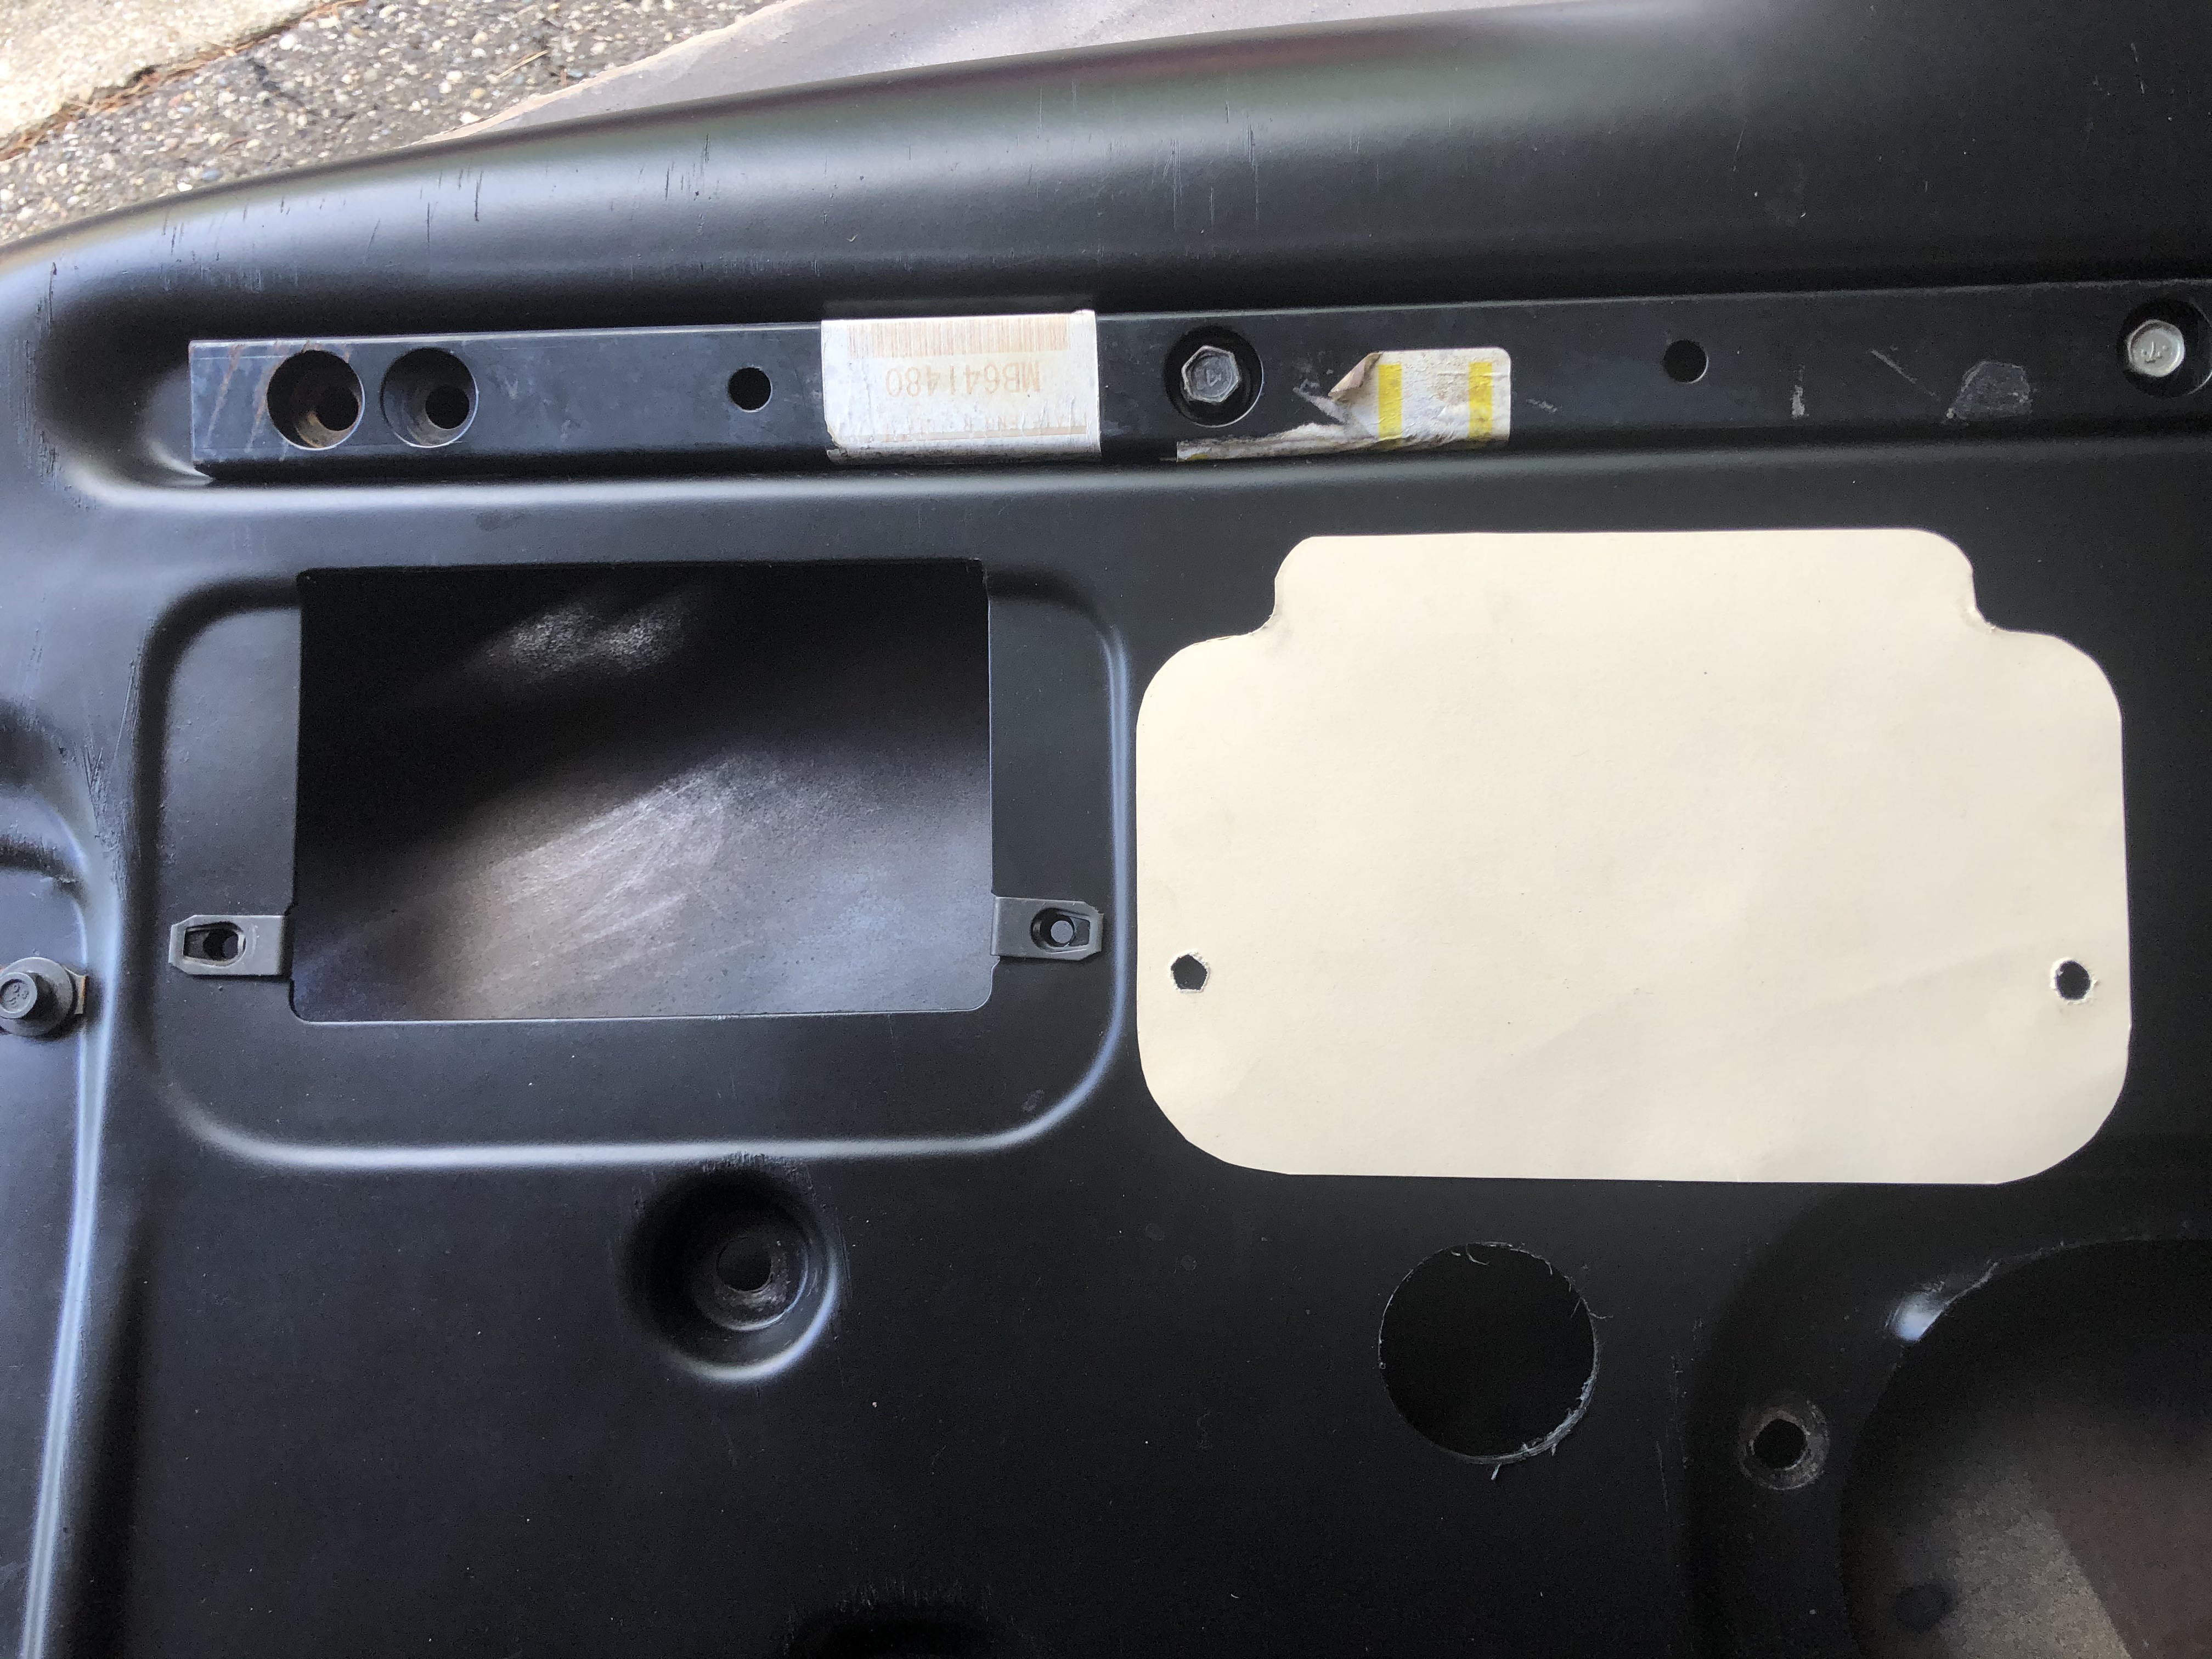
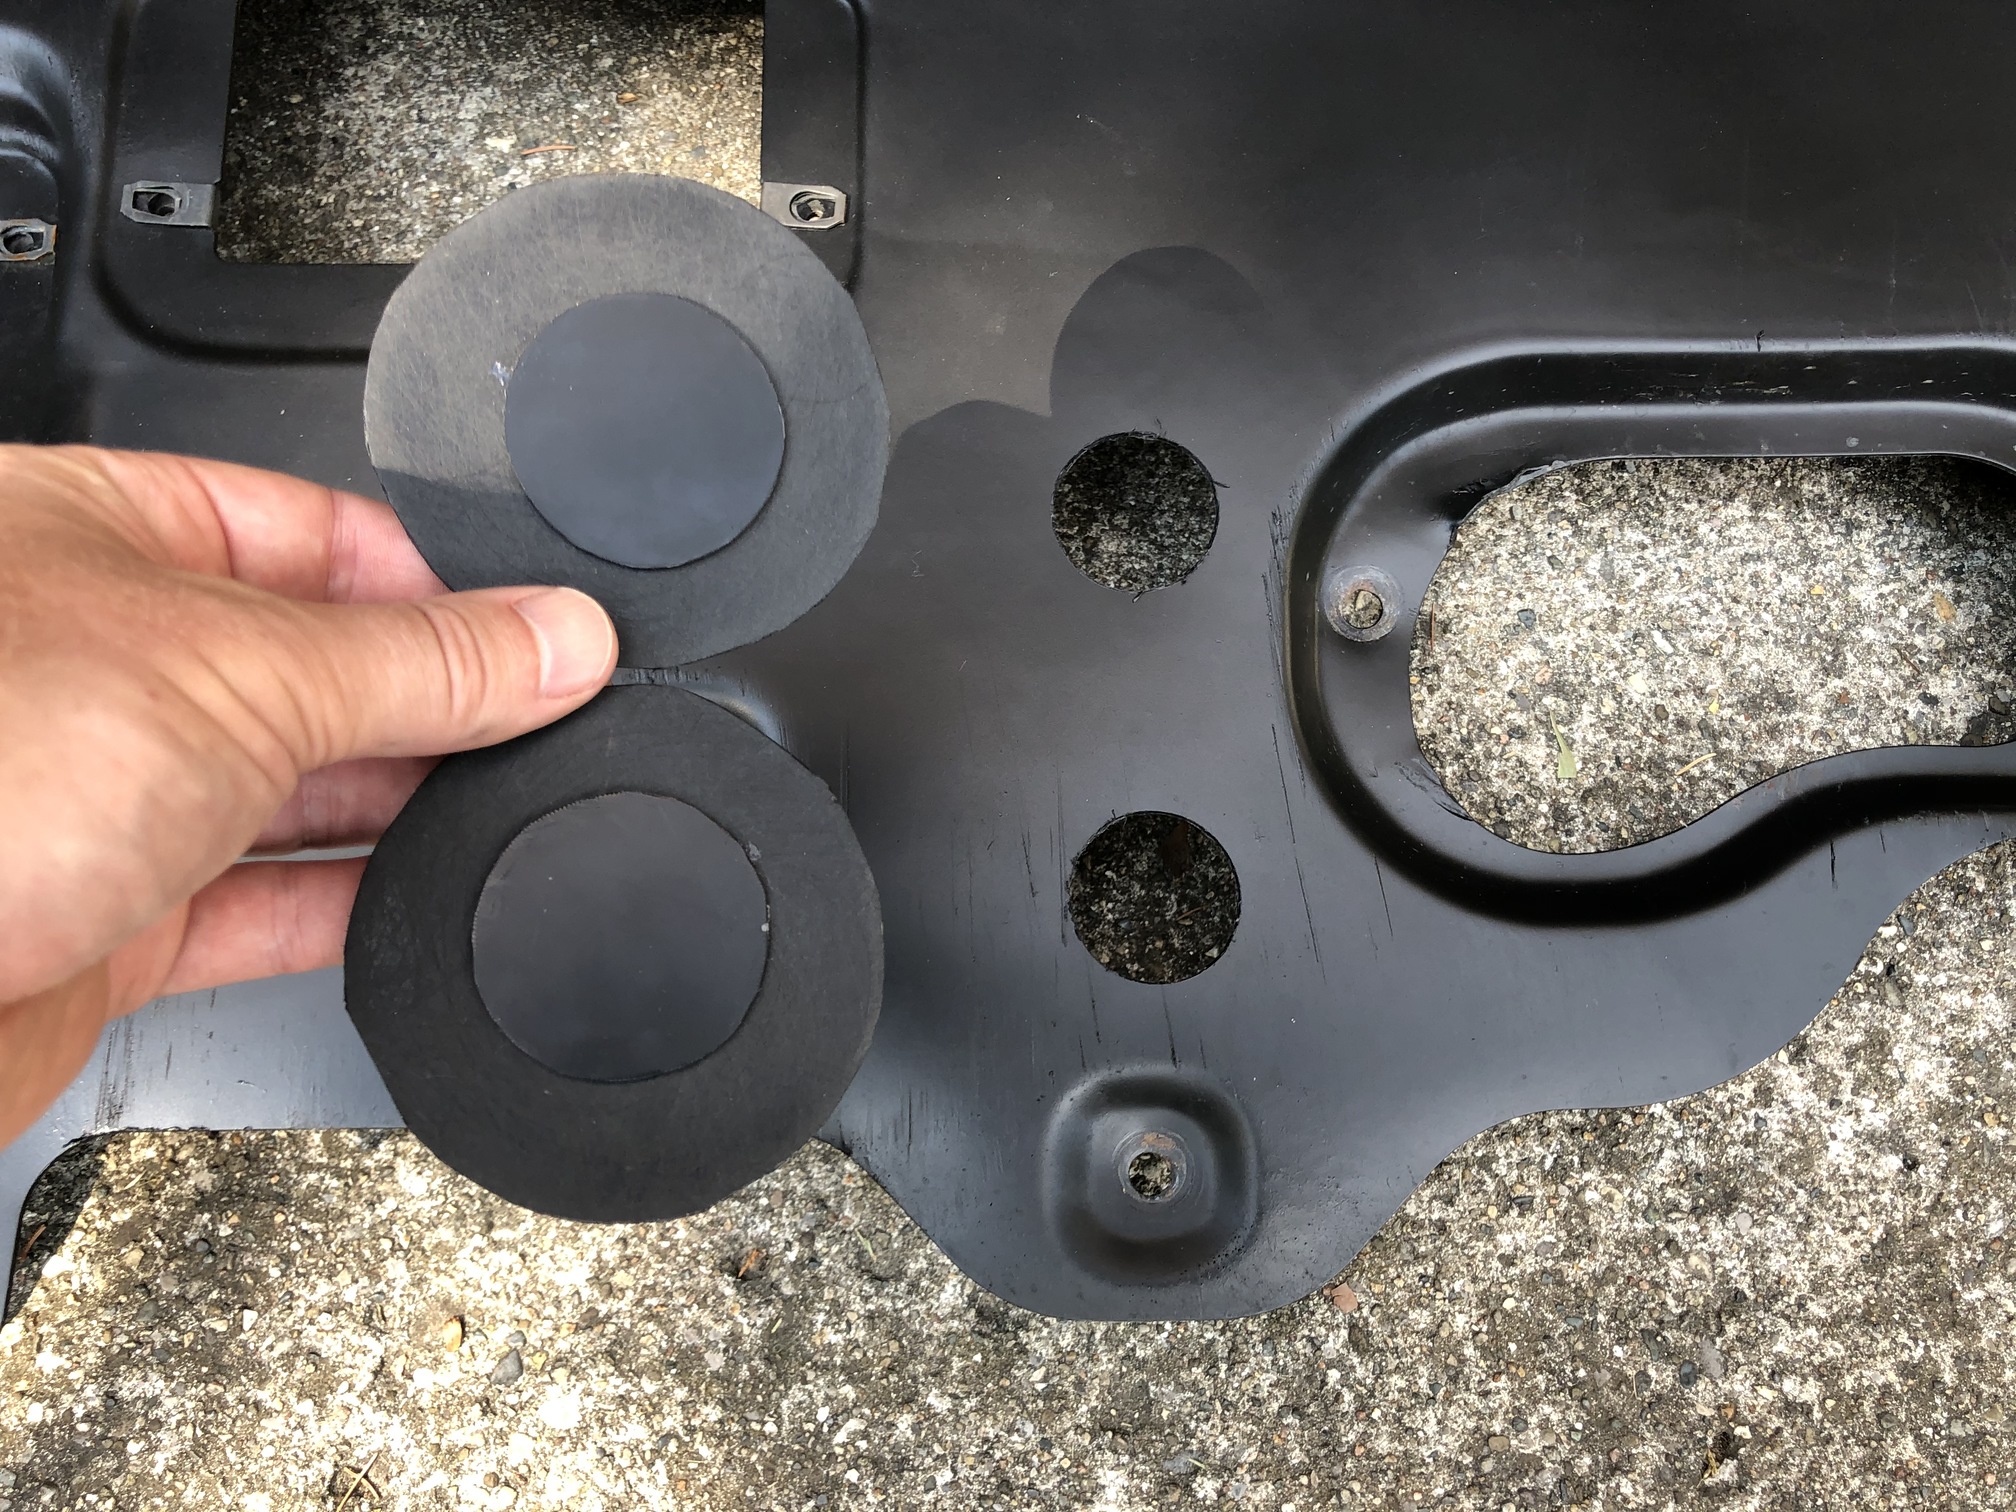
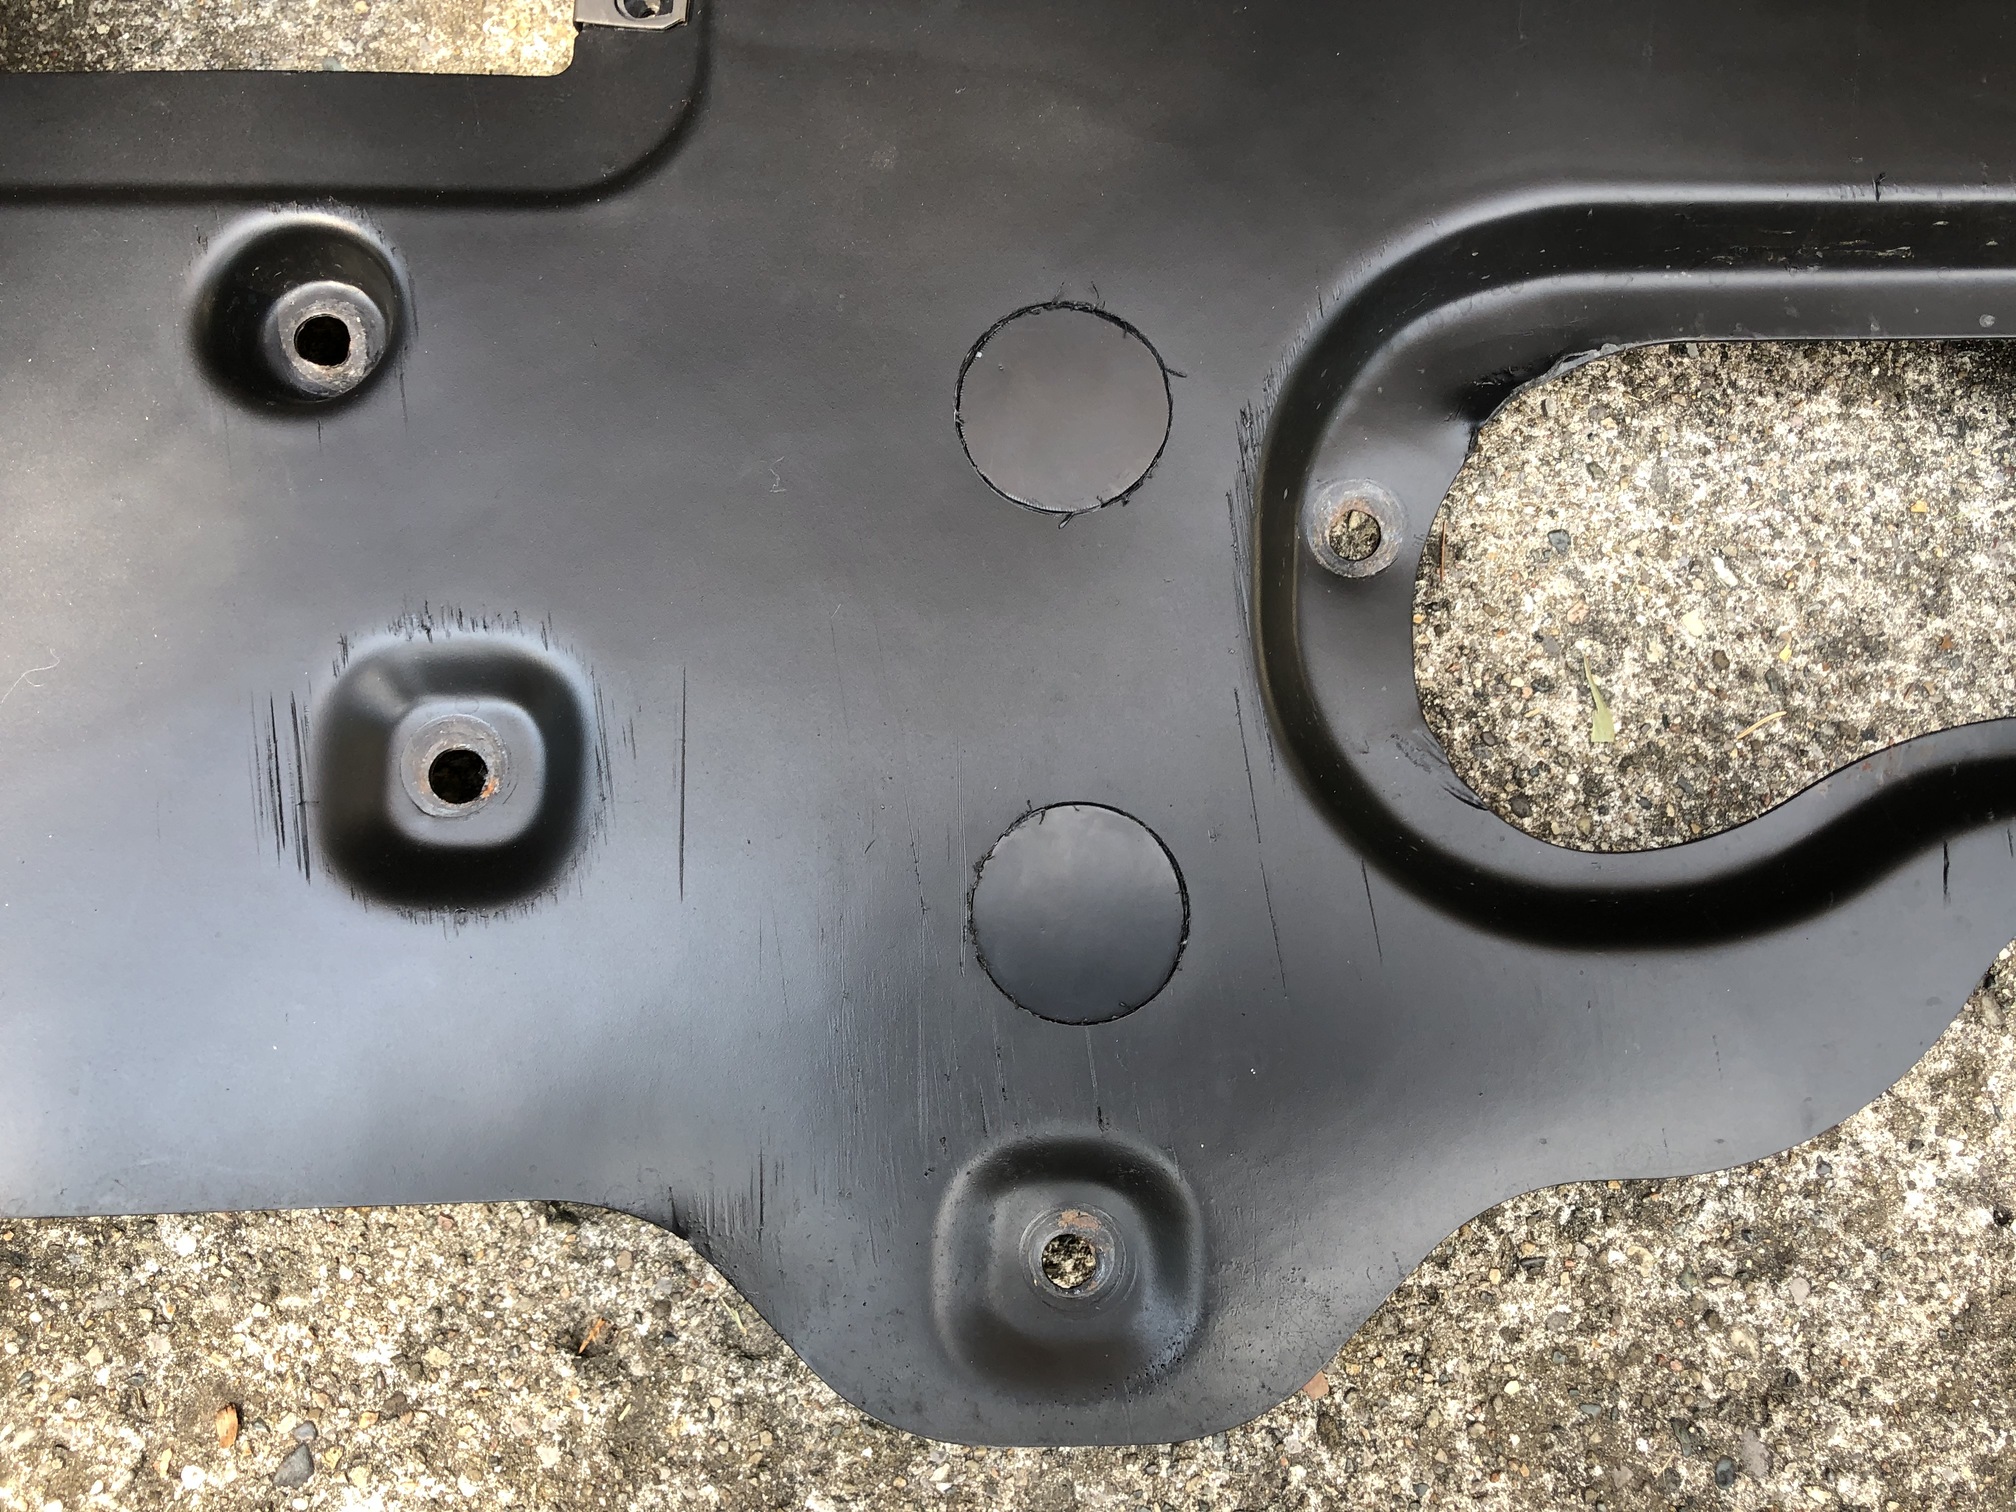
So some idiot (not me) decided that the best way to access some bolts behind the active aero tray was not to remove the tray, but to cut holes through the tray. So I’m patching those holes with the same ABS plastic sheet I used to make replacement access panels.
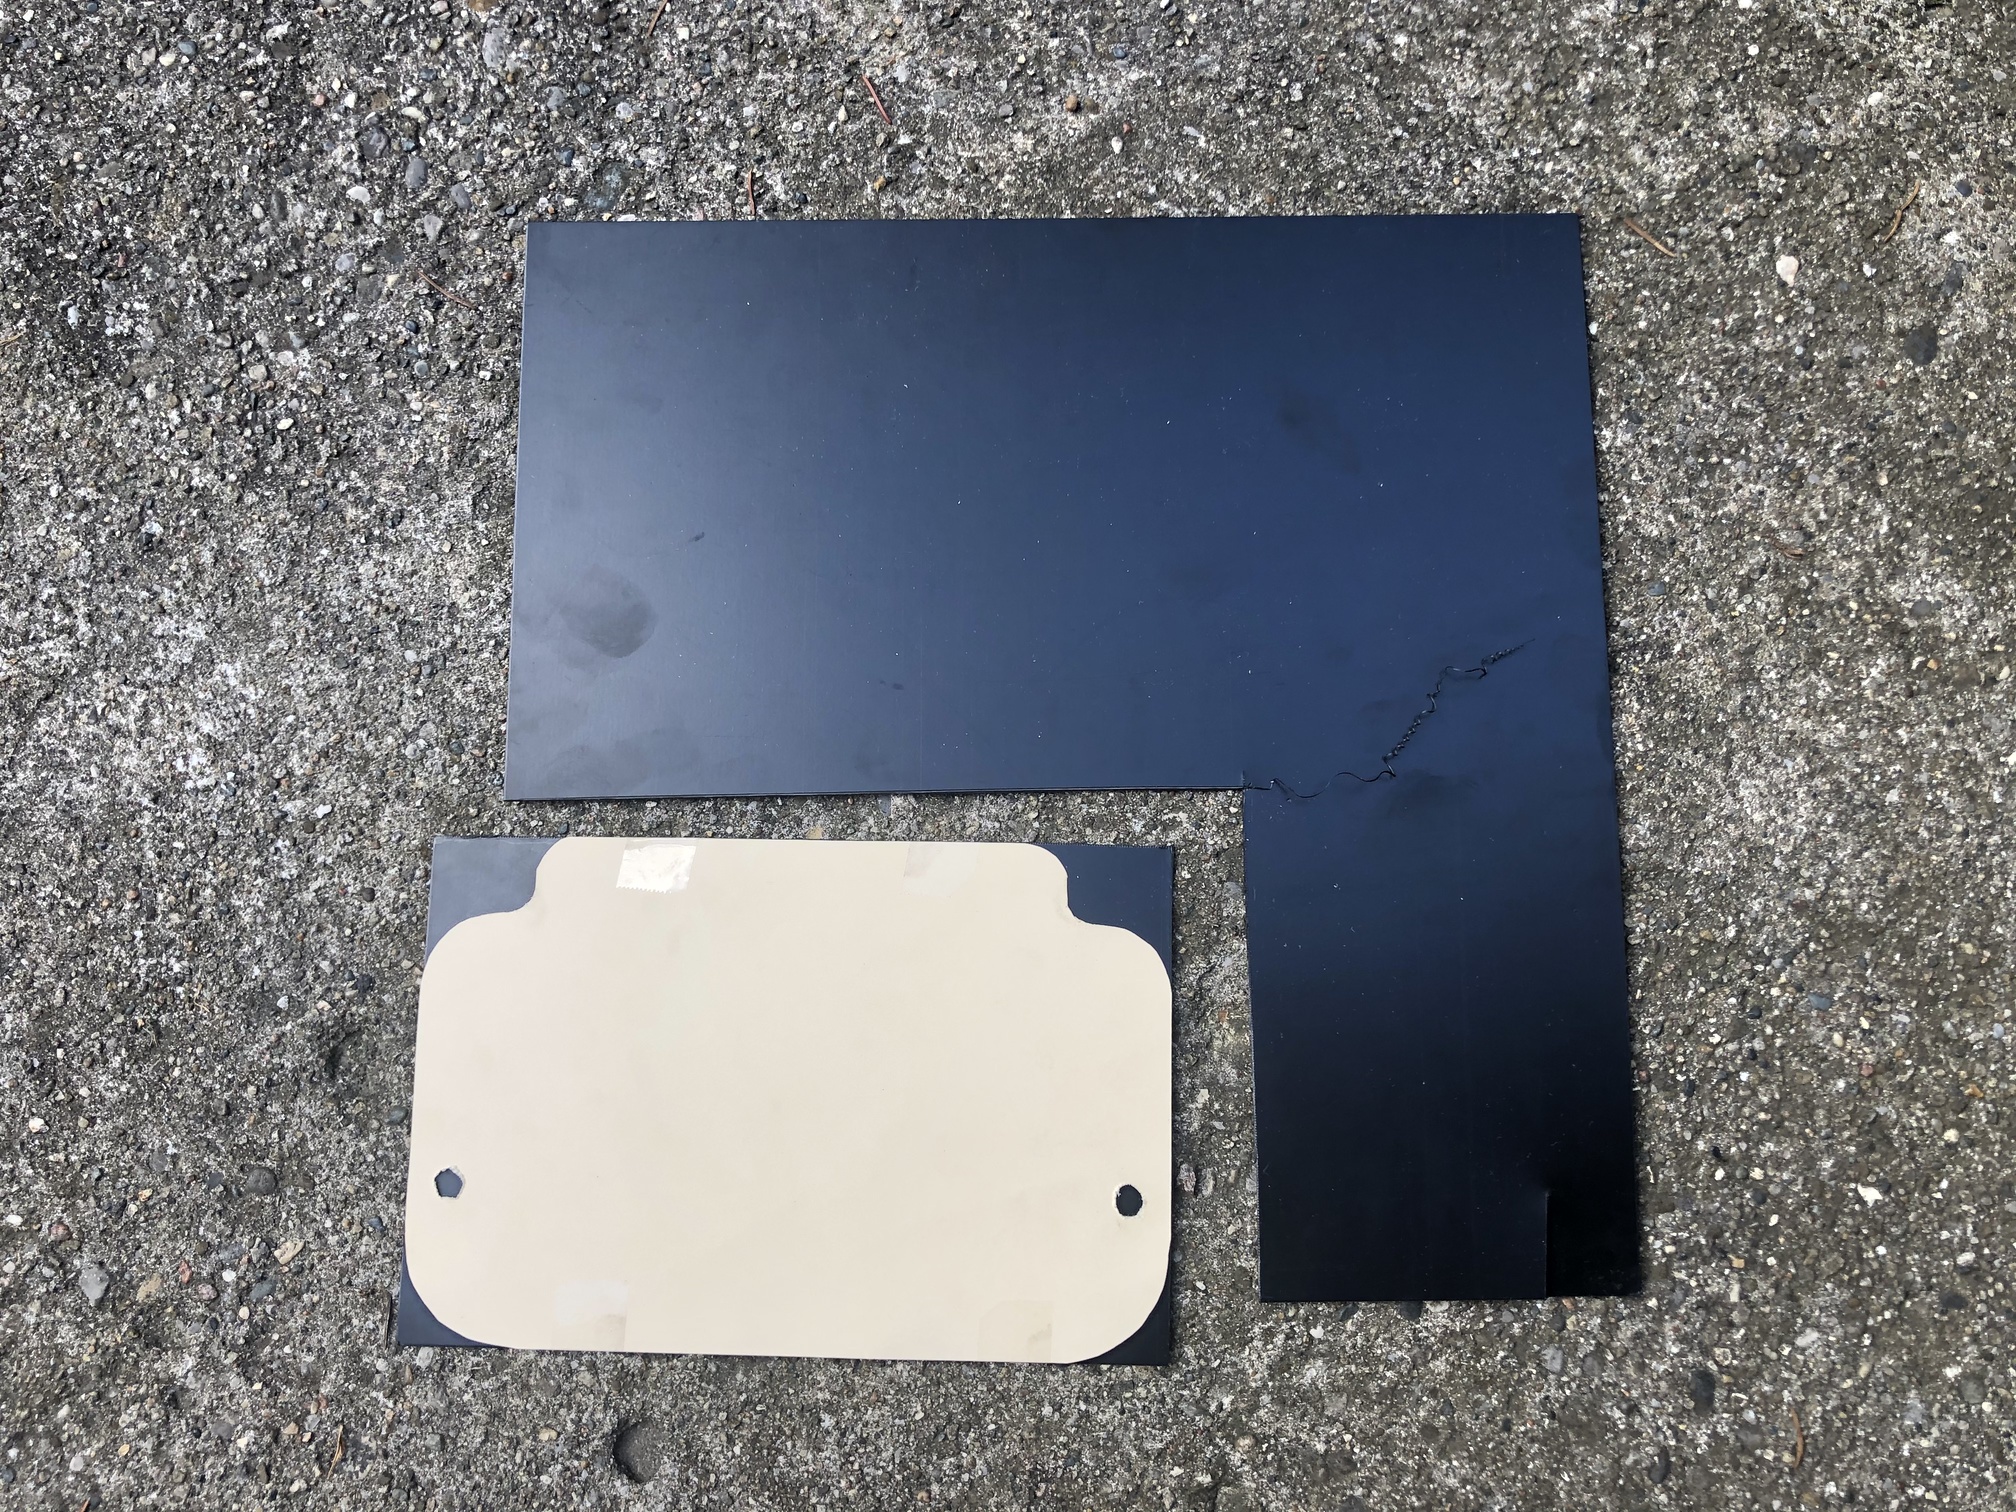
Here’s the holes and the patches. I cut a smaller circle to fit the hole, and a larger circle to patch from the back side. I’m using 3M Industrial Plastic Adhesive (part 4475). It claims to dry flexible and clear. I scuffed the side of the plastic to be glued with sand paper to improve adhesion of the glue.
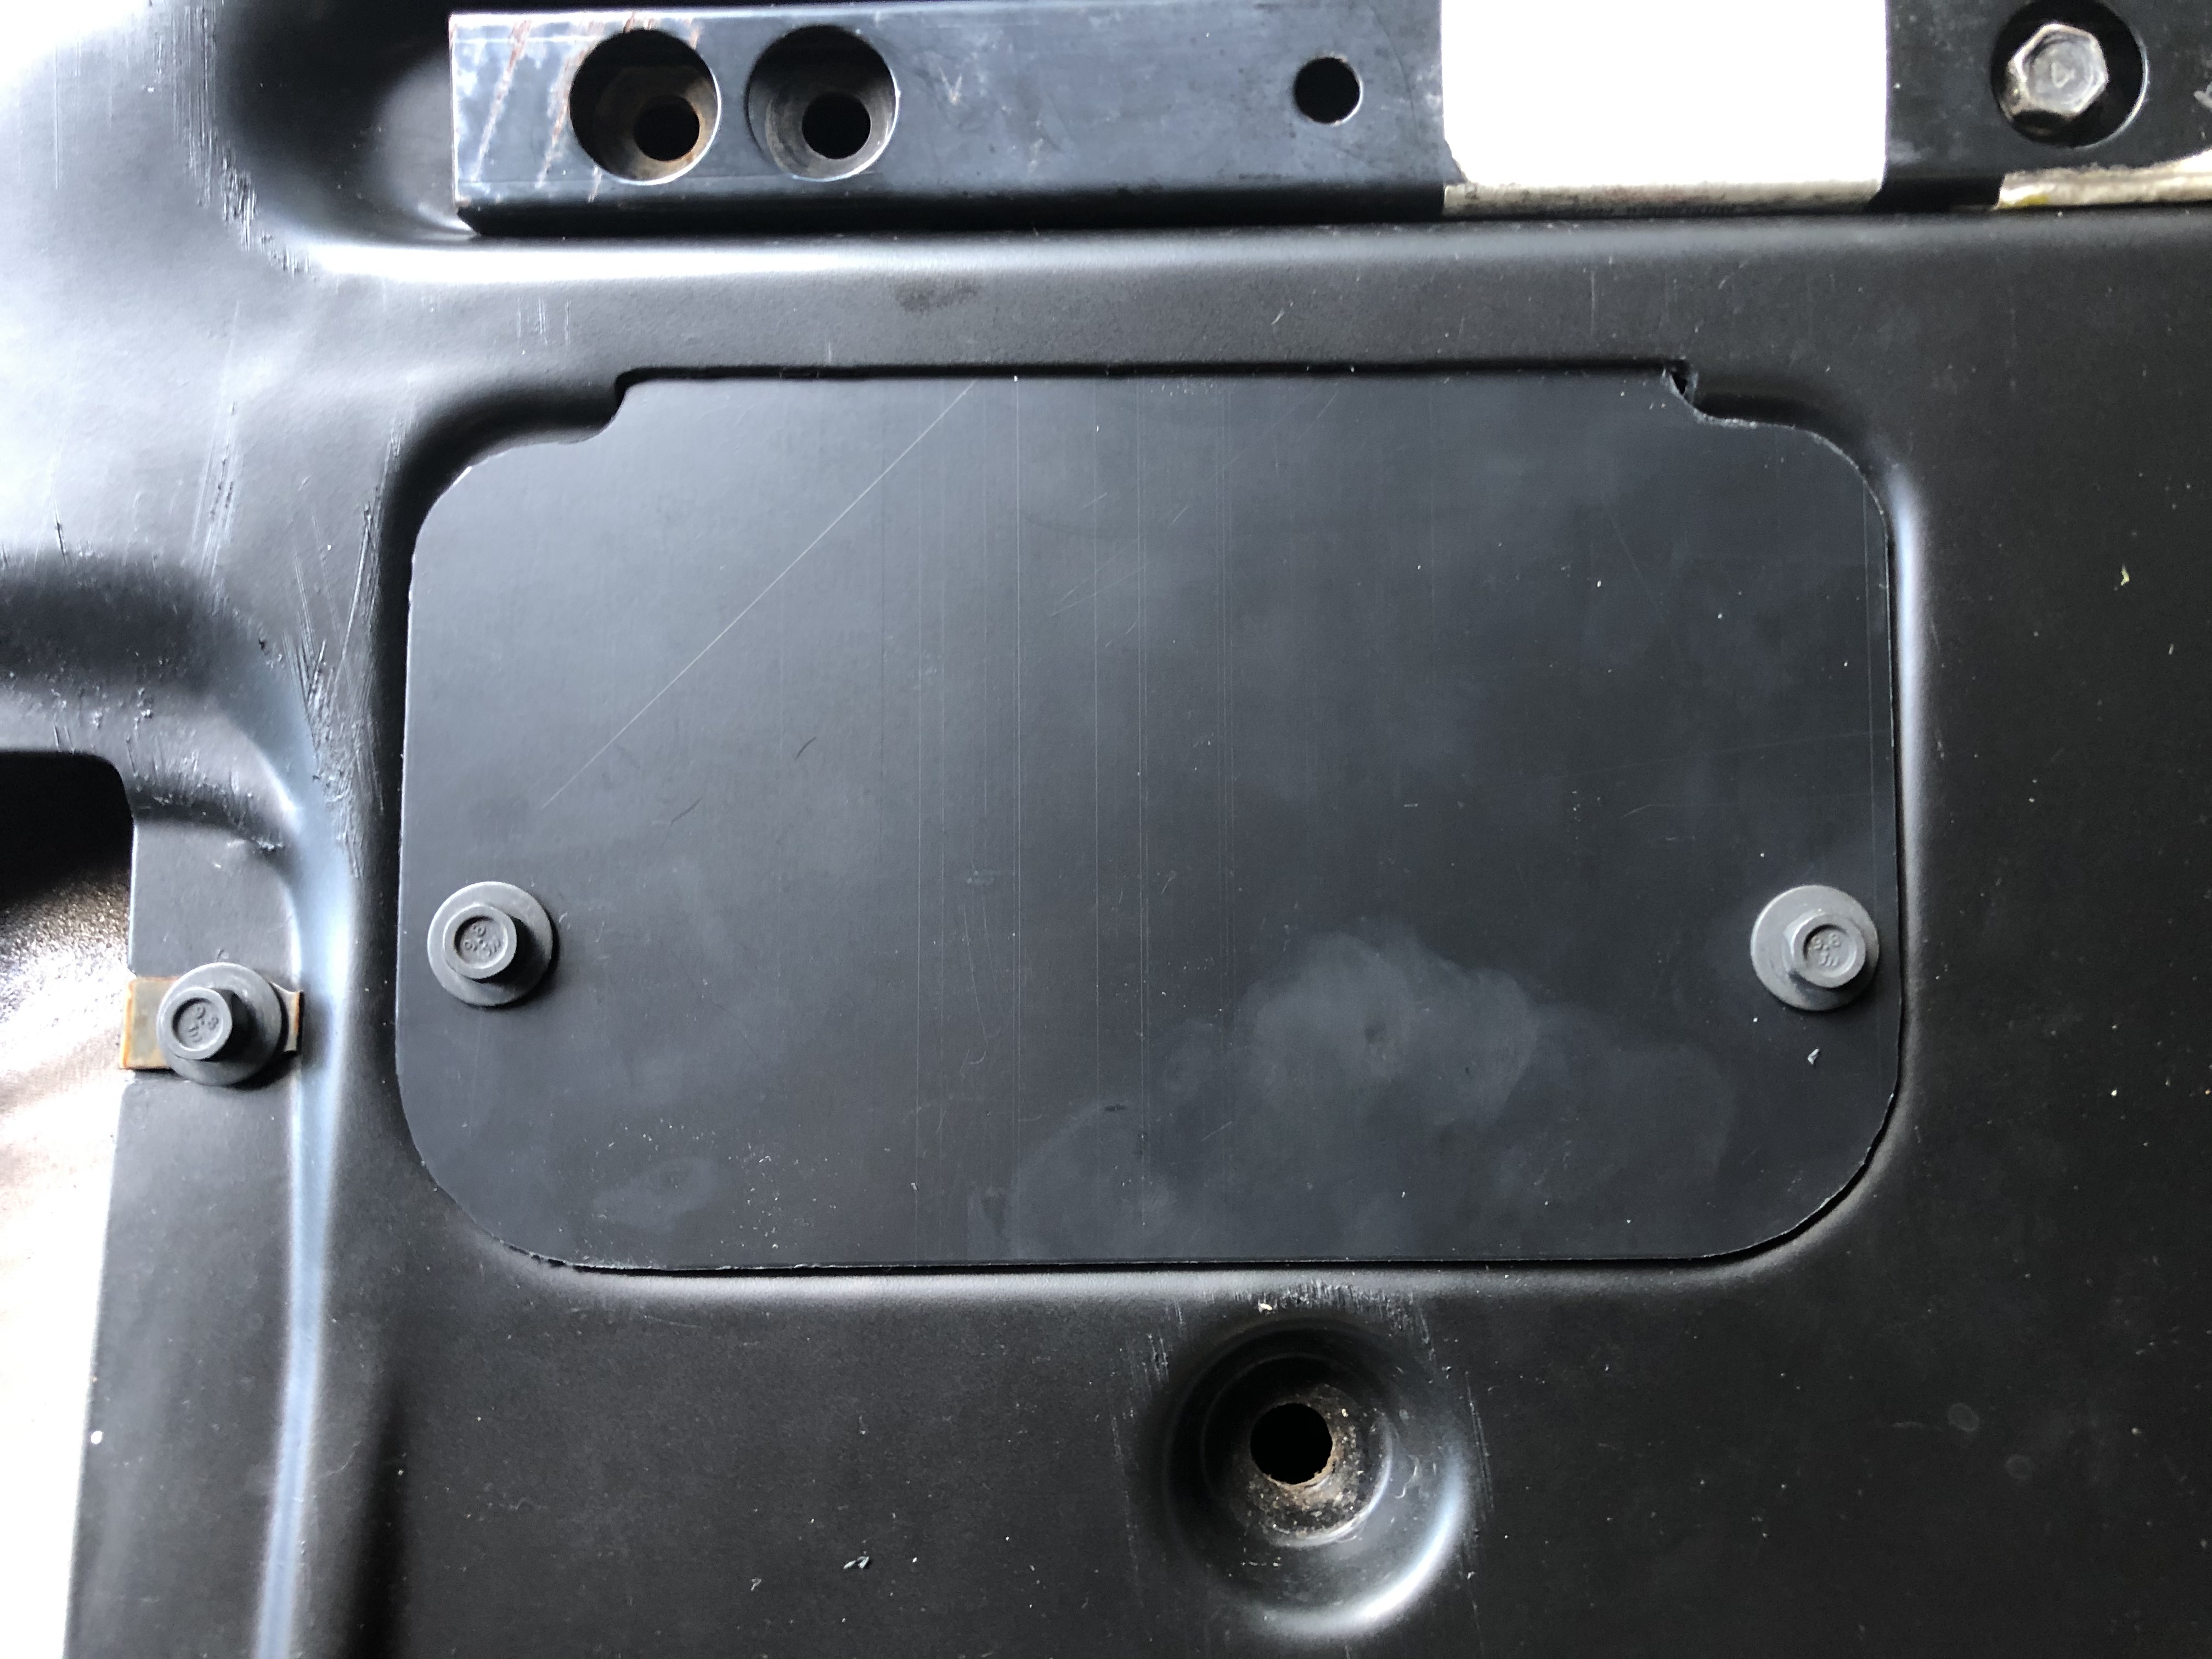
Test fitting the patches:
A view from the back side (note: one side of the ABS plastic sheet is textured, the other side is smooth):
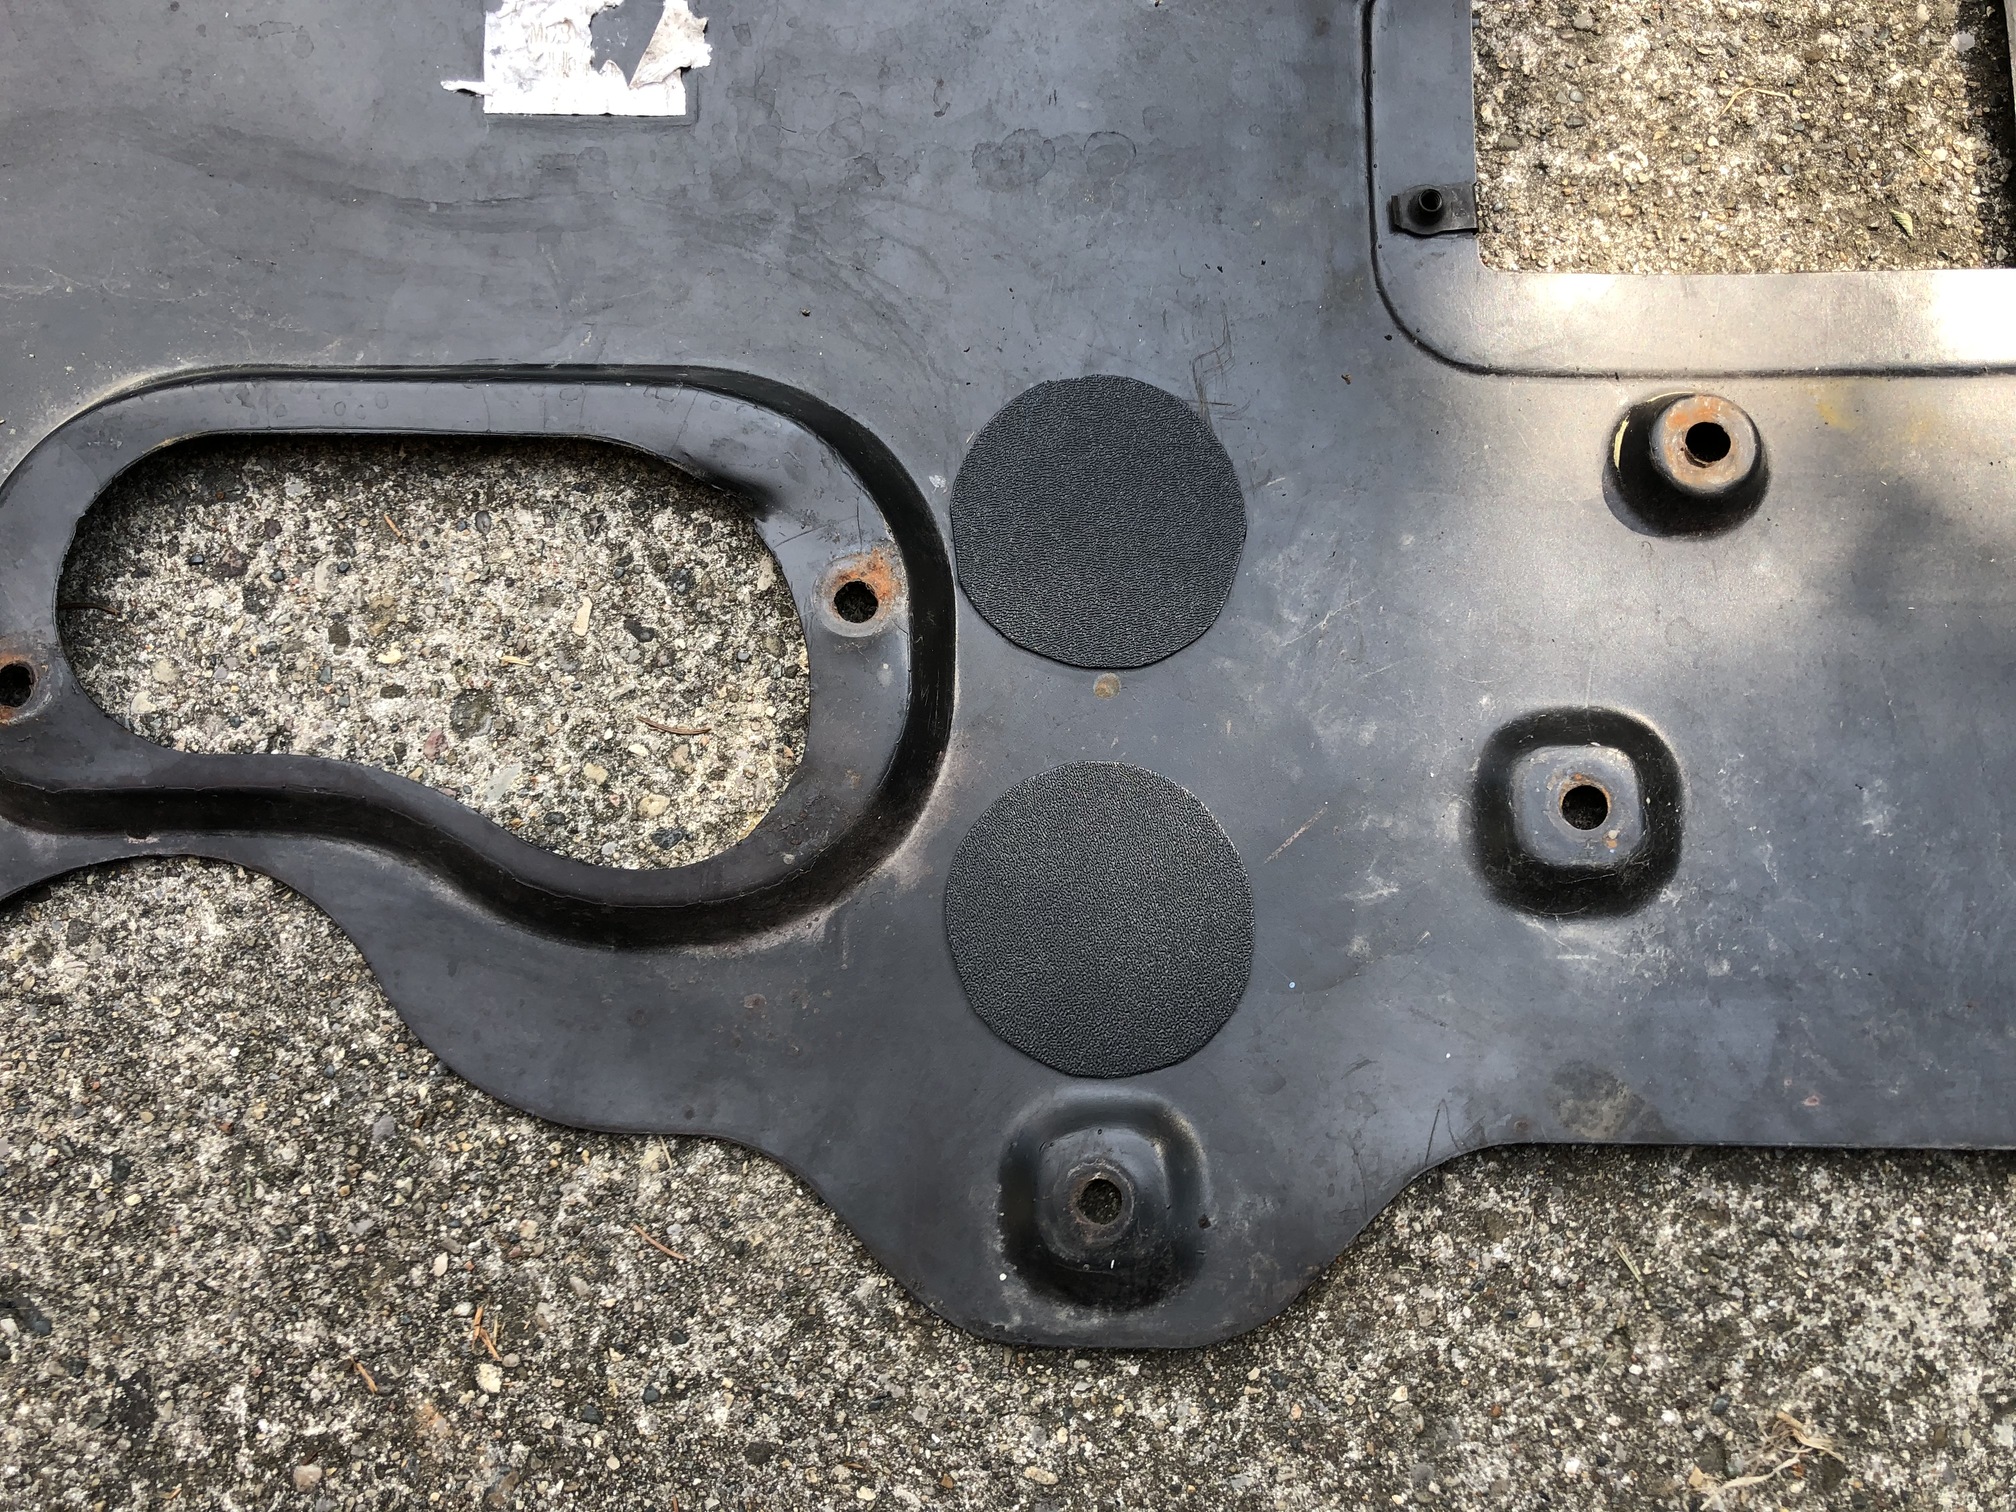
Not exactly pretty, but it will do the job aerodynamically, and it’s not really a visible area of the tray.
2 Likes
Thanks to @Joe90, I finally got my hands on a cover for the jacking point. My active aero skirt is now complete!
4 Likes
That all looks fantastic. Well done on such a great job and for sharing the information.
1 Like
Looks awesome… Would love an Aero for my front
1 Like
That jacking point cover is a nightmare to try to make… I have given up making mine as it is way too complex to make without a mold, and I was hoping to find some online, but there is nothing around… If you guys got one for sale, then I would be happy to buy it
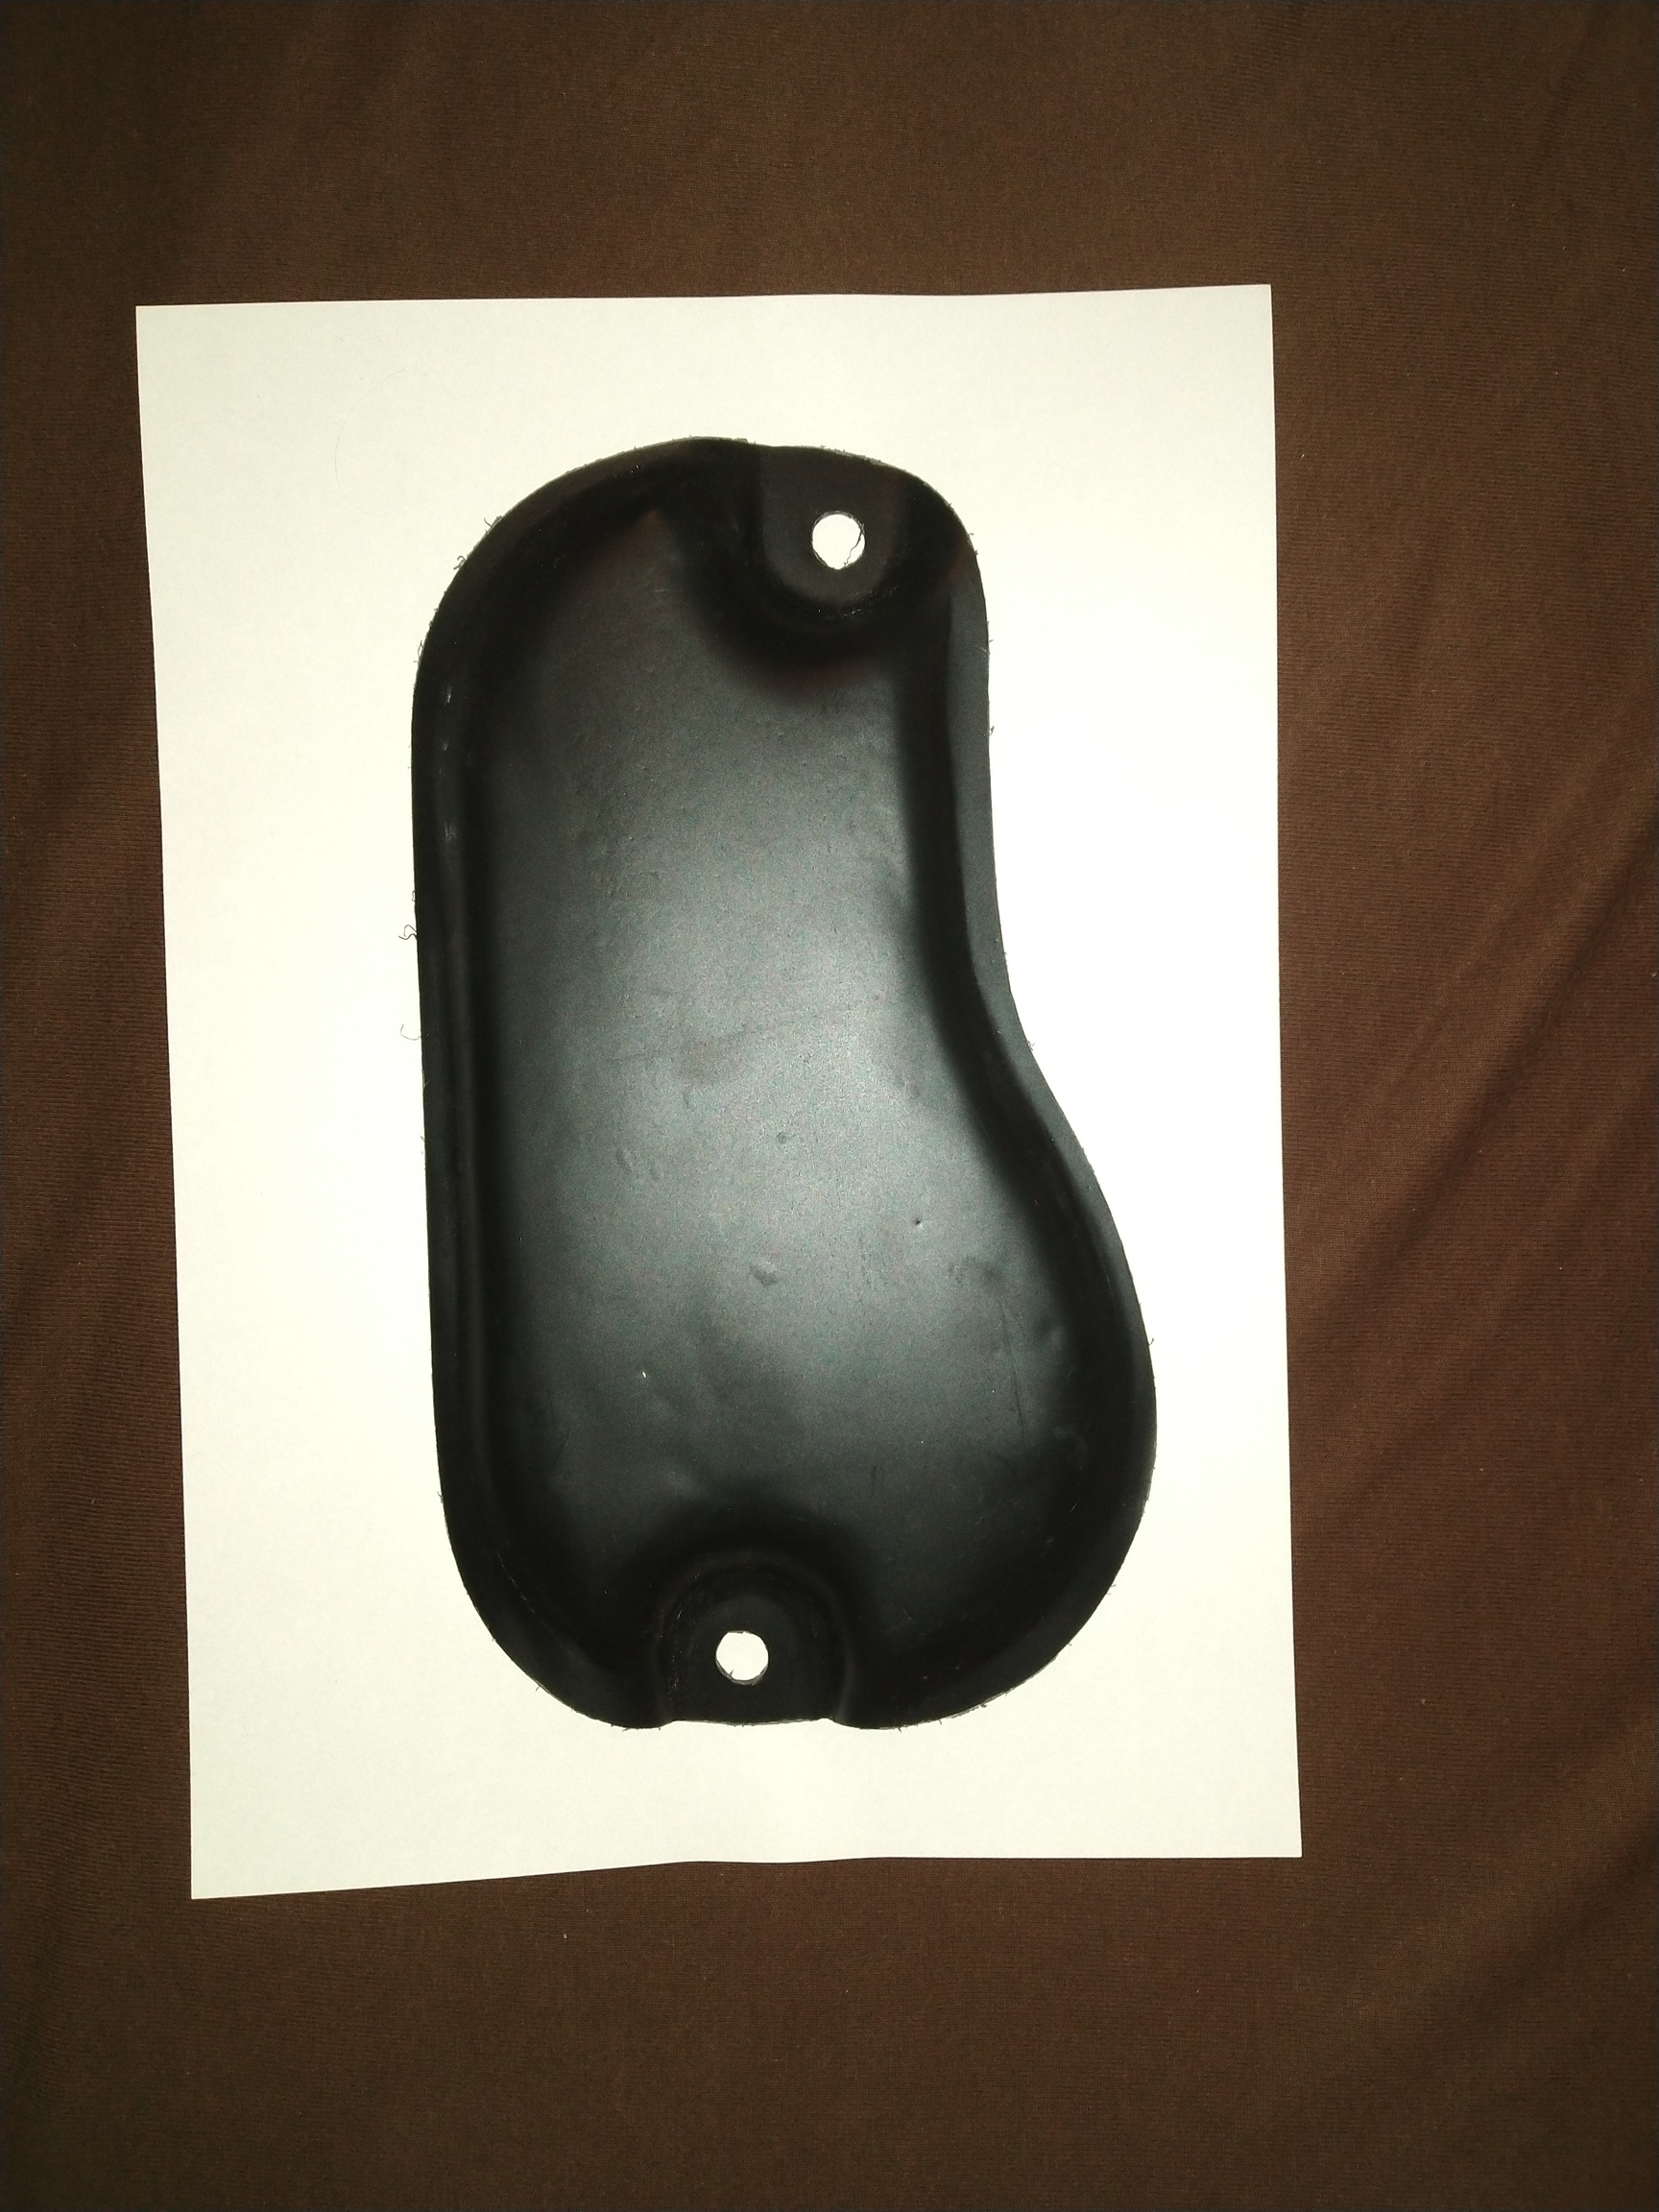
Yeah @Joe90 eeeexcactly that part… I have been trying to form it with a heater and burning my hands, so I just gave up 
I am surprised that you didn’t get one from the Joe’s gems section. I will see if I have any left.
WHAT!?!?!?!?! I must have missed that  Was going to ask if you would ever get those on Joe´s gems
I got mine from Joe