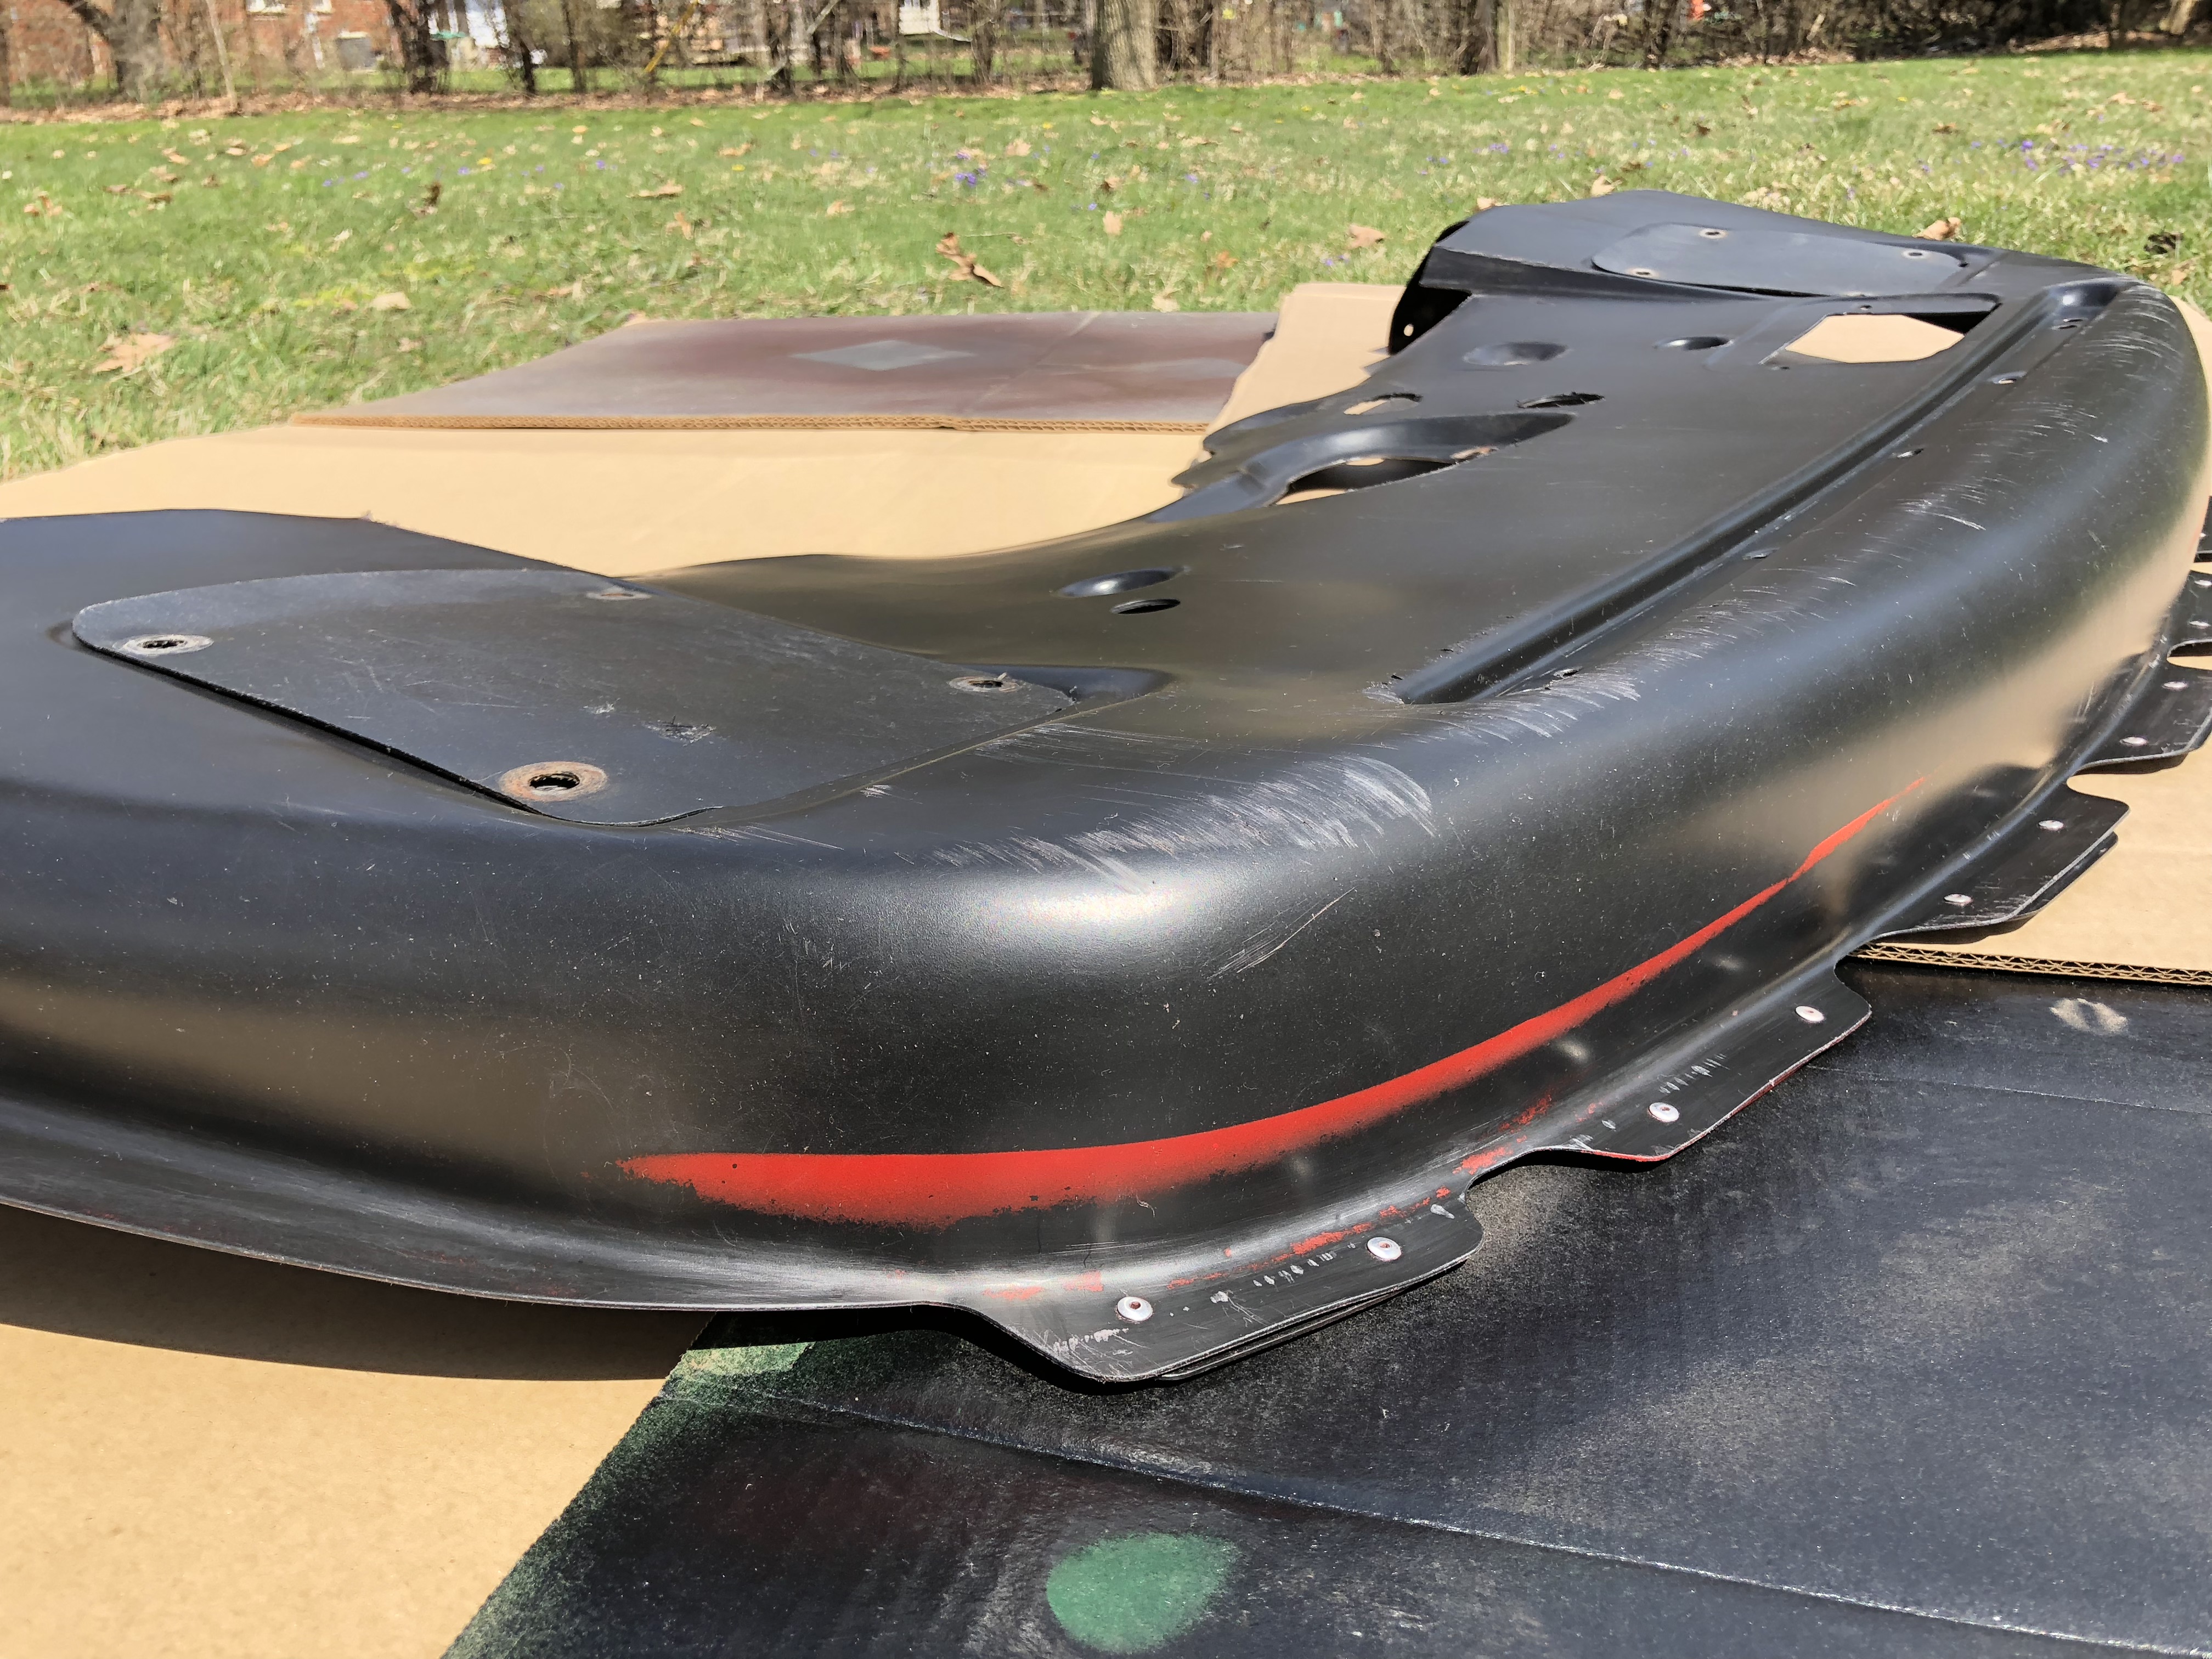
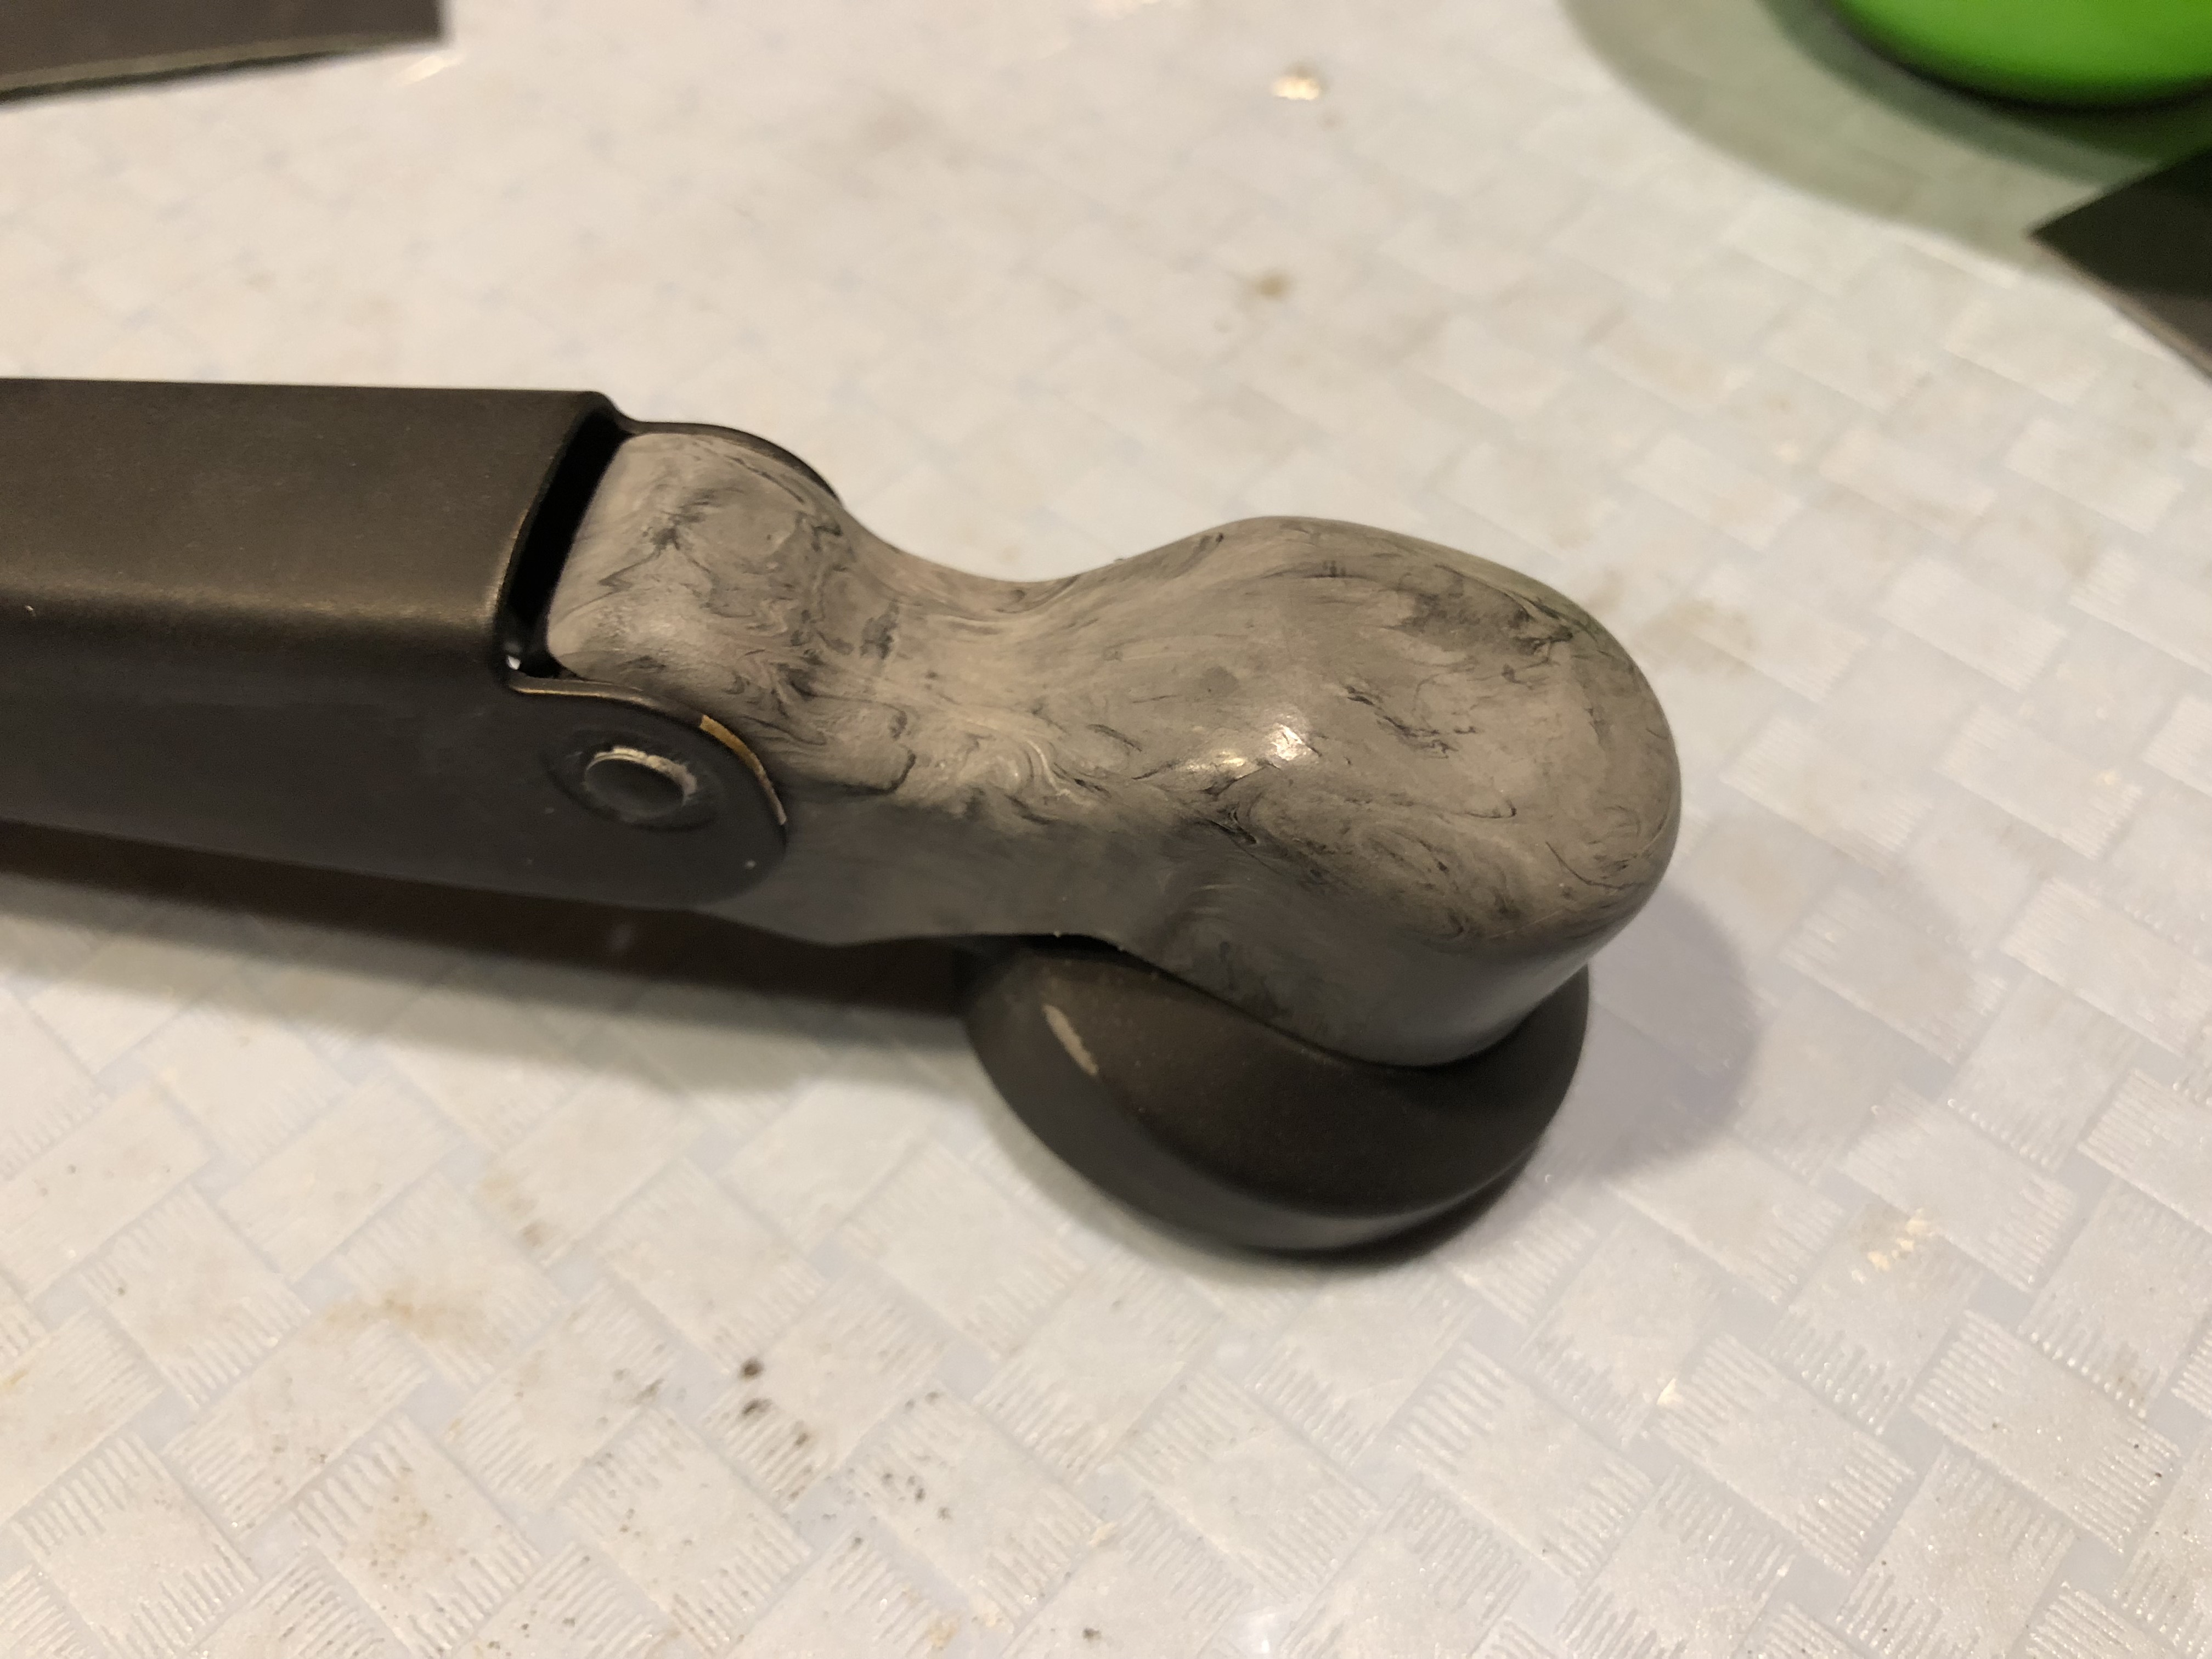
My front active aero tray was looking a bit ugly. The color was faded, it had red paint overspray from a past re-painting of the front bumper, and it was missing the “ACTIVE AERO” decal.
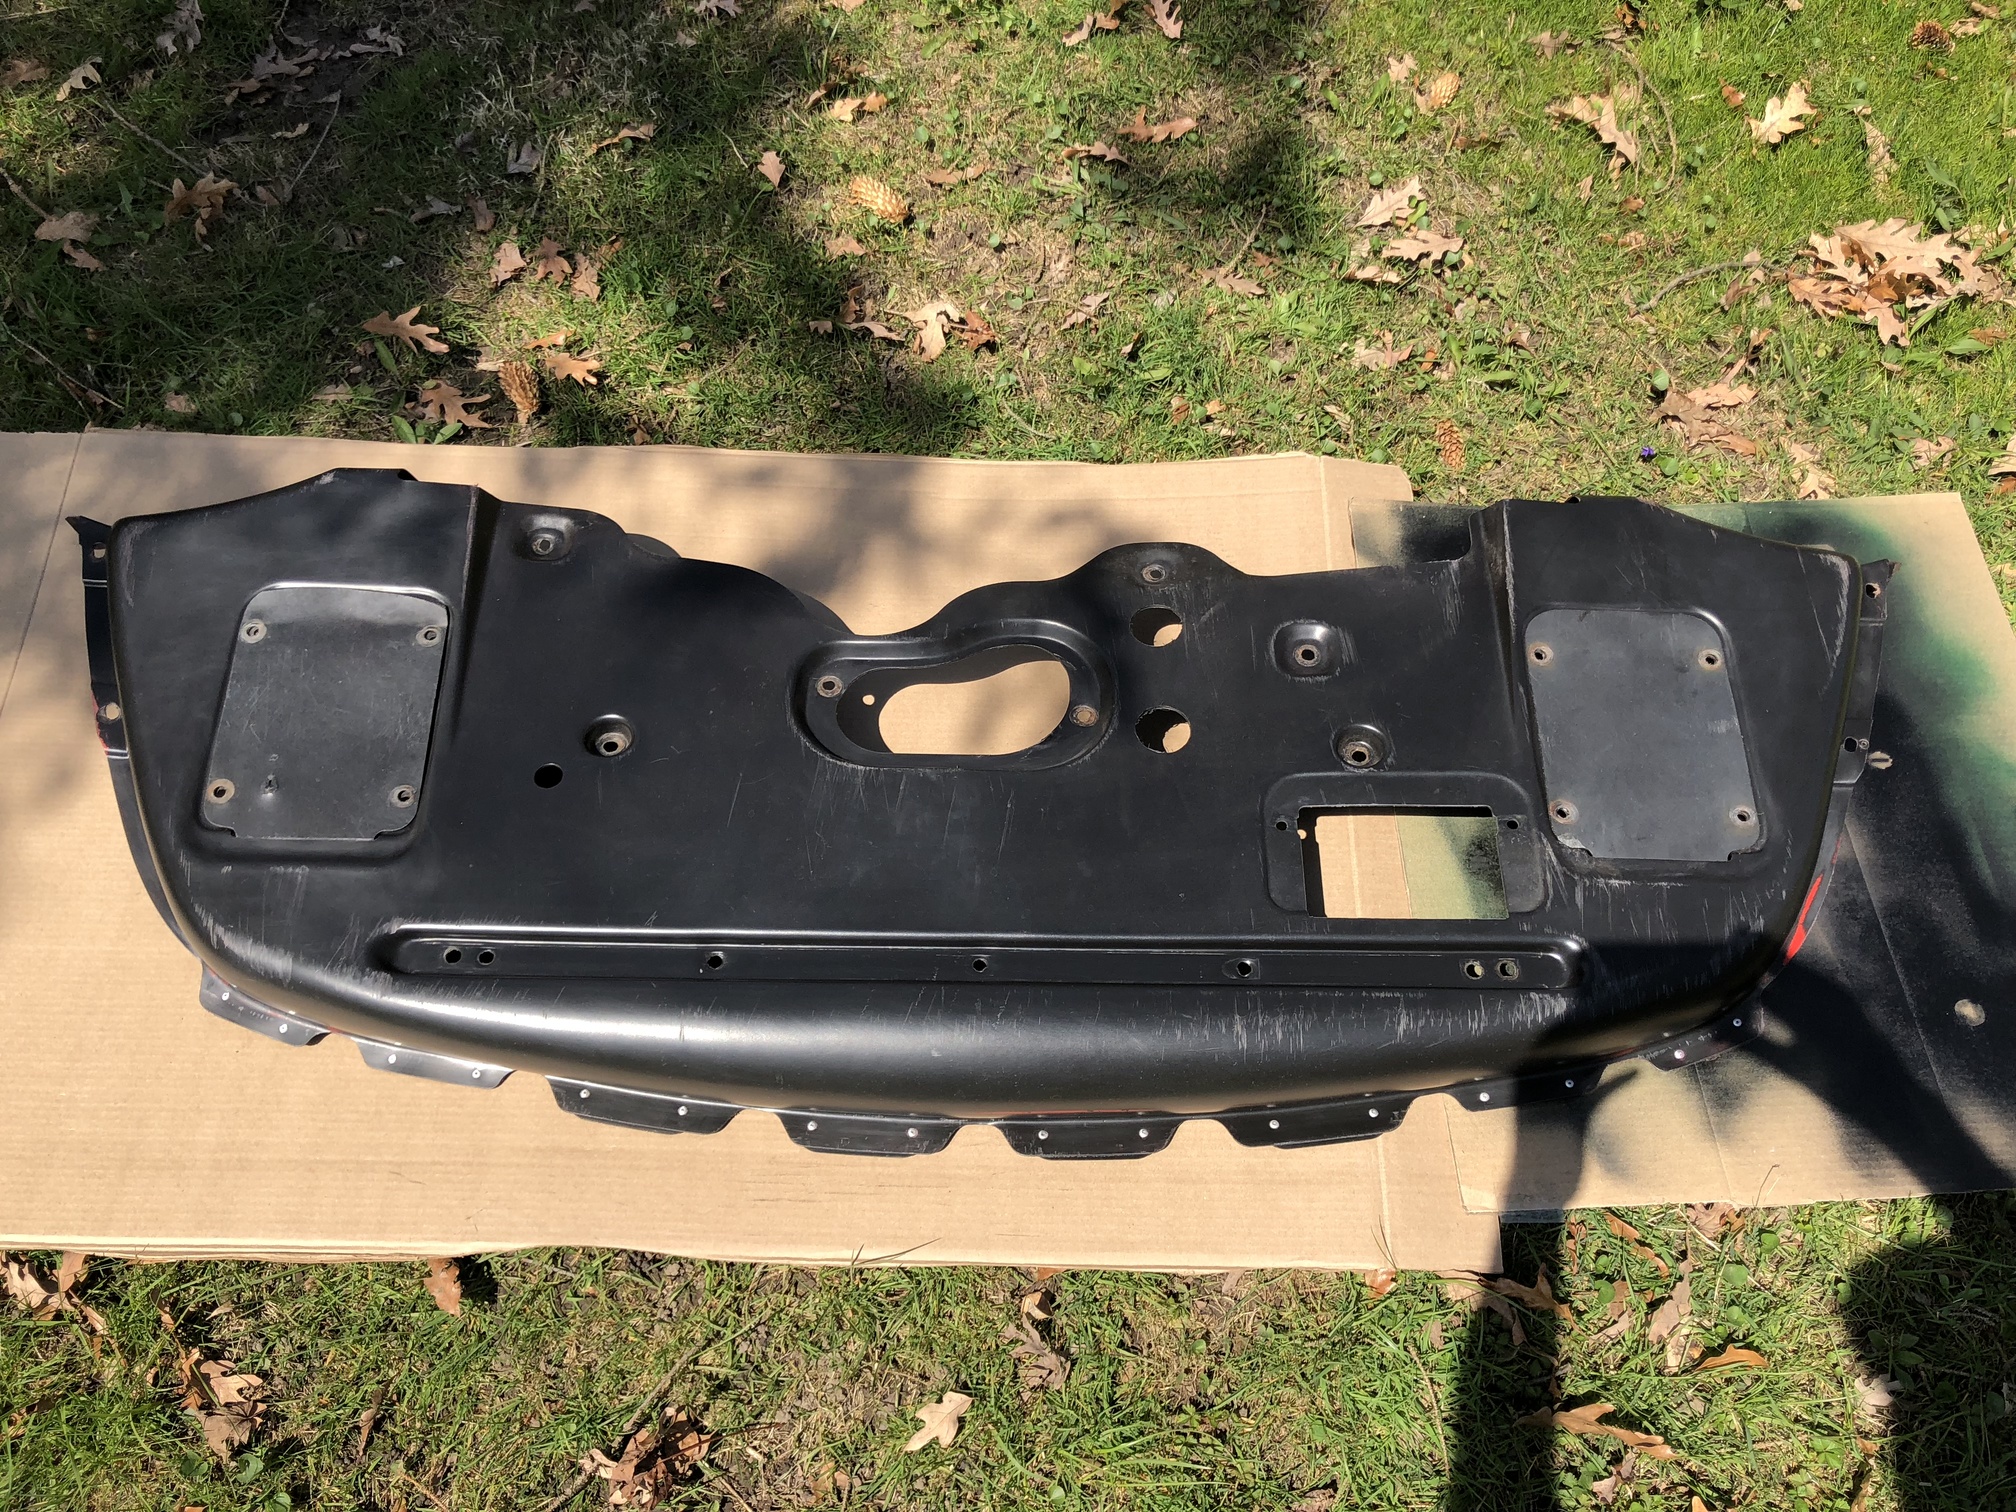
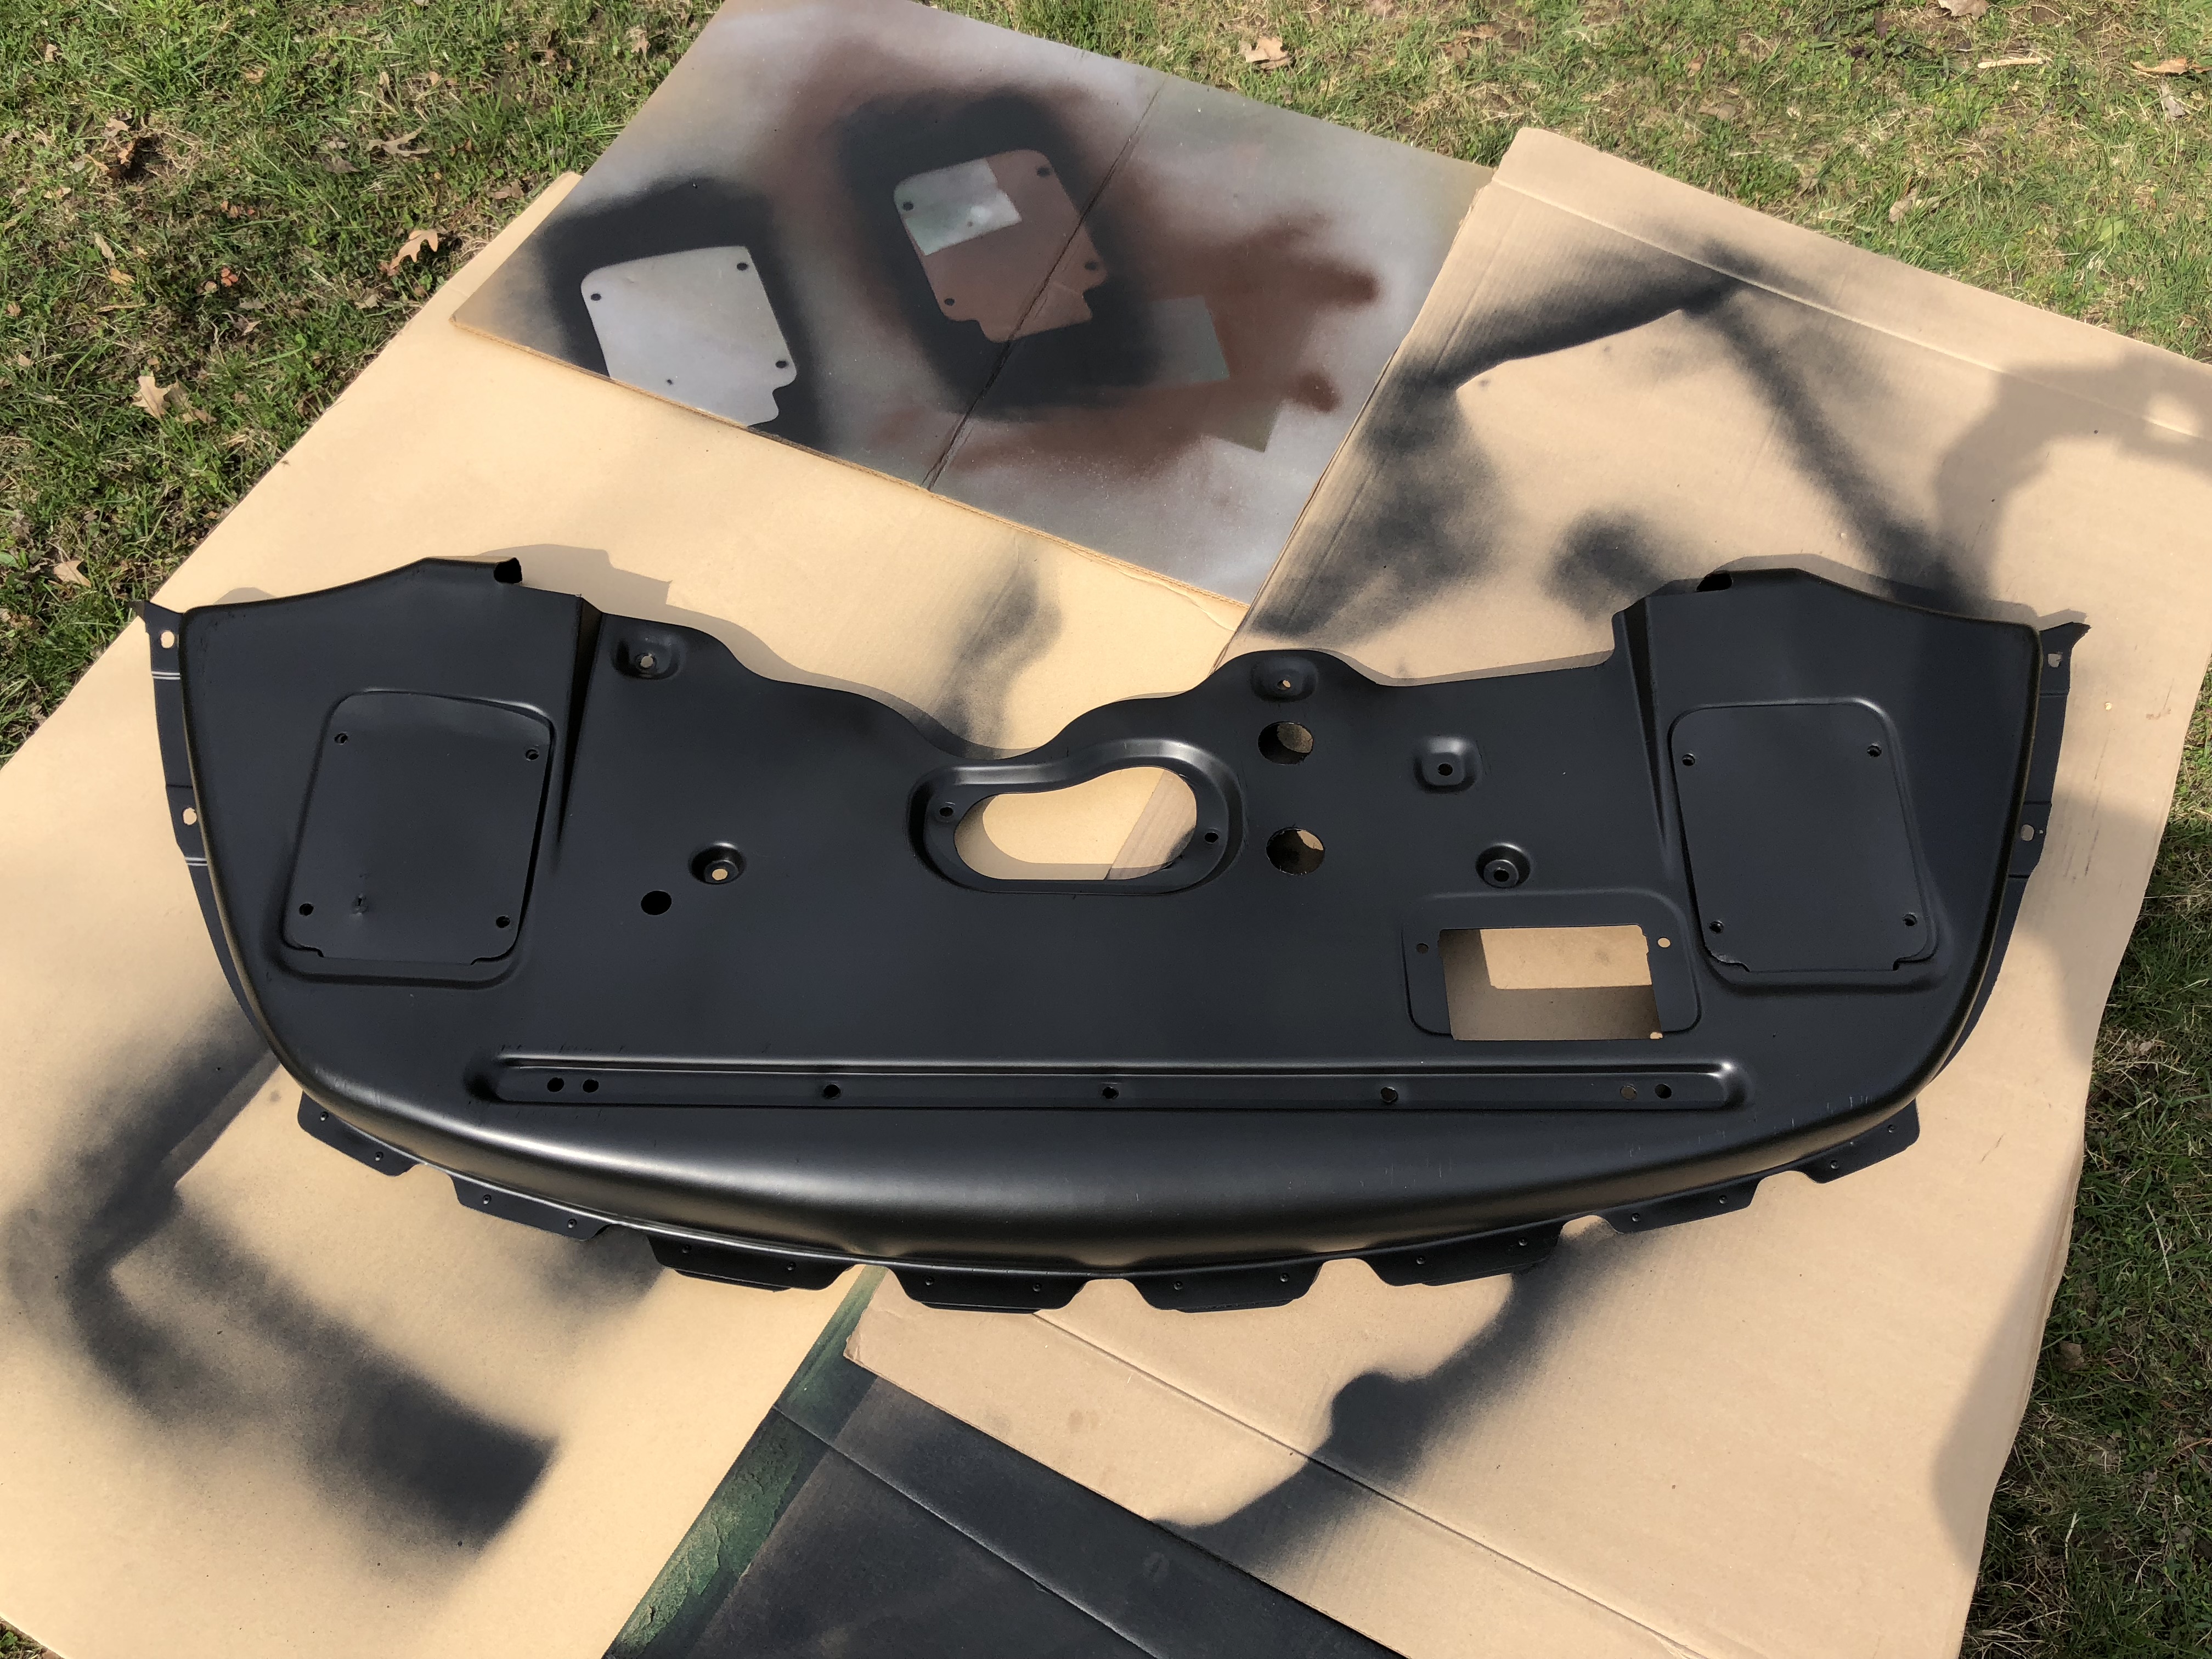
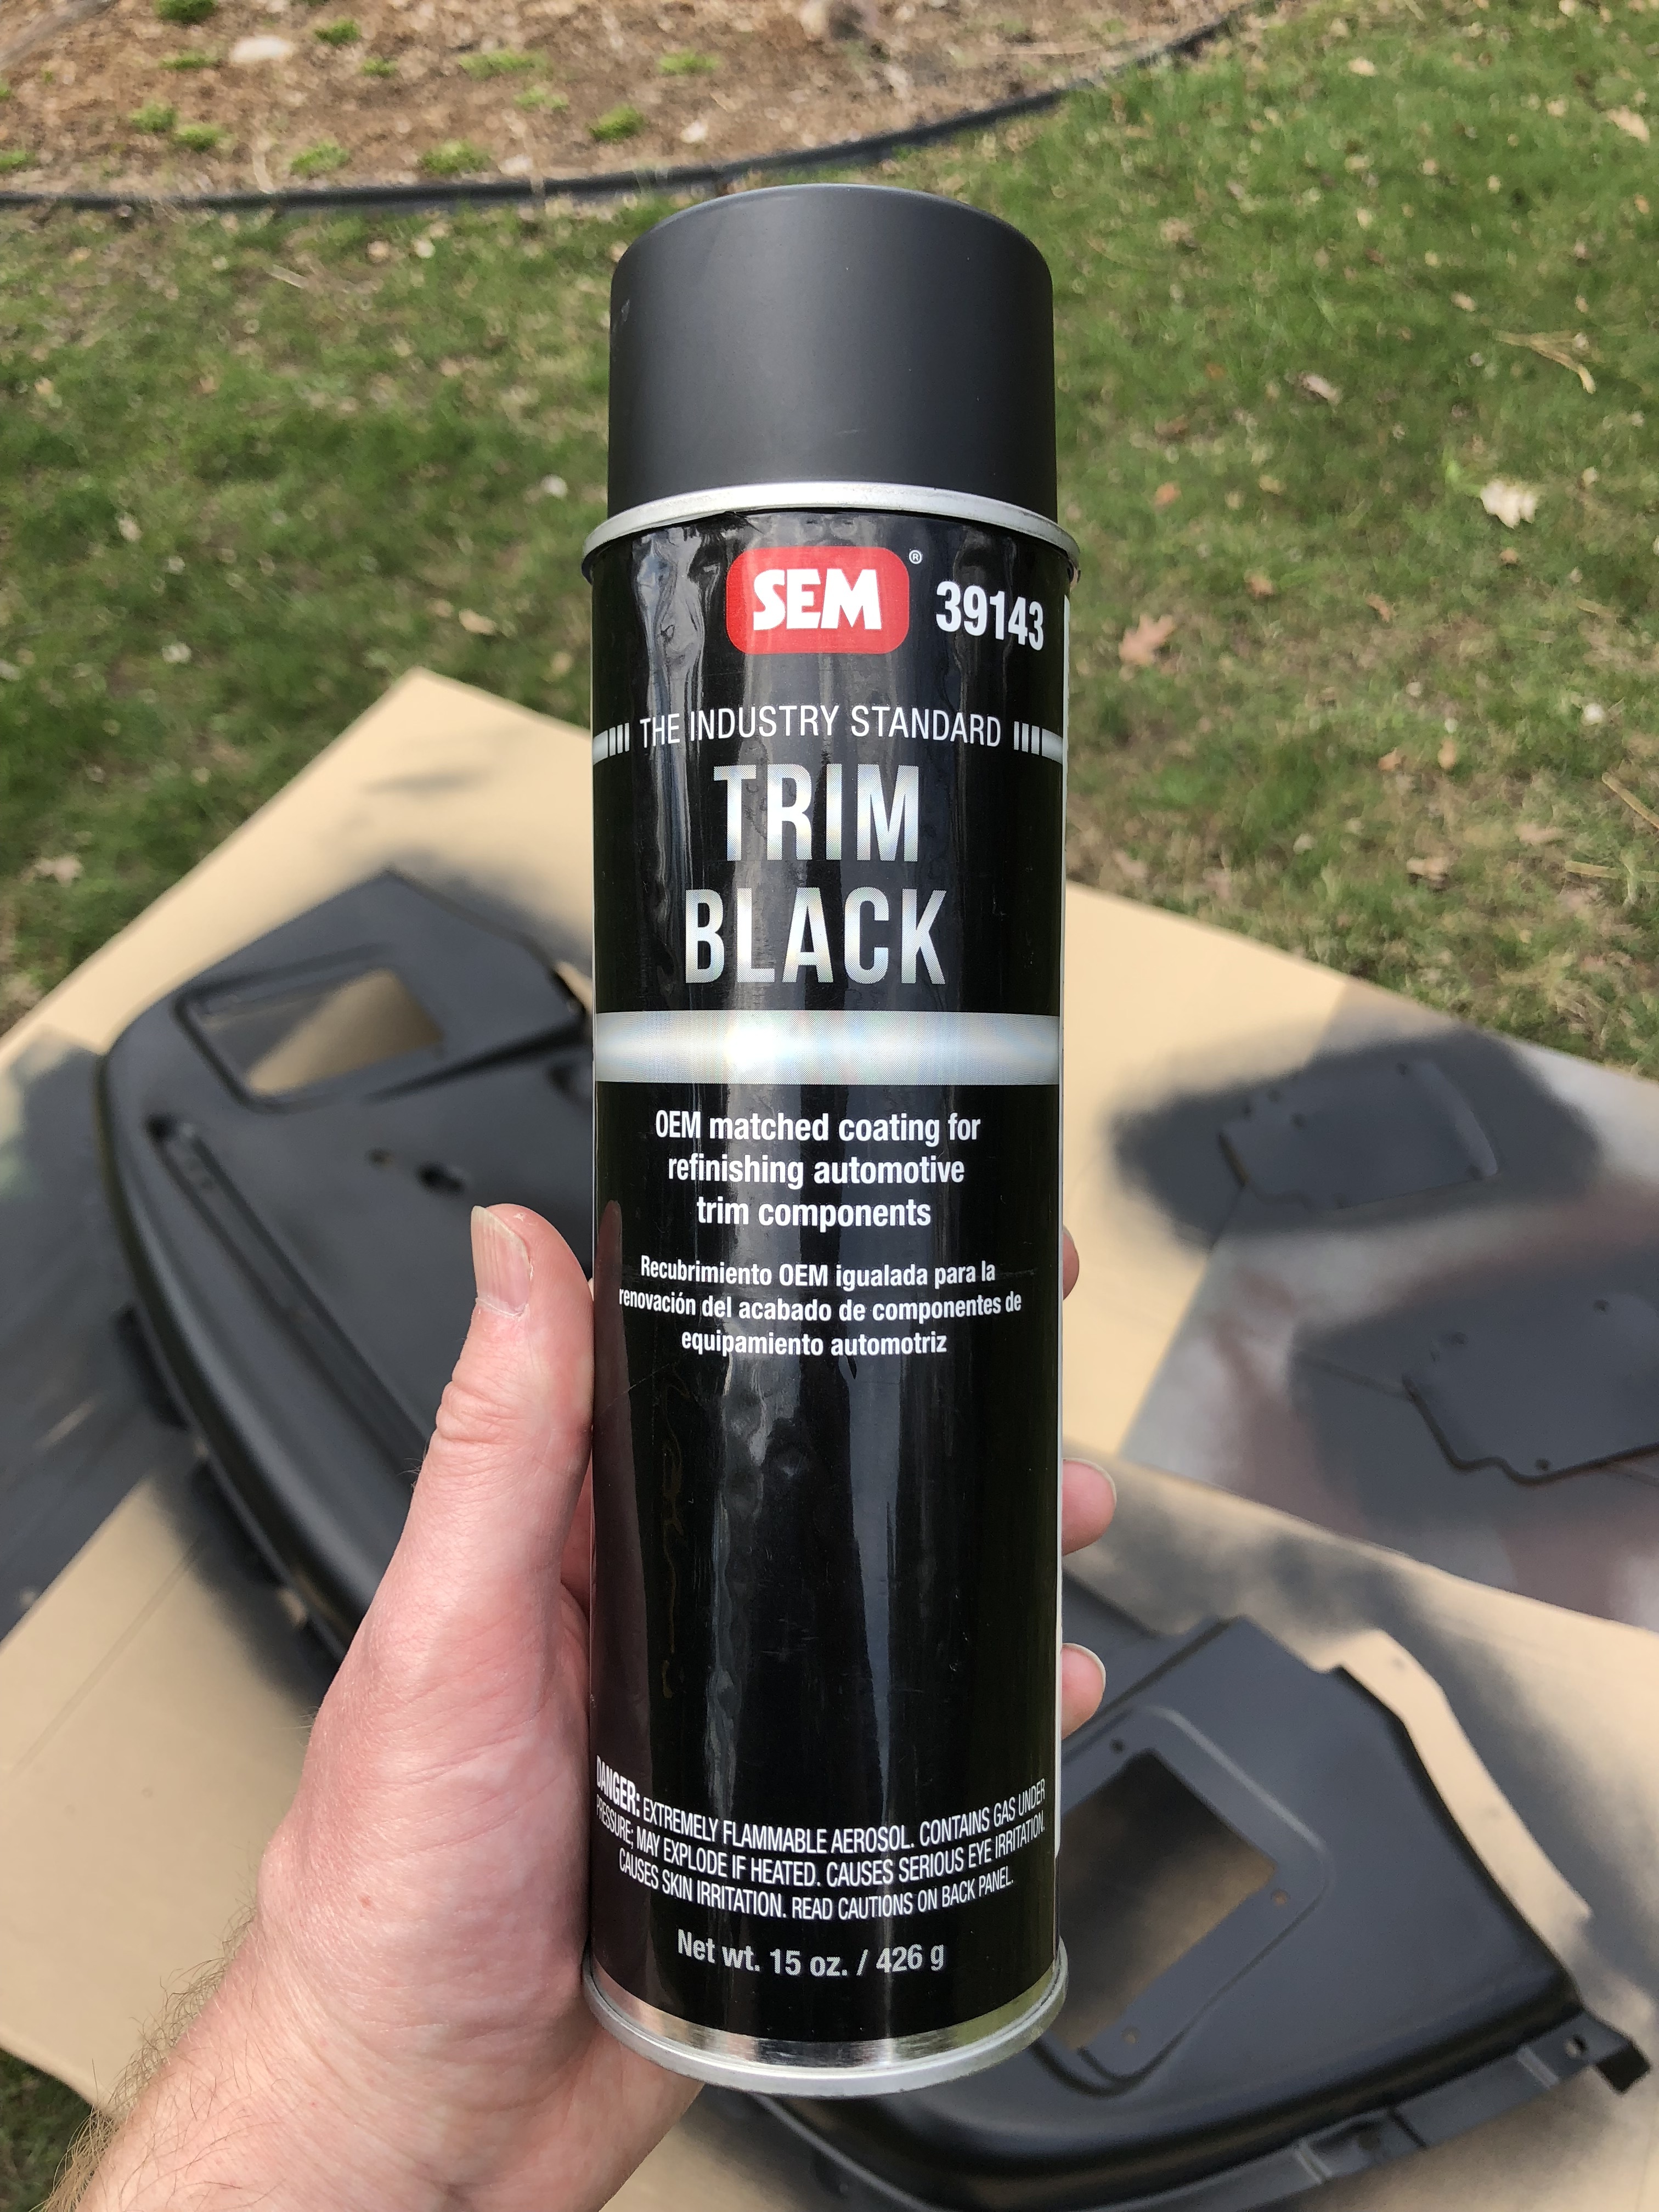
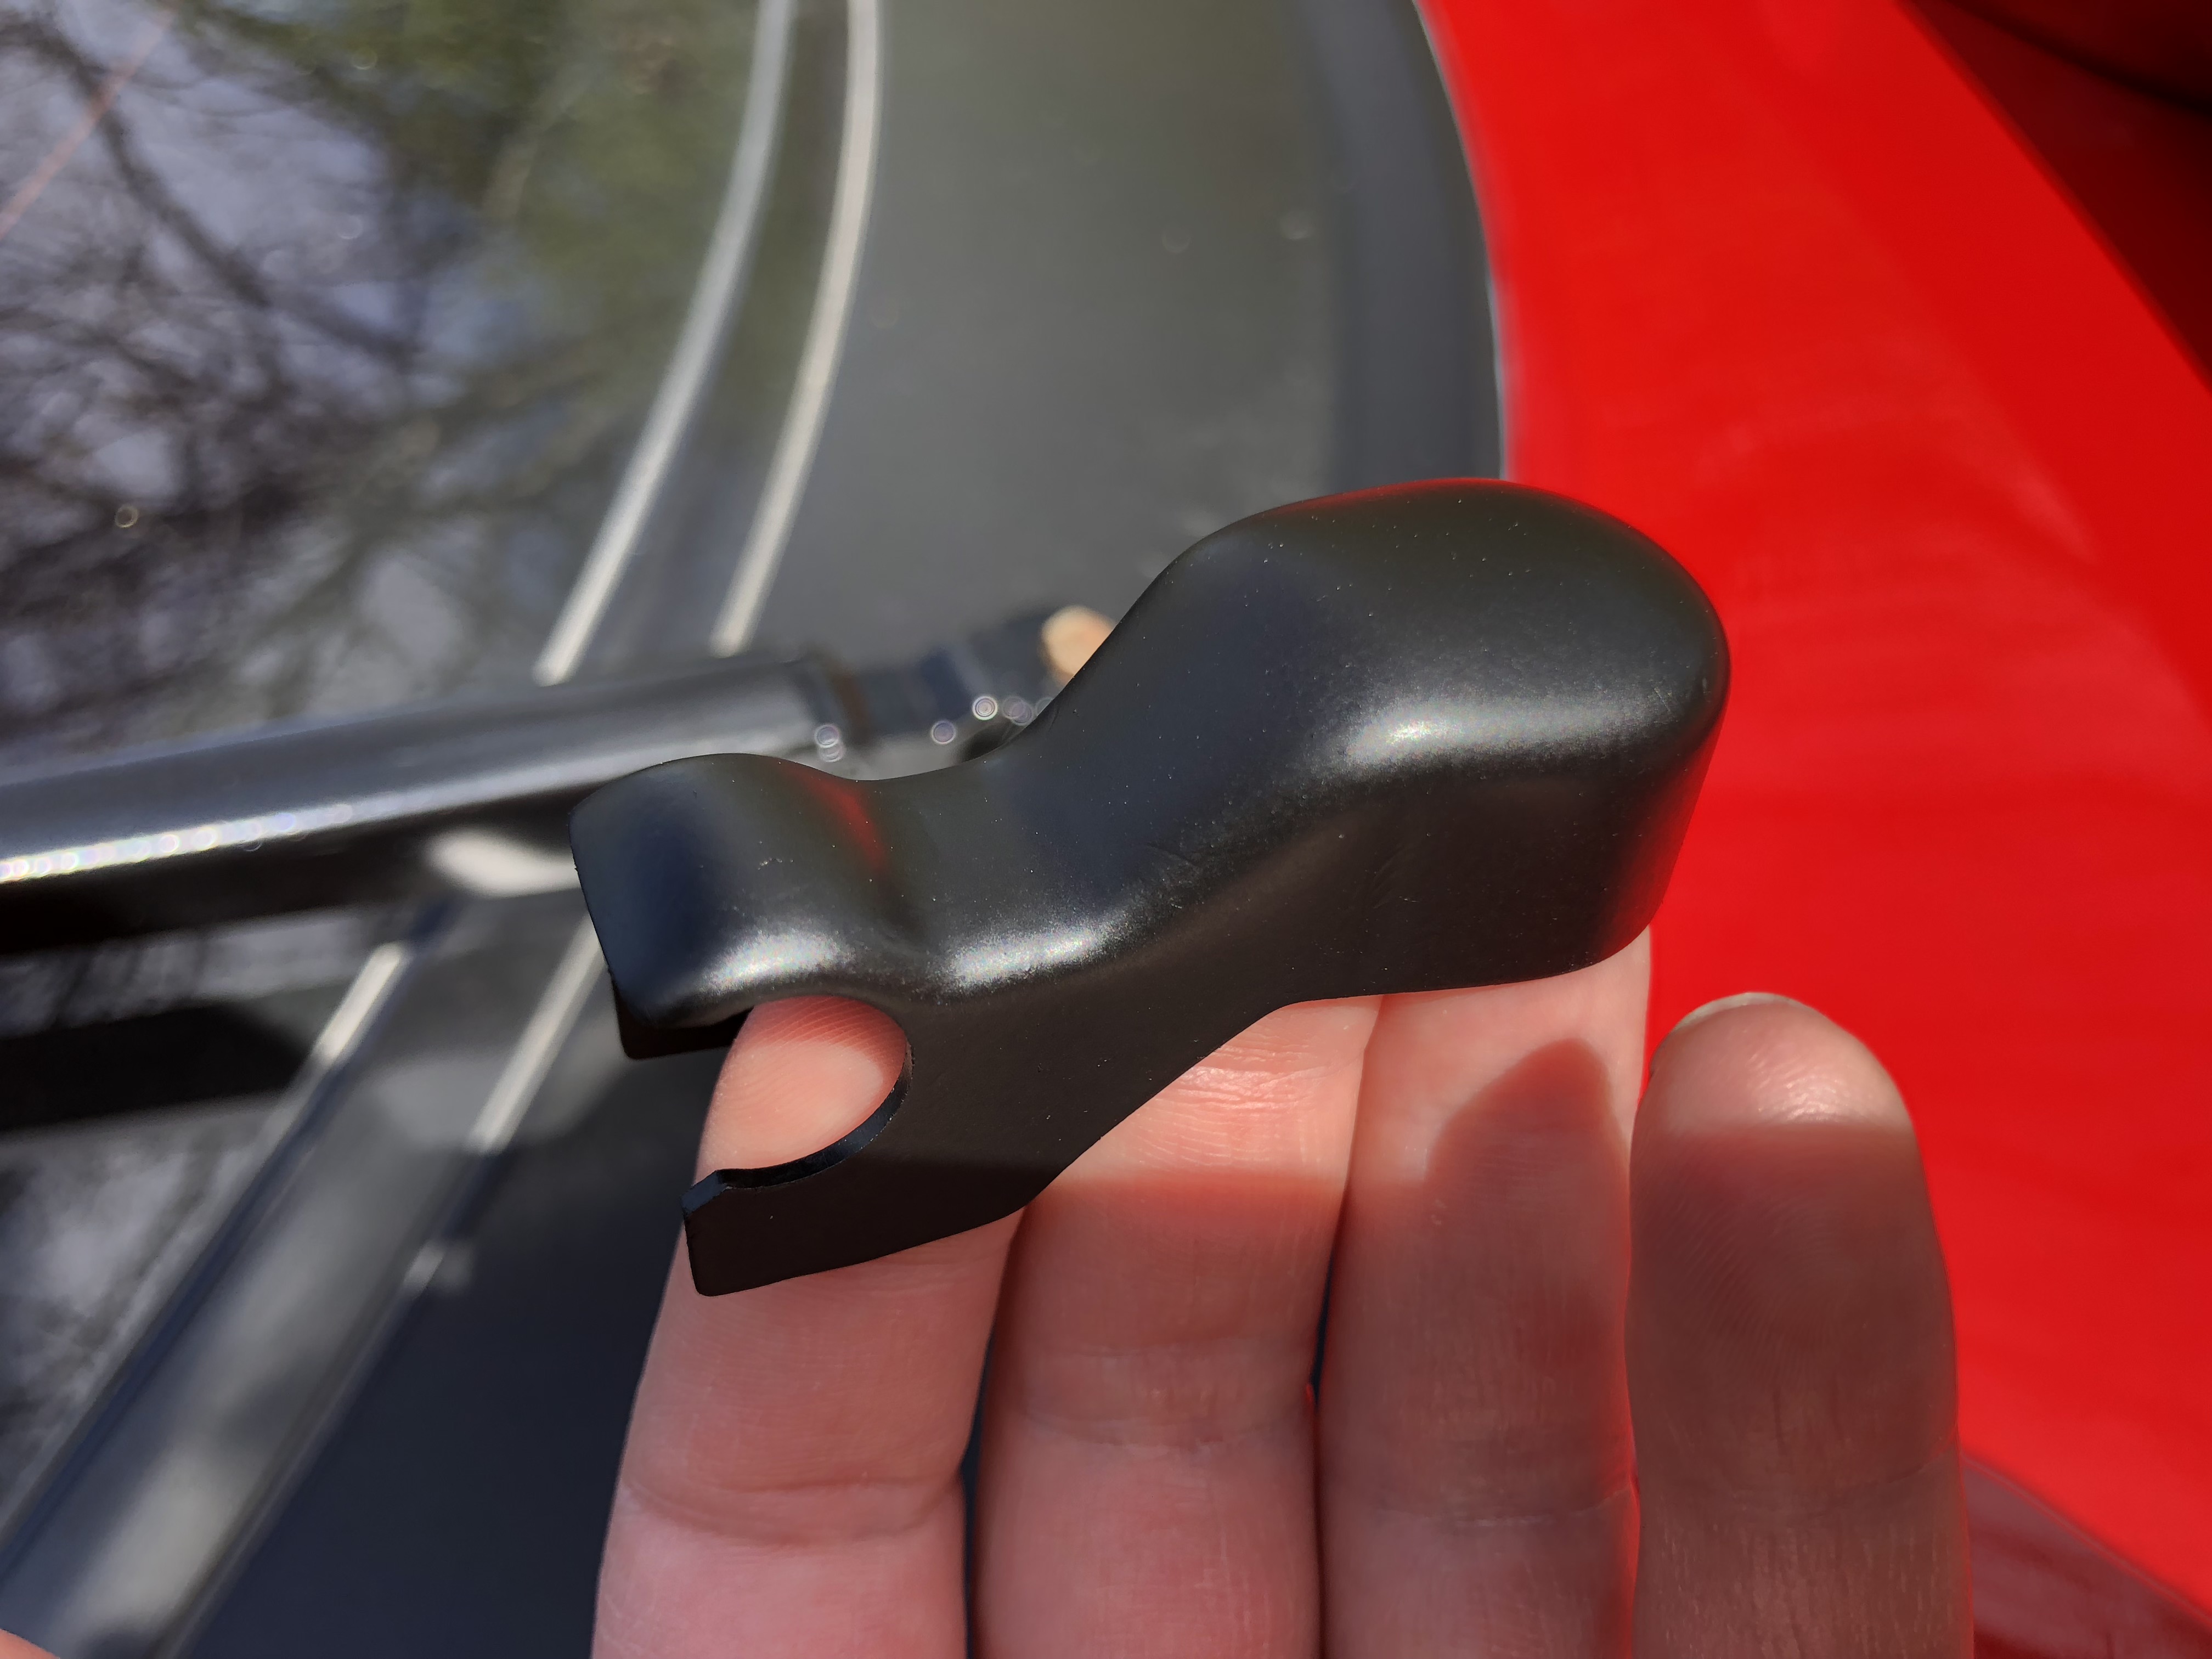
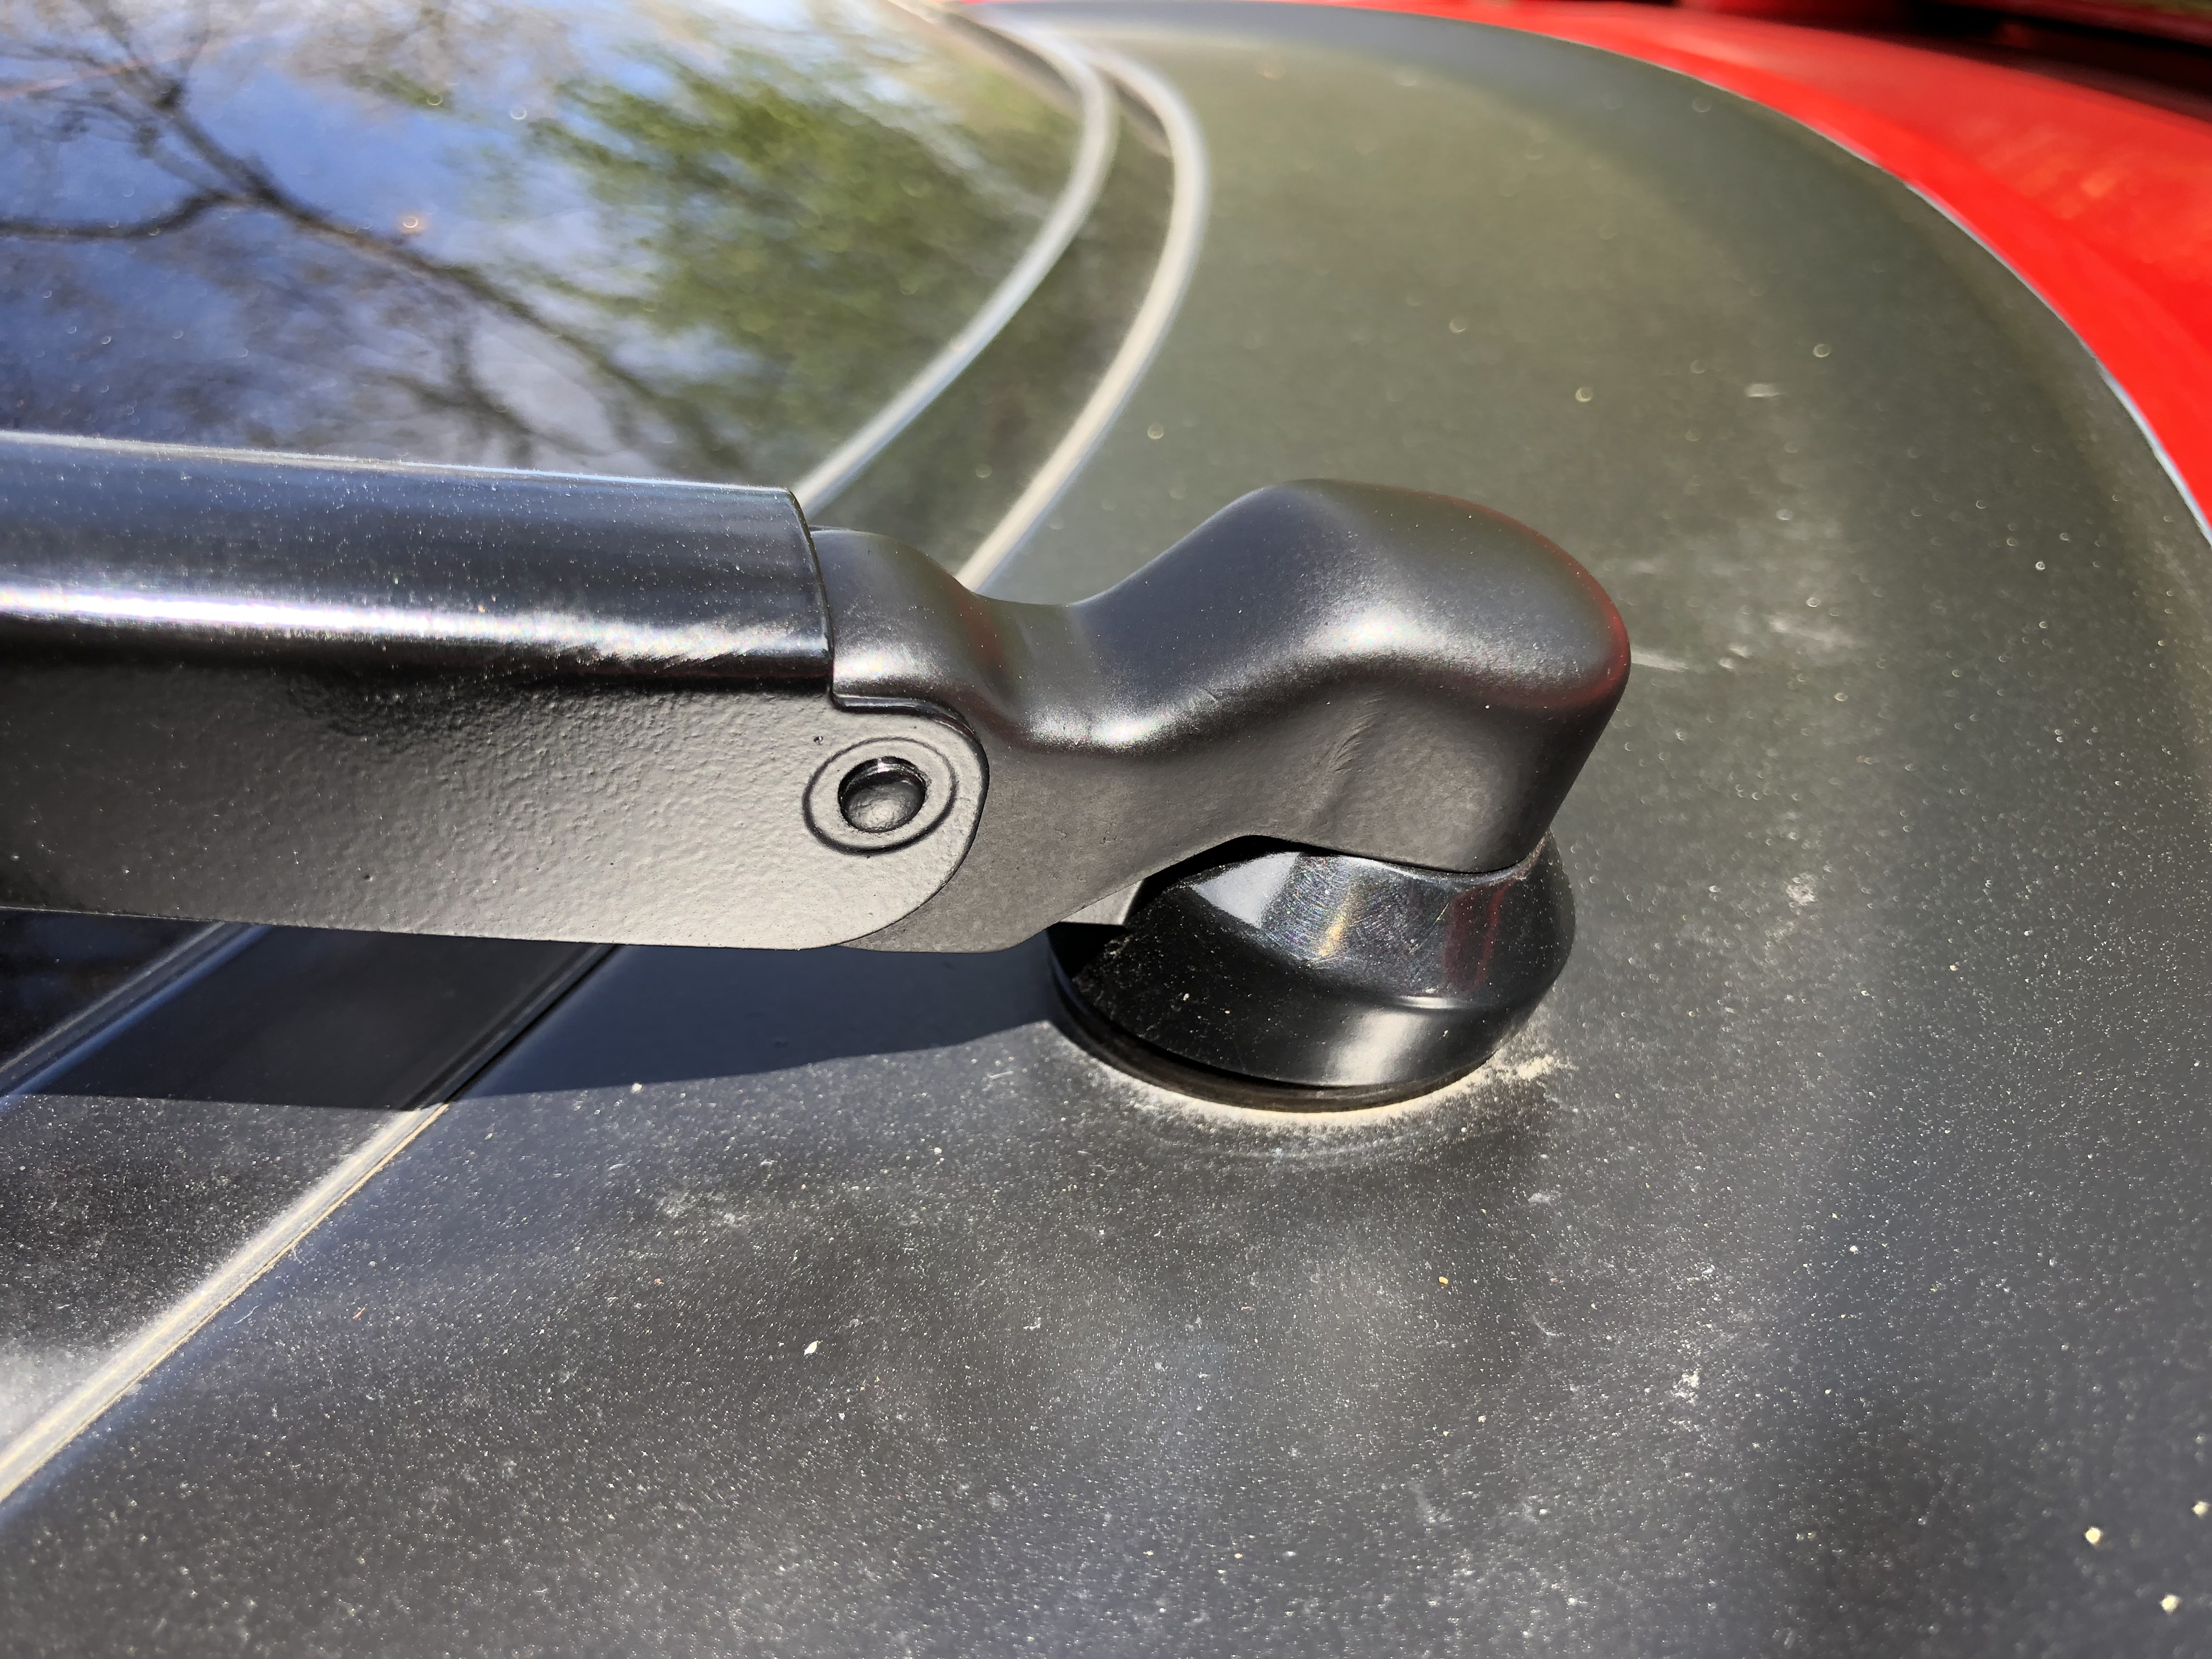
I cleaned it thoroughly, then scrubbed the entire panel with rubbing alcohol and fine steel wool to lightly scuff the surface and ensure cleanliness, then again with a cloth and rubbing alcohol to remove any debris/dust caused by the steel wool. Then a few coats of SEM Trim Black spray paint (part number 39143) really brought it back to life.

I also found nearly perfect replacements for the access panel mounting hardware:
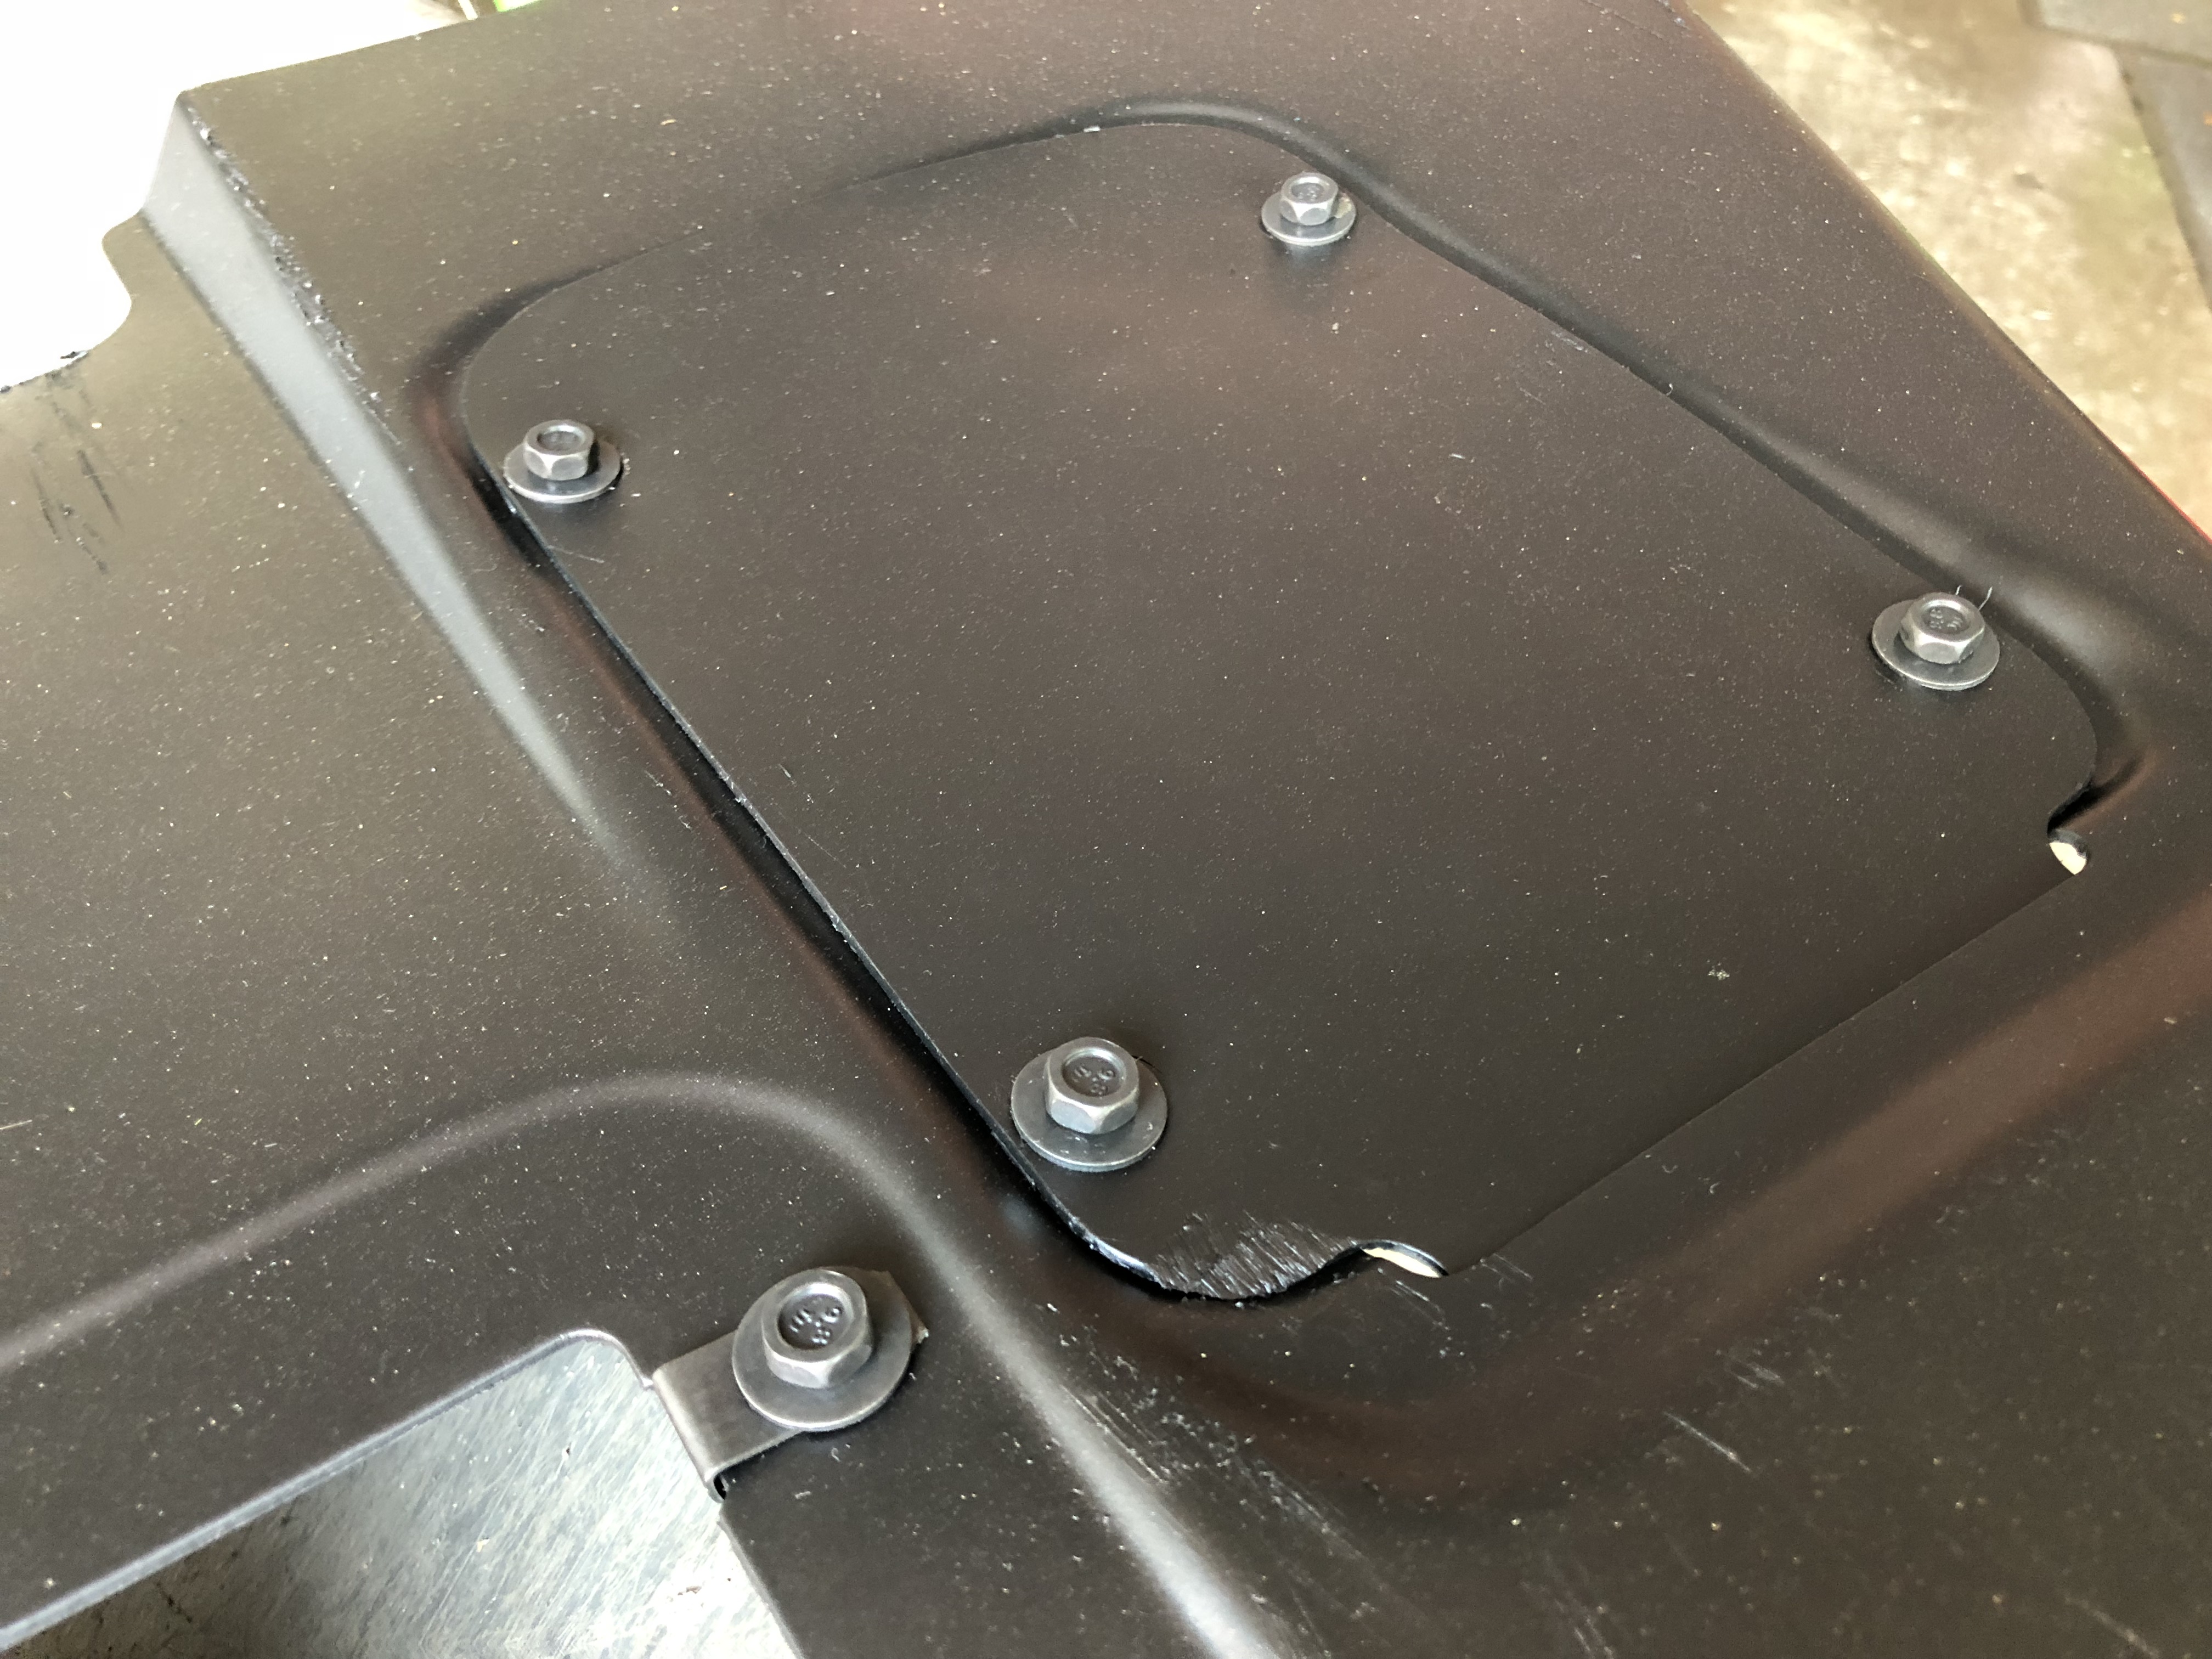
New bolts and U-nut clips.
Bolts: M6-1.0 x 16mm long. 10mm hex. 17mm washer. Black finish.
Clips: M6-1.0 thread. 13.5mm center of hole to edge. Black finish.
Quantity: 10 bolts and 10 clips.
The only difference from original is that the u-nut clips are not perfectly sized for the thickness of the active aero tray. They are a bit more “one size fits many thicknesses”, up to about double the thickness of the active aero tray. Because of this, the clip will not sit flush against the tray, but will compress as you tighten it. The panels still seem to sit nicely when tightened up, so it’s good enough for me!
OEM “ACTIVE AERO” decals can still be found for sale for about $50 USD, but I found a much cheaper exact replica on ebay for about $25 USD: New Mitsubishi ACTIVE AERO Logo Decal VR-4 3000GT 3KGT AWD TT Chin Spoiler | eBay
Here’s the final result:
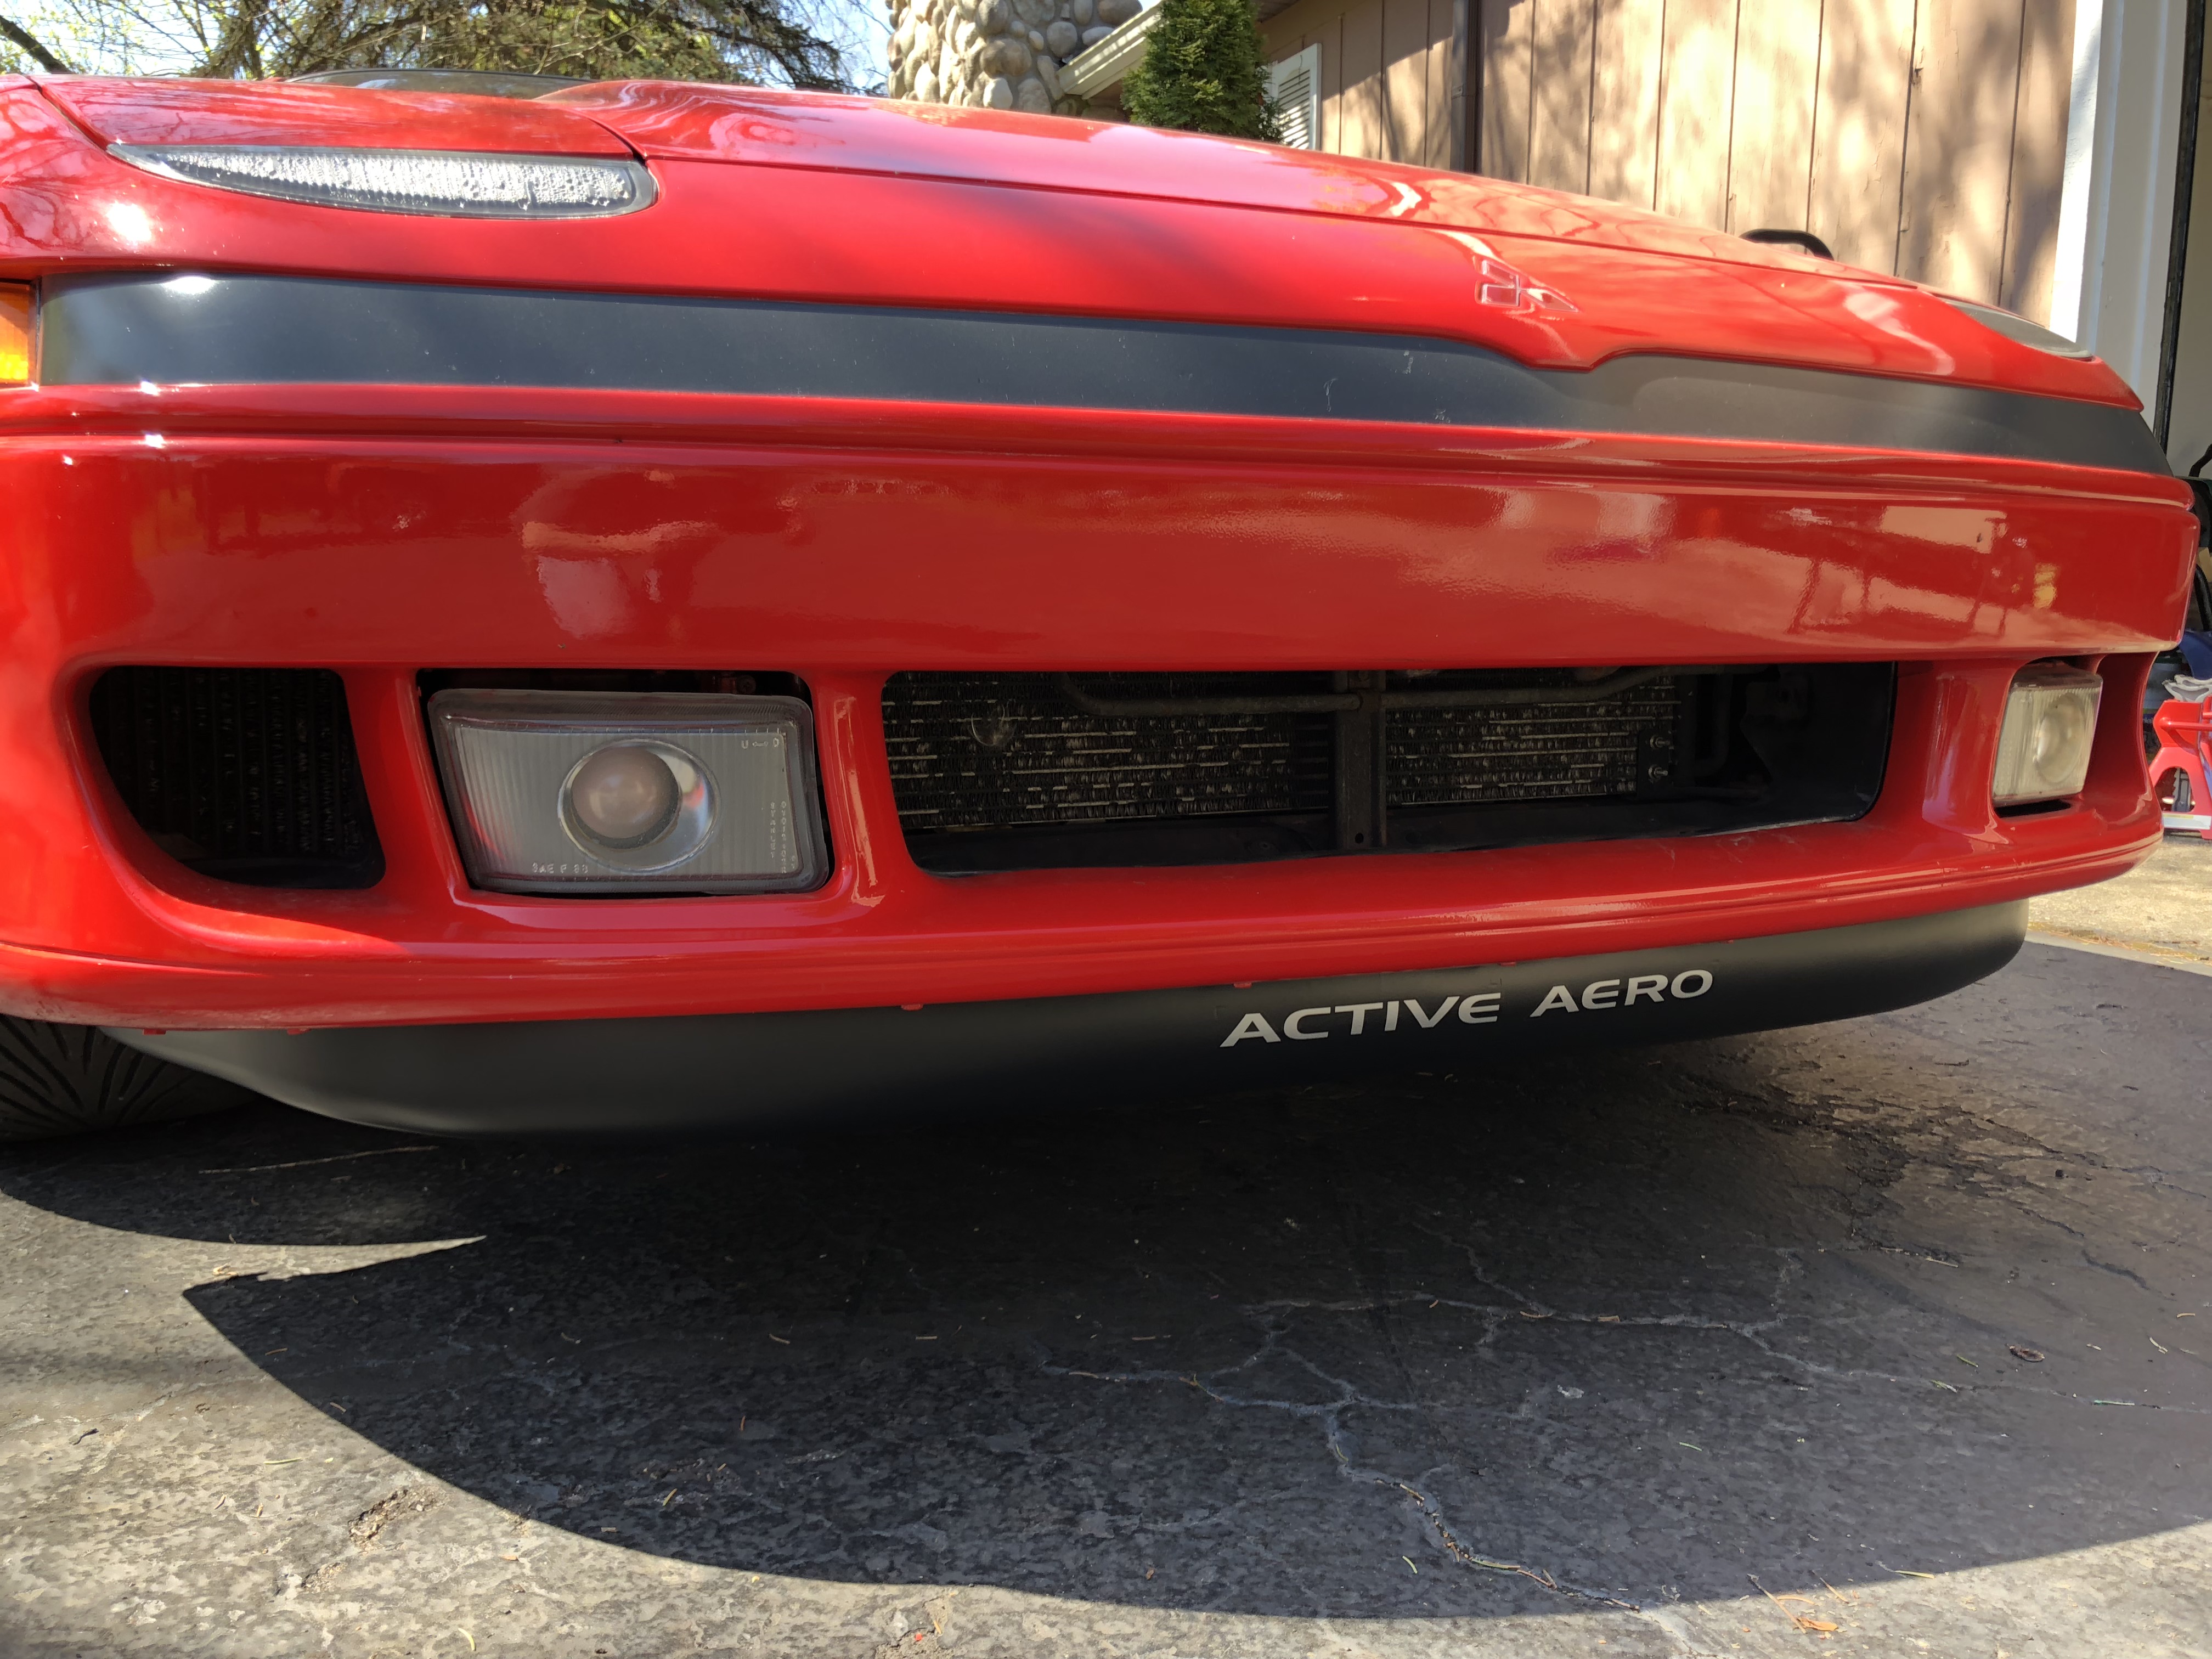

The non-OEM replica decal seems very nice. The vinyl feels thick and durable, and the adhesive is strong.
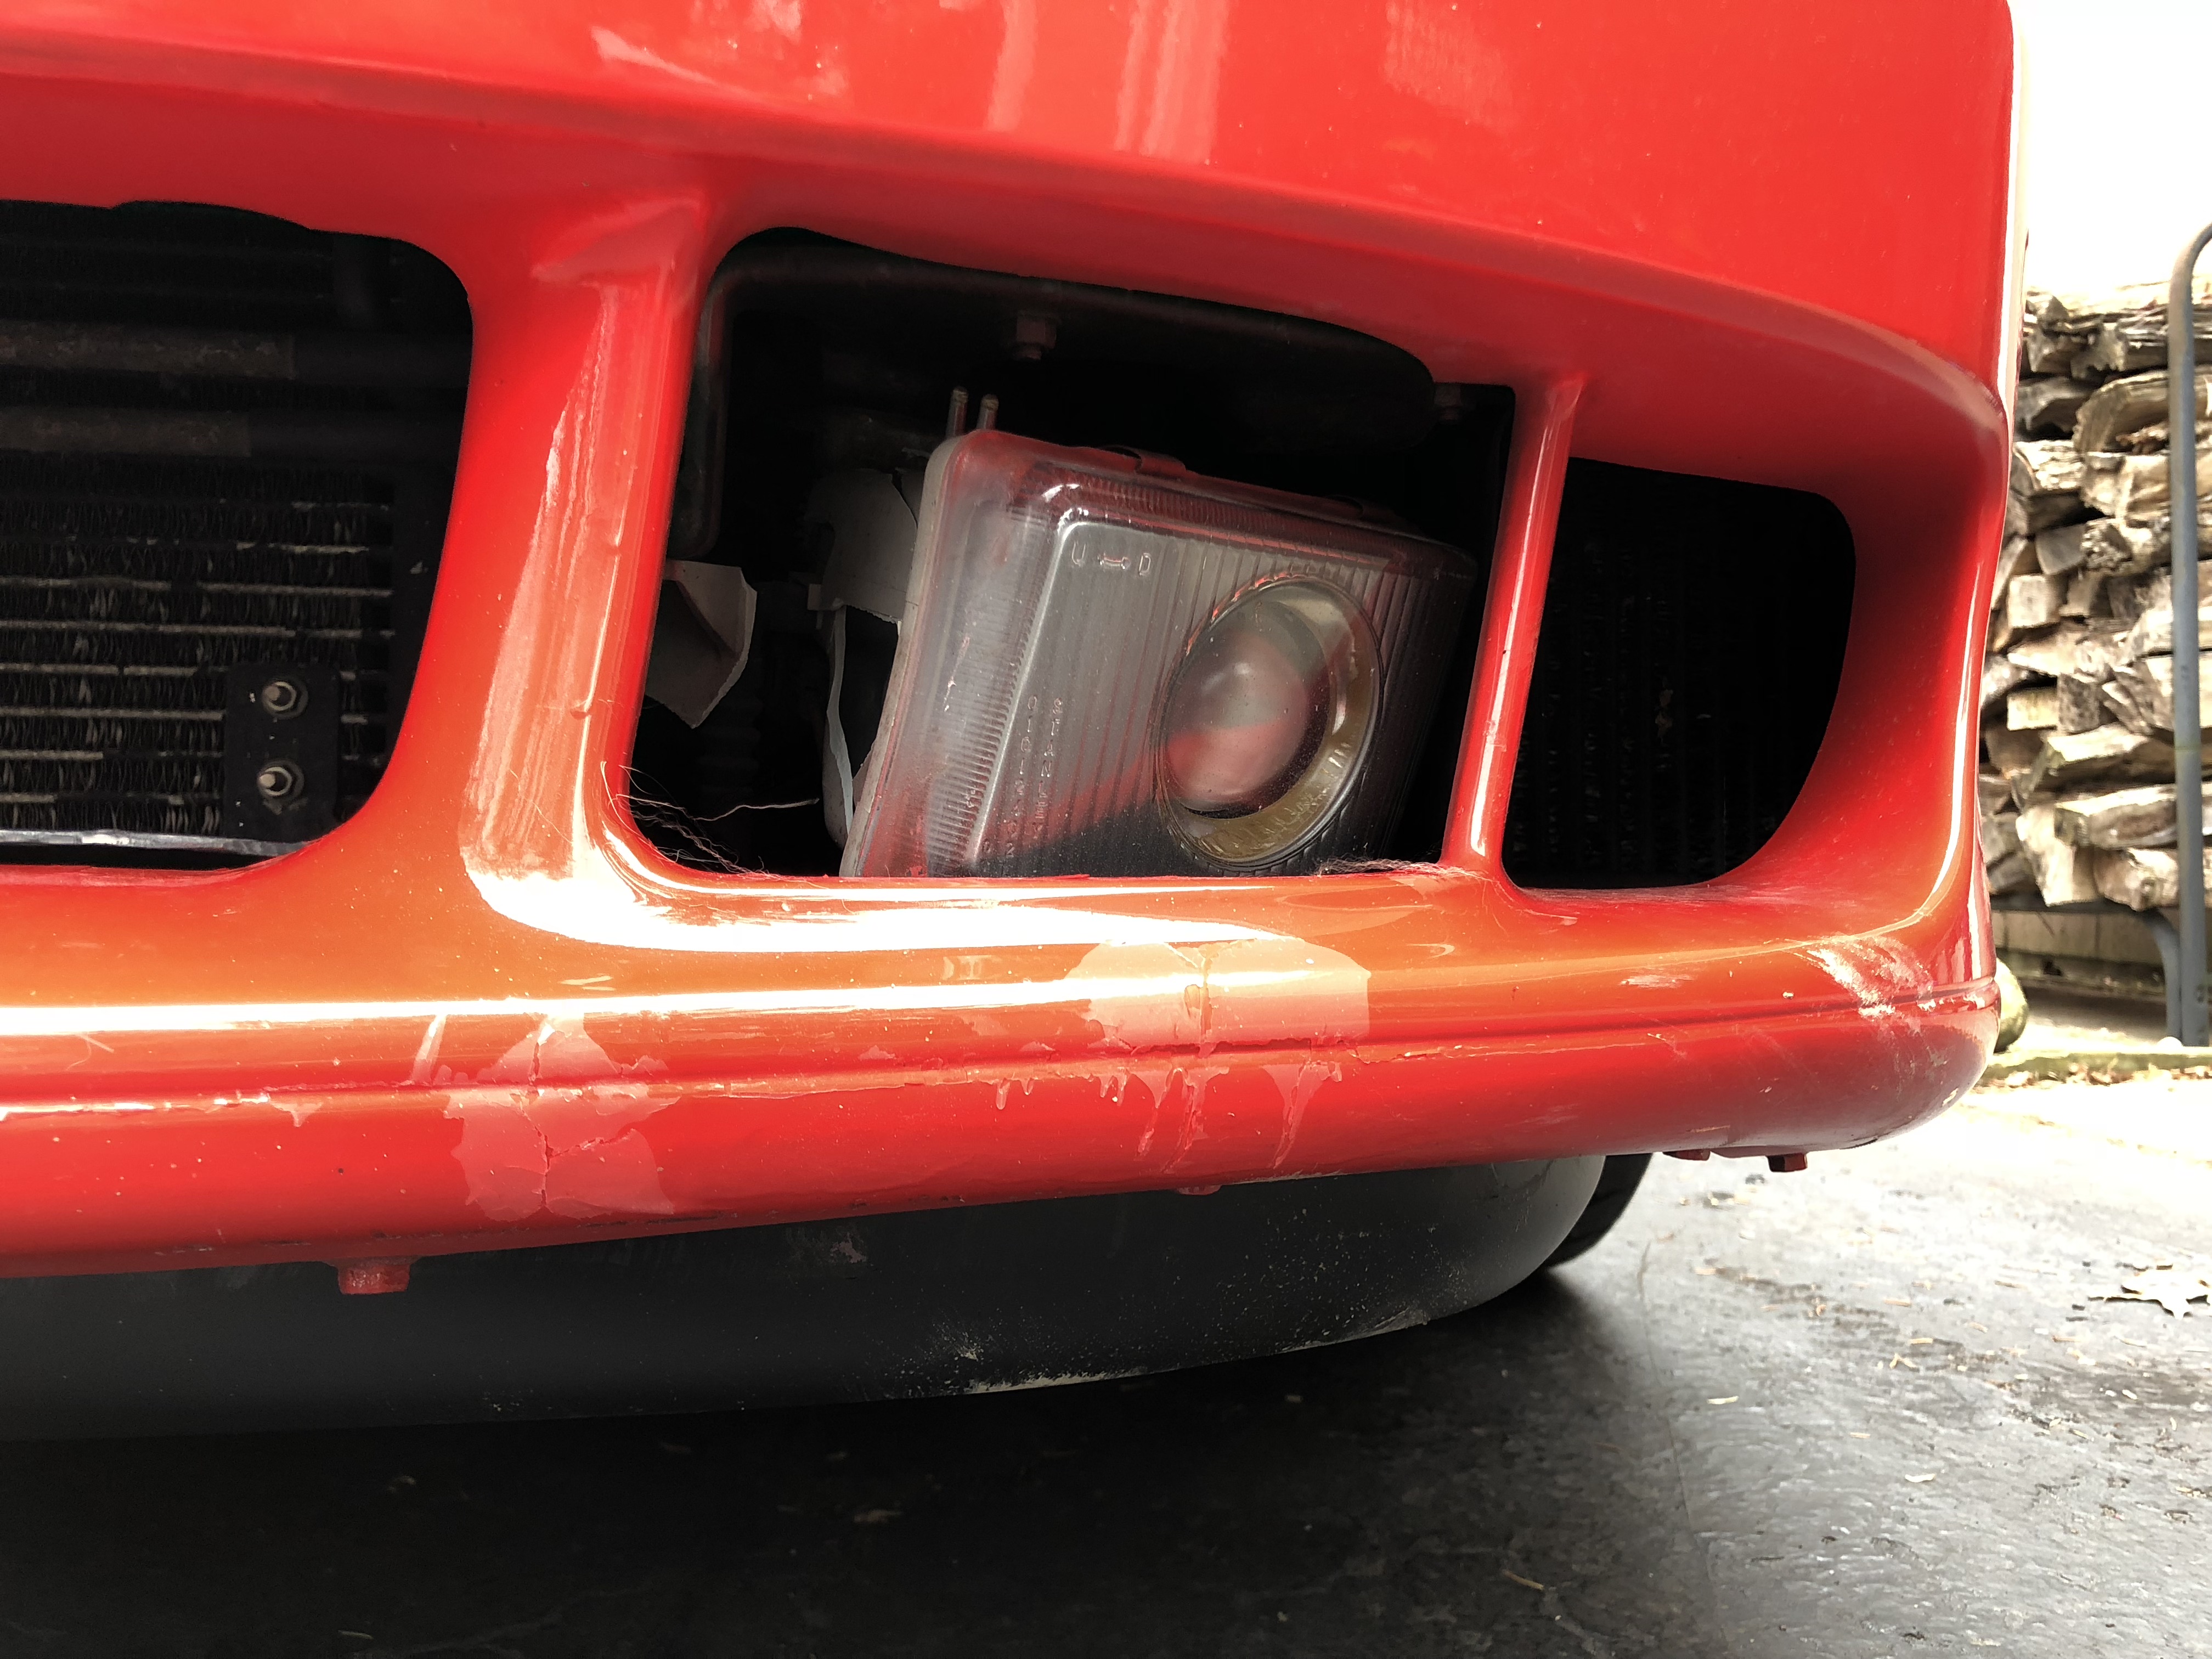
NOTE: Allow the paint to fully cure (48 hours) before re-installing the panel or applying the decal. Also confirm that the panel will not scrape against the lower edge of the bumper when deploying/retracting. You may need to bend the metal reinforcement around the bottom edge of the bumper to create clearance if yours is deformed from past impacts with curbs or animals.
I specifically chose NOT to try sanding/smoothing any of the scrapes on the tray. They are all underneath the car, so they are not normally visible. I was also afraid of creating larger patches of extra smooth plastic from sanding down the normal texture of the plastic. Even without trying to repair the scratches, they are still much less visible with the new paint job.

 .
.

 .
.