After watching so many videos on YouTube abt restoration of the 90s JDM and I always wanted to restore and rebuilt one.
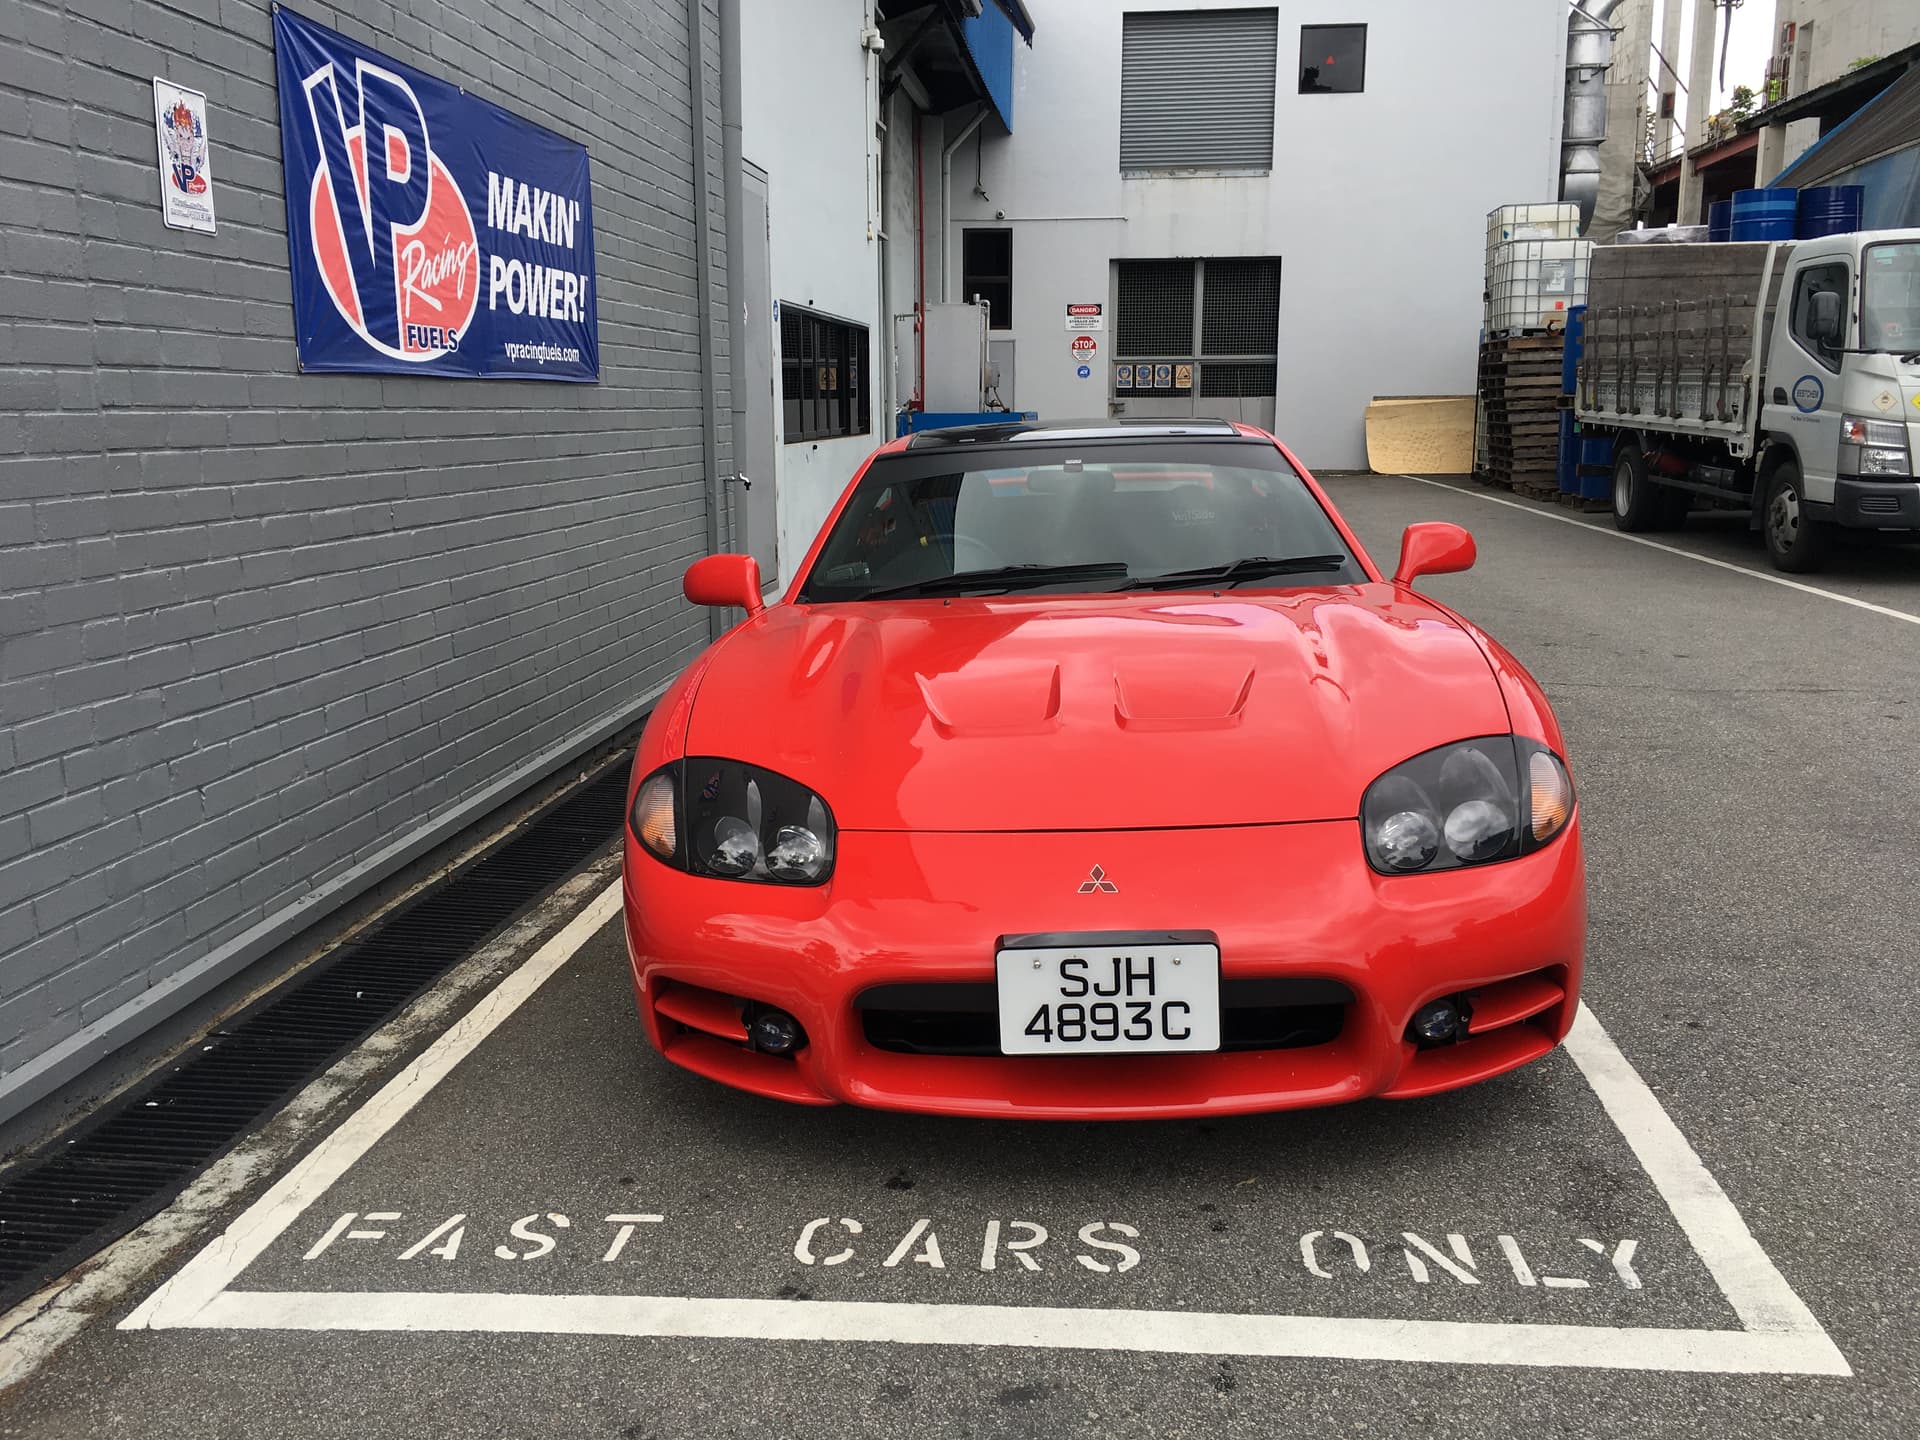
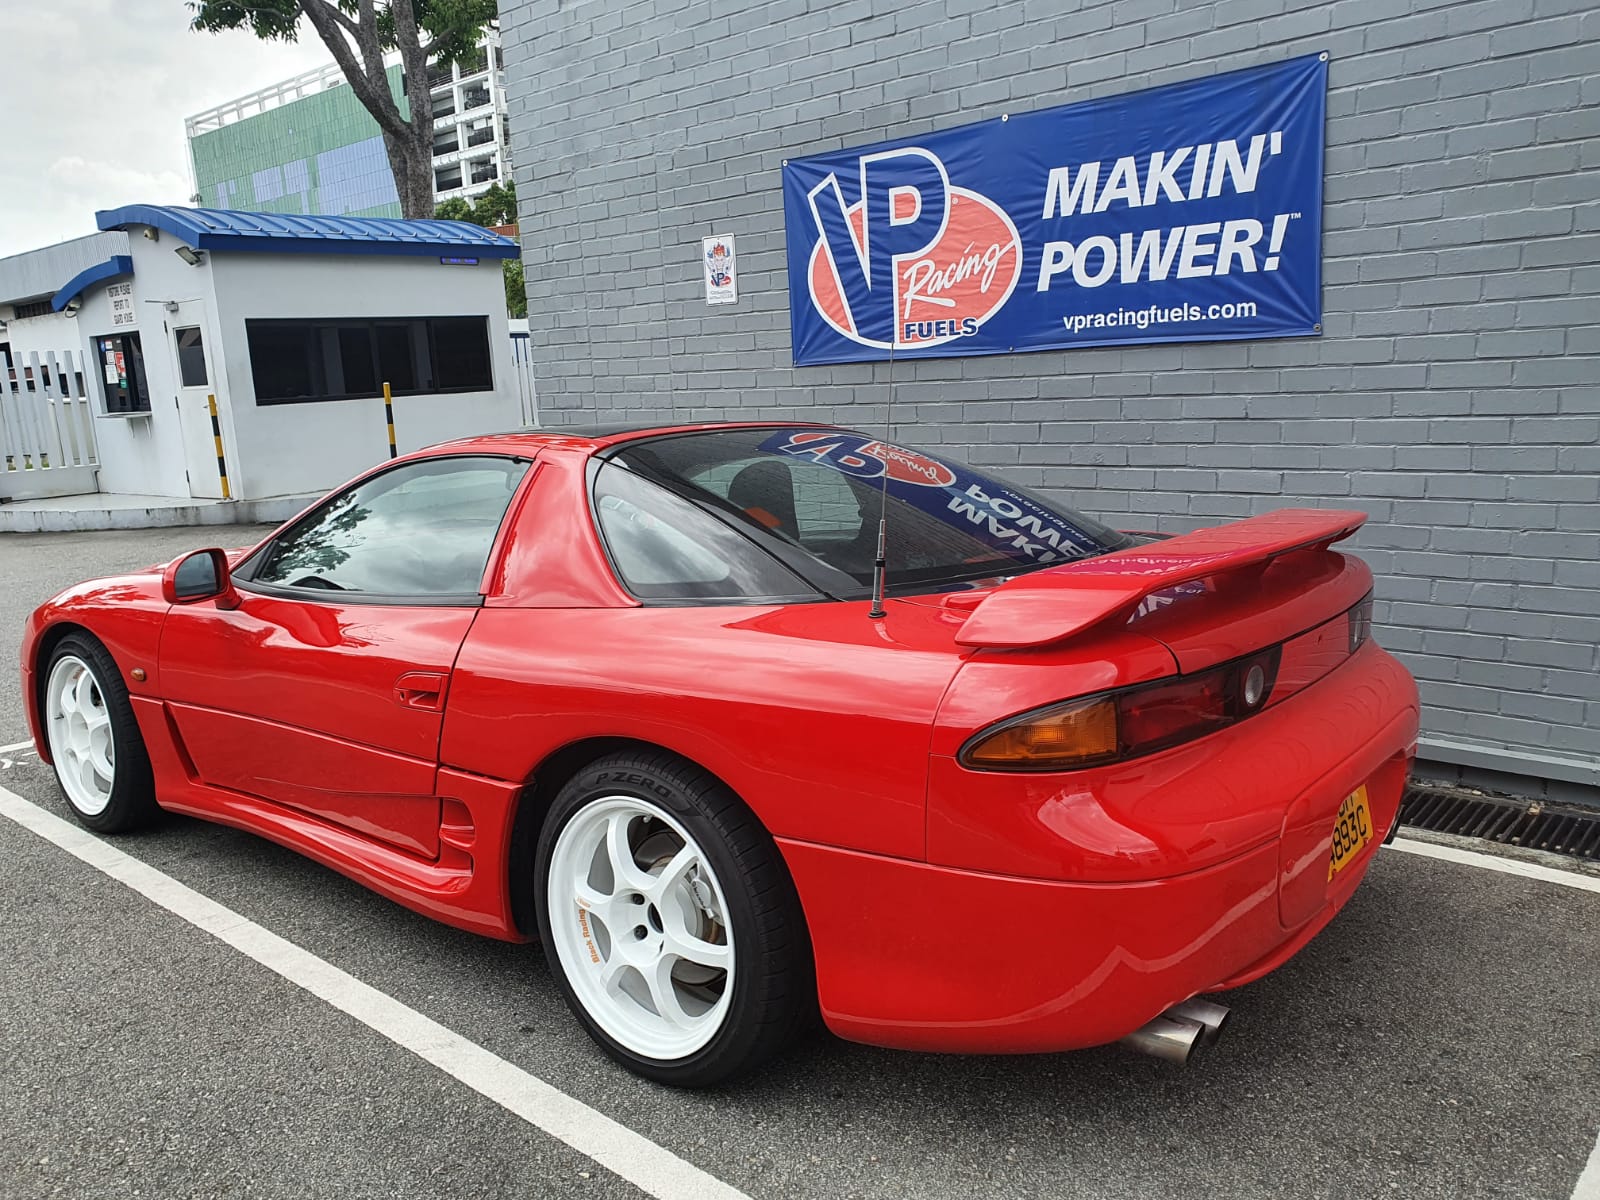
After 2 years of searching in my country, I manage to find a decent 3000GT twin turbo manual for $60k SGD. No I did not type wrongly, I paid $60,000 Singapore dollars (about USD$43,000) for the 3000GT I bought 2 weeks ago. Cars are very expensive over my side.
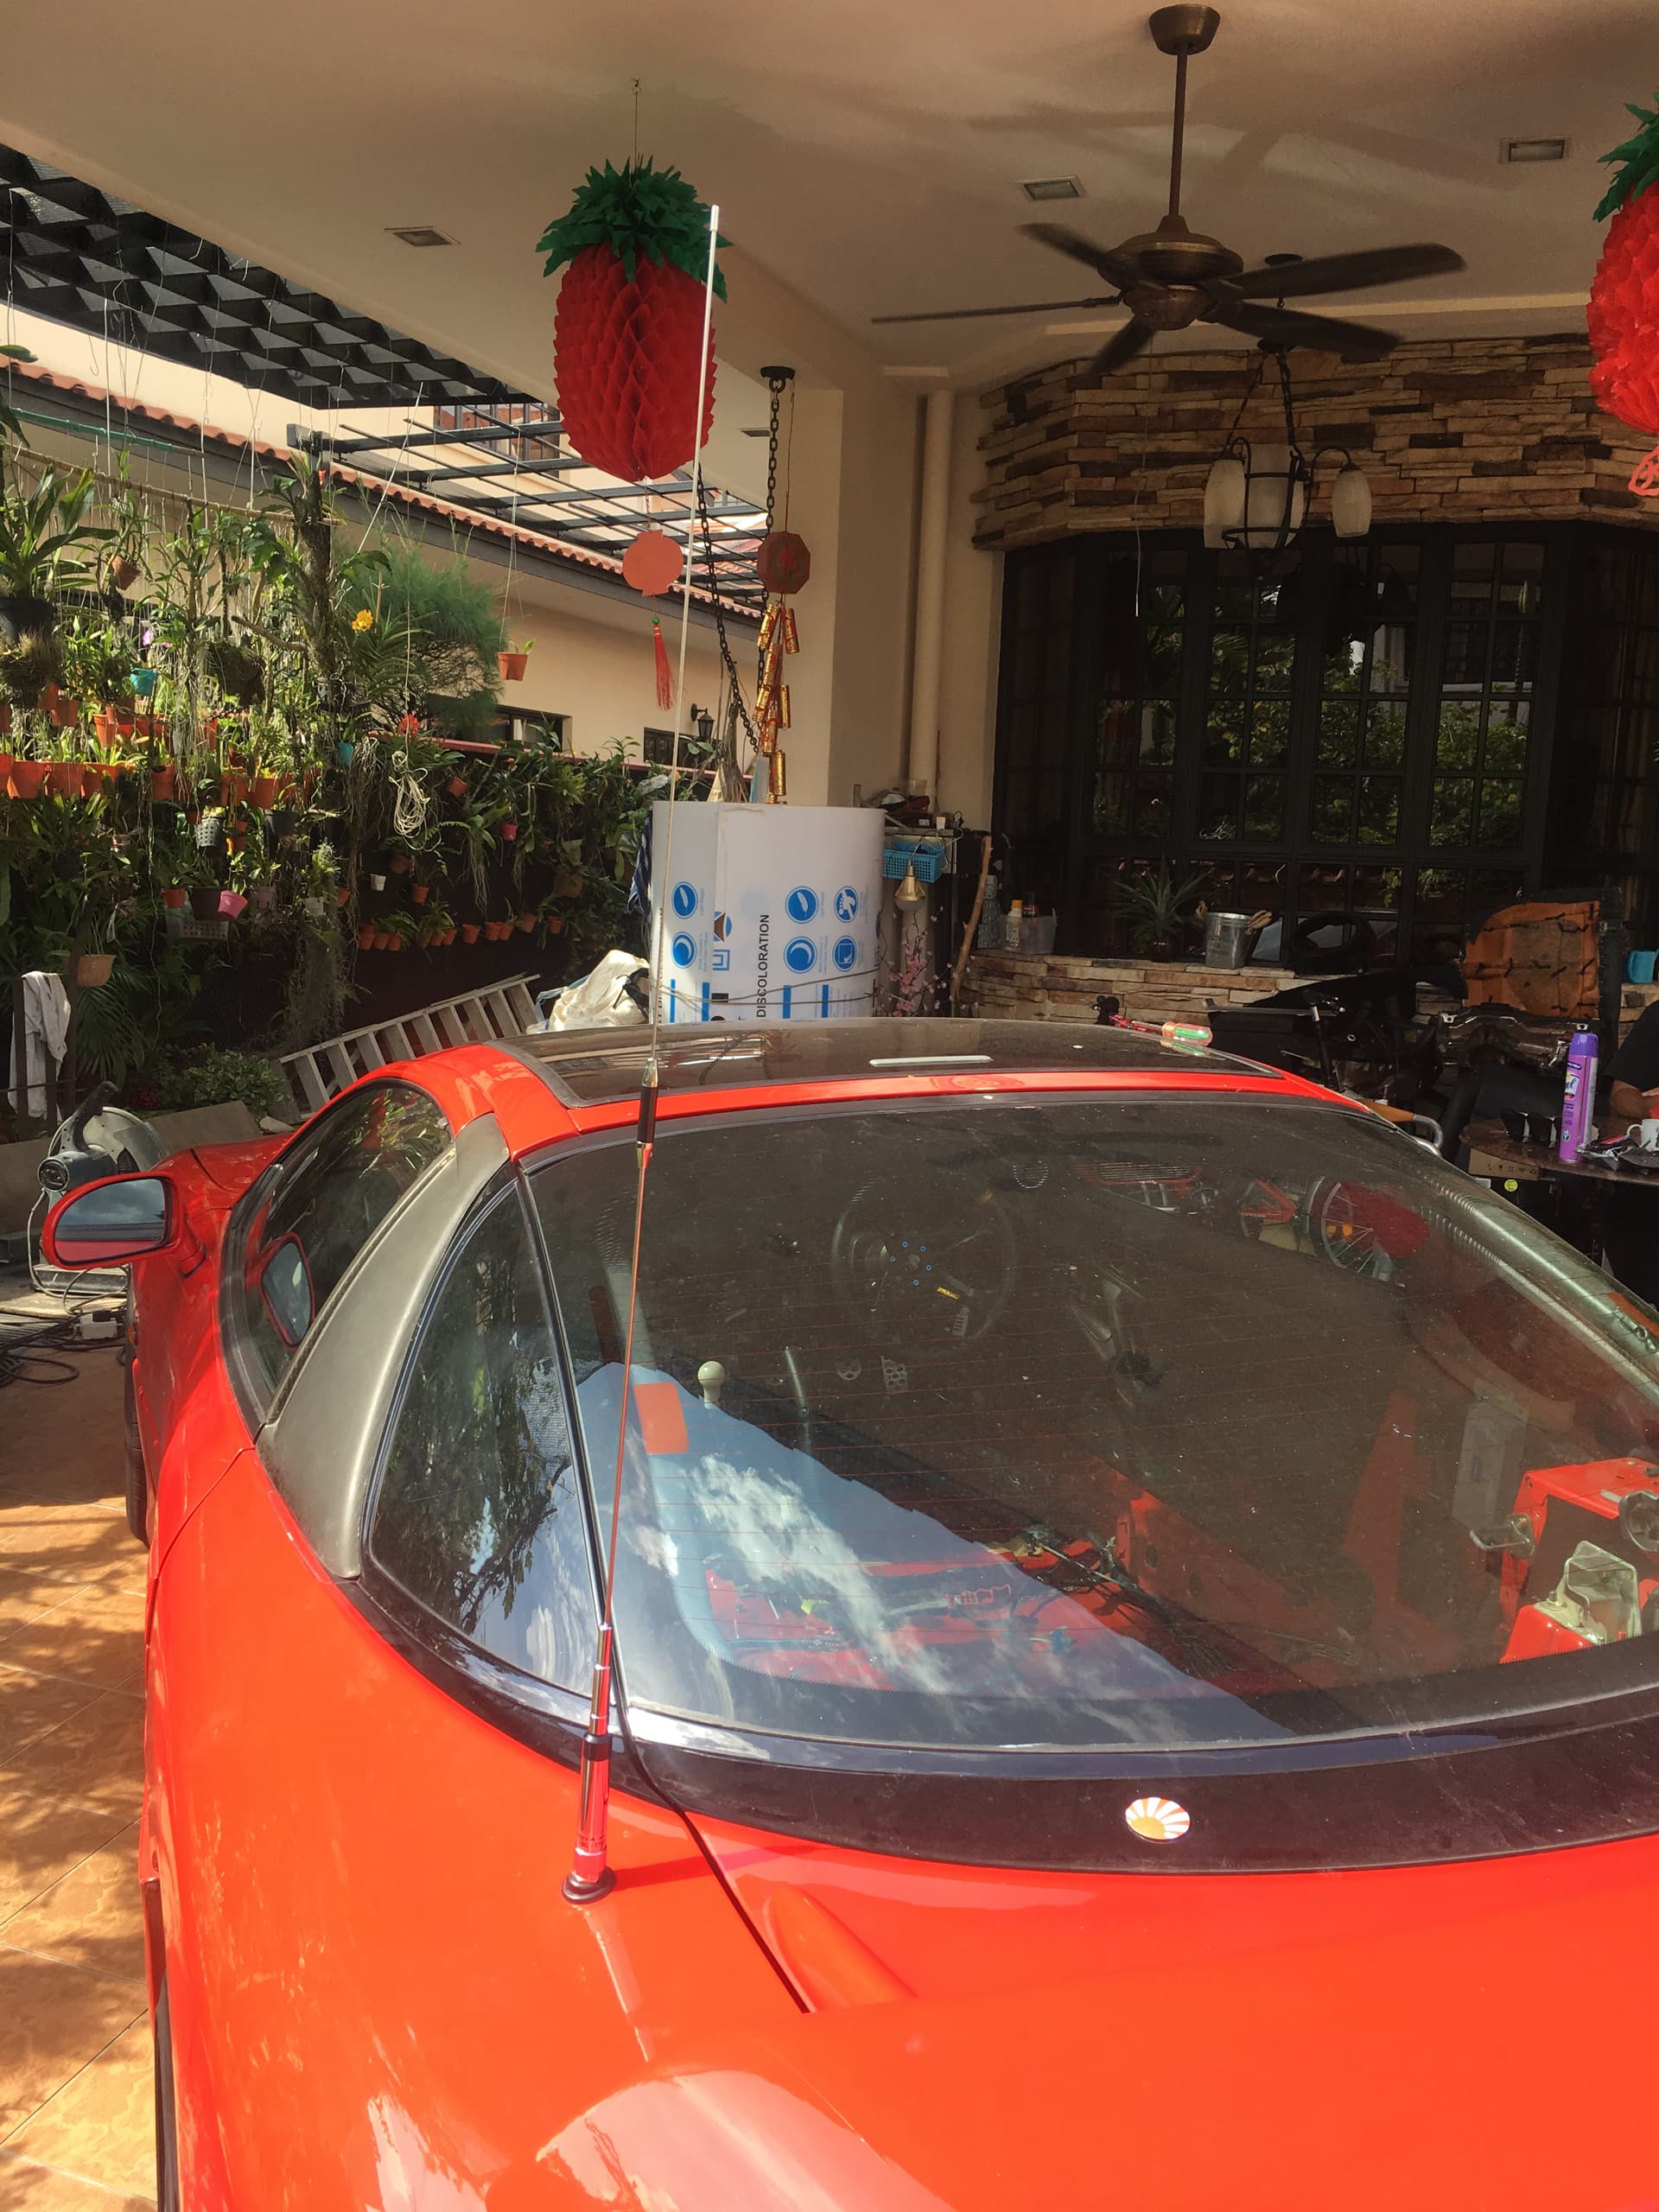
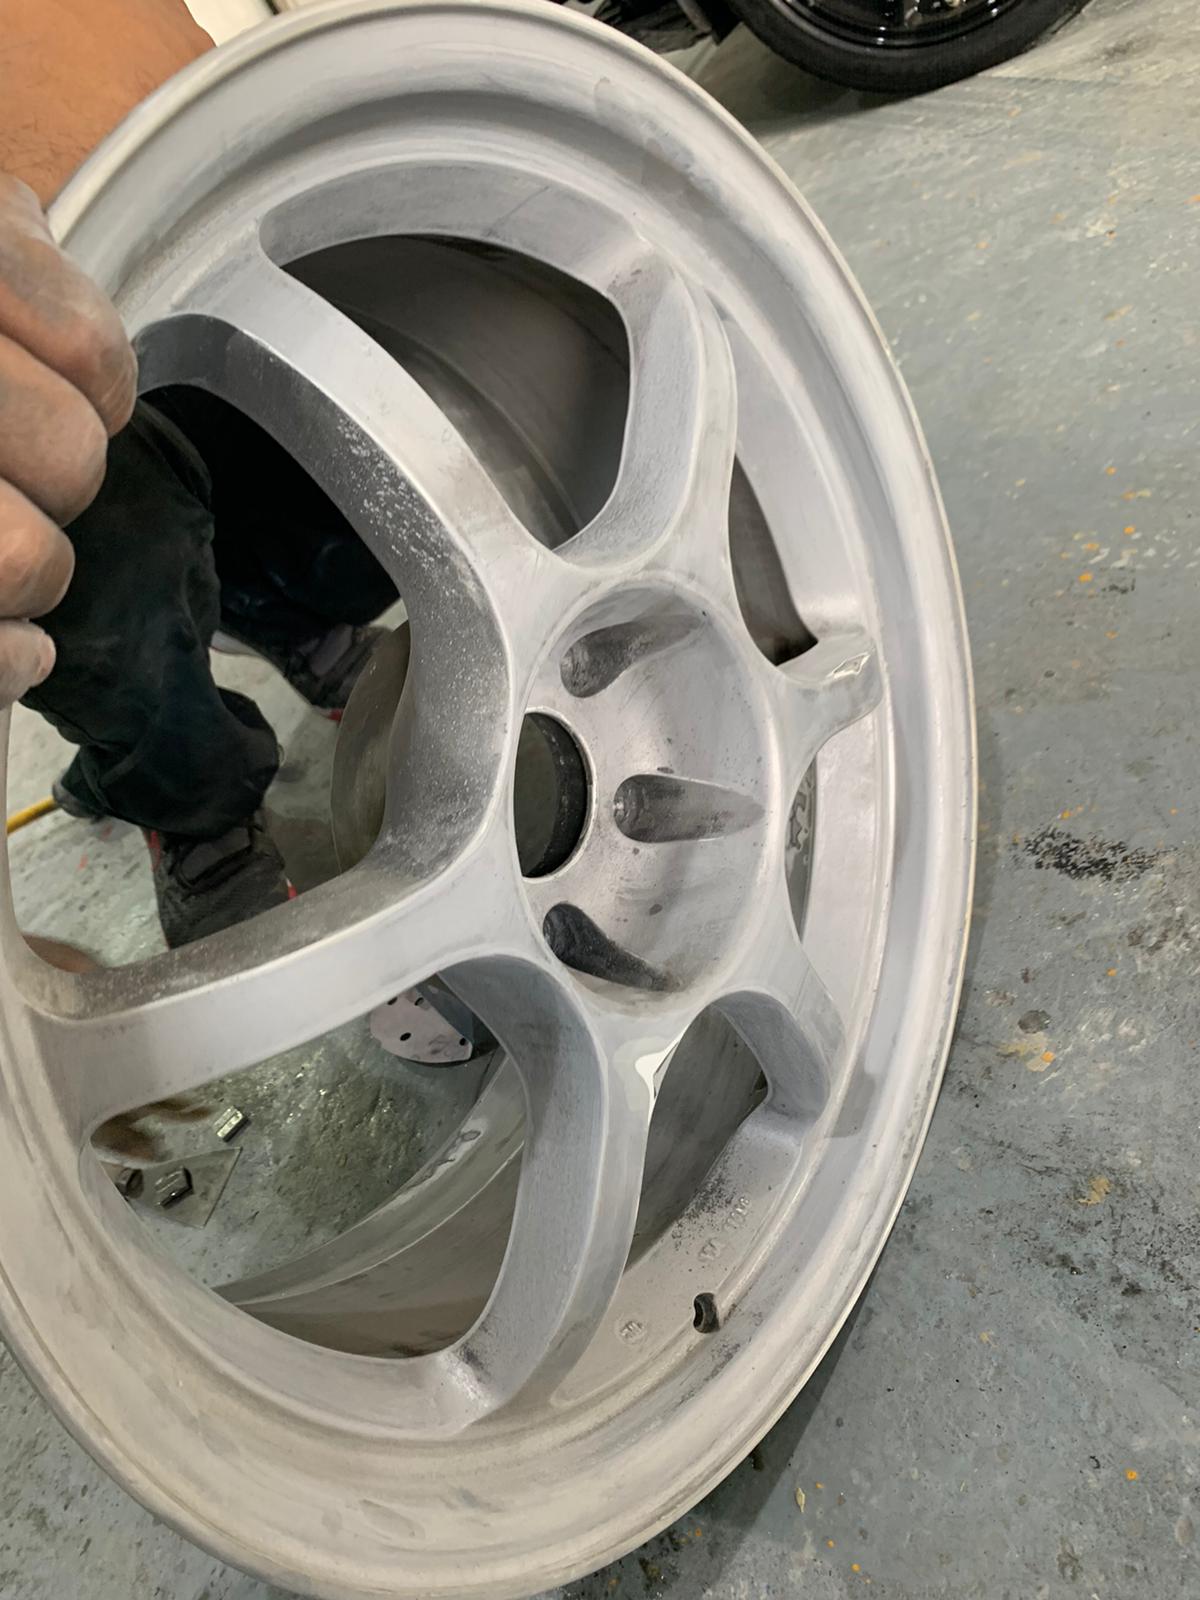
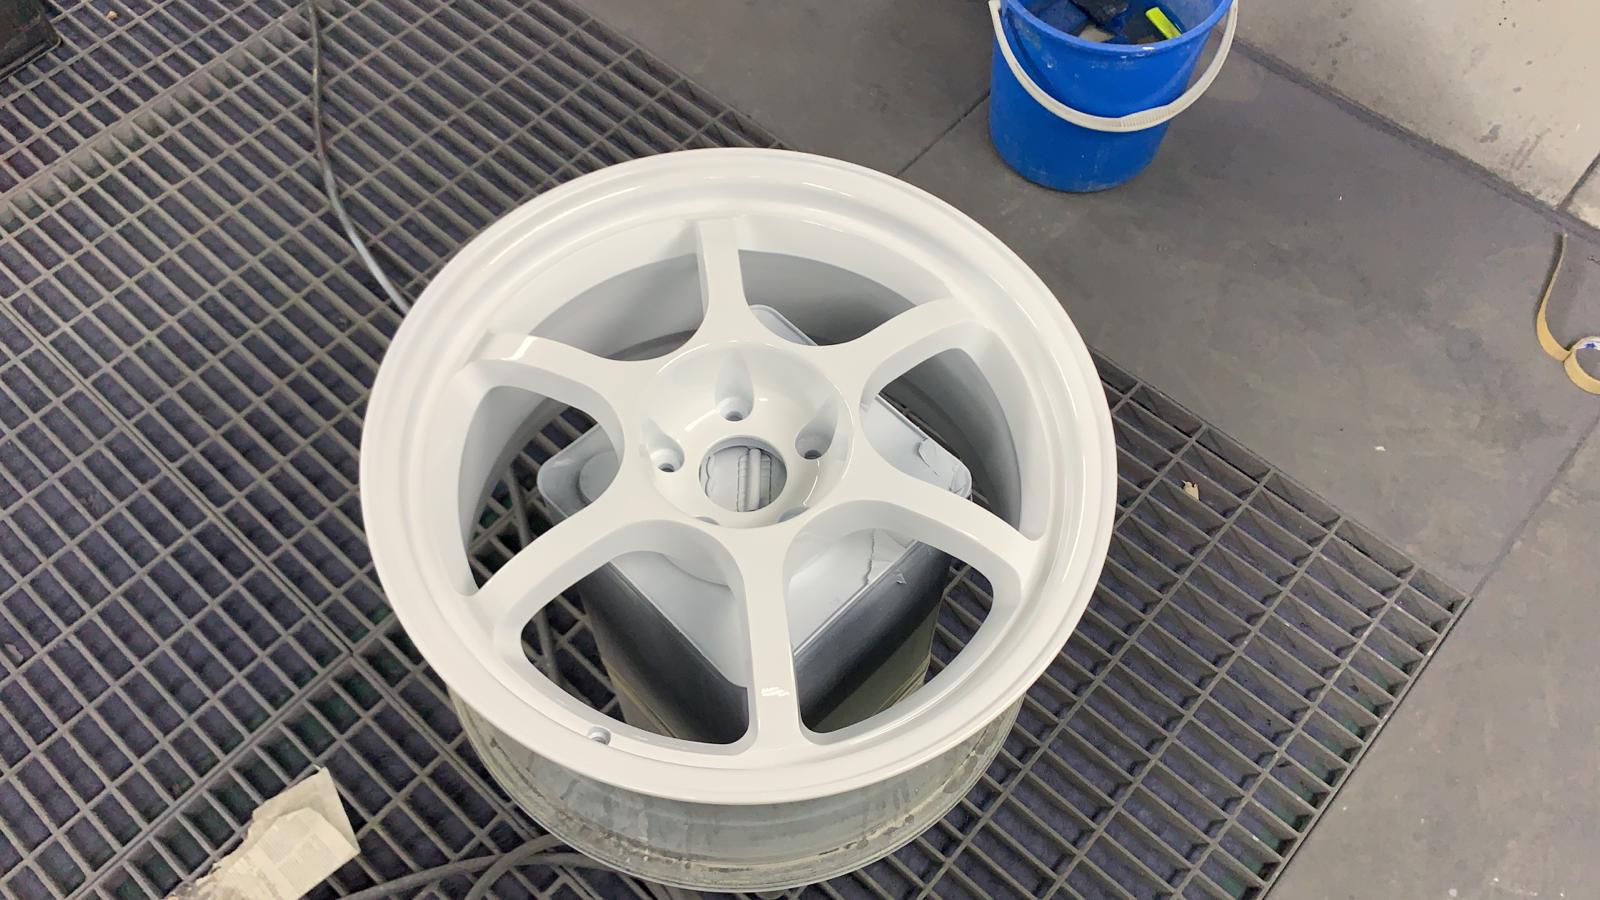
Ever since I collected the car 2 weeks ago, I’ve been following Joe’s video and watching almost every video I can find to aid my restoration. Some of the pictures on the restoration process. I bet I’m gonna take about 12mths at least to finish up this restoration
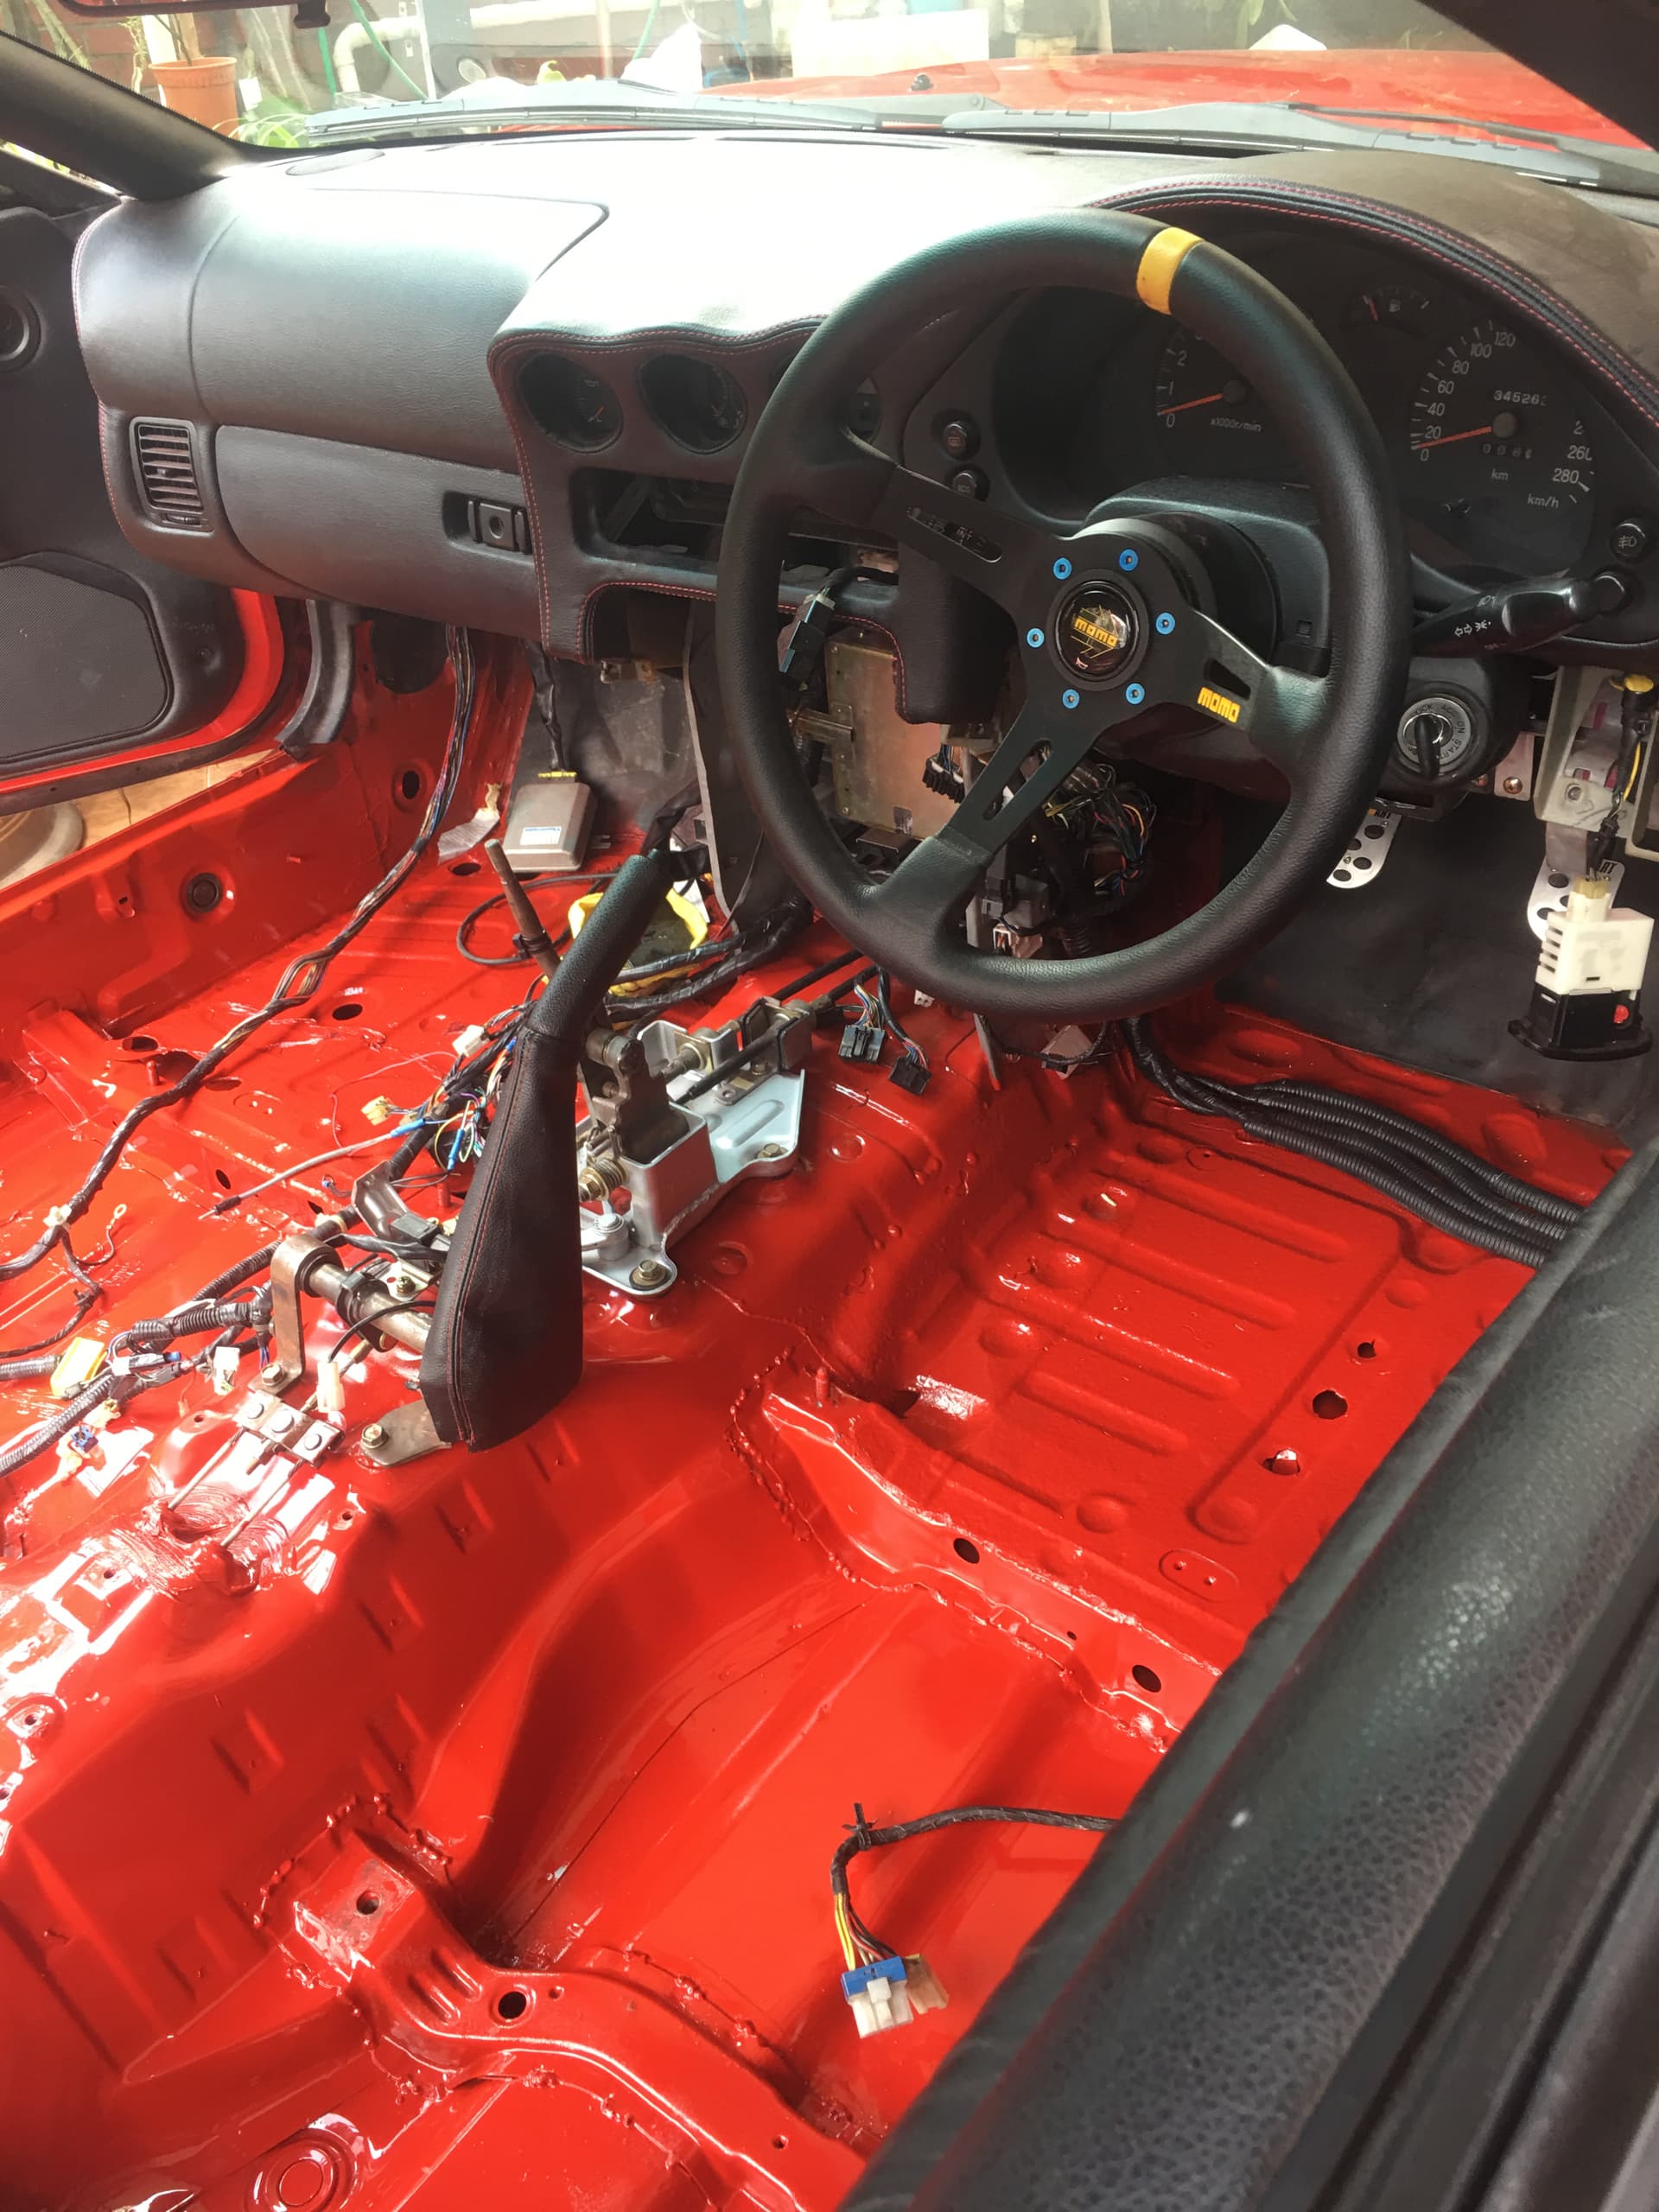
The shift boot and shift knob is totally gone for mine. So I sew a new shift boot and ordered a New knob.
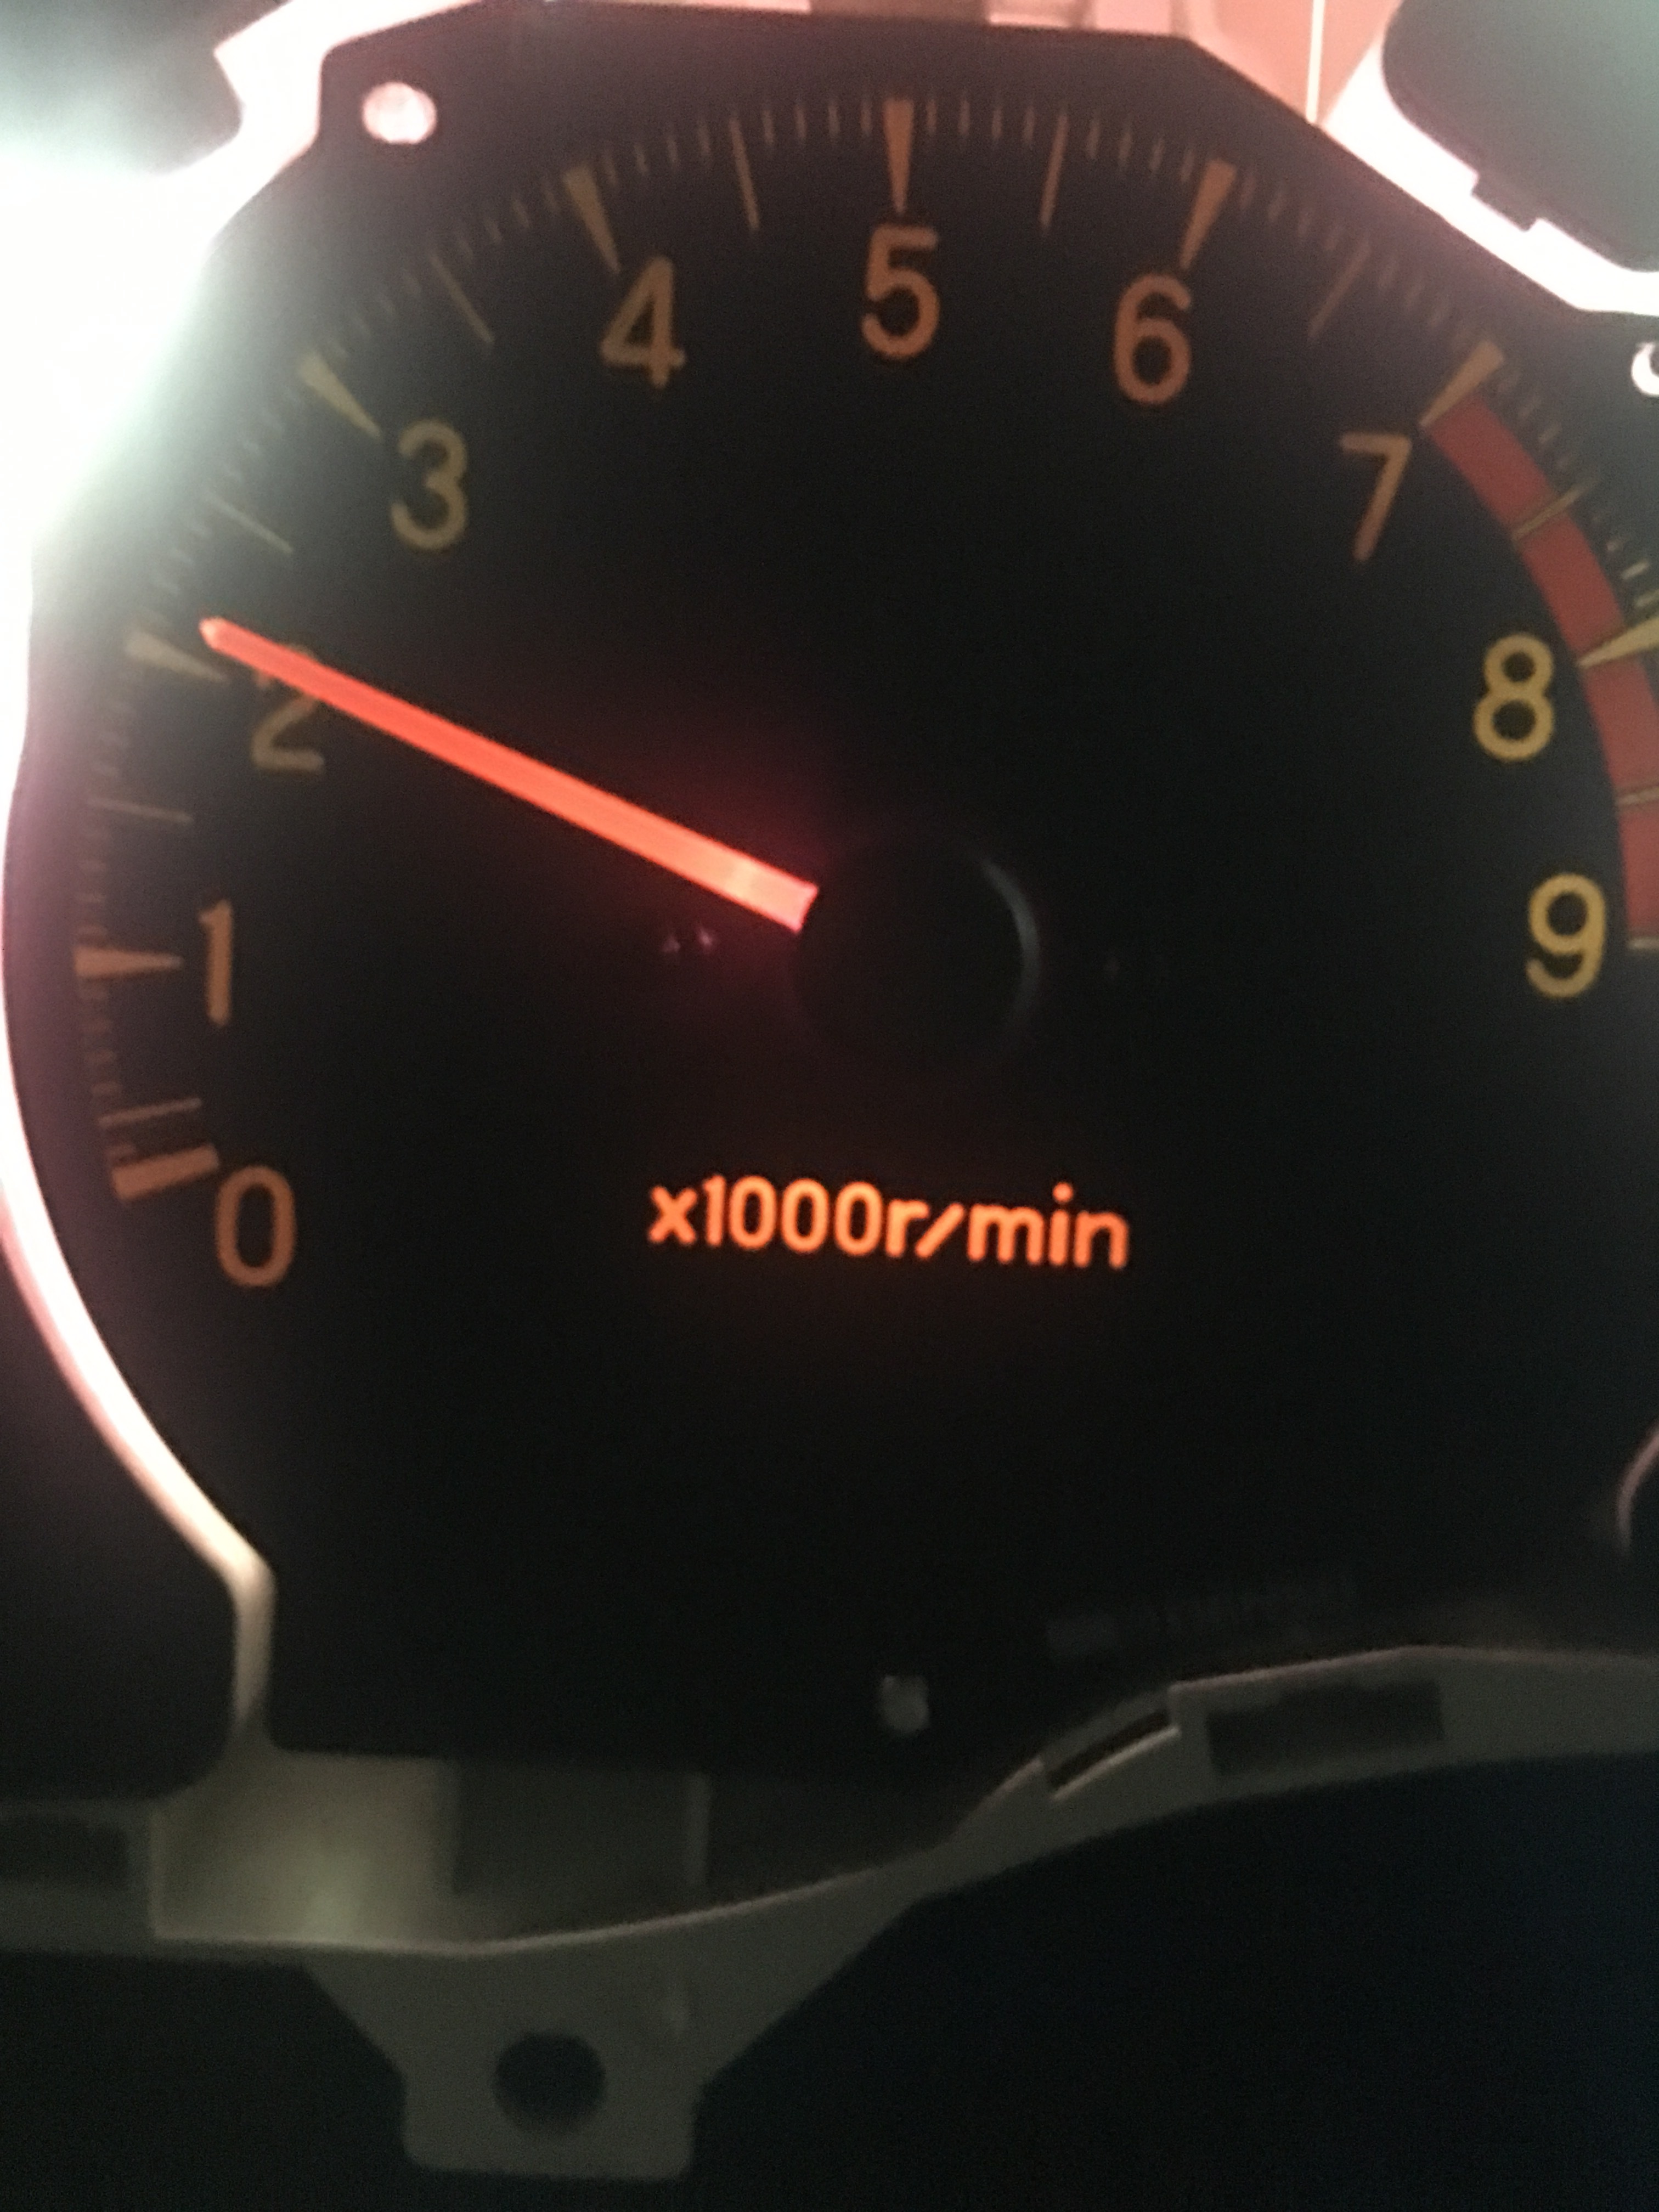
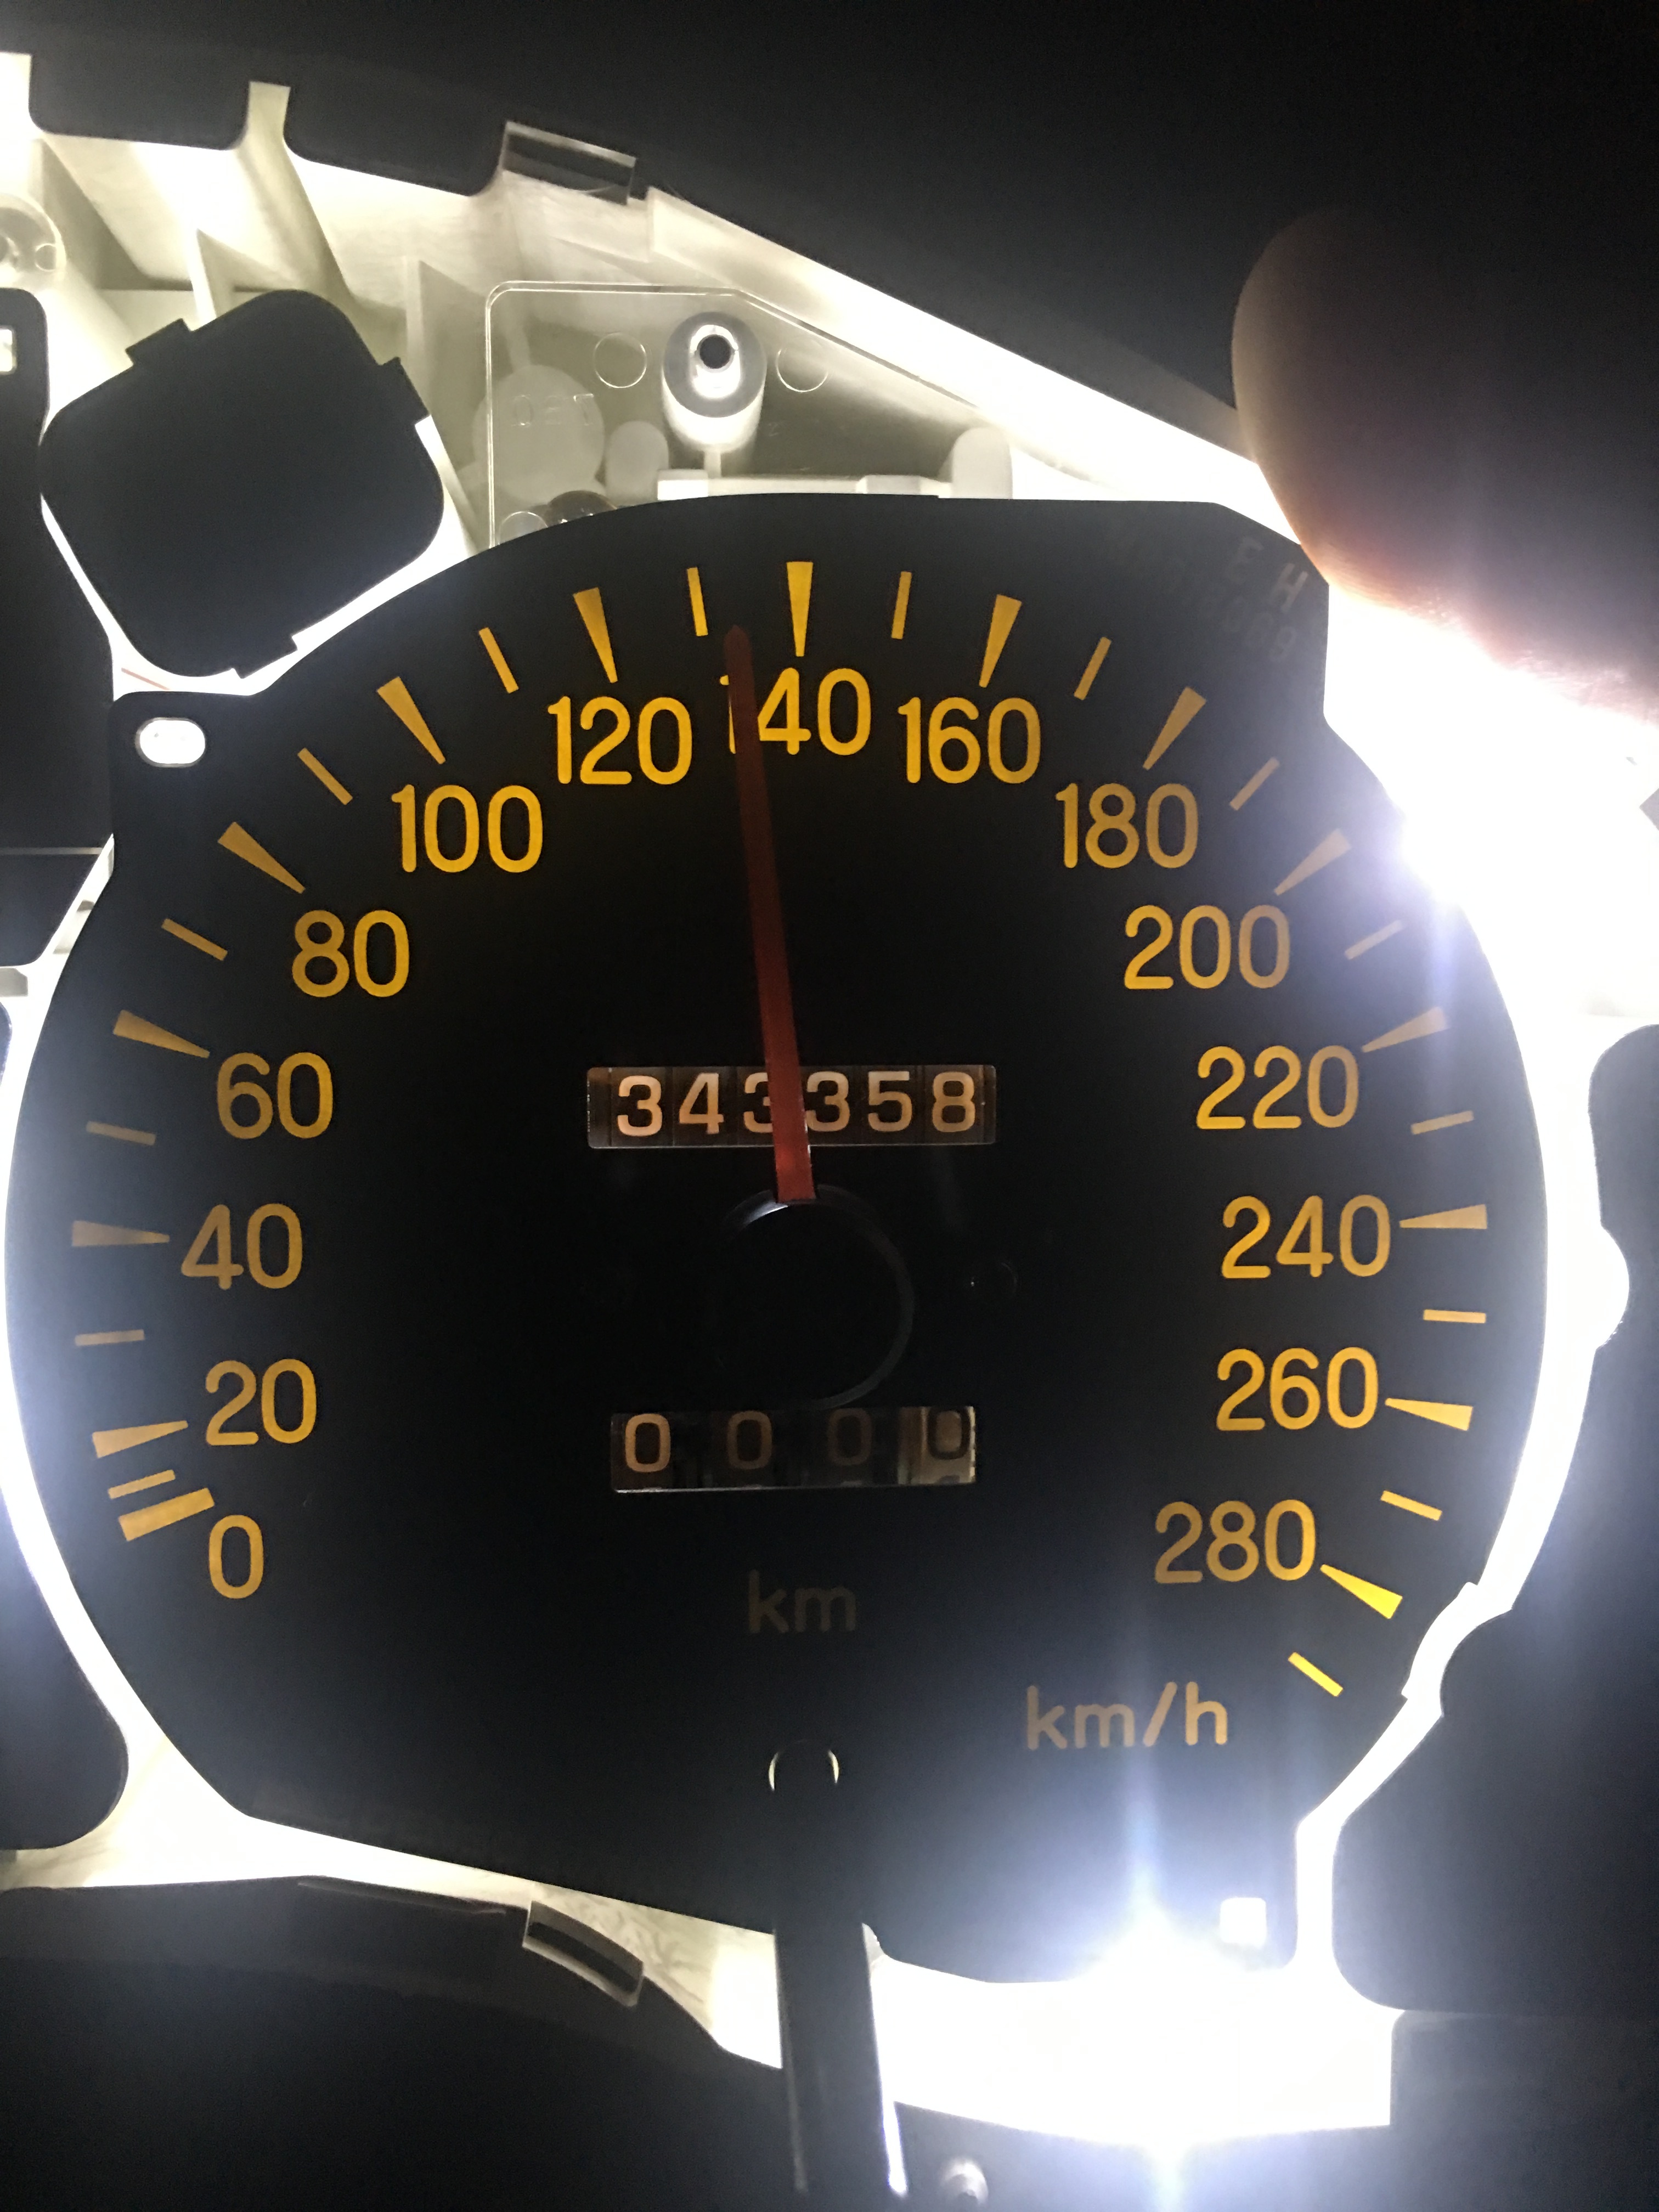
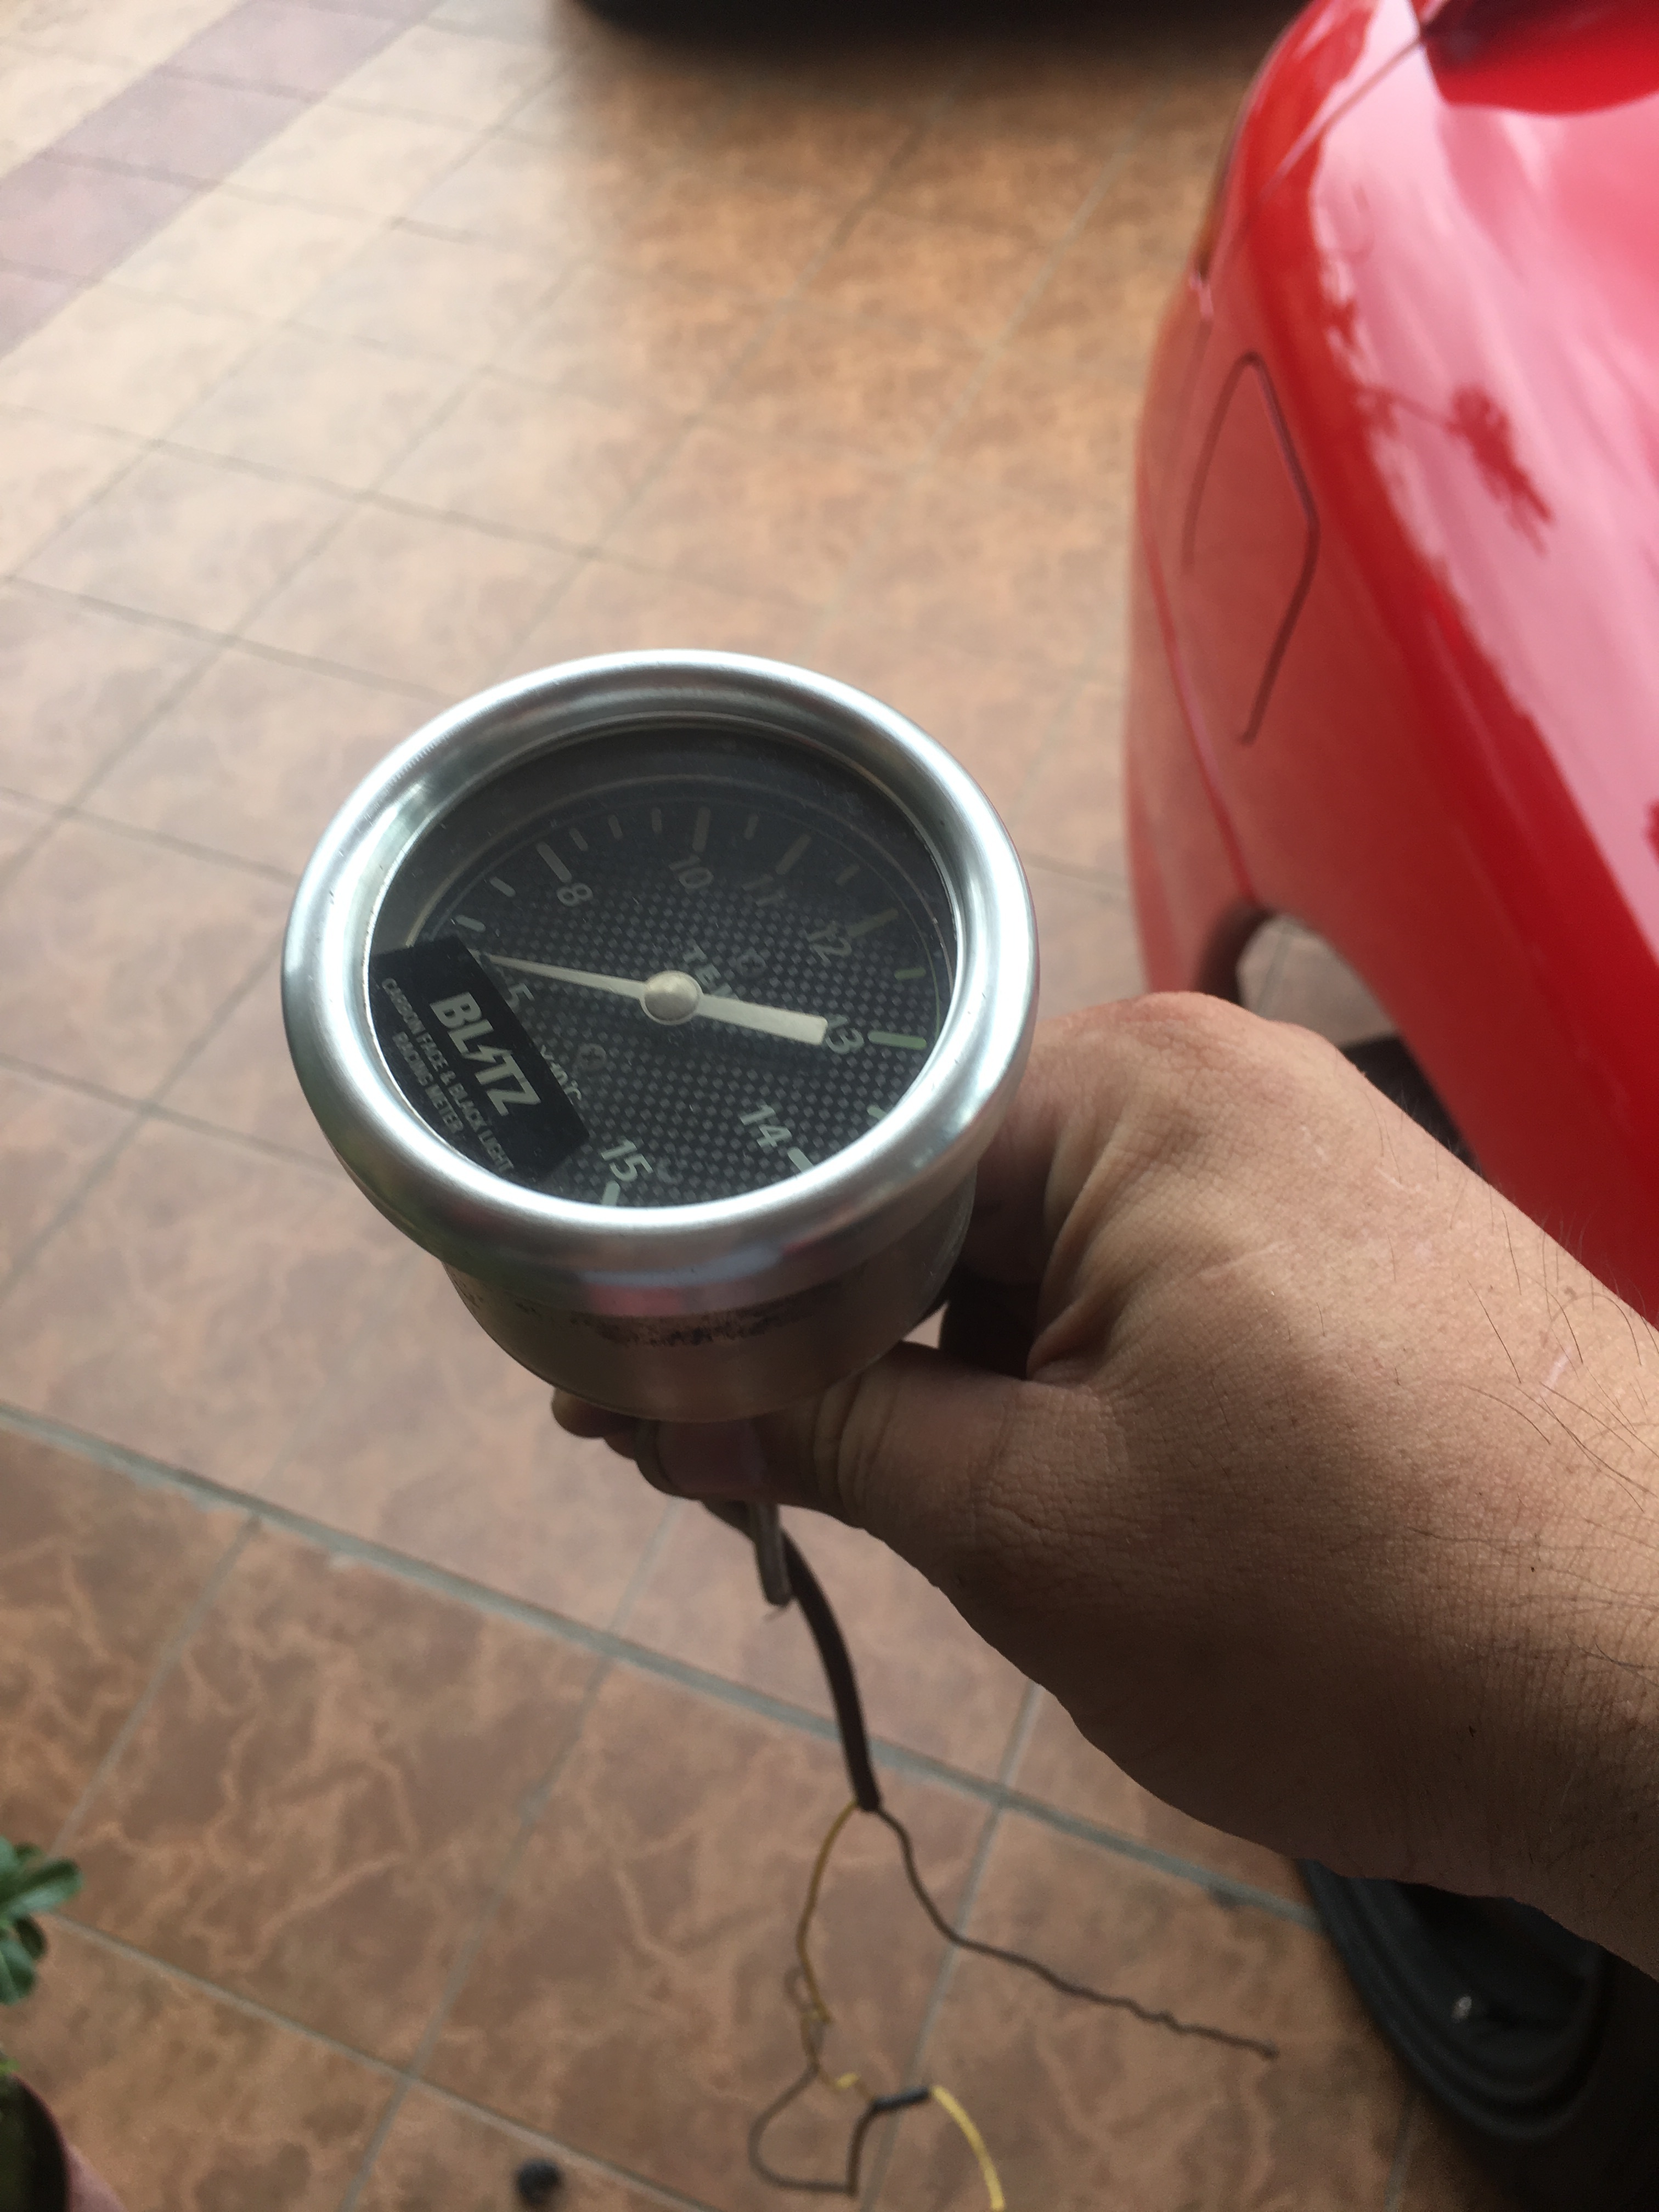
And of cos since the instrument cluster is out, I just wanna brighten up the cluster a fair bit. So i wires in some white LED and my own customise needle glow kit.
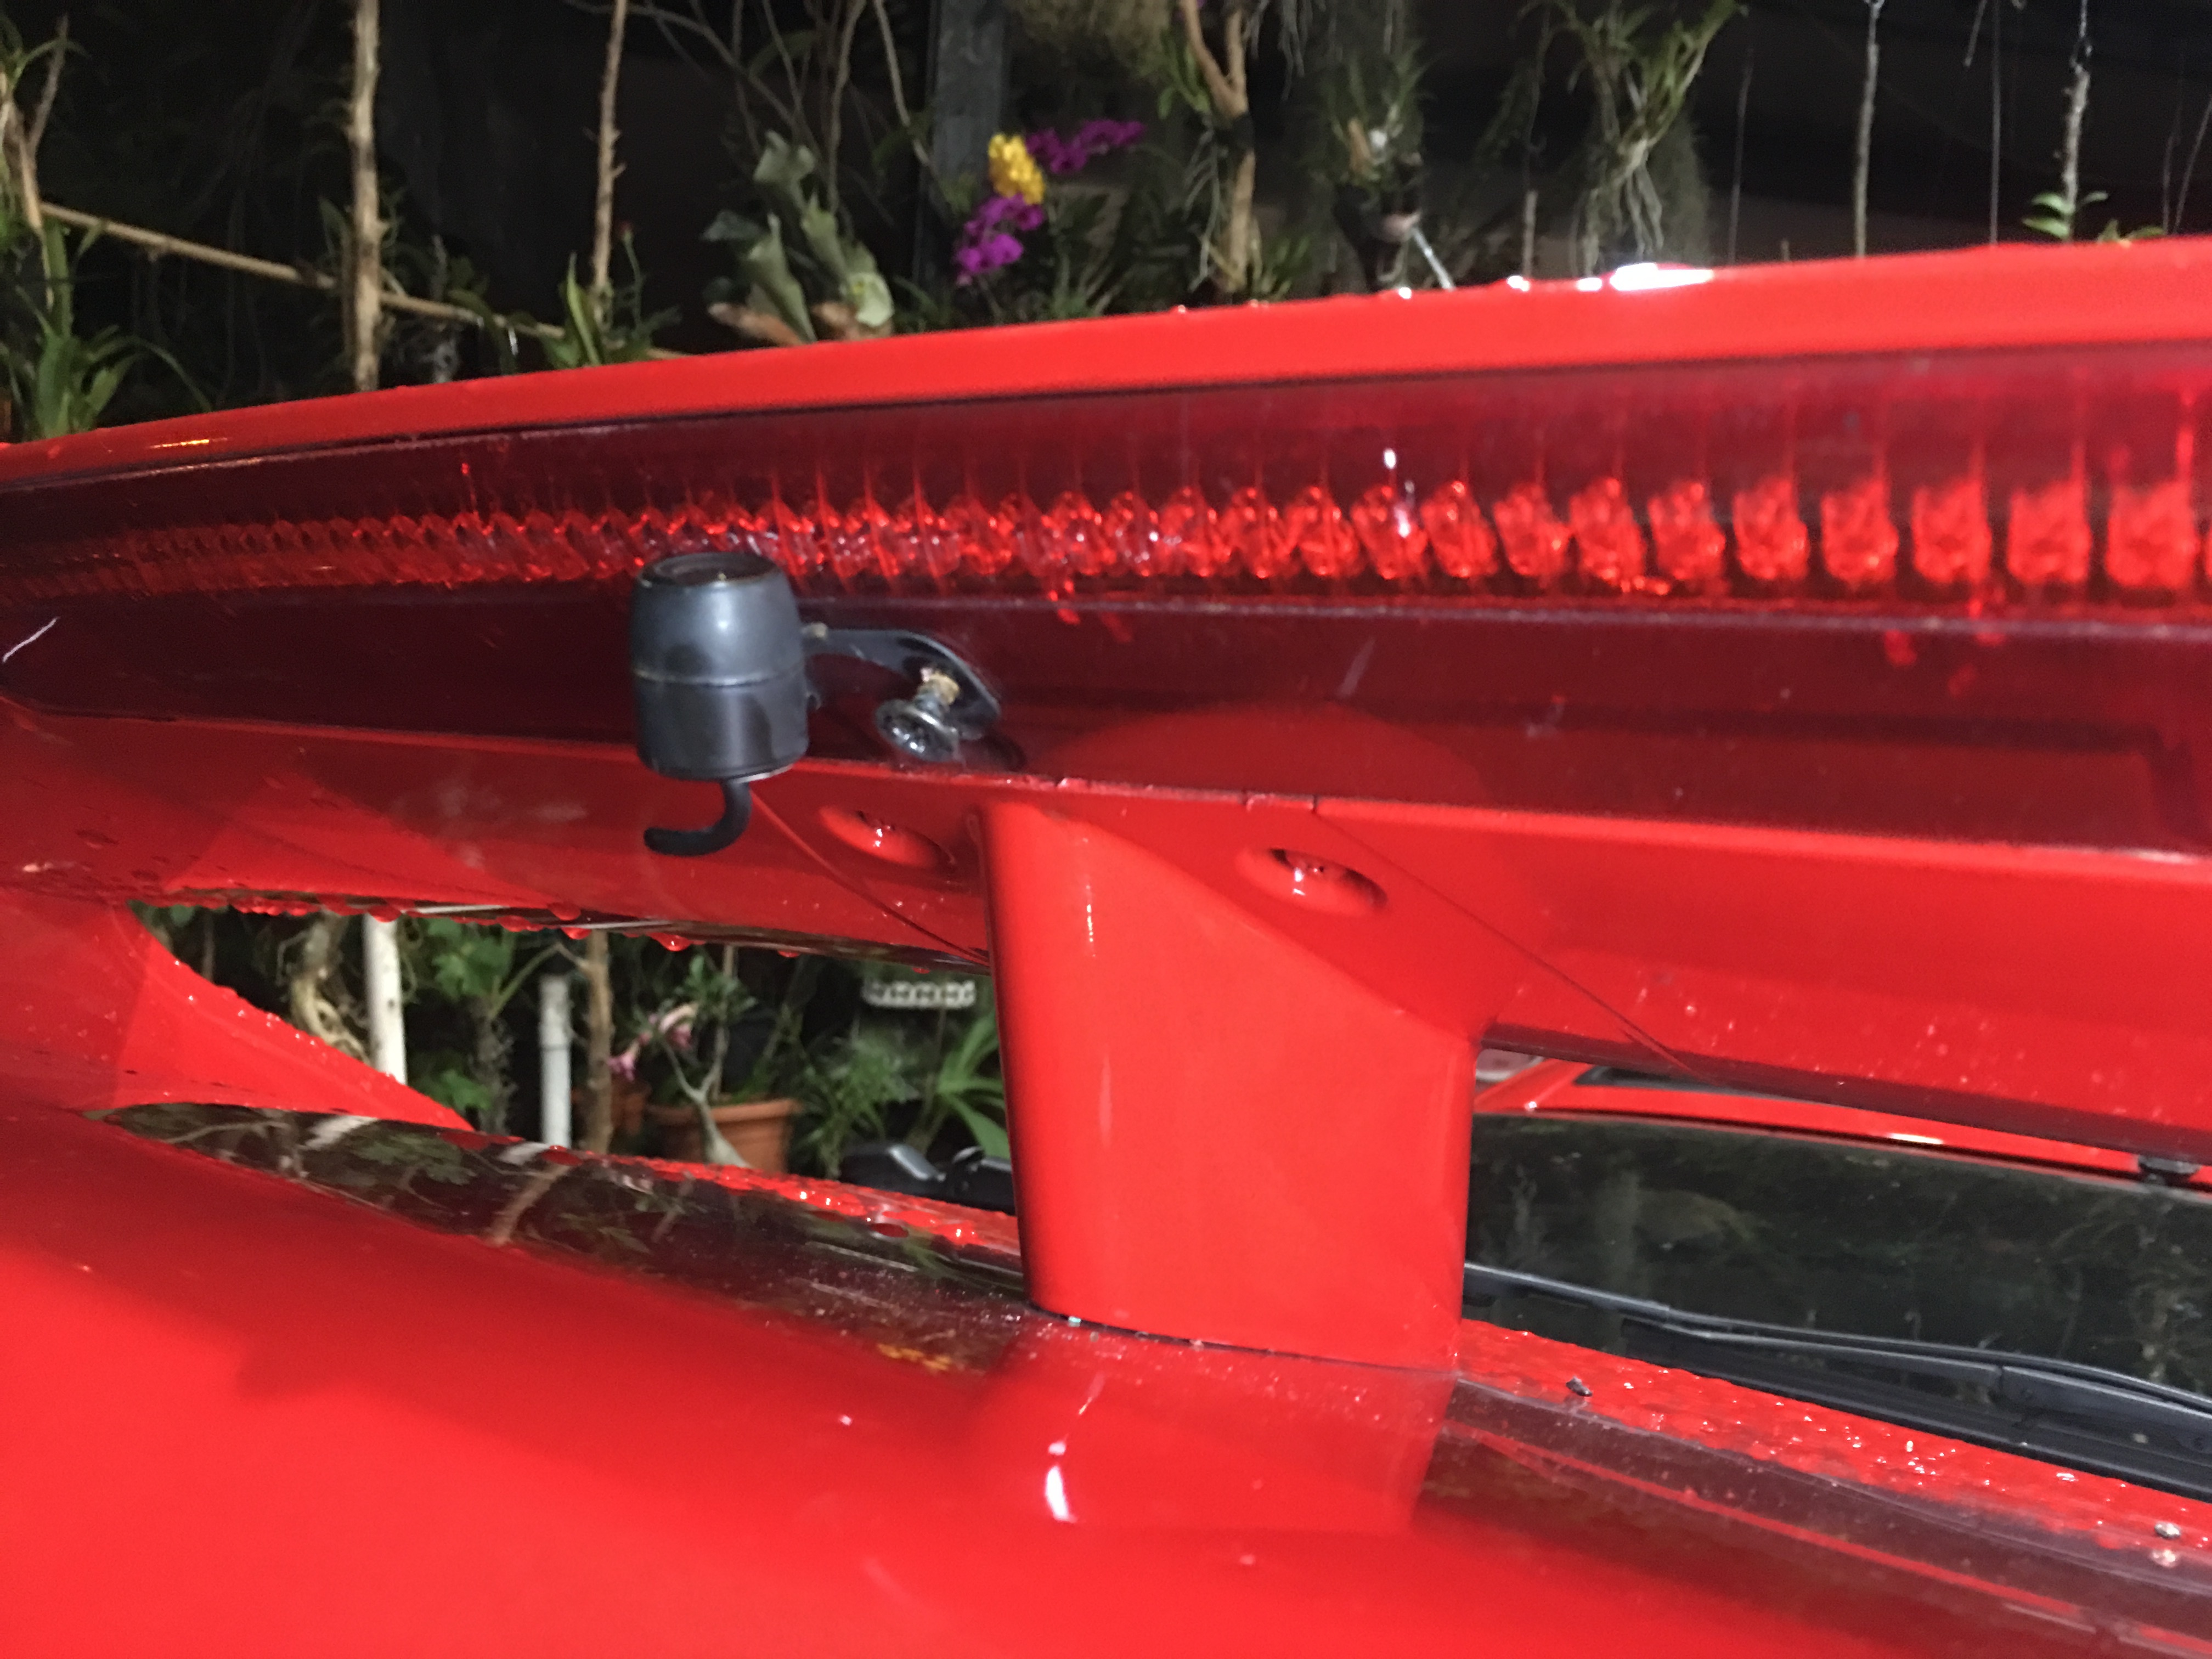
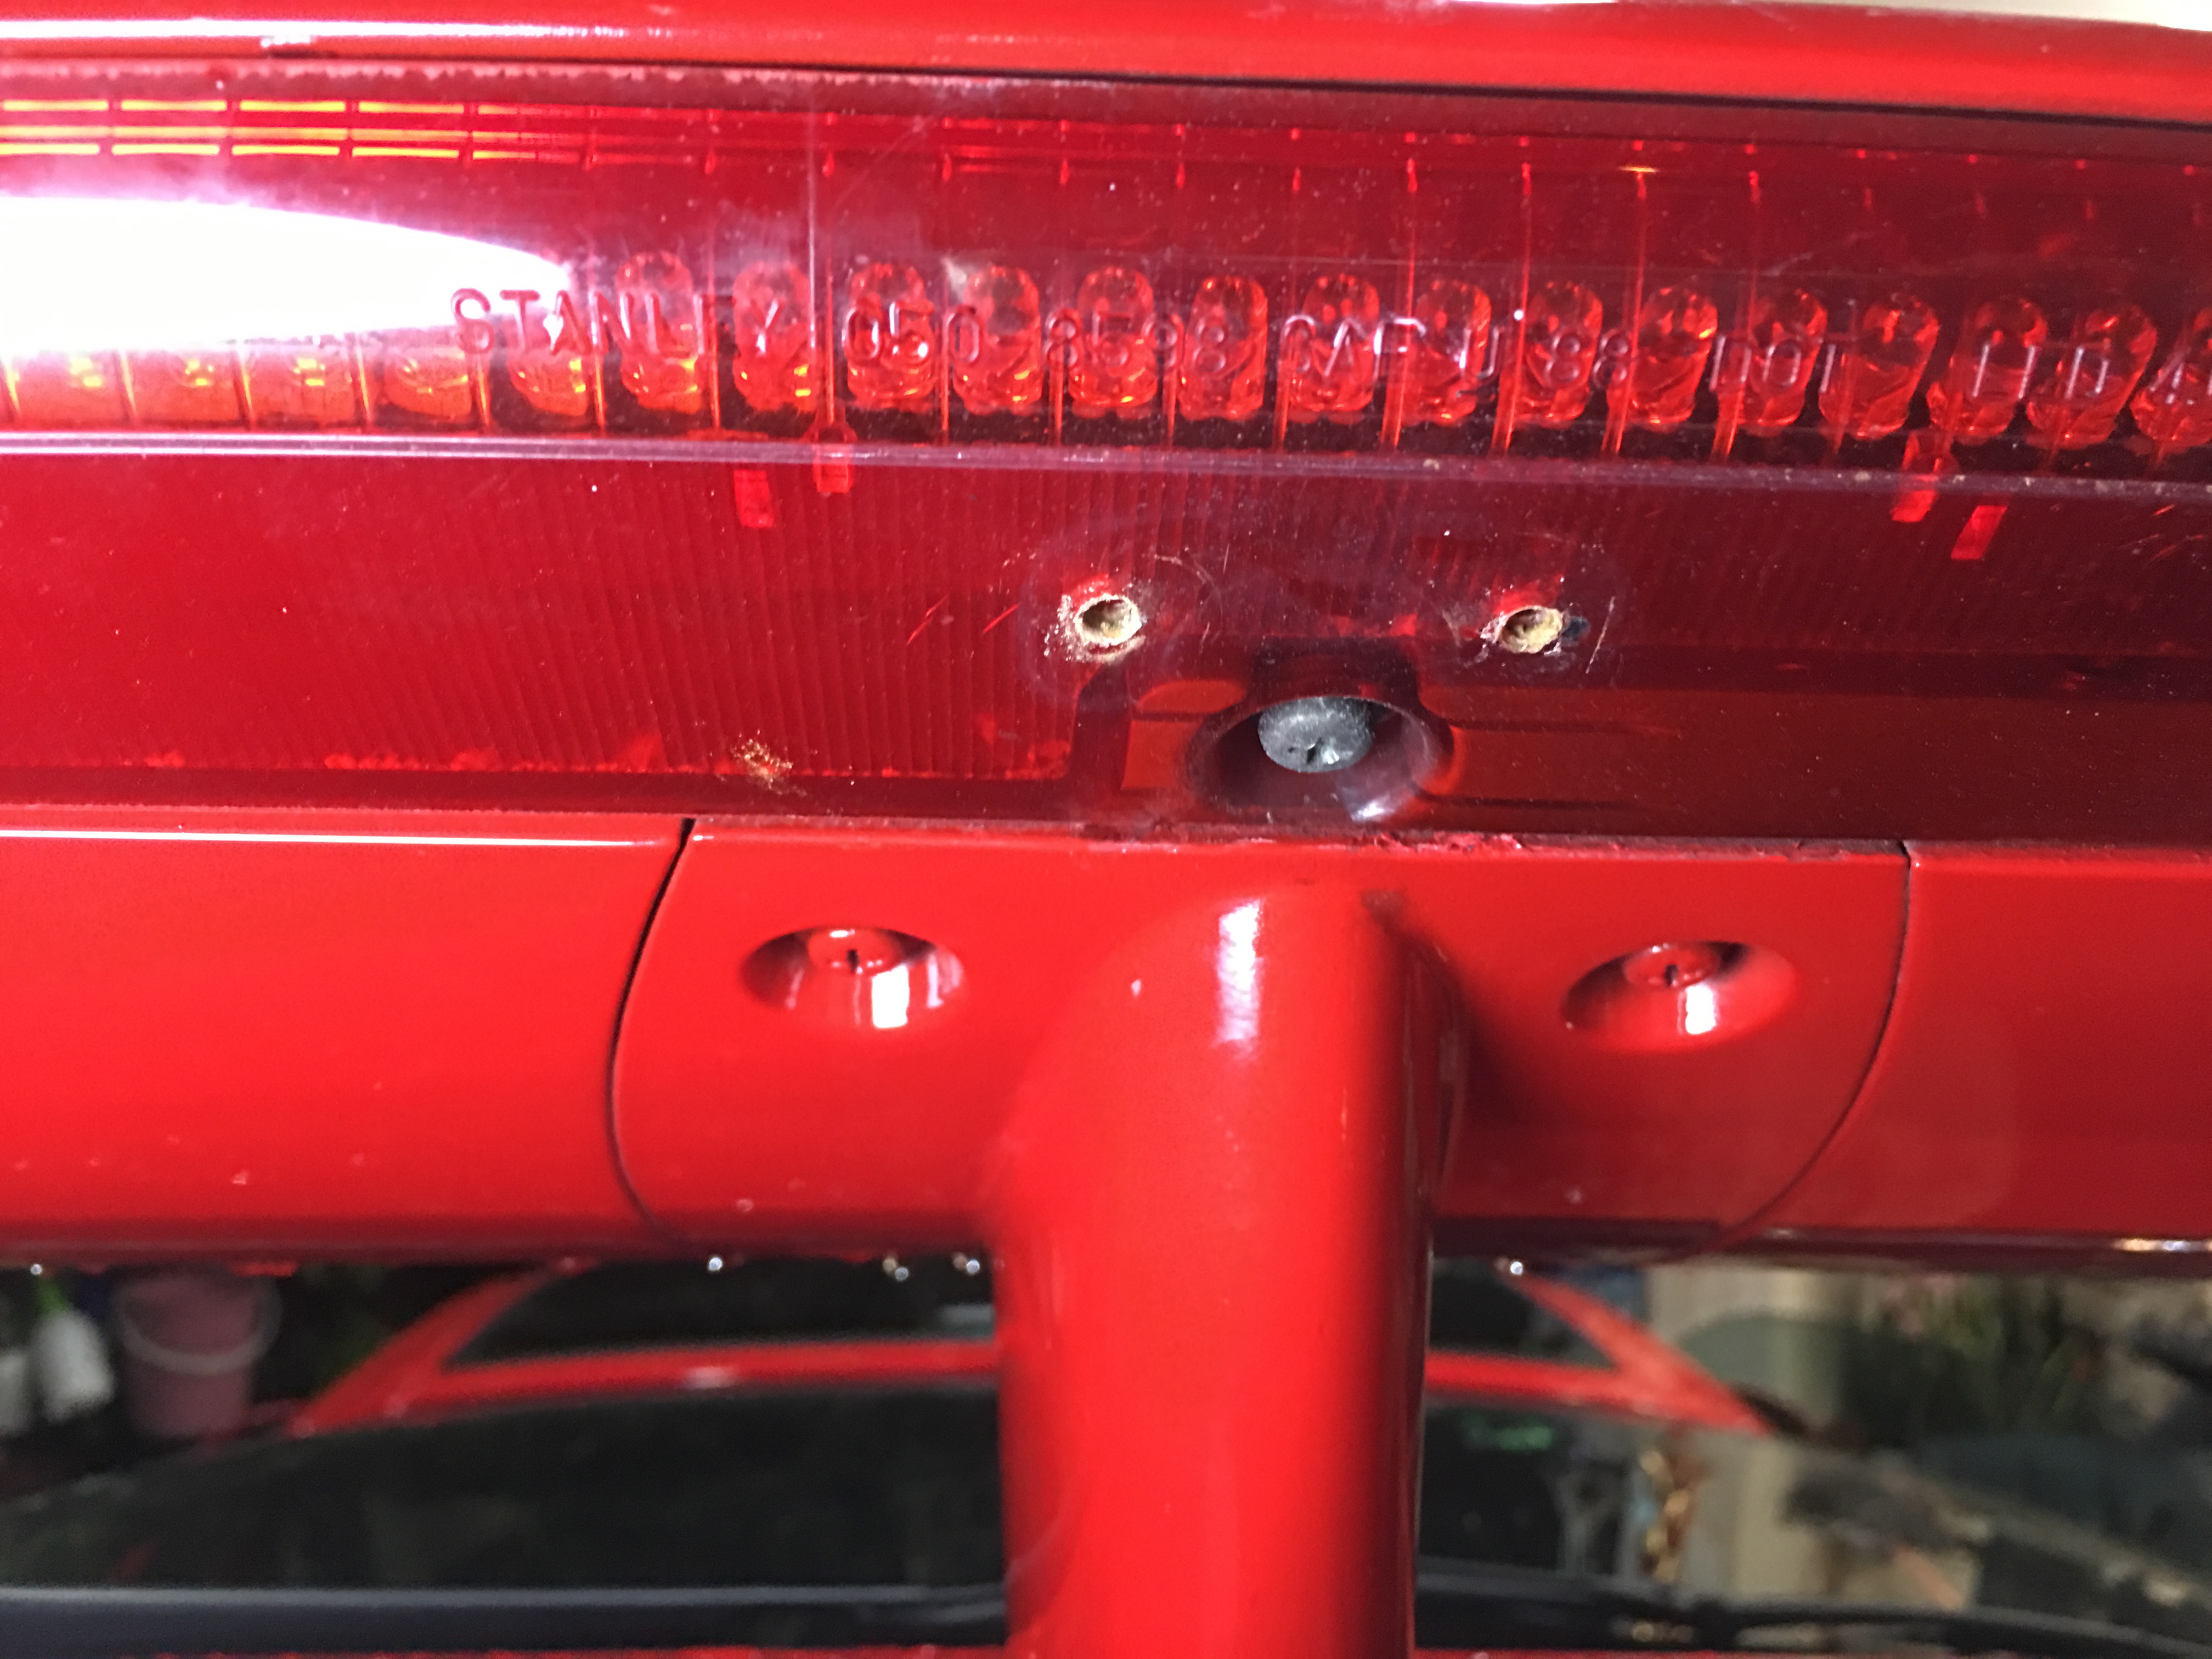
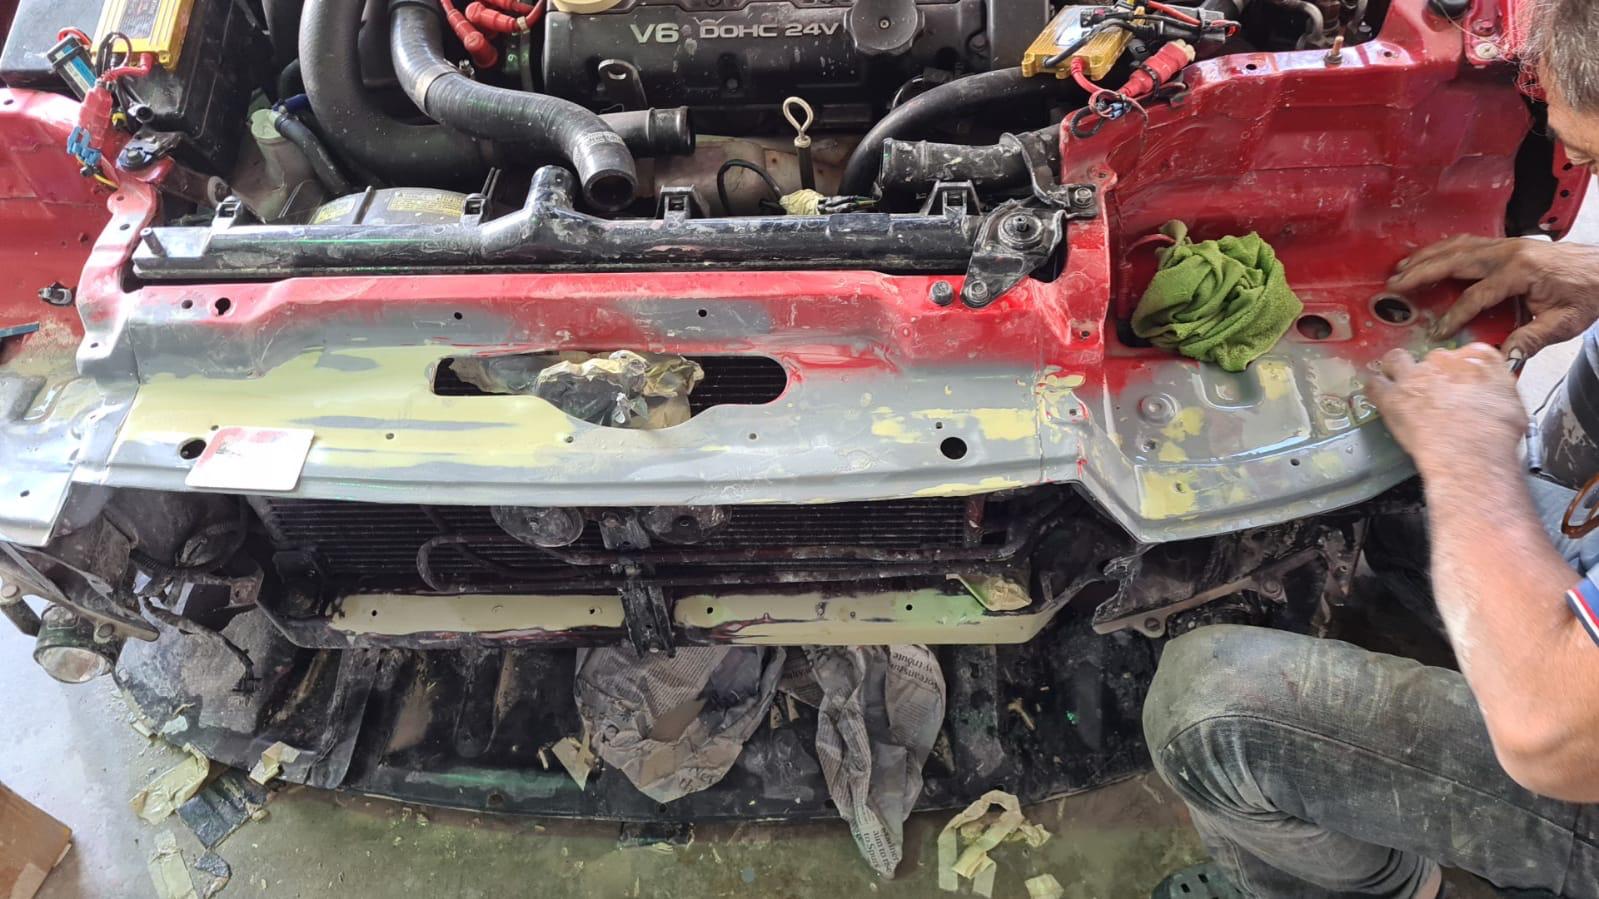
I realise the dash vents underneath the windscreen is broken and after watching joe’s video on the removing of dashboard, I decided to give it a go.
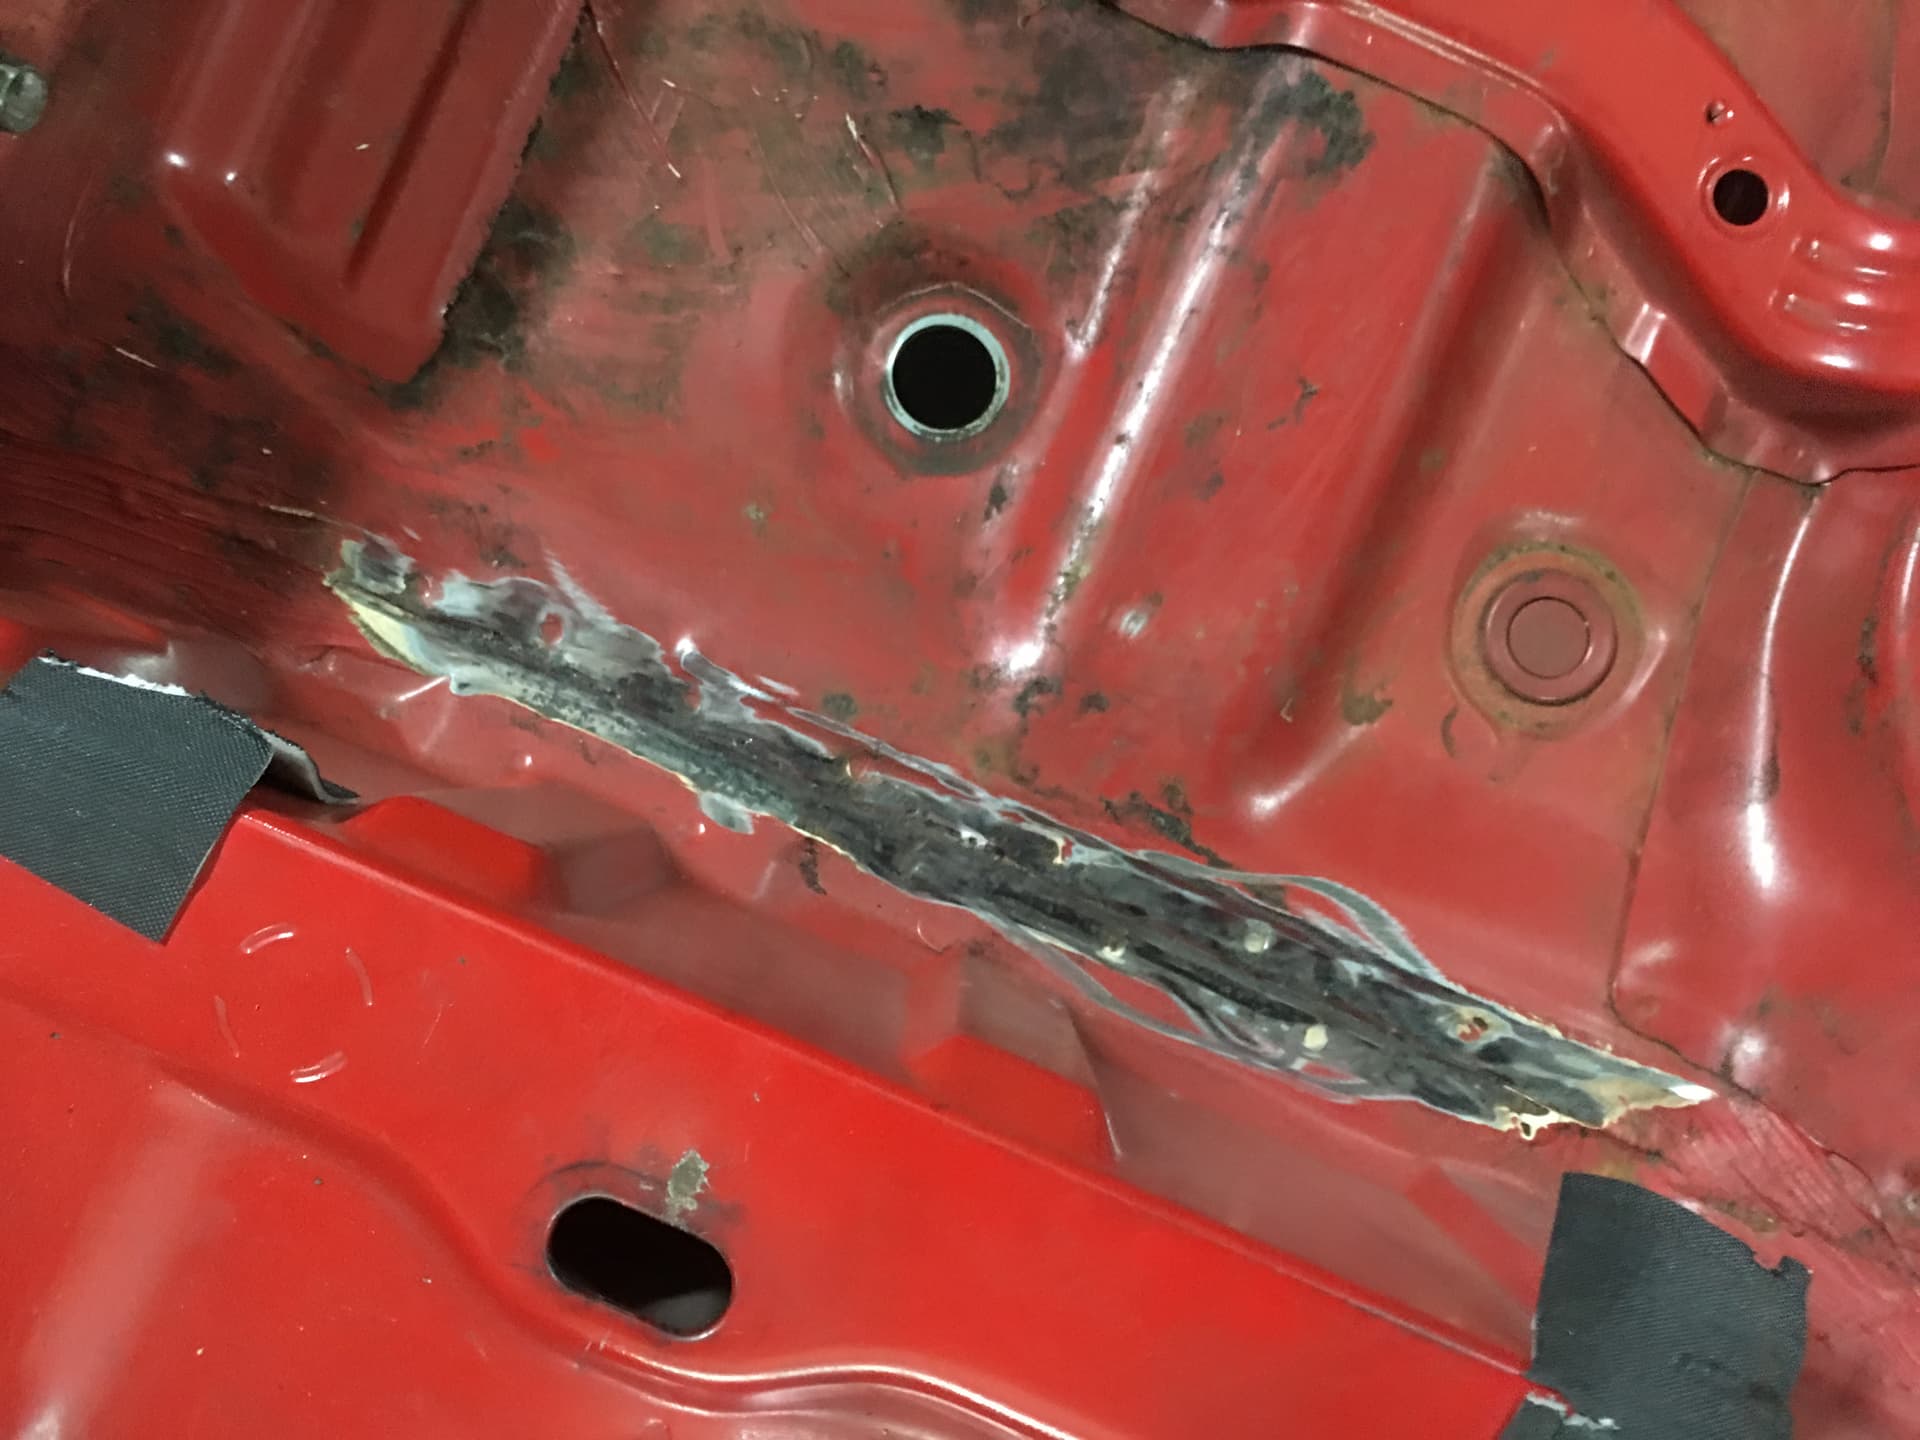
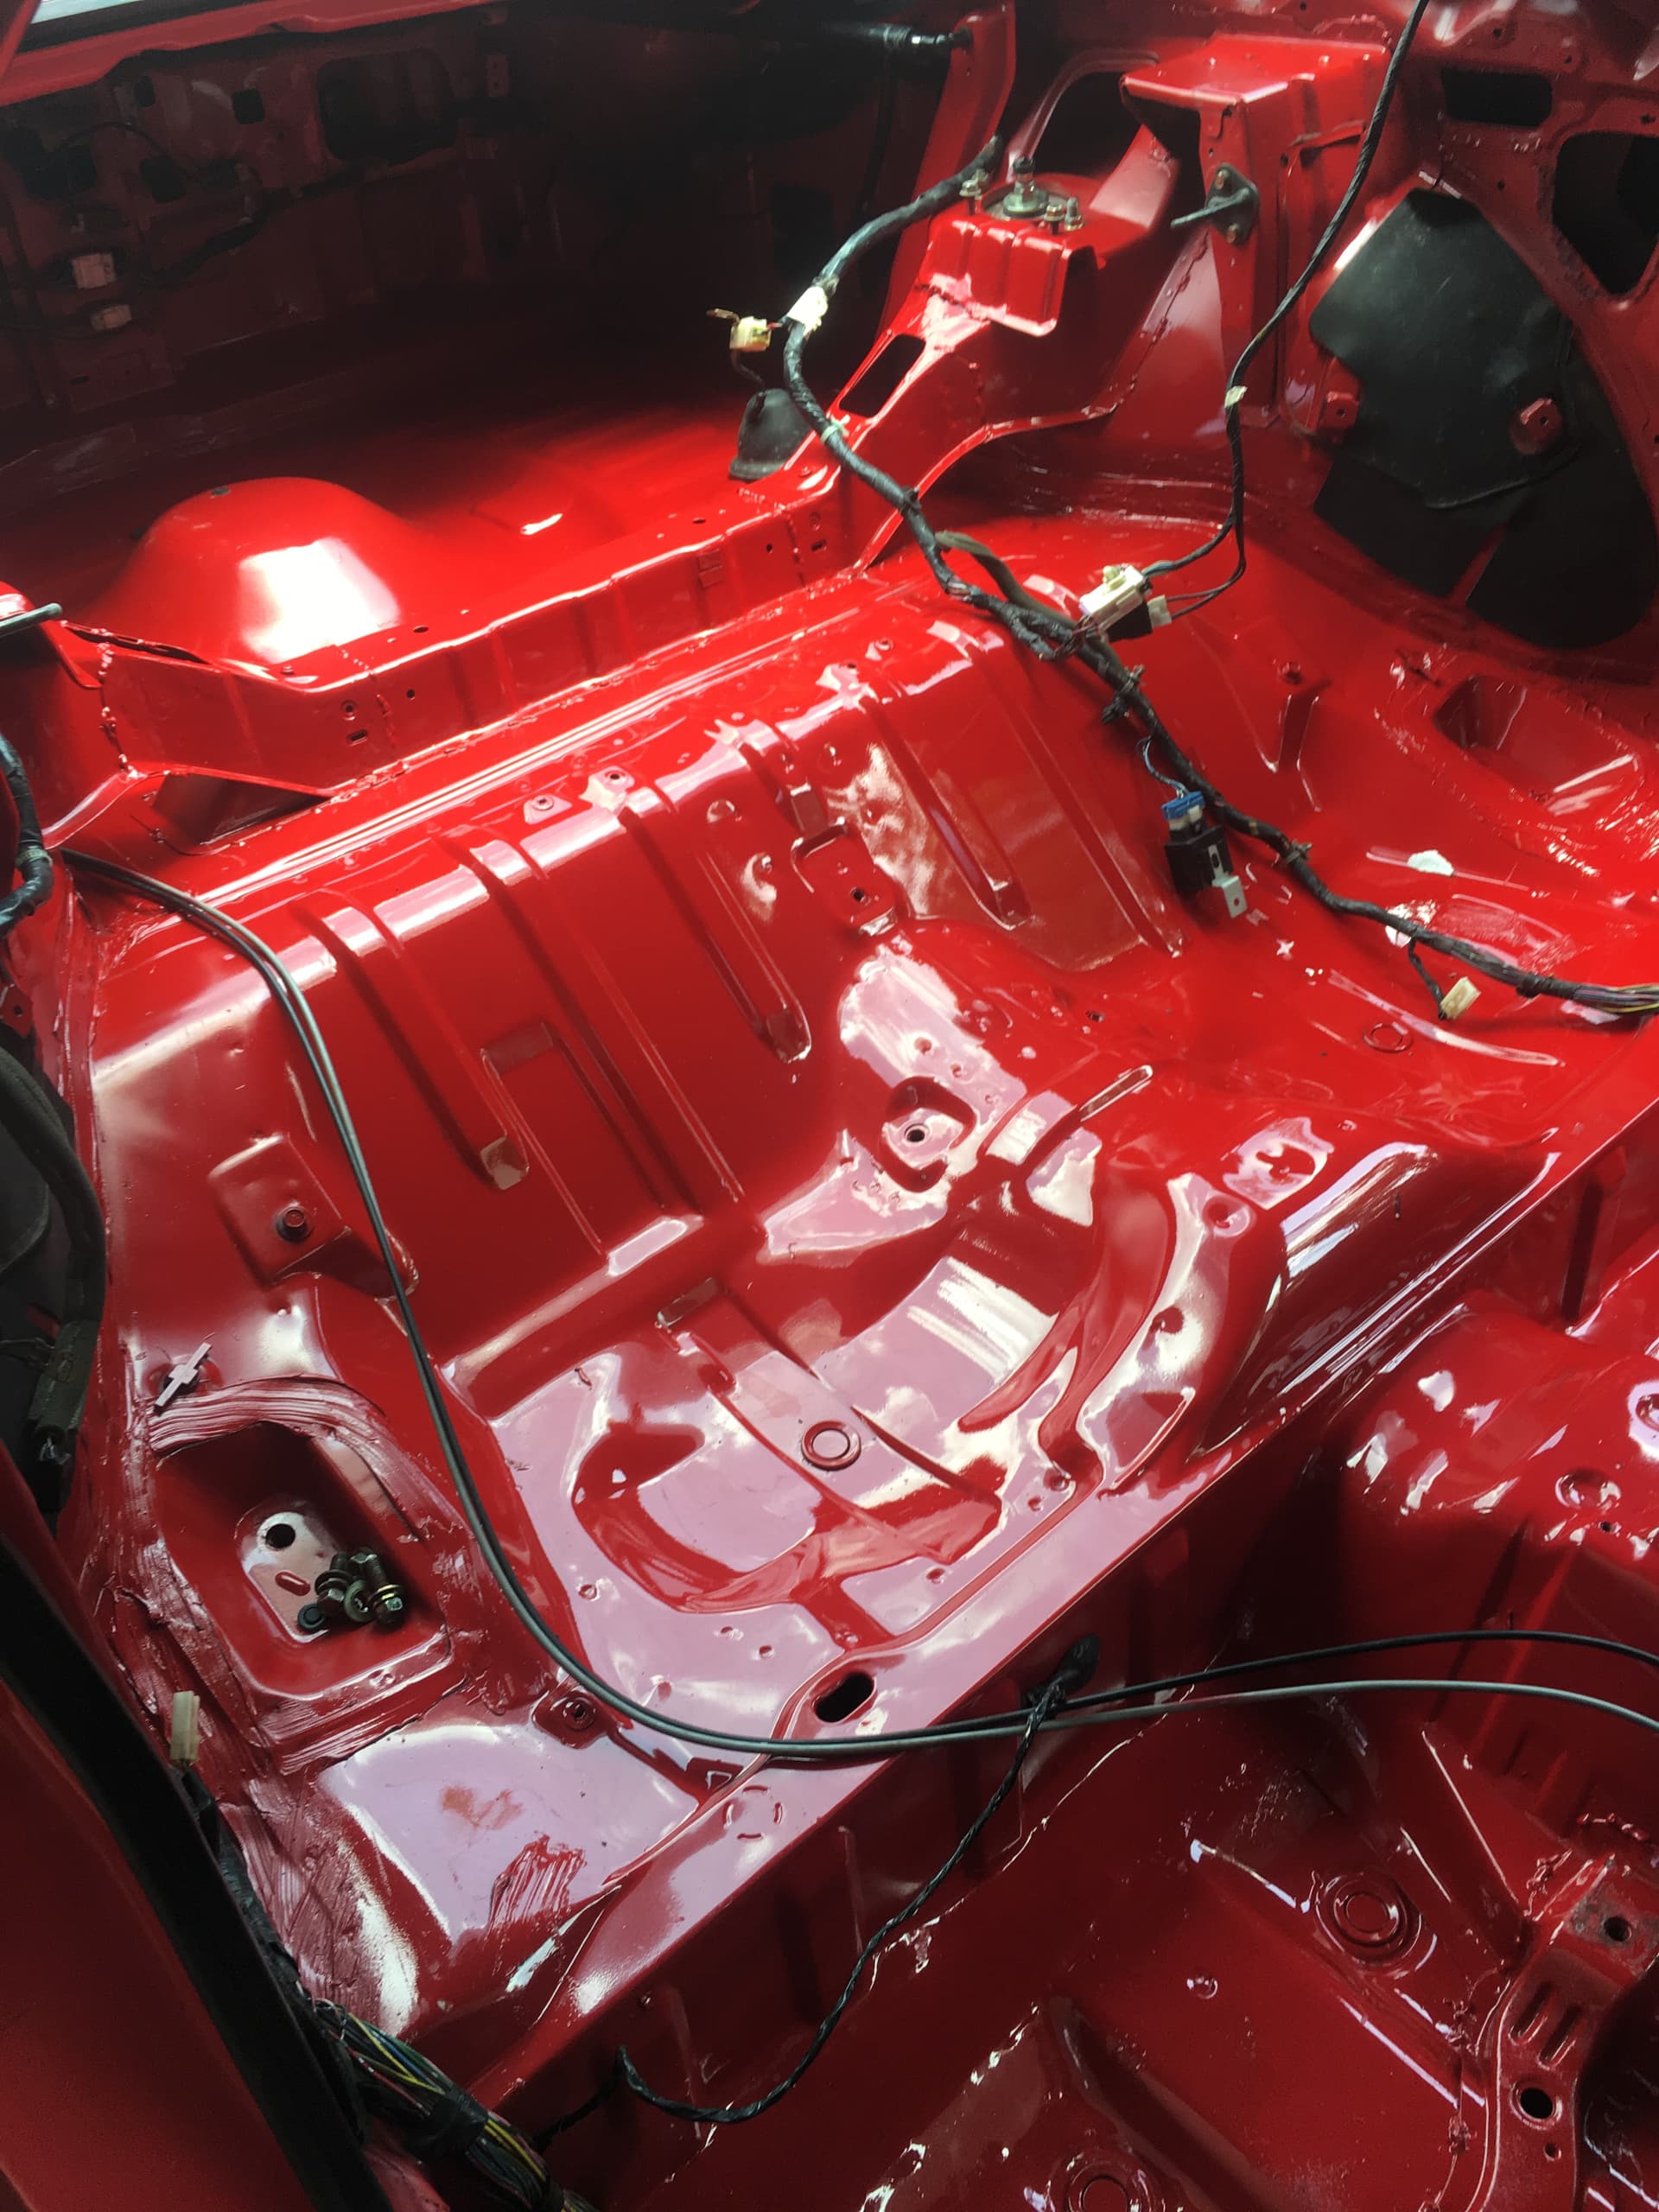
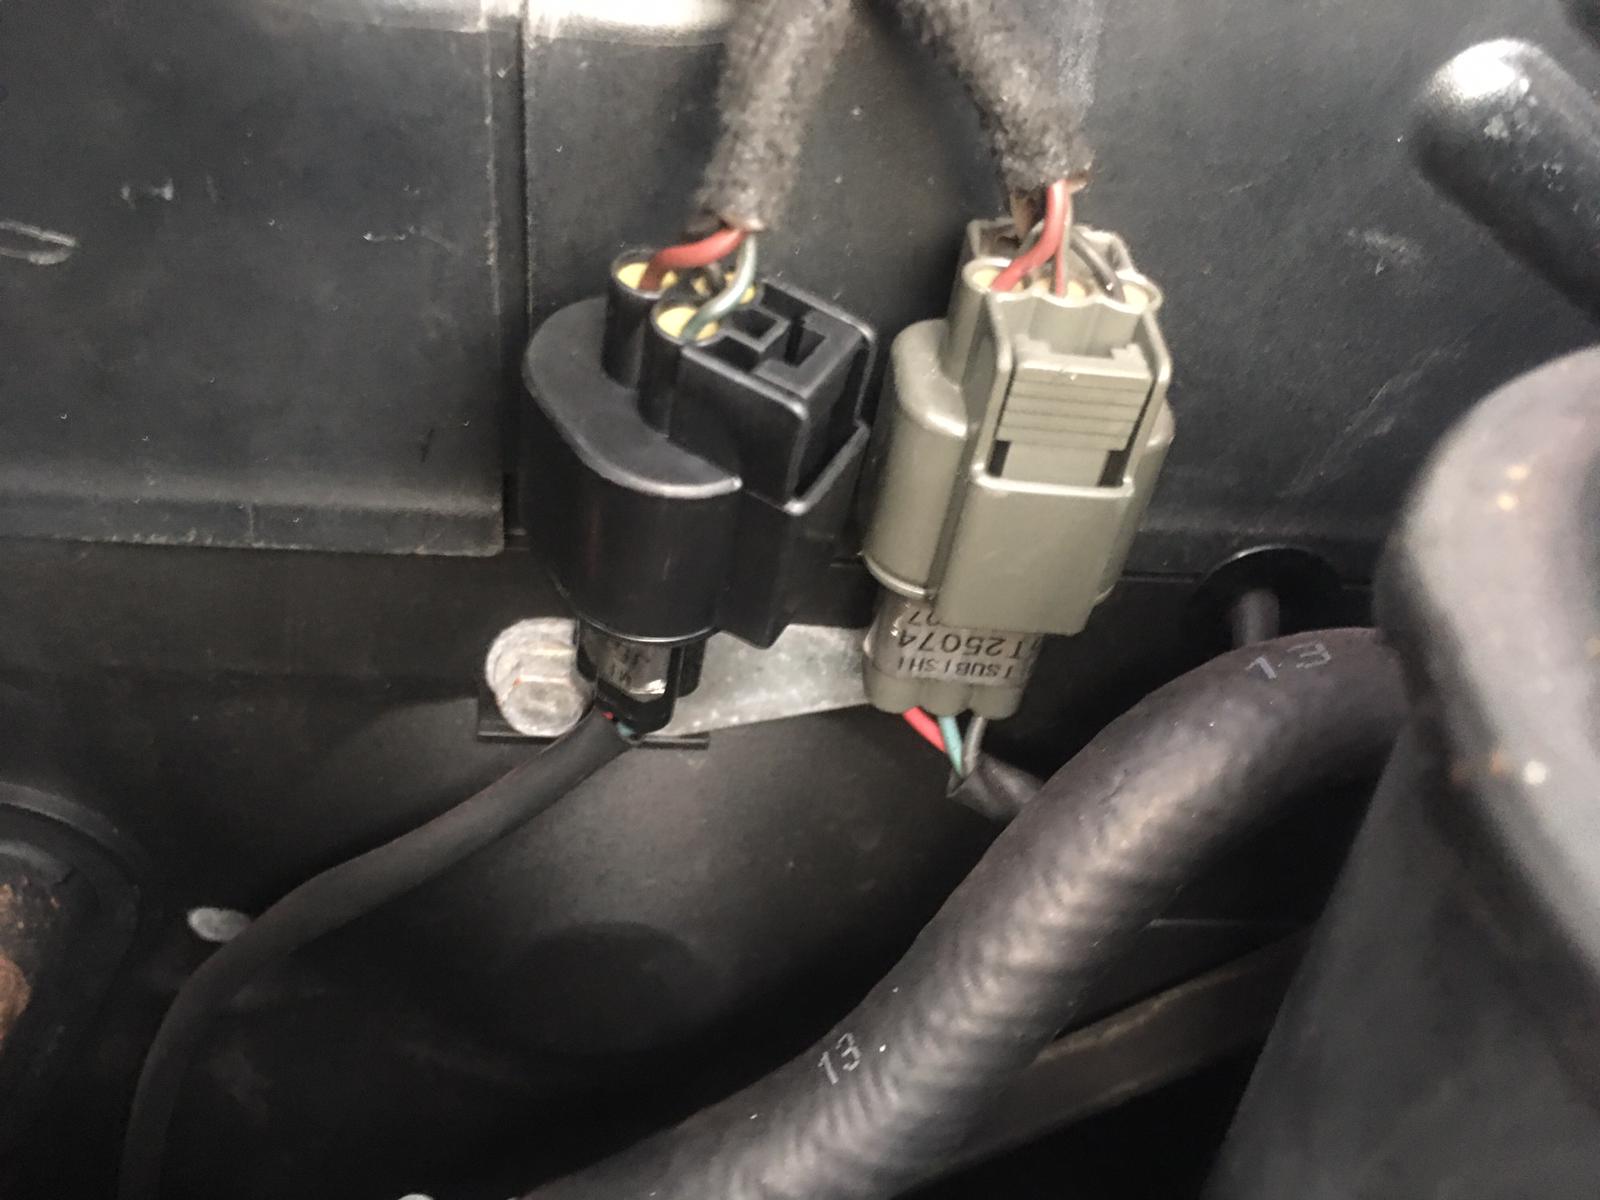
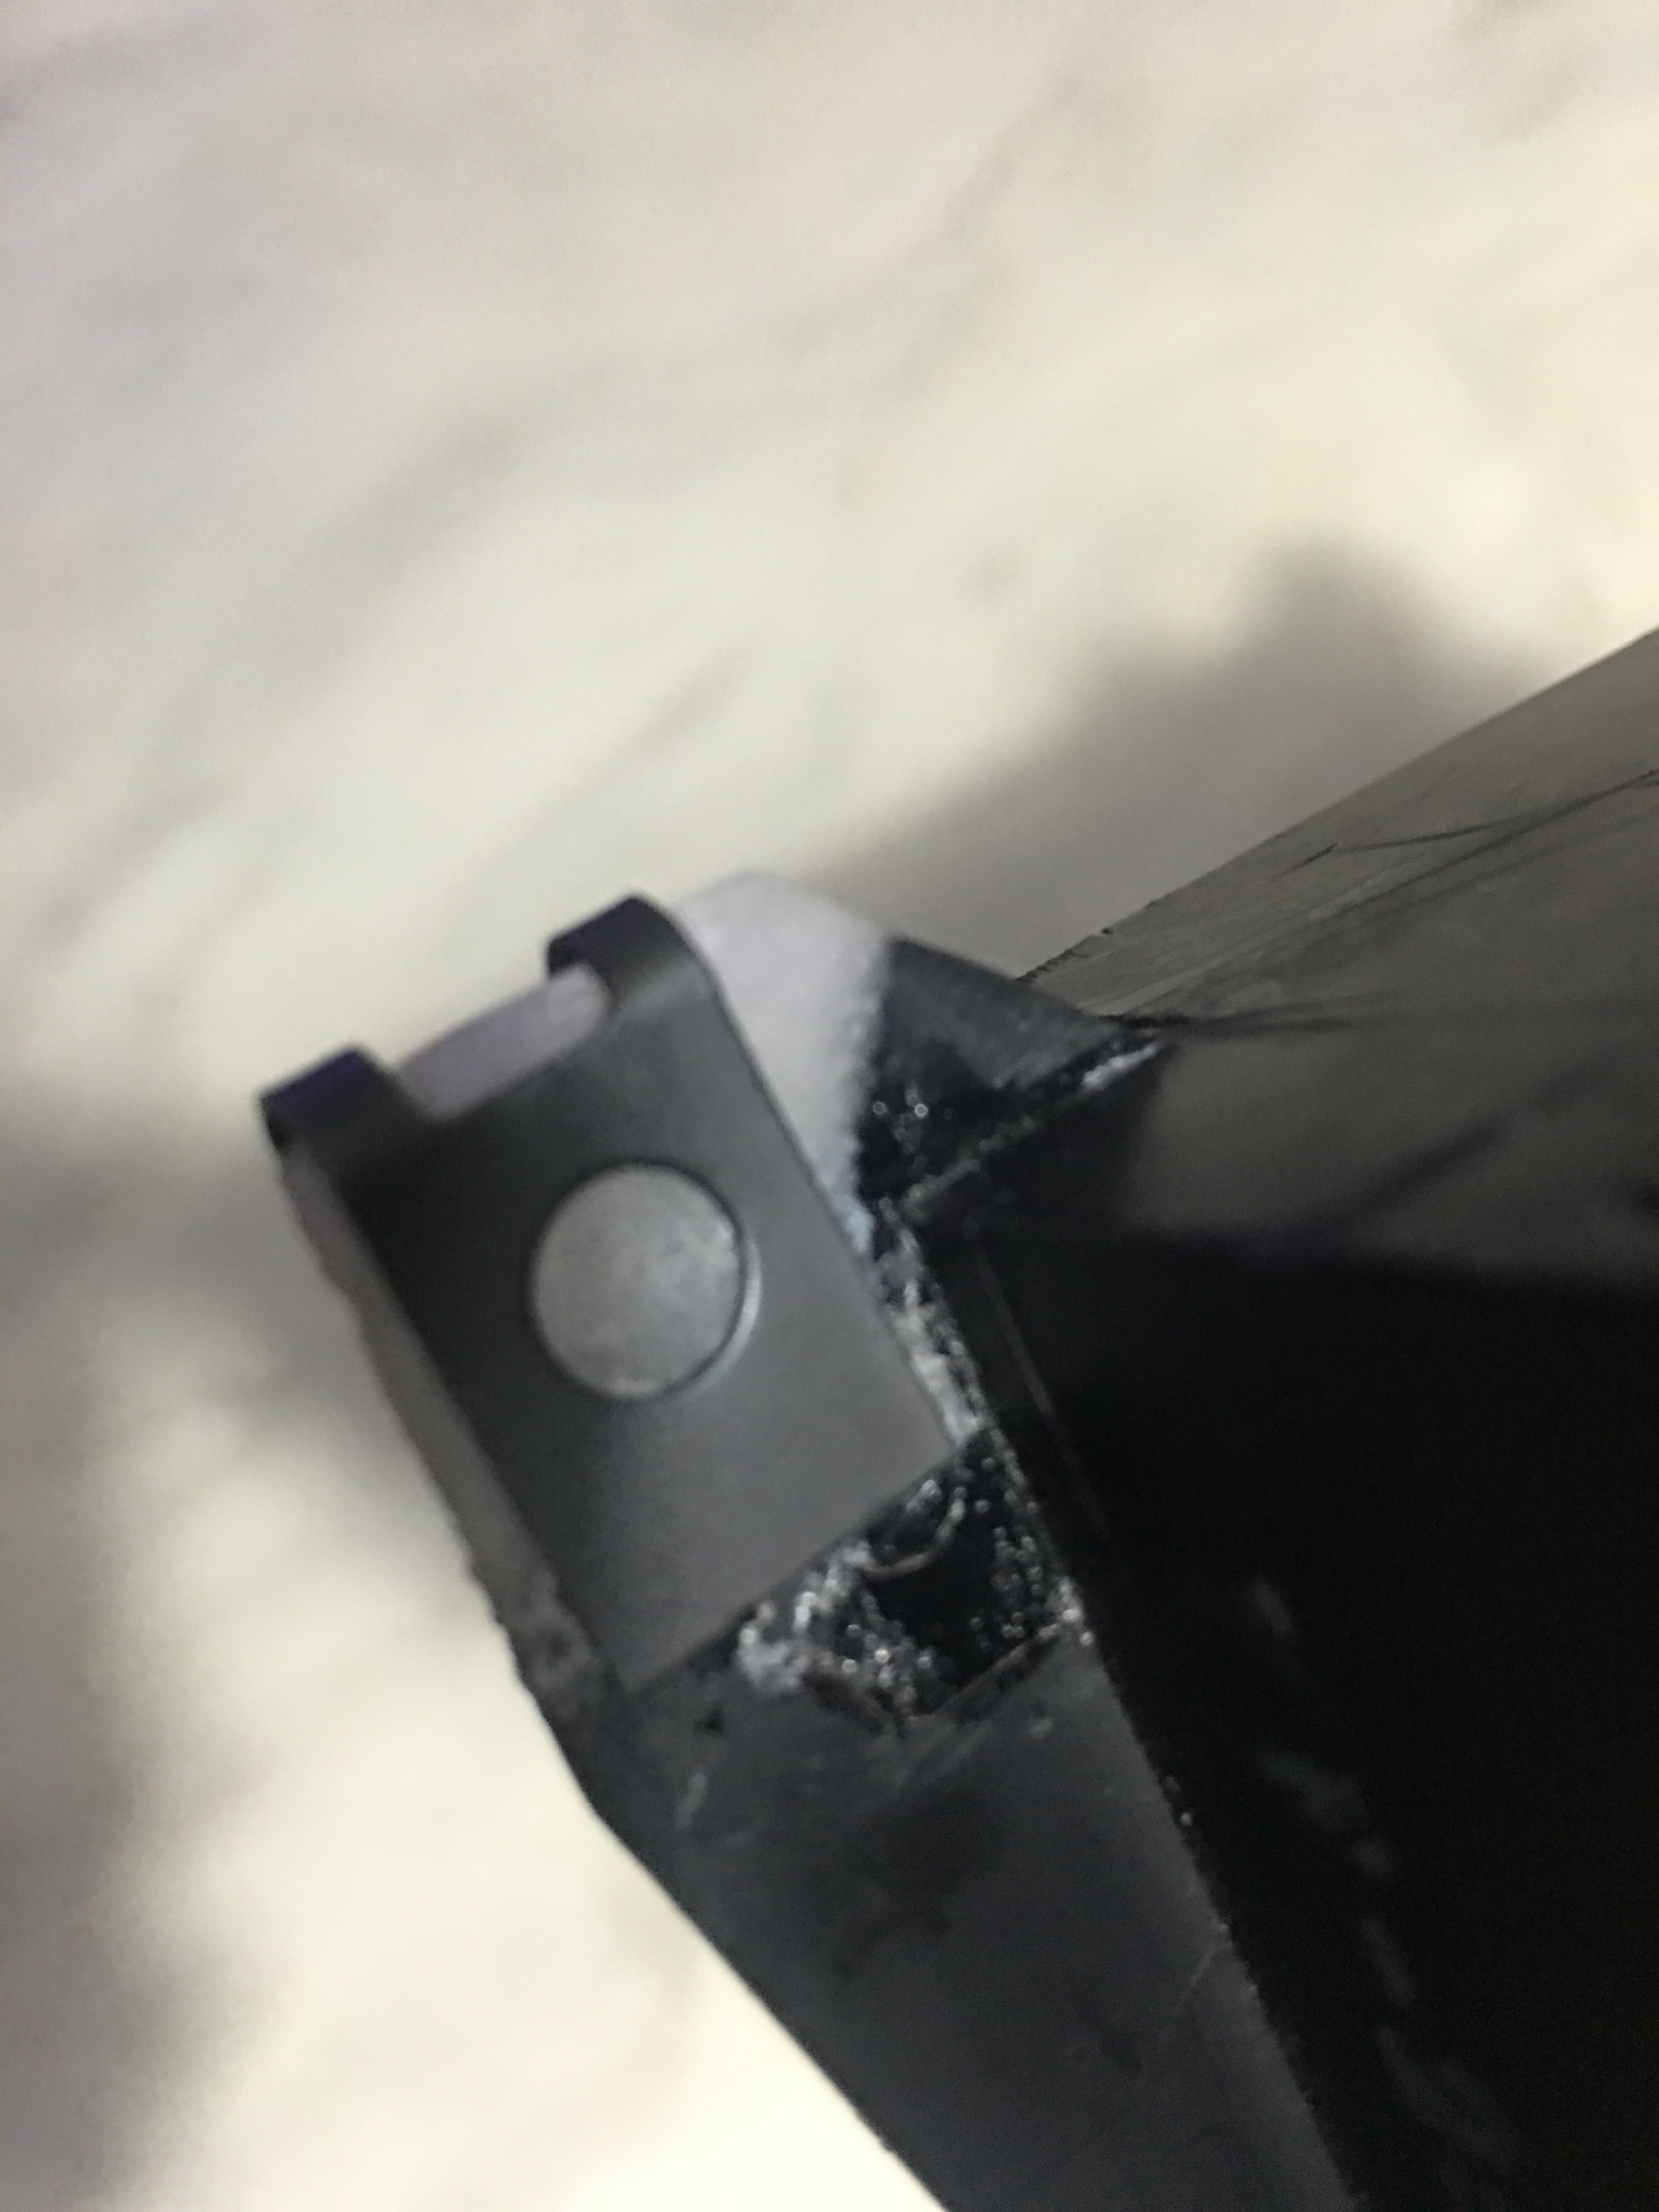
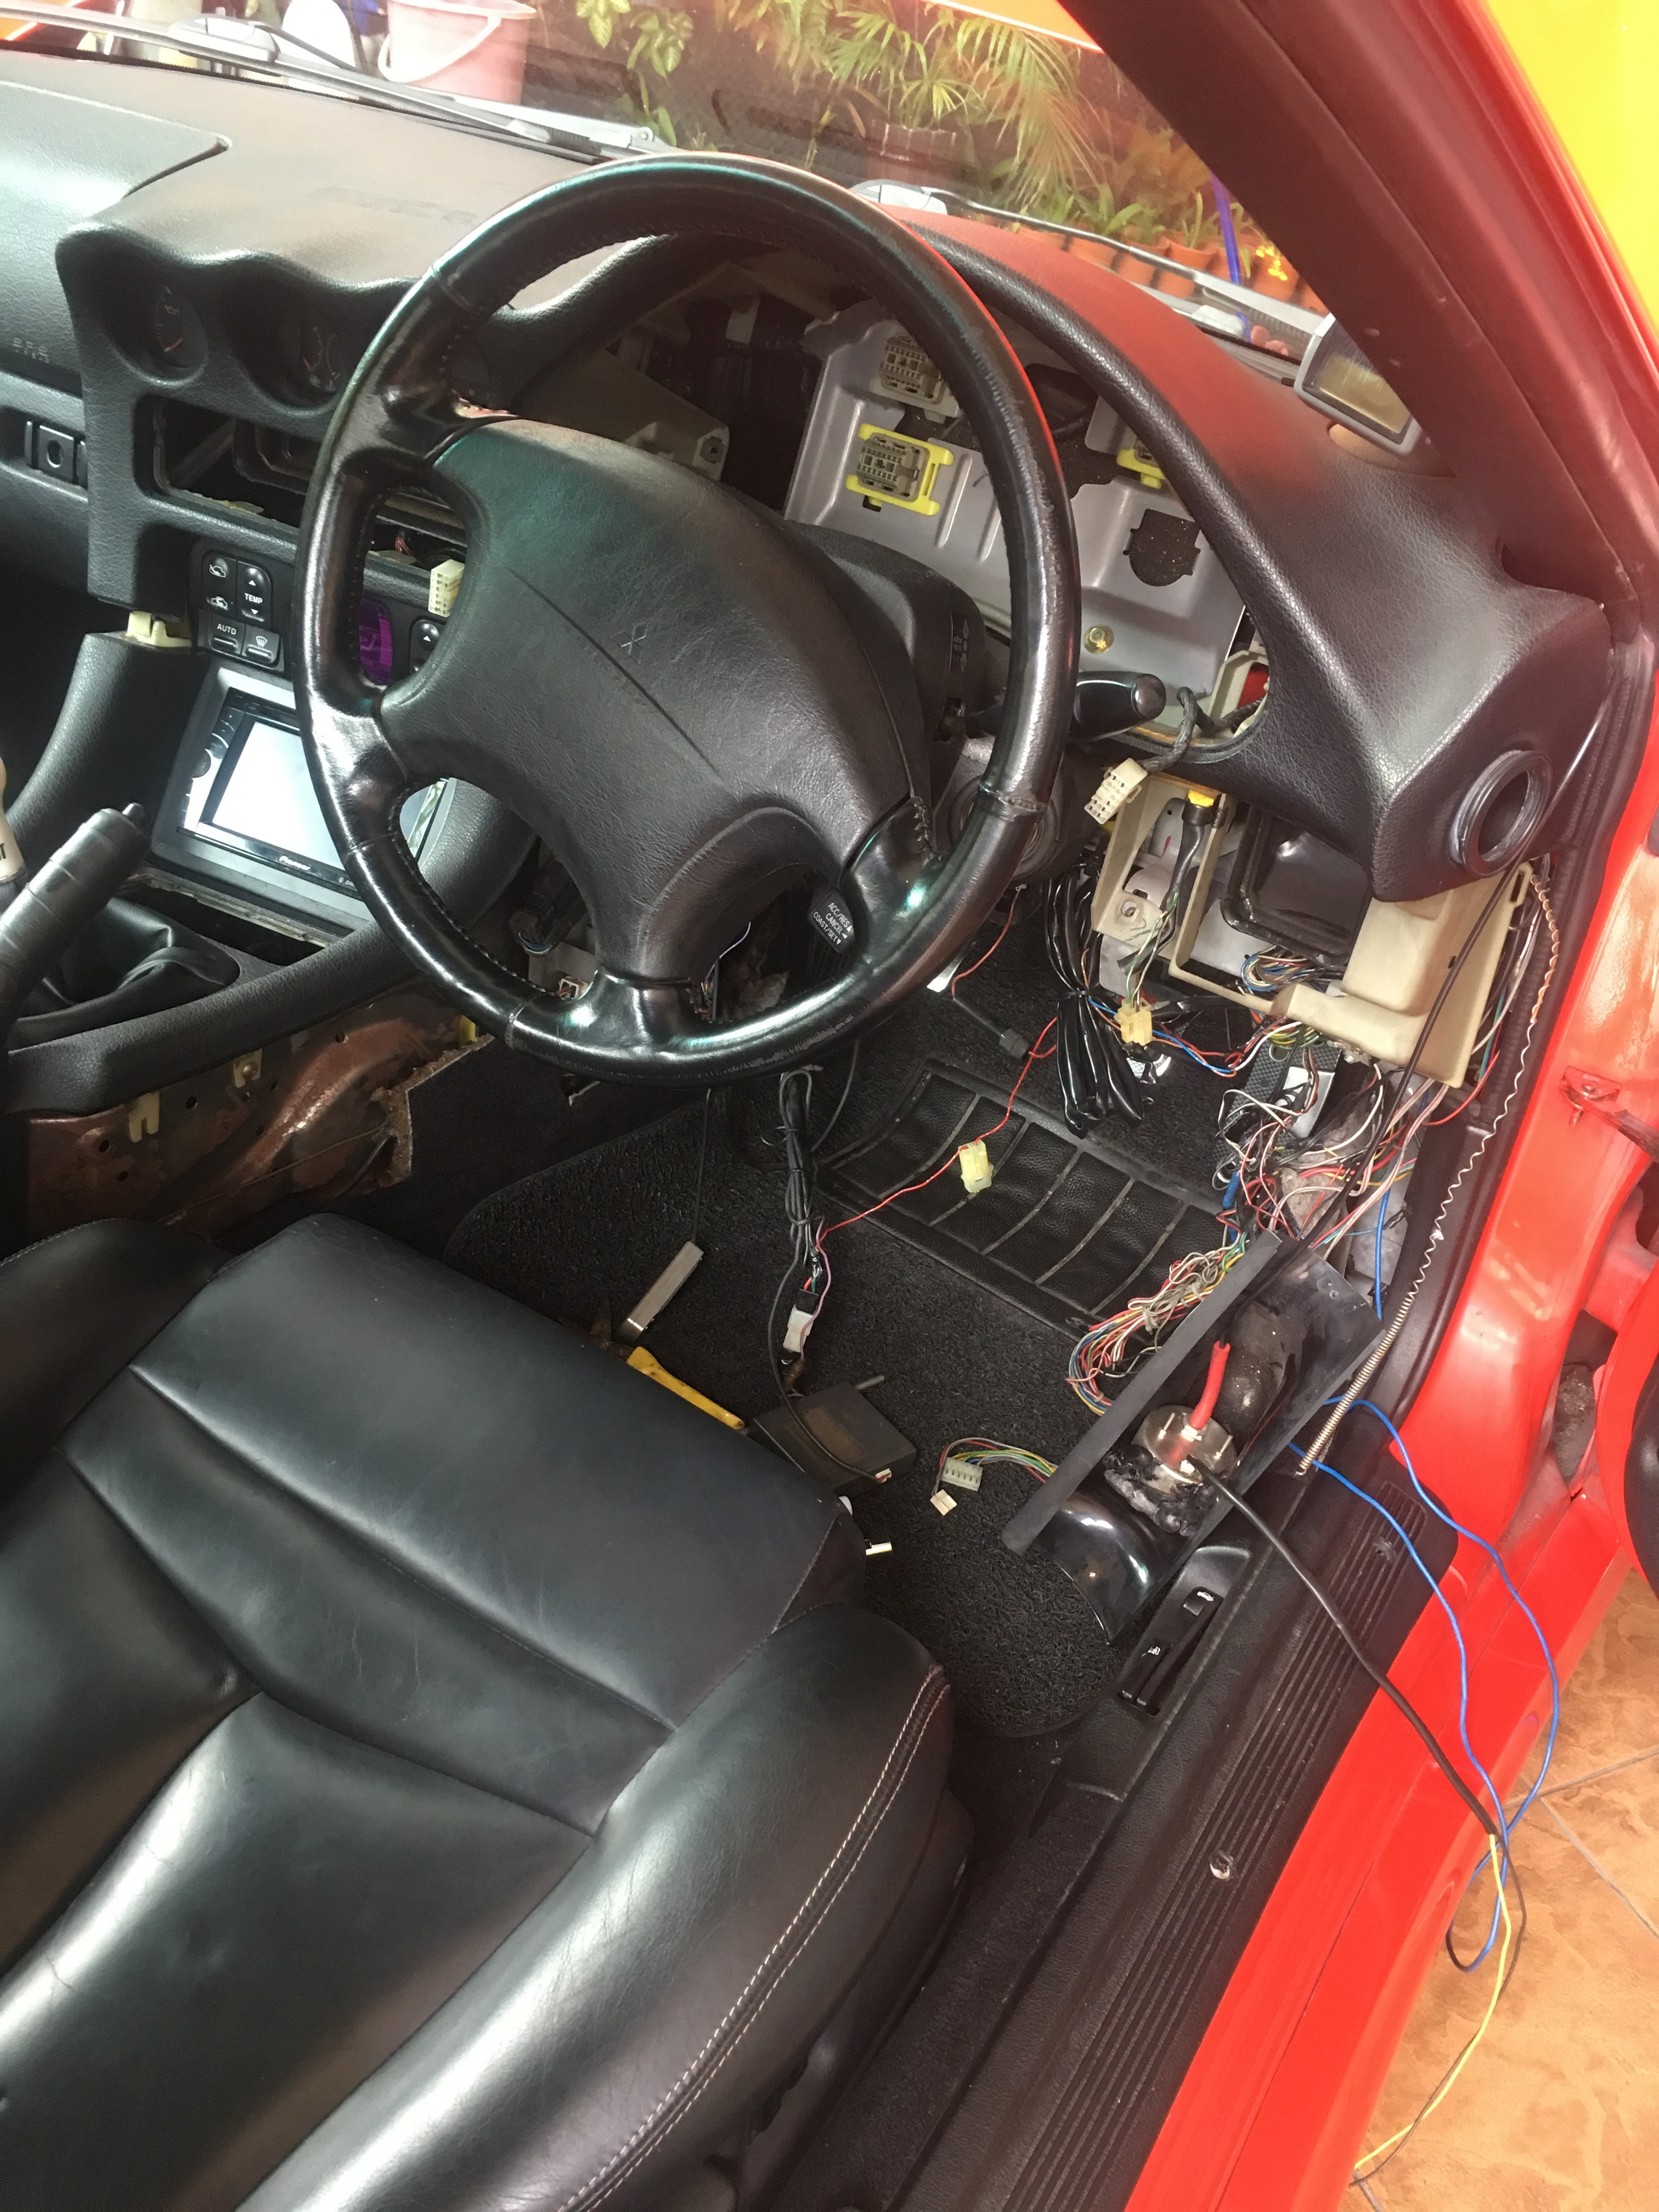
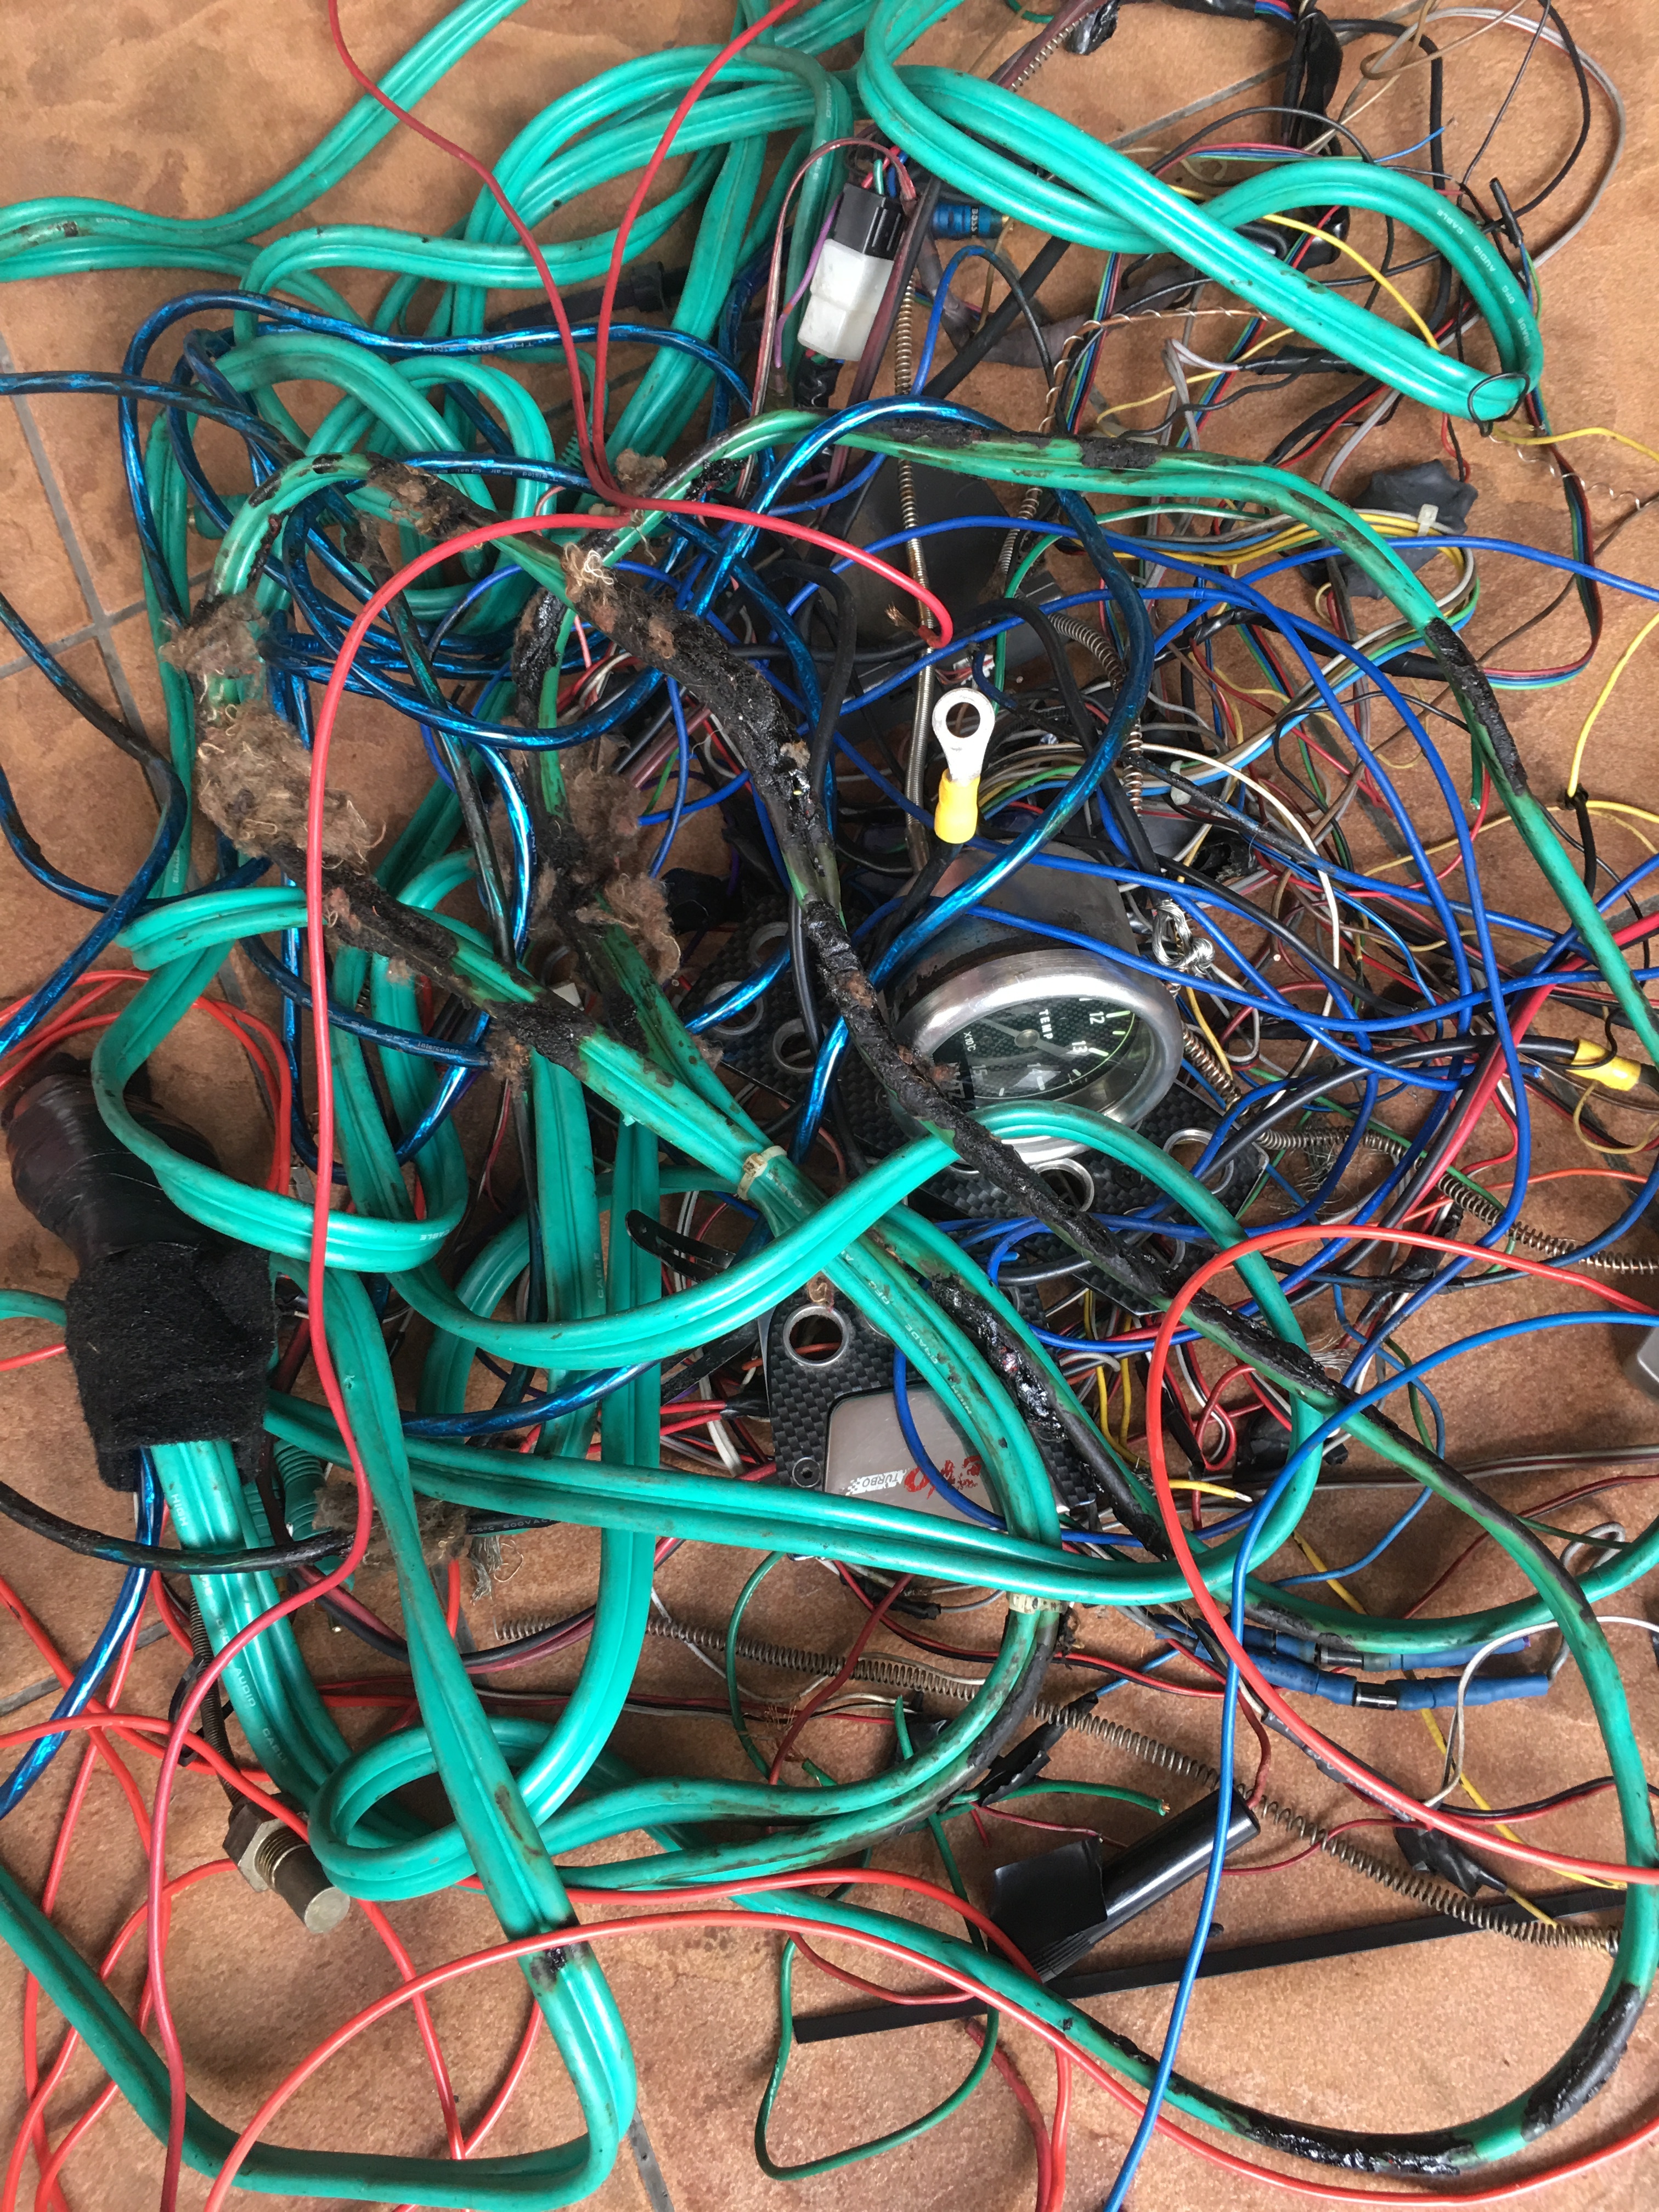
Just as I follow the video in removing the lower dash underneath the steering wheel, I notice a big brunch of wires stuffed underneath the carpet. And I know I need to address to them first.
Wow… that was an expensive beater car man . For that much money, I would demand it to be in pristine shape . But I happy for you. Have a great time fixing it up! I’ve been having a blast doing regular maintenance and driving it around. I’ve never had so many compliments and head turns for driving a car in my life. It’s wonderful!
I don’t know wether to laugh at the idiots who did this or cry over the things that have been done to that poor car. Good to see you are putting it back to how it should be. Well done.
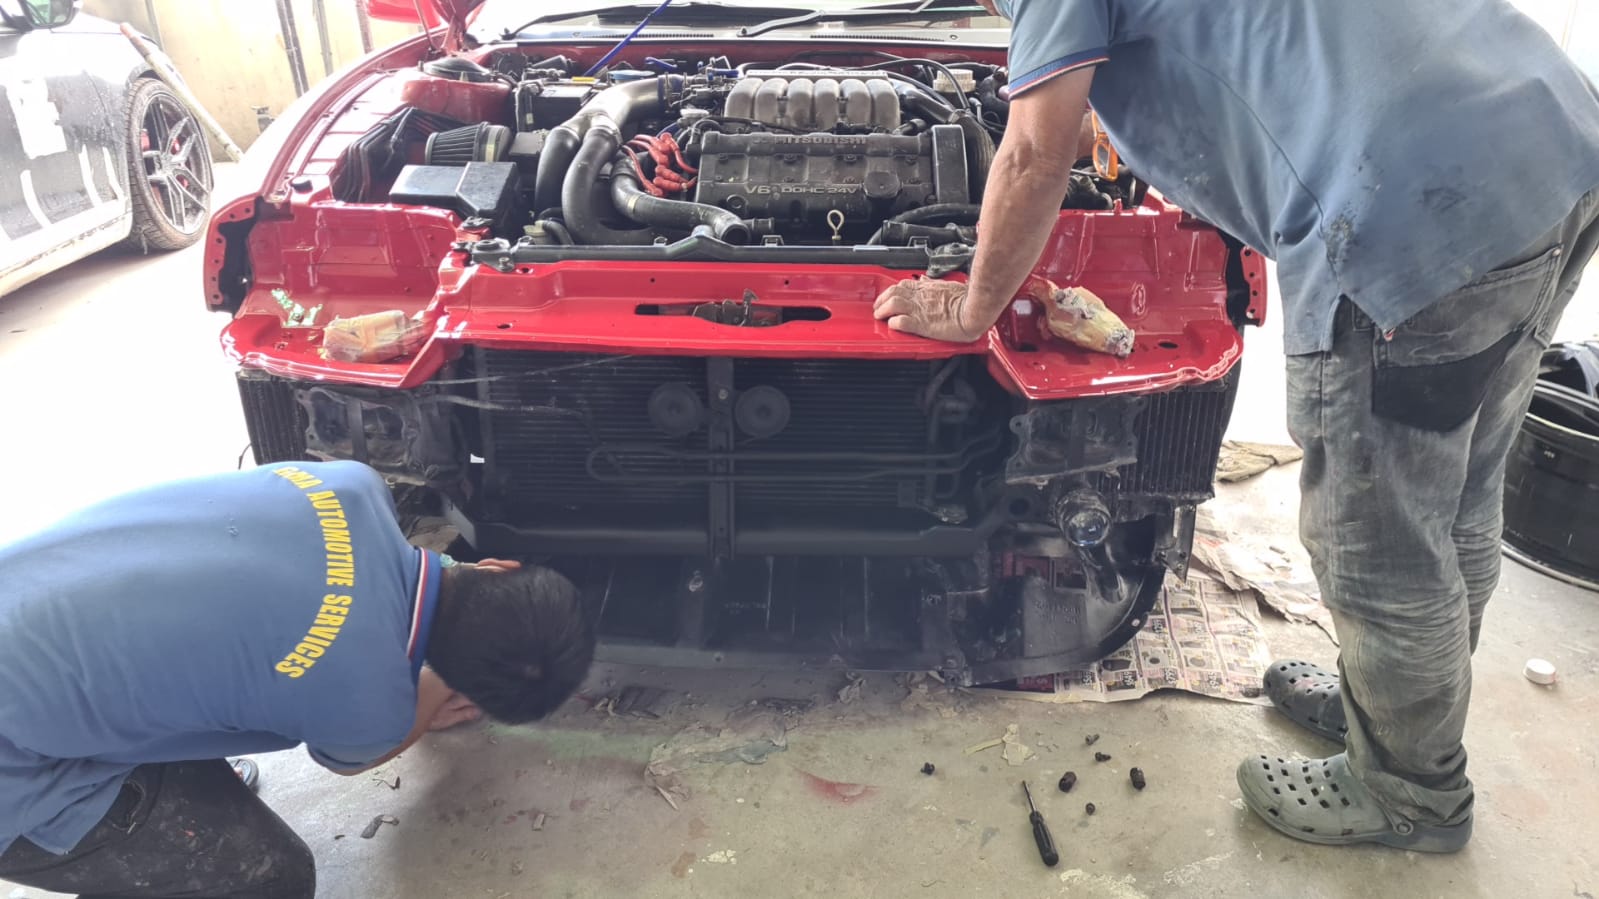
Well. It’s been 20 months since any update. Had been very buzy dealing with work and restoring this GTO with whatever parts that’s possible. So it’s time to update.
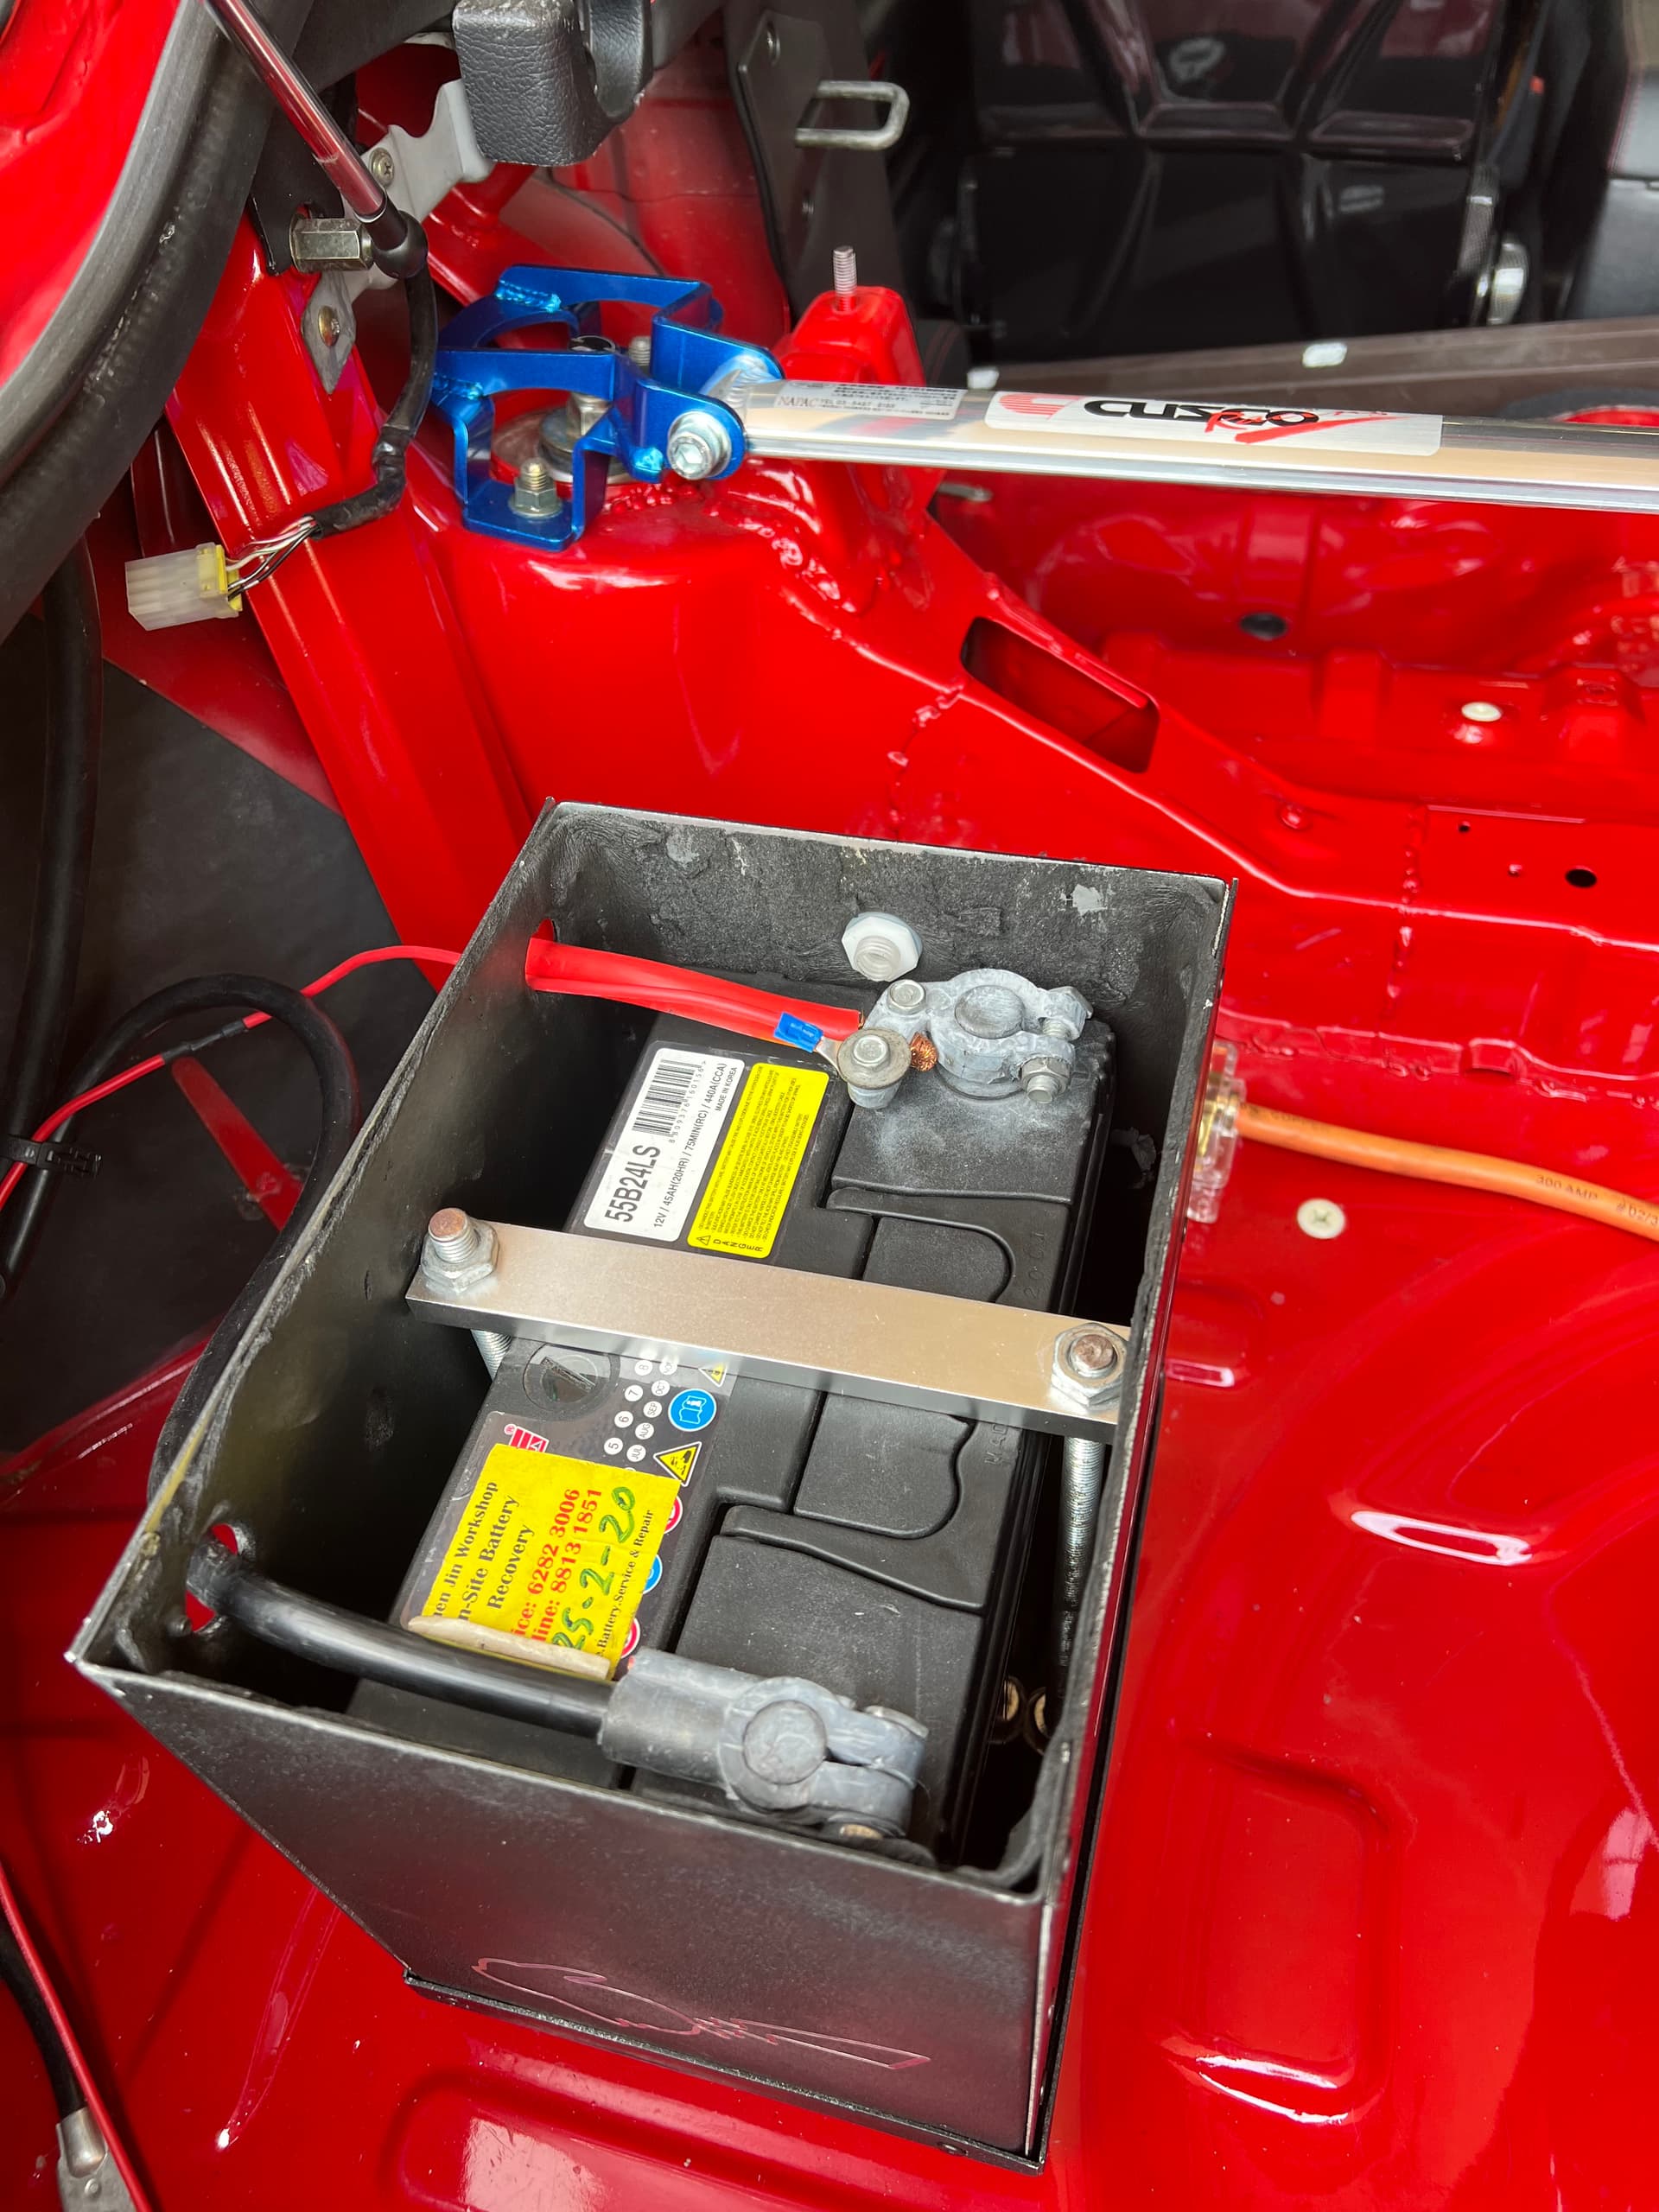
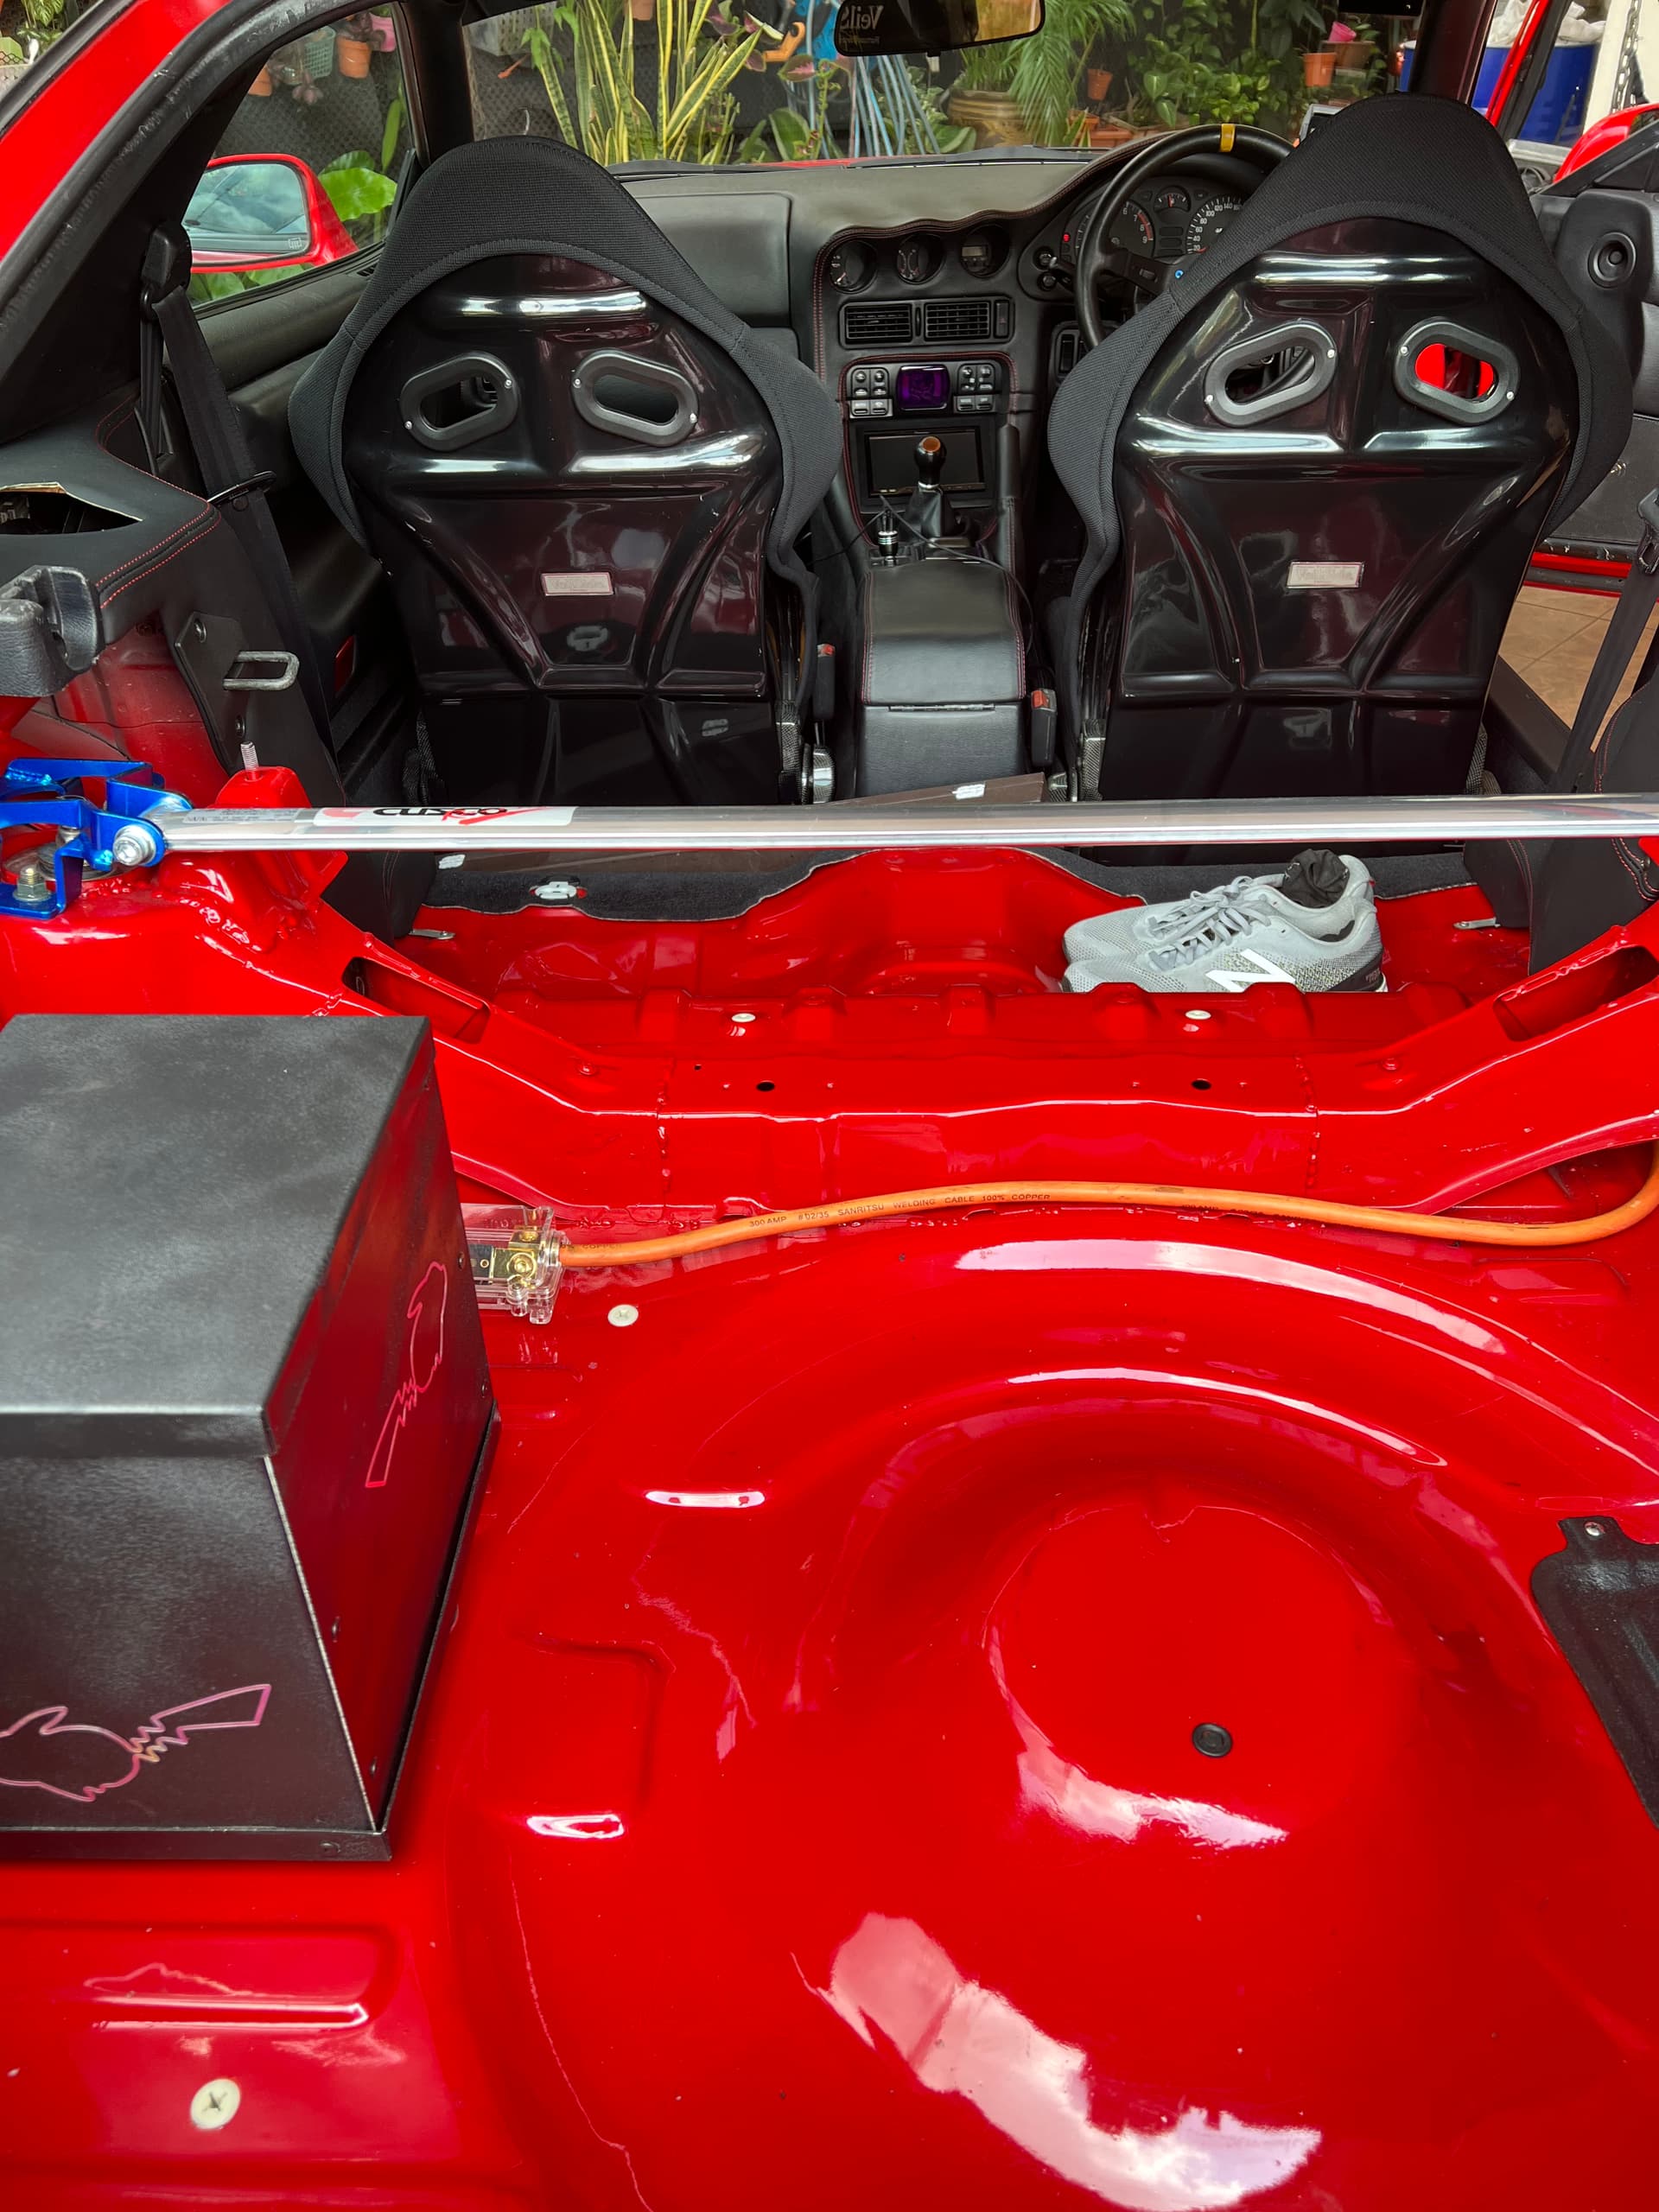
Last update was the messy wiring. Tons of work wears done since then.
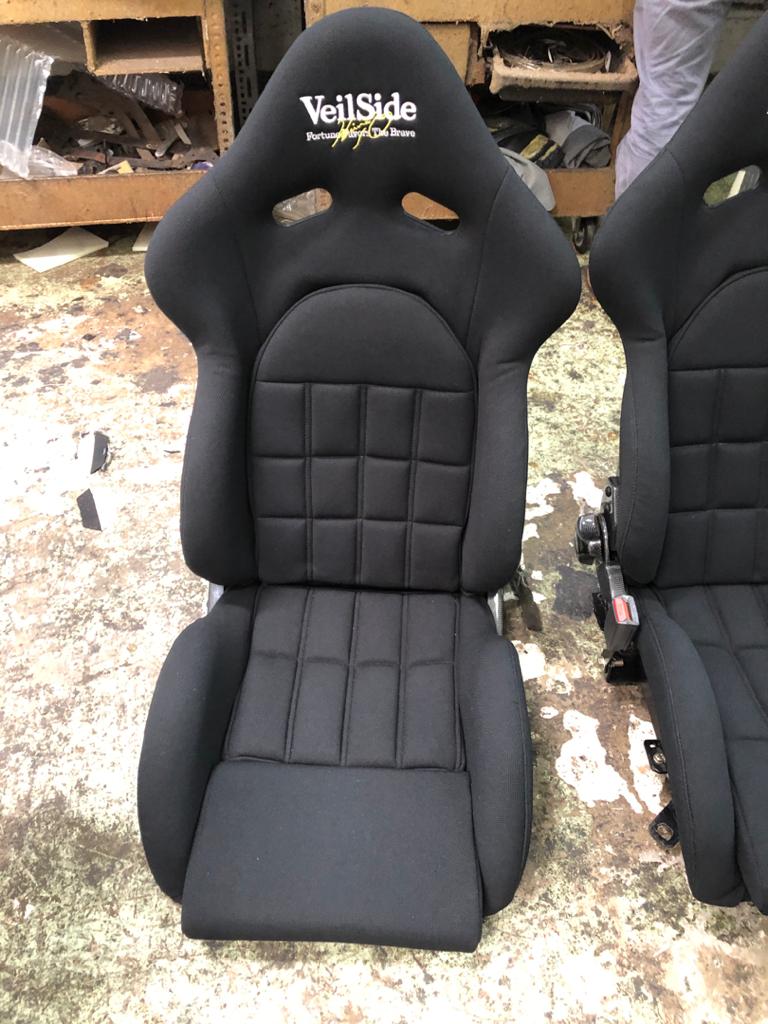
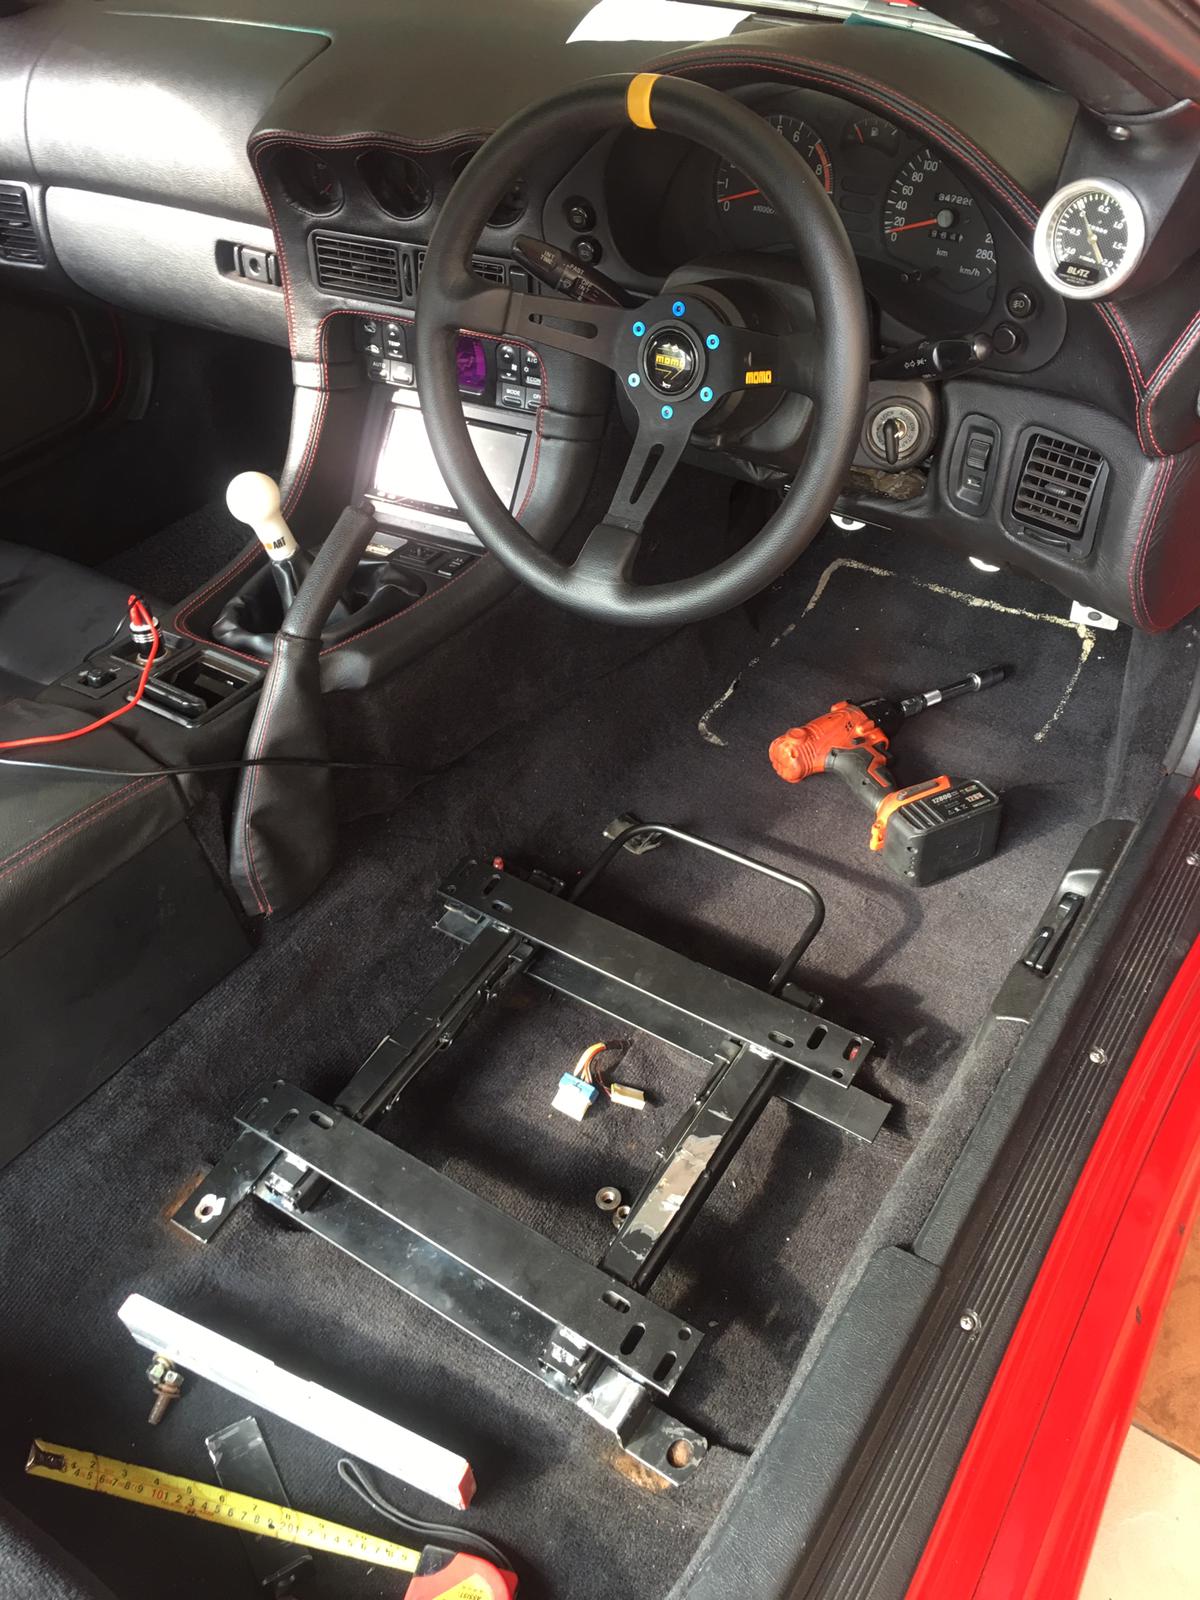
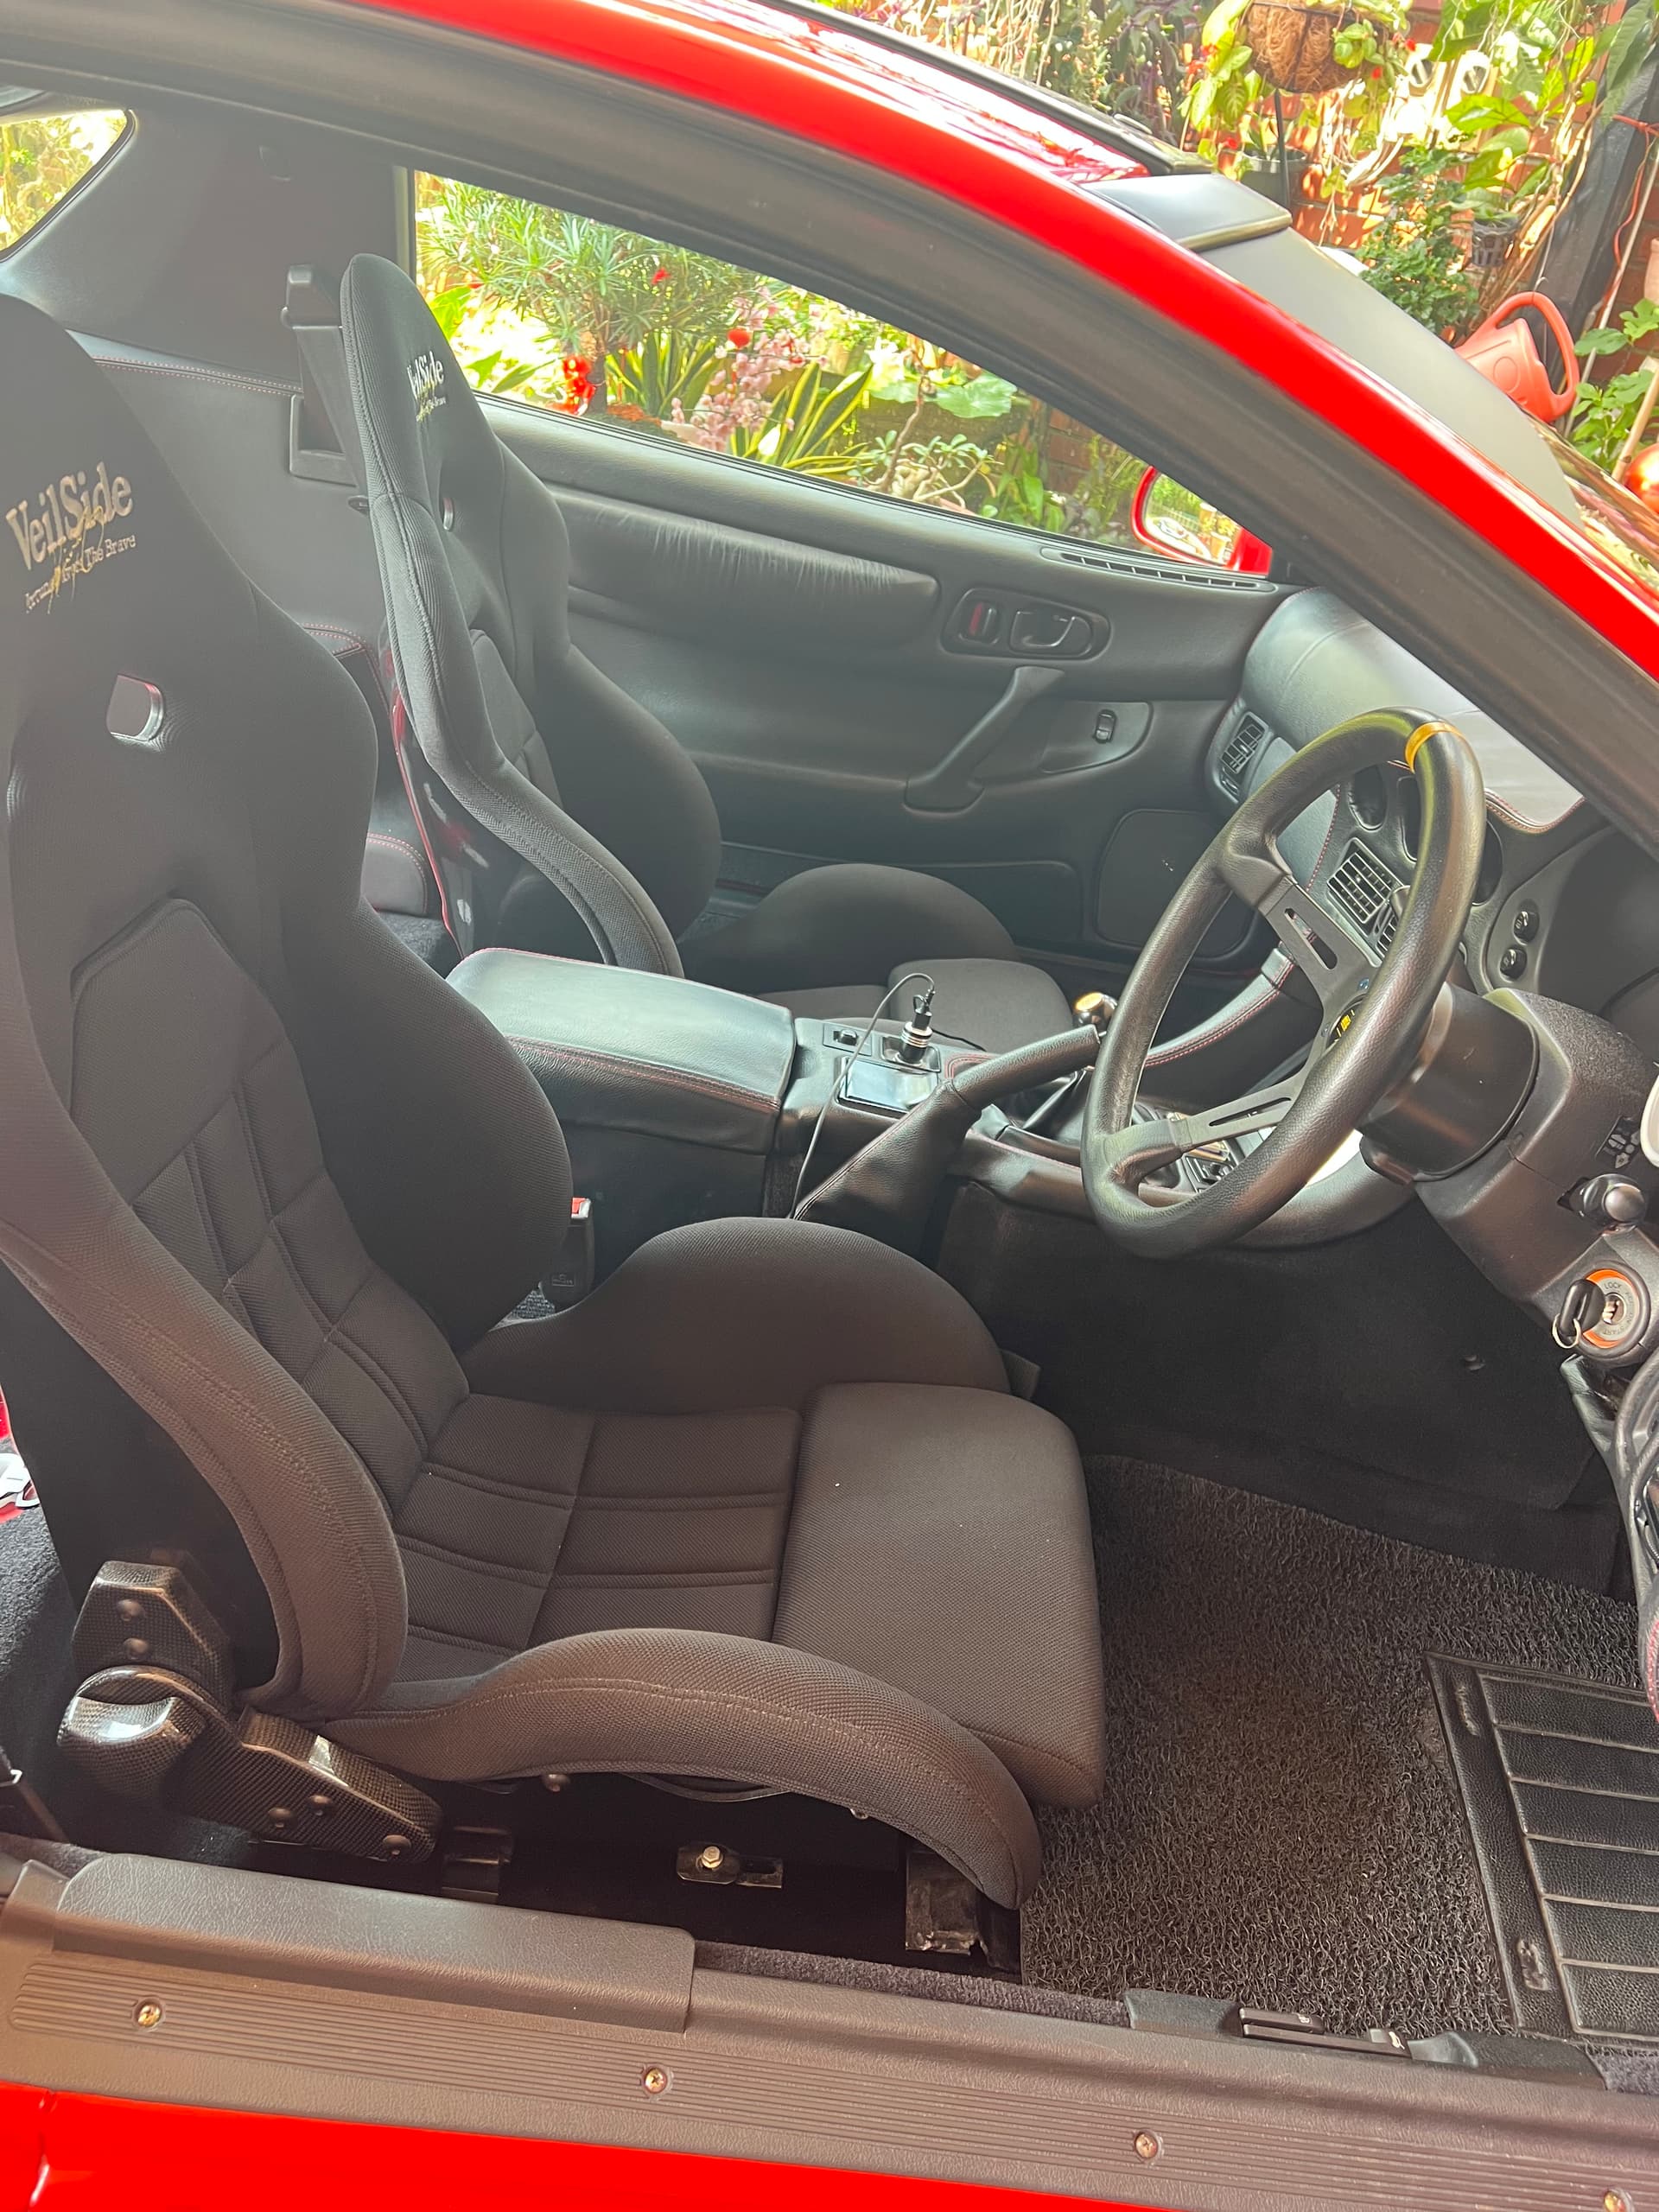
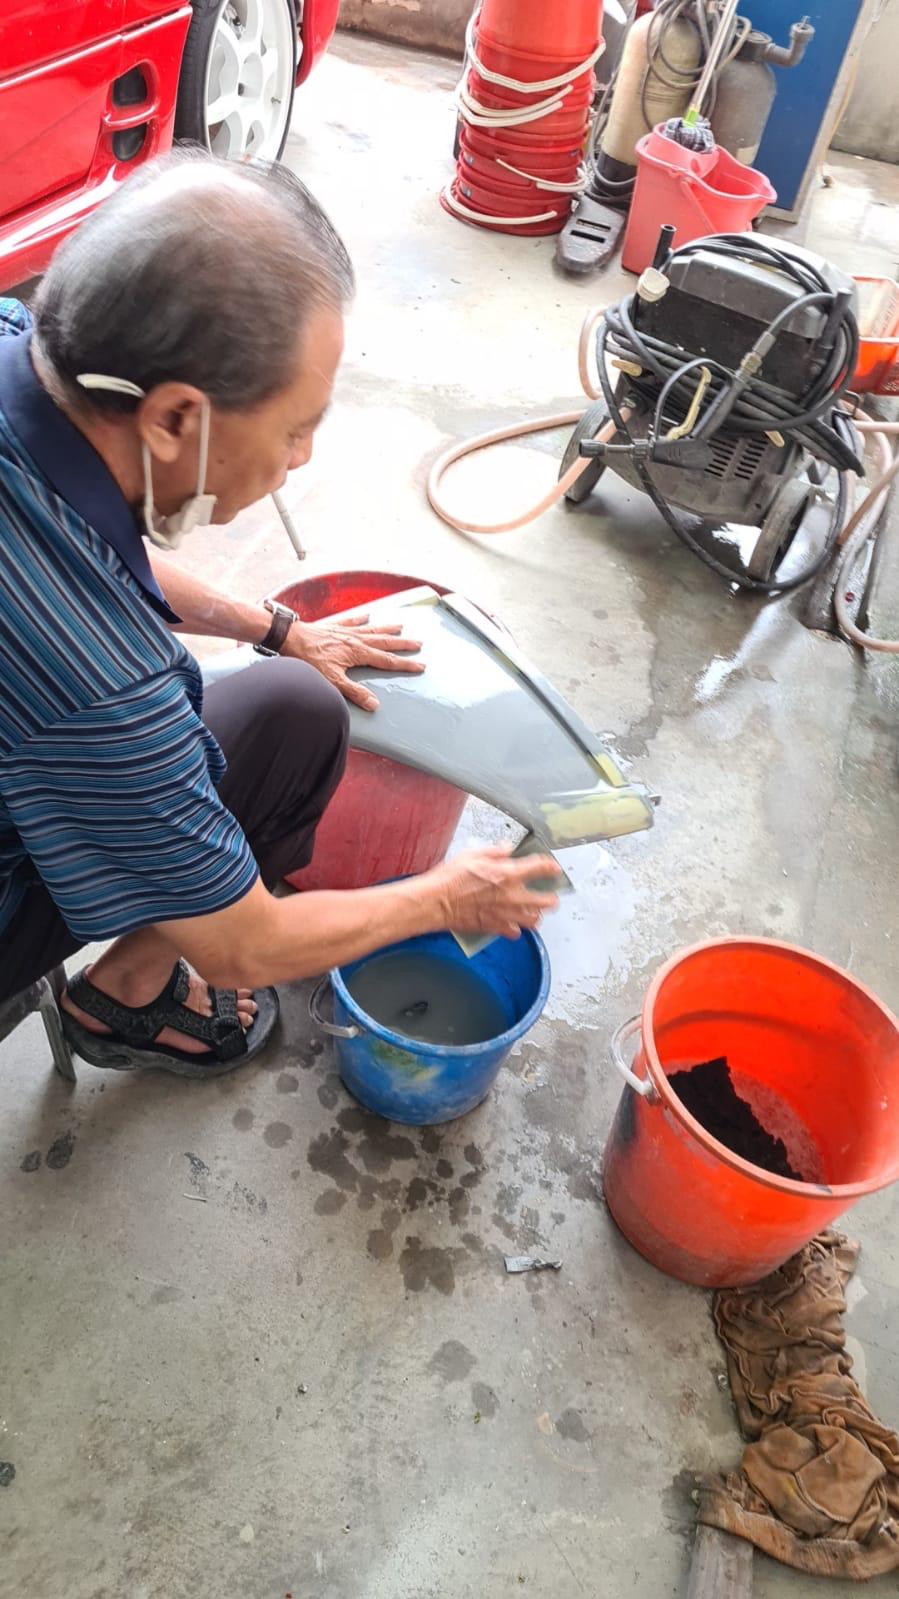
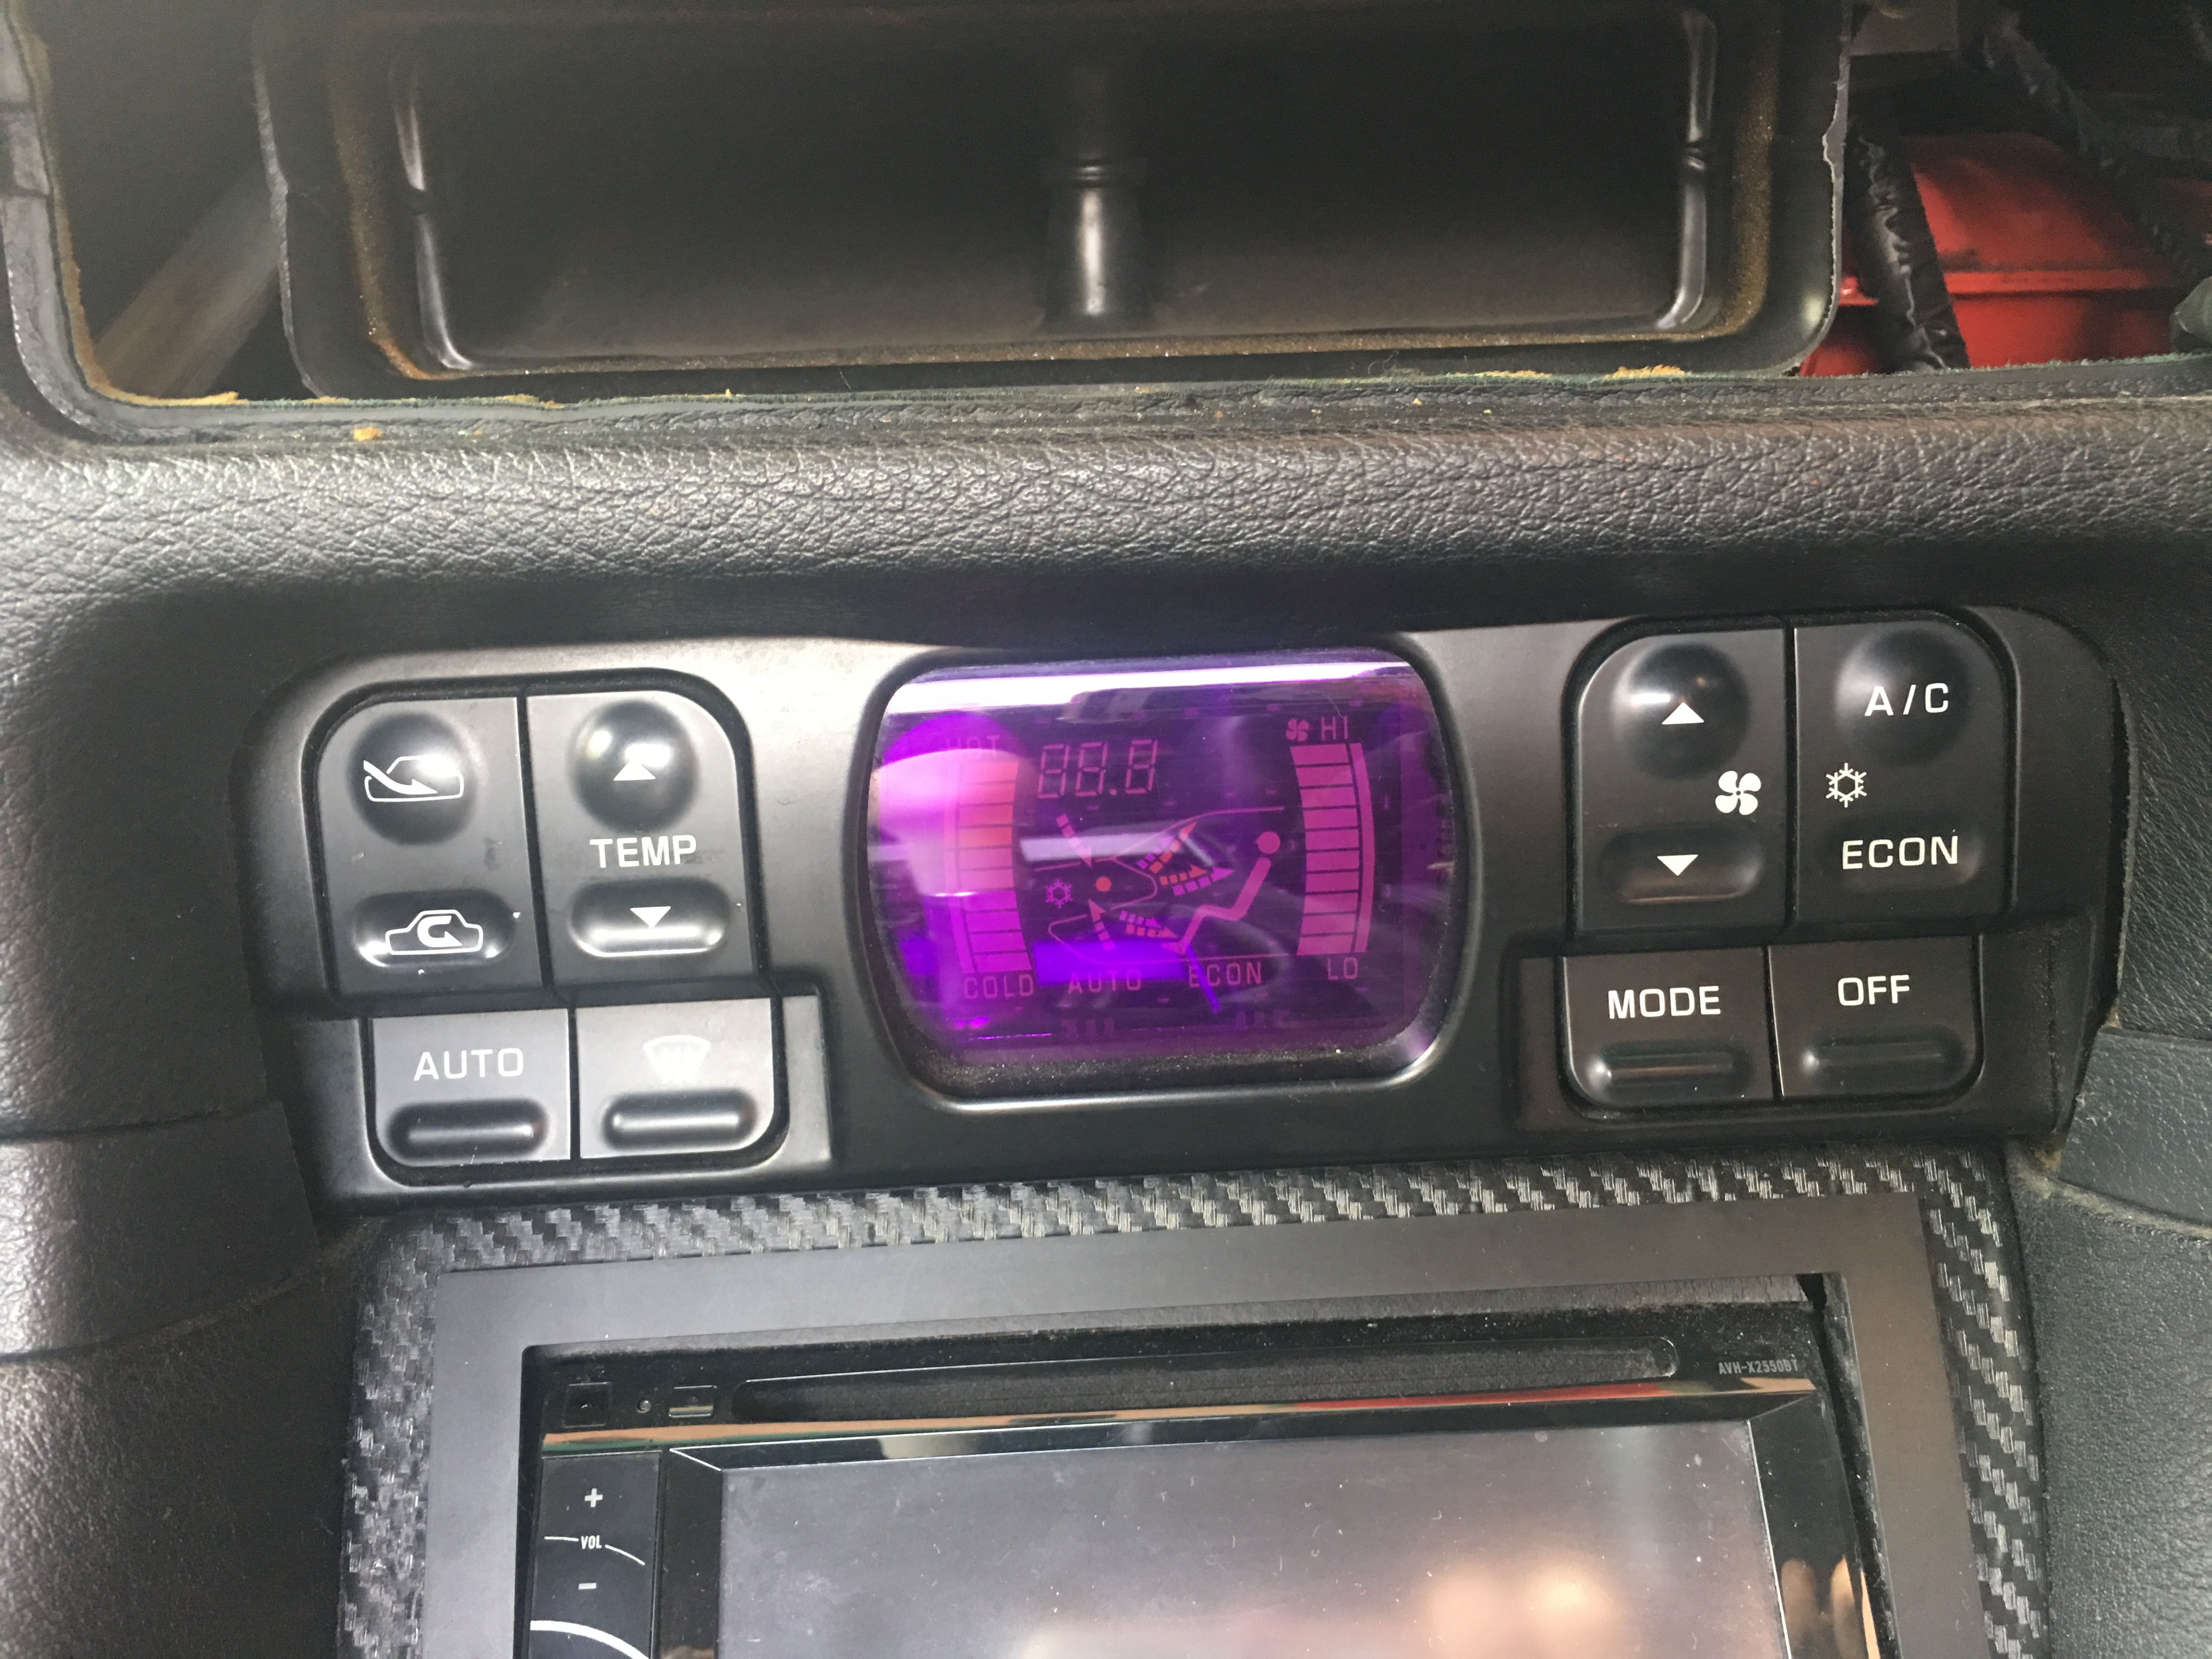
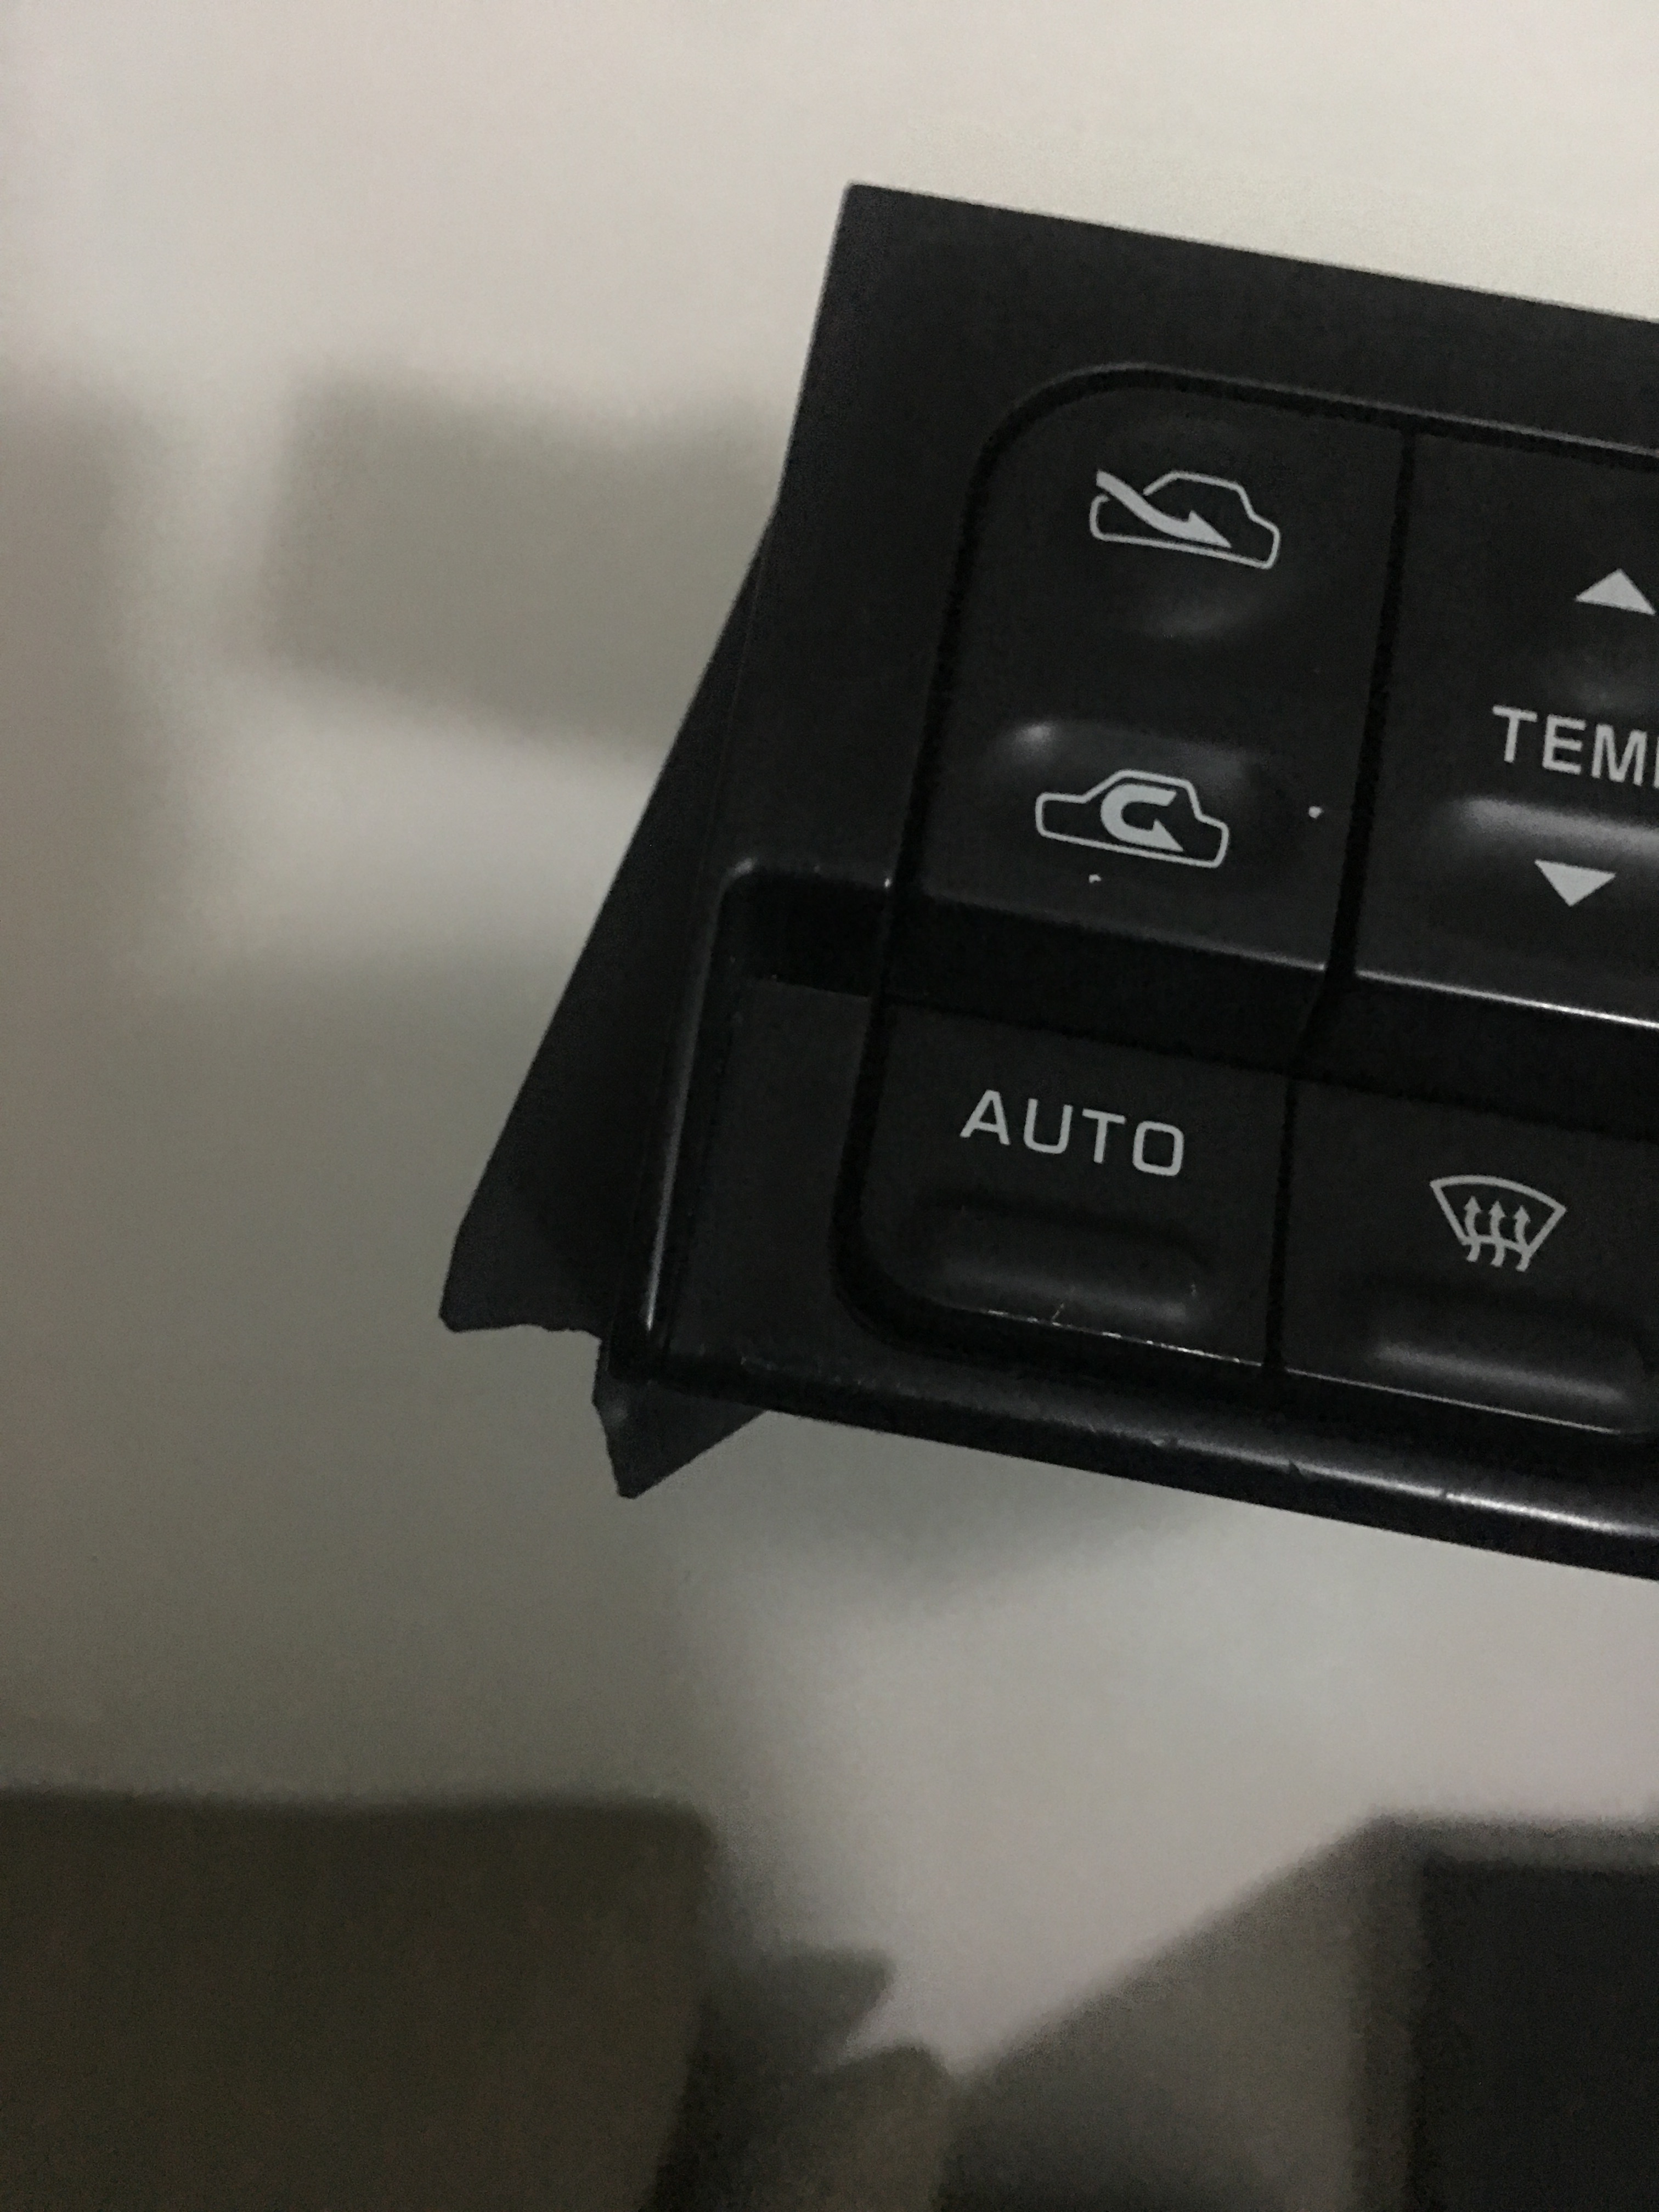
Steering wheel replaced with a MOMO deep dish steering wheel and all broken aircon vents and dash board were send to interior upholstery repair for a new coat of leather.
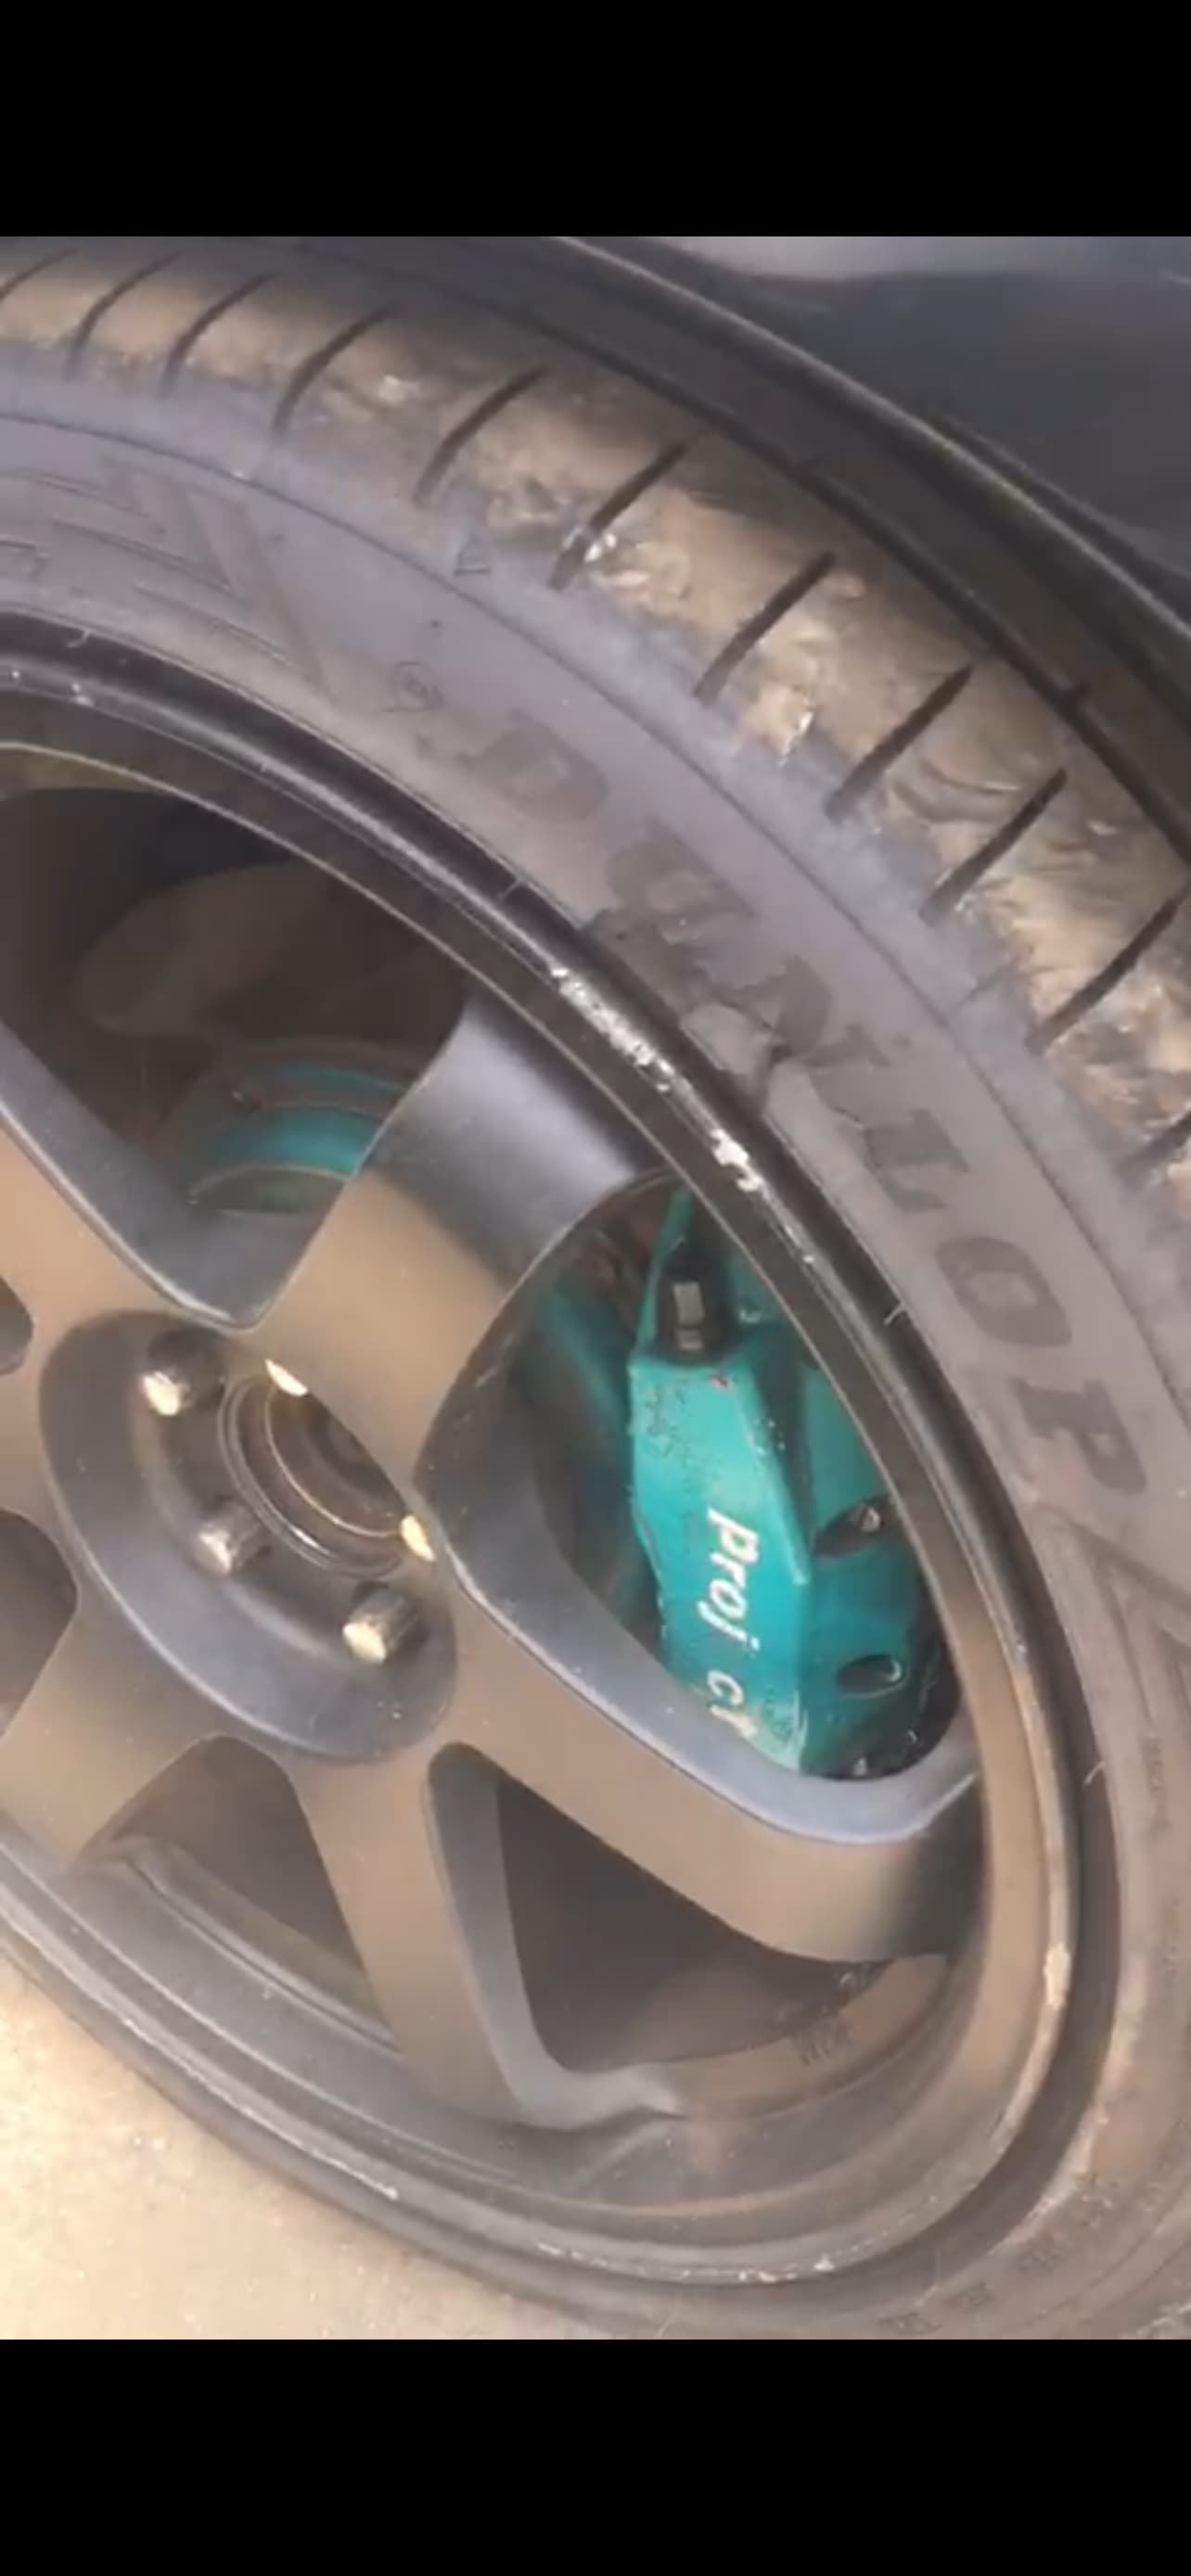
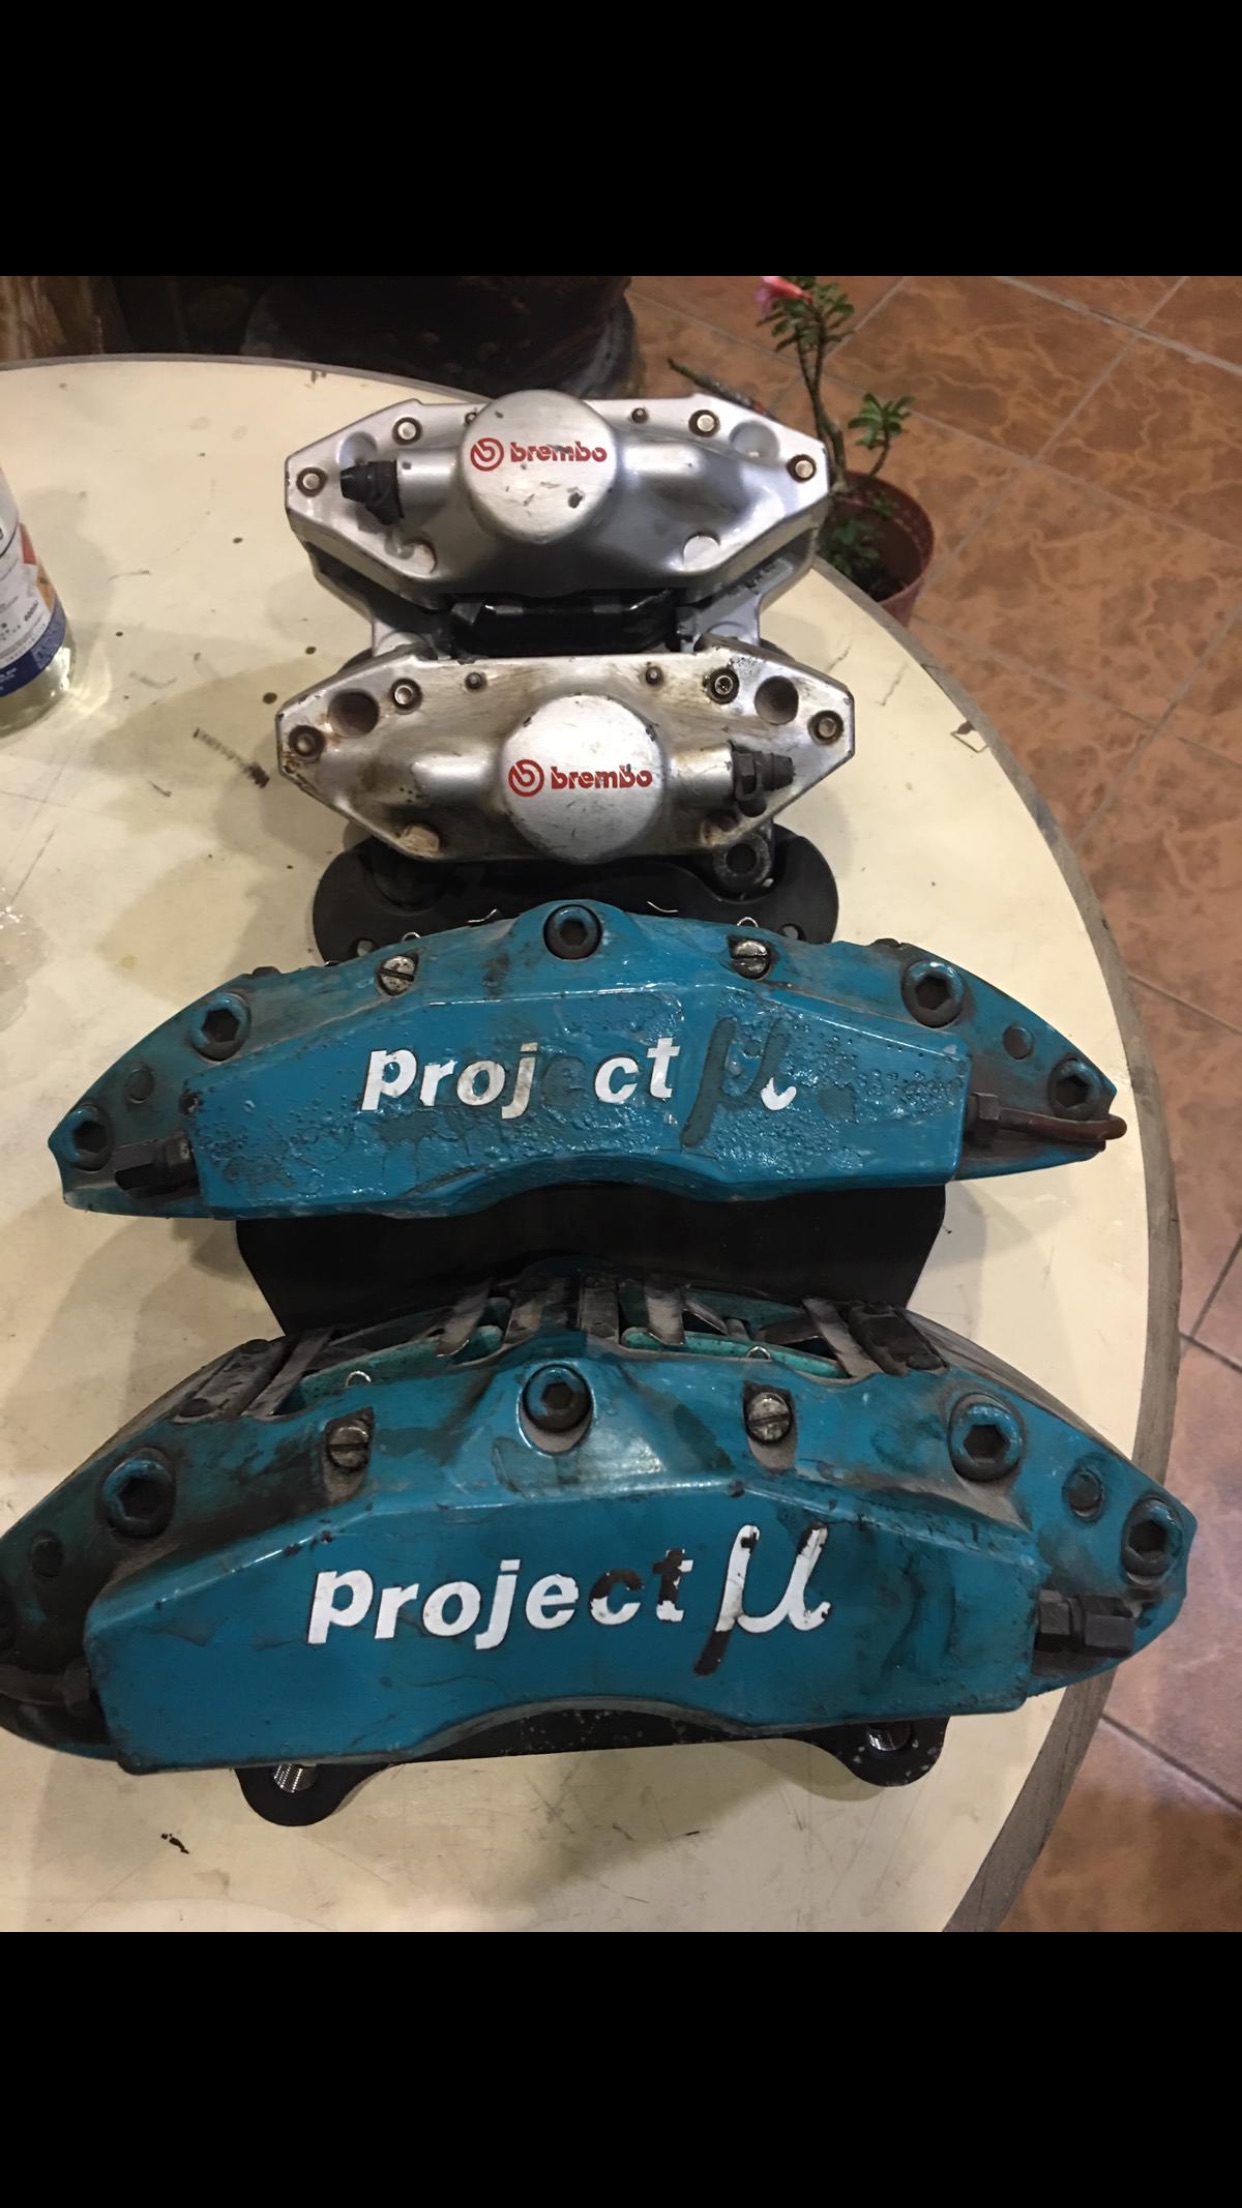
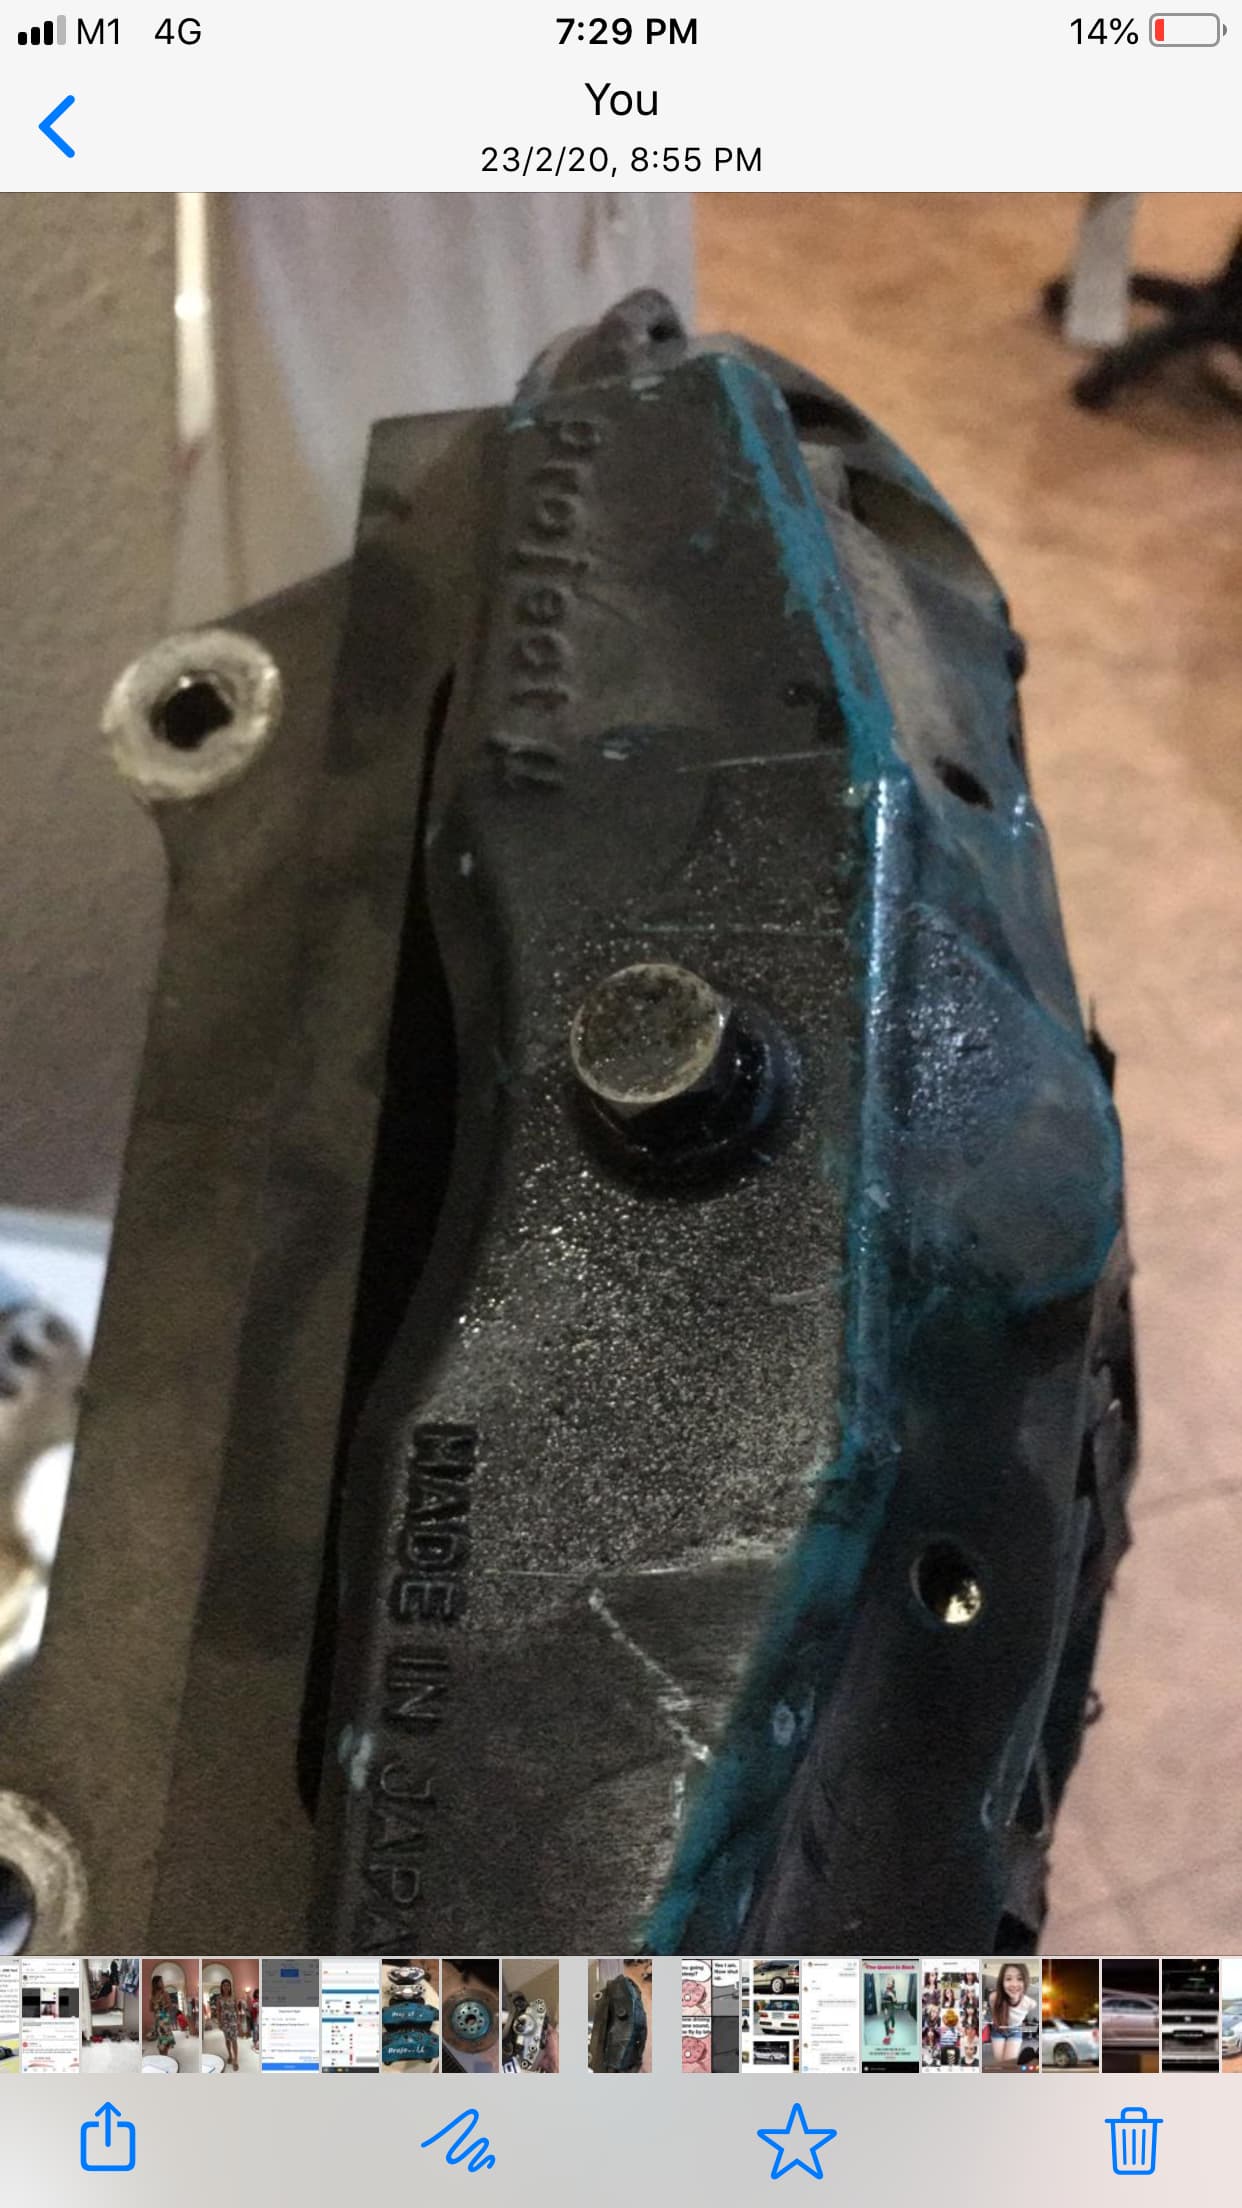
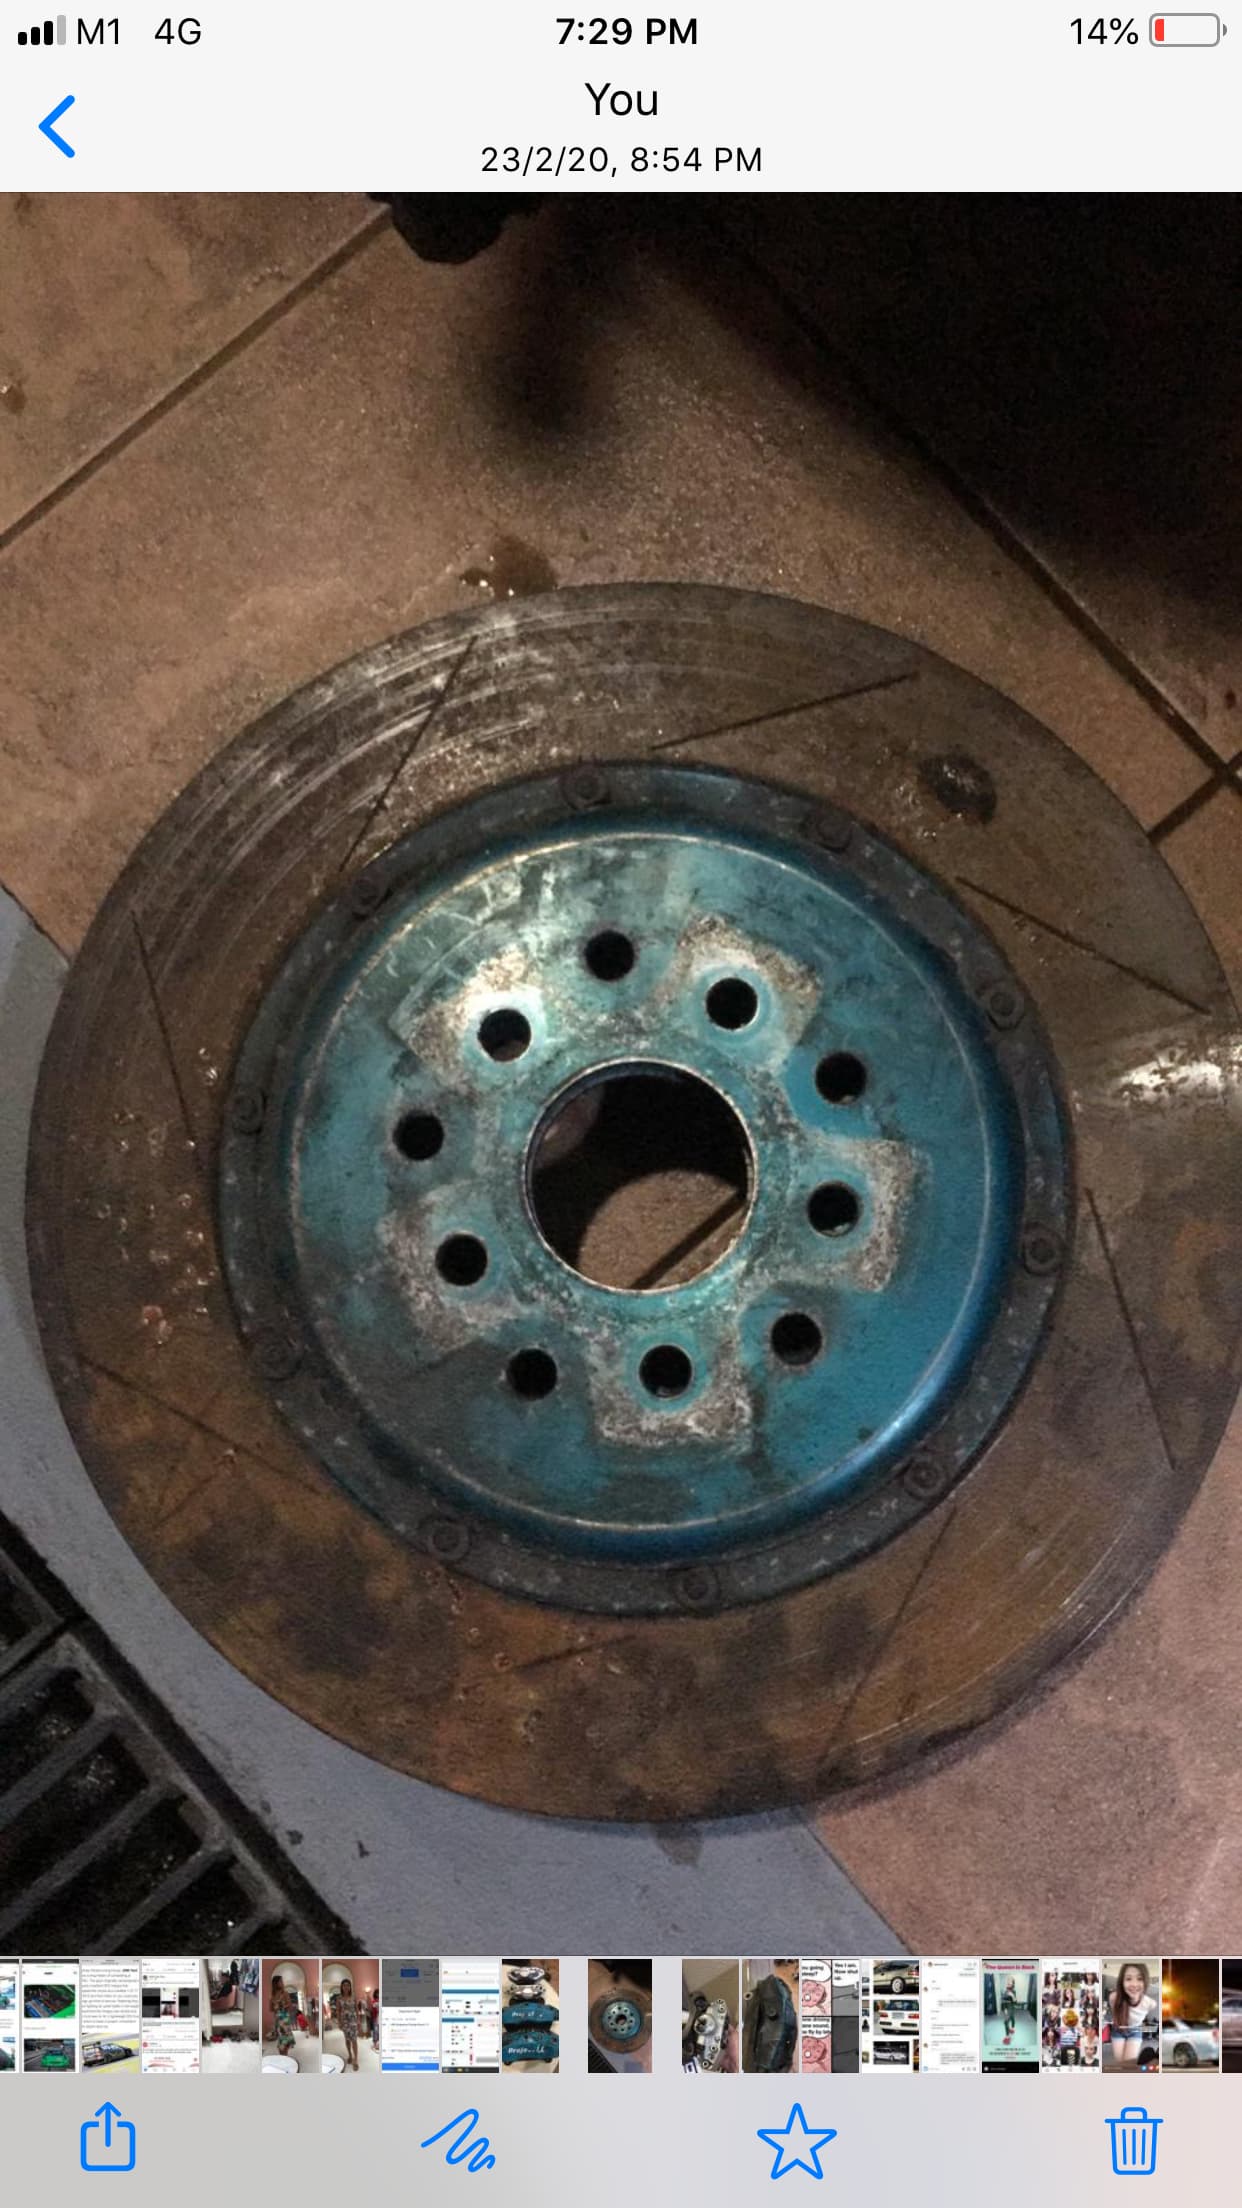
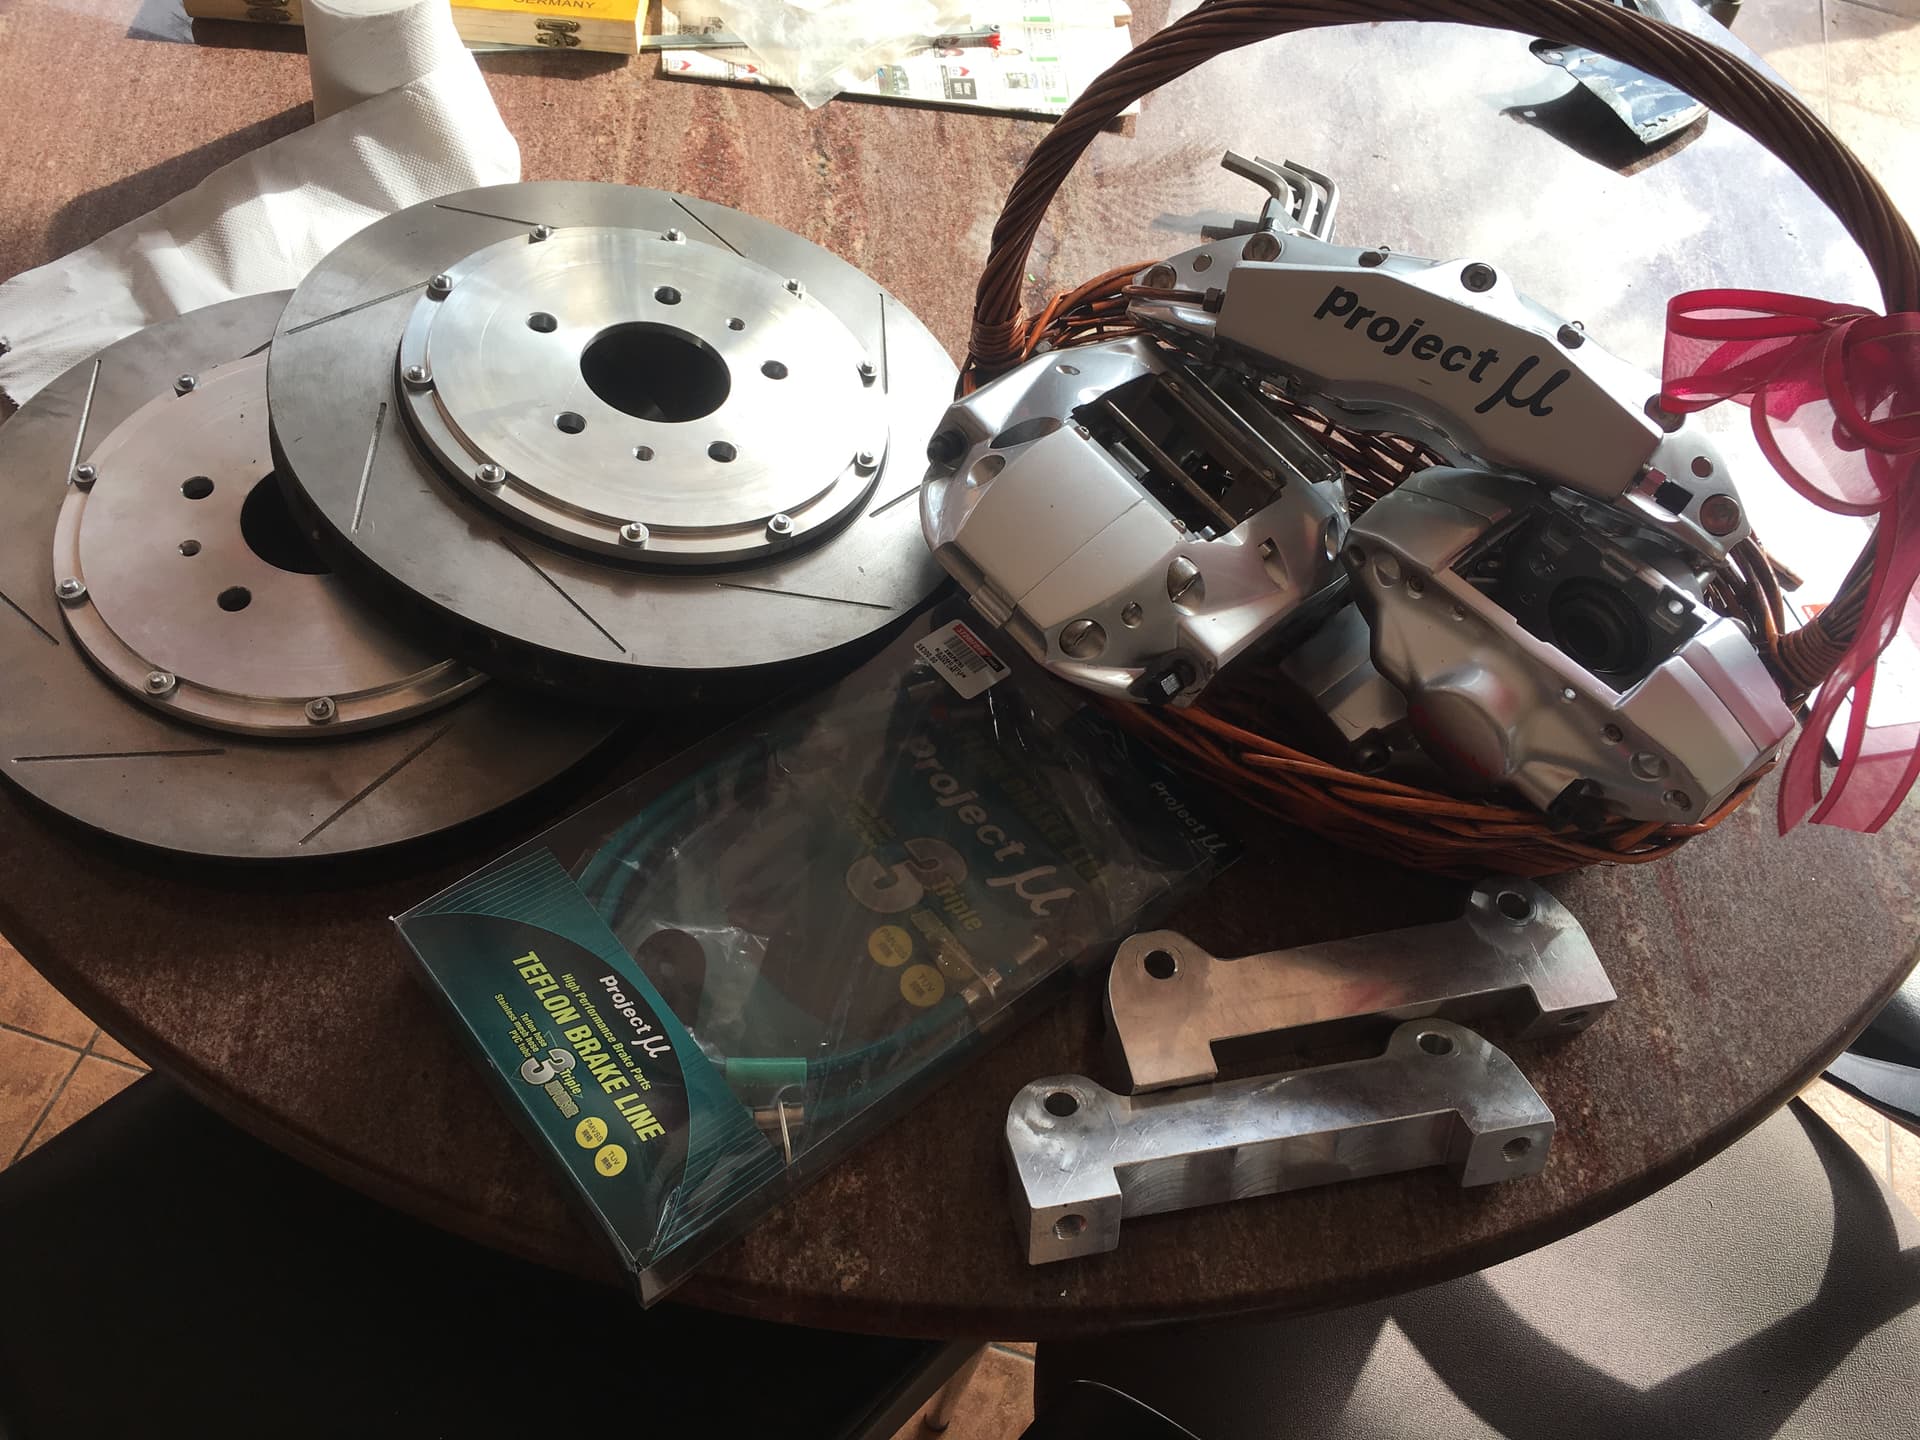
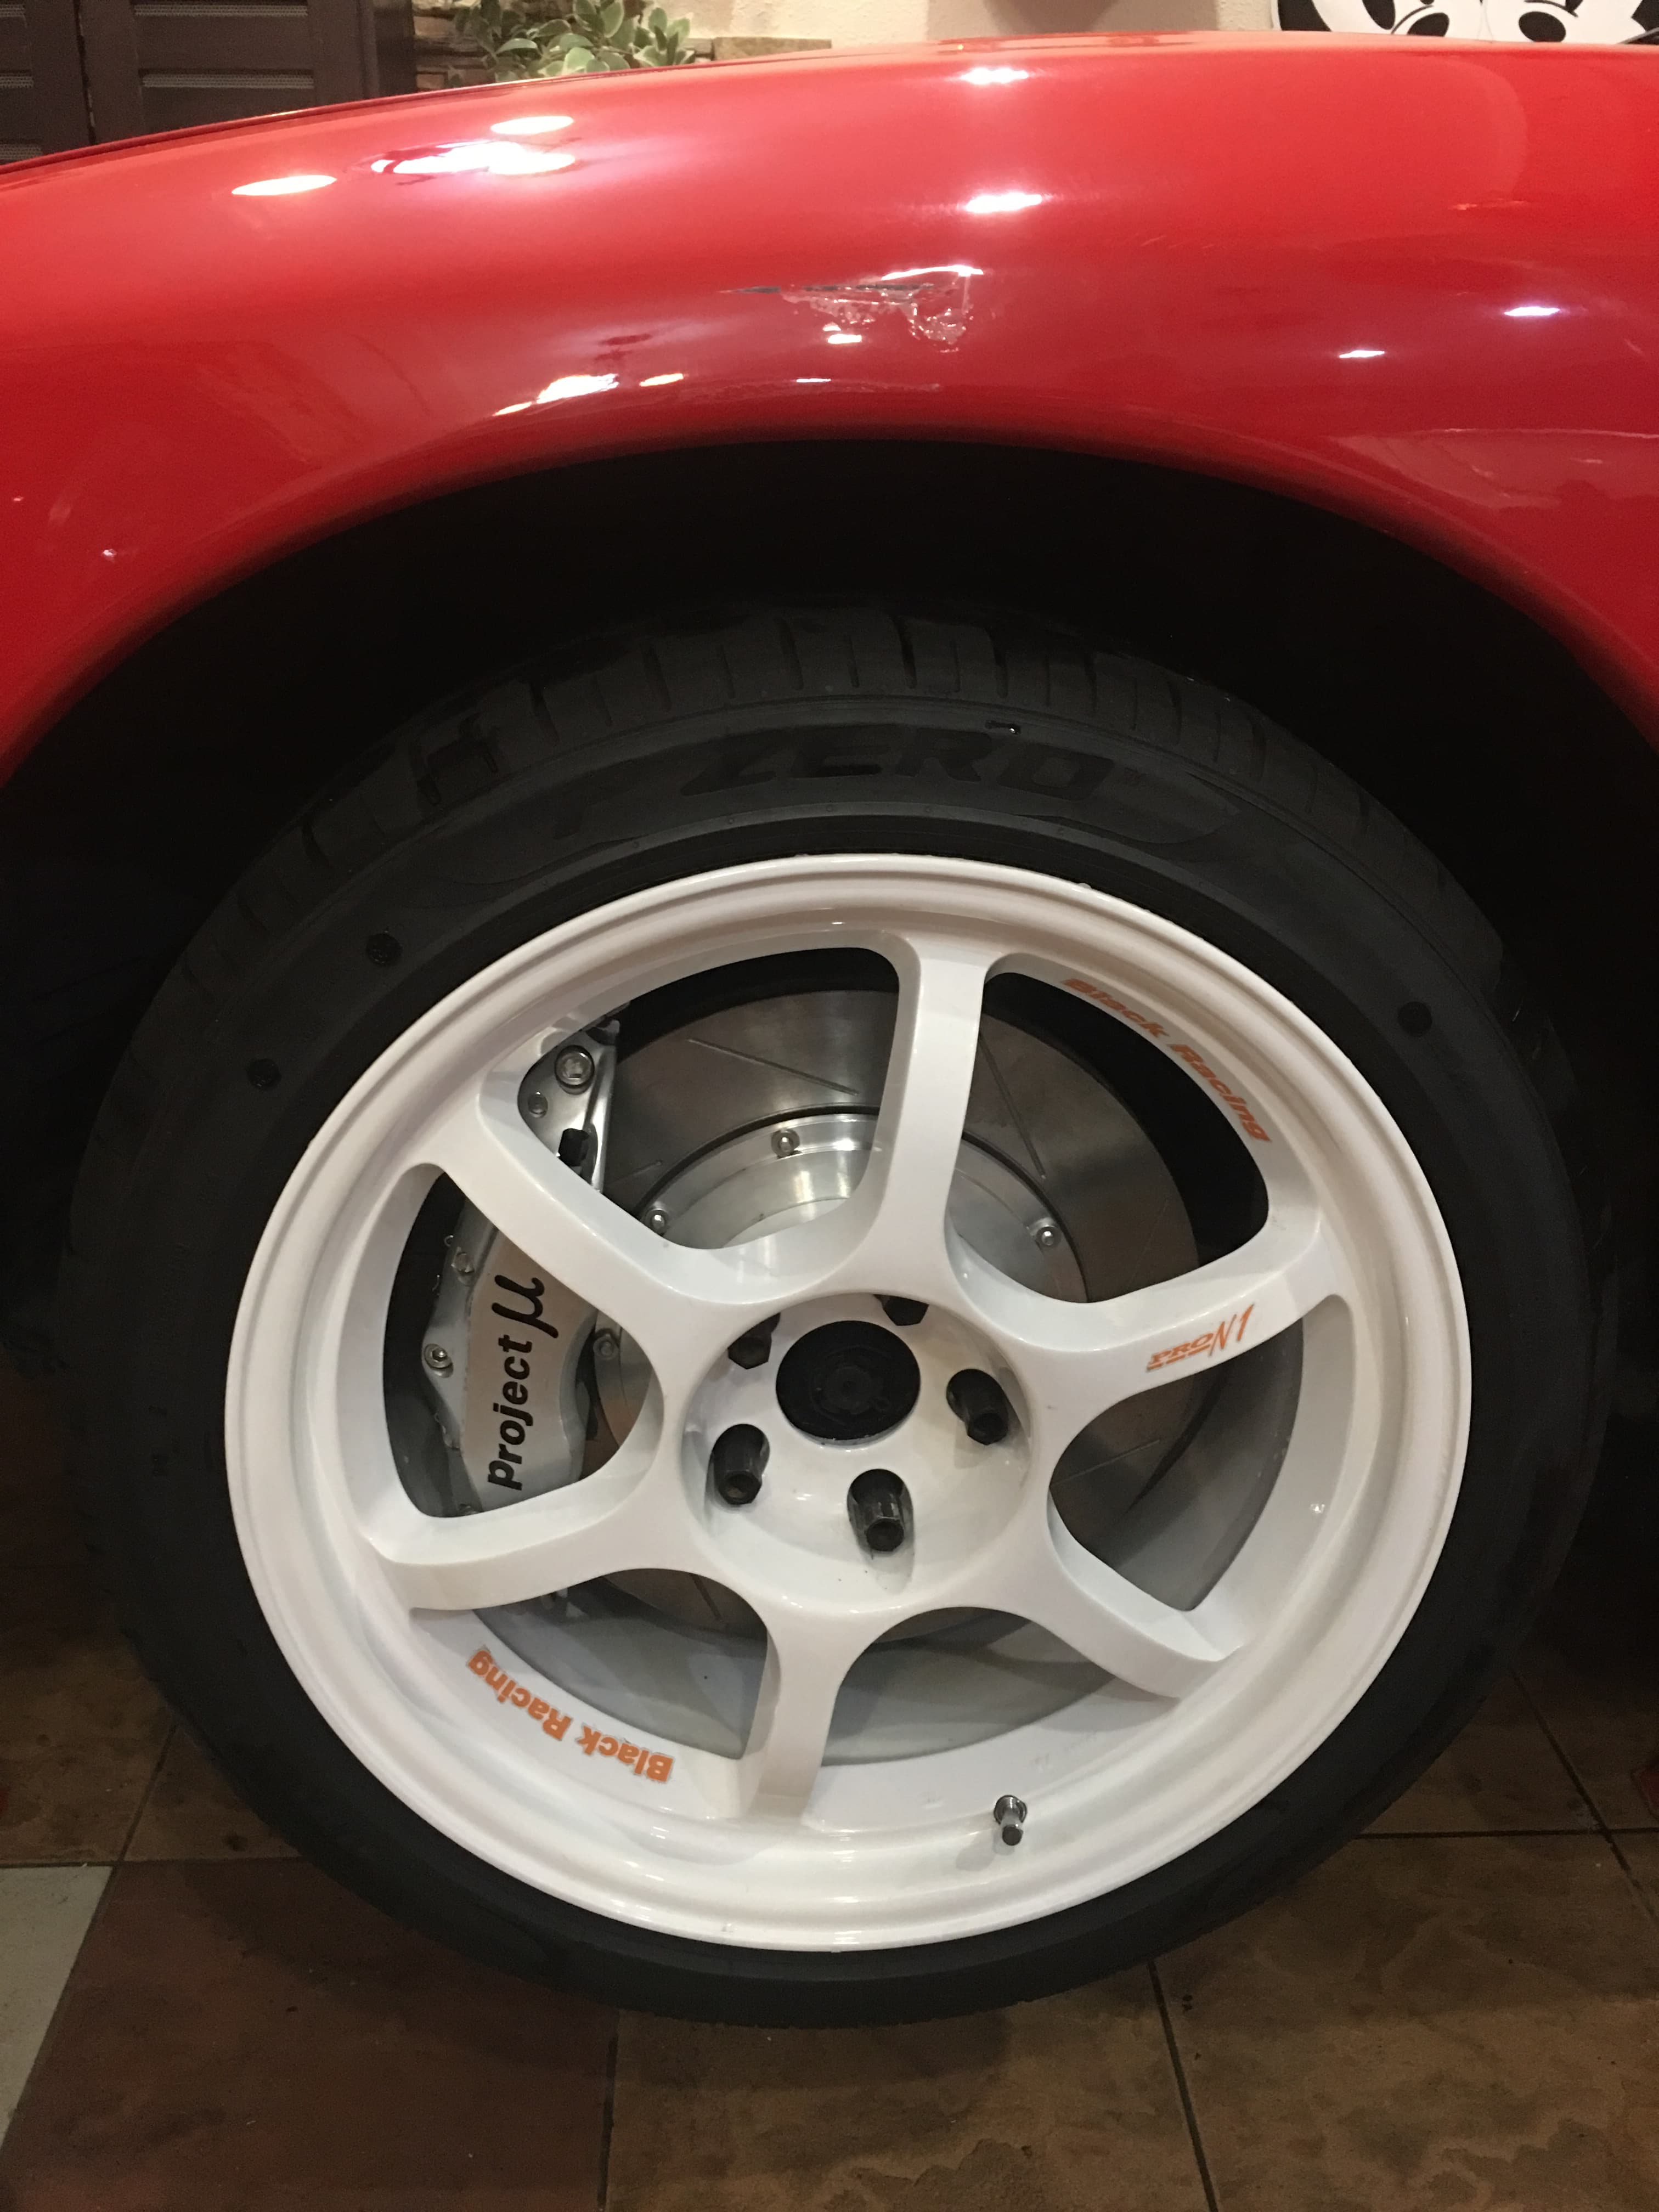
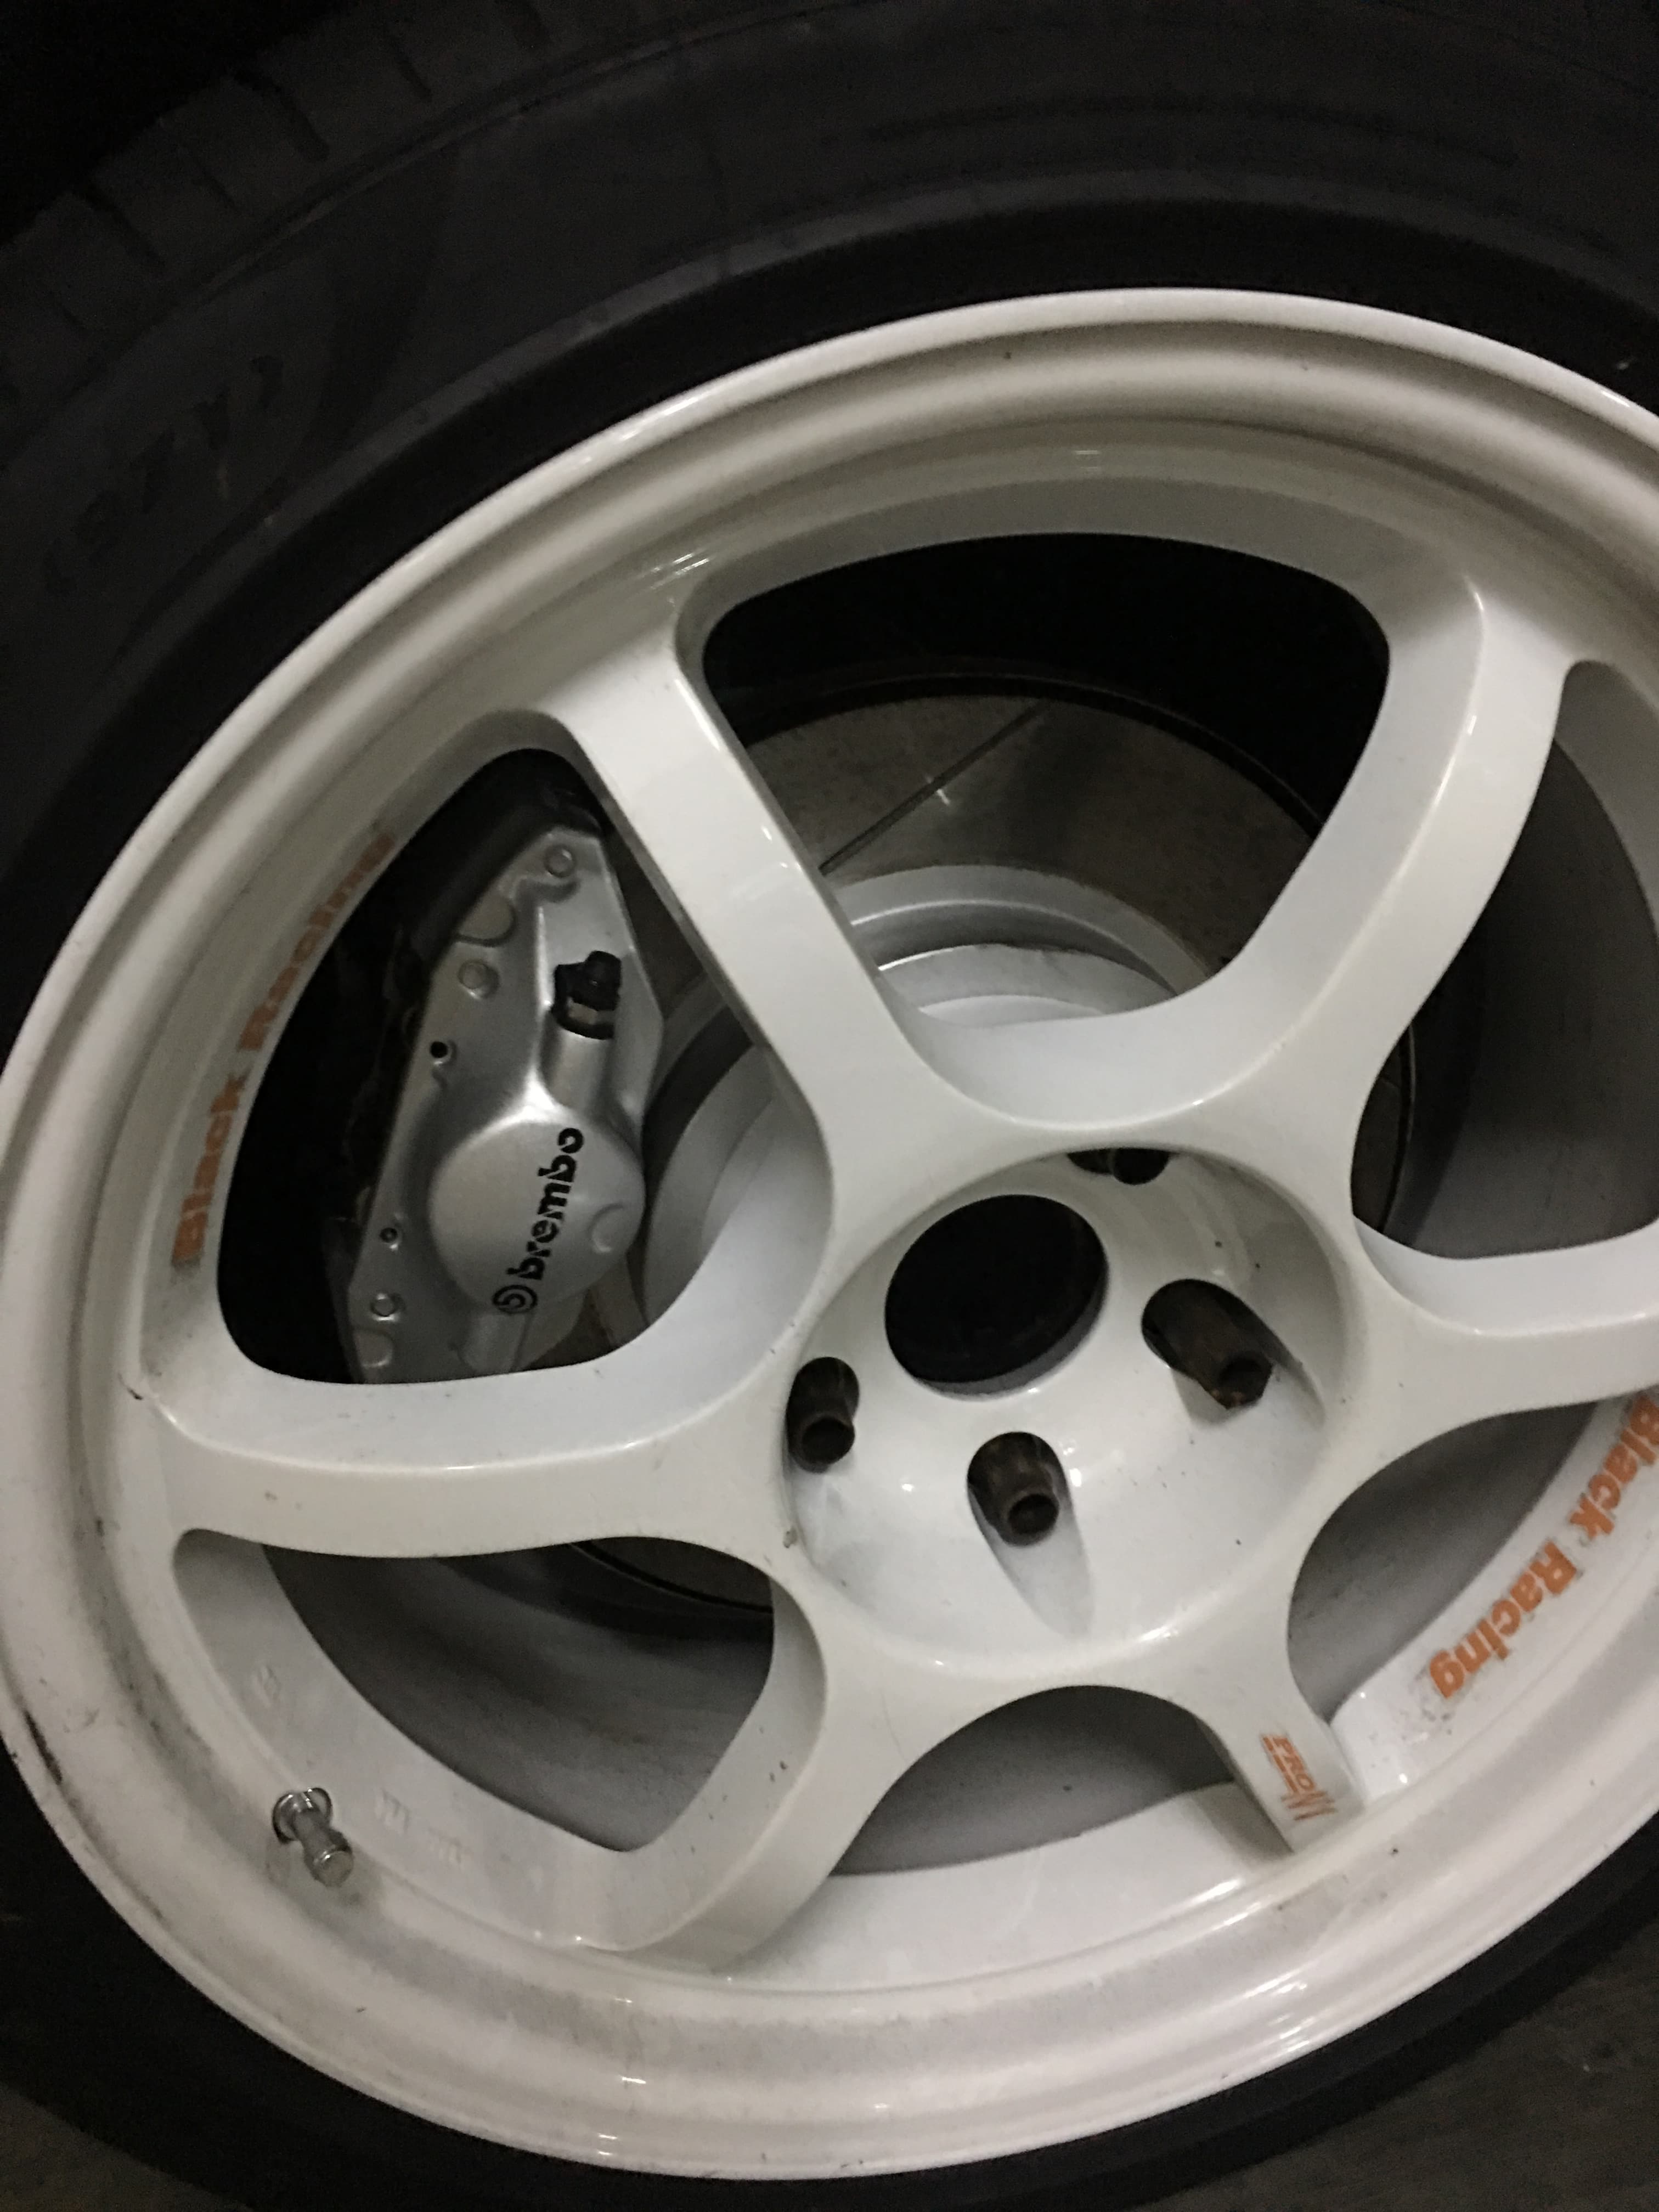
I found a set of project mu Japanese racing brakes for the Subaru Legacy and i think it’ll slap on nicely onto my car. So I bought it for $800 and start working on it.
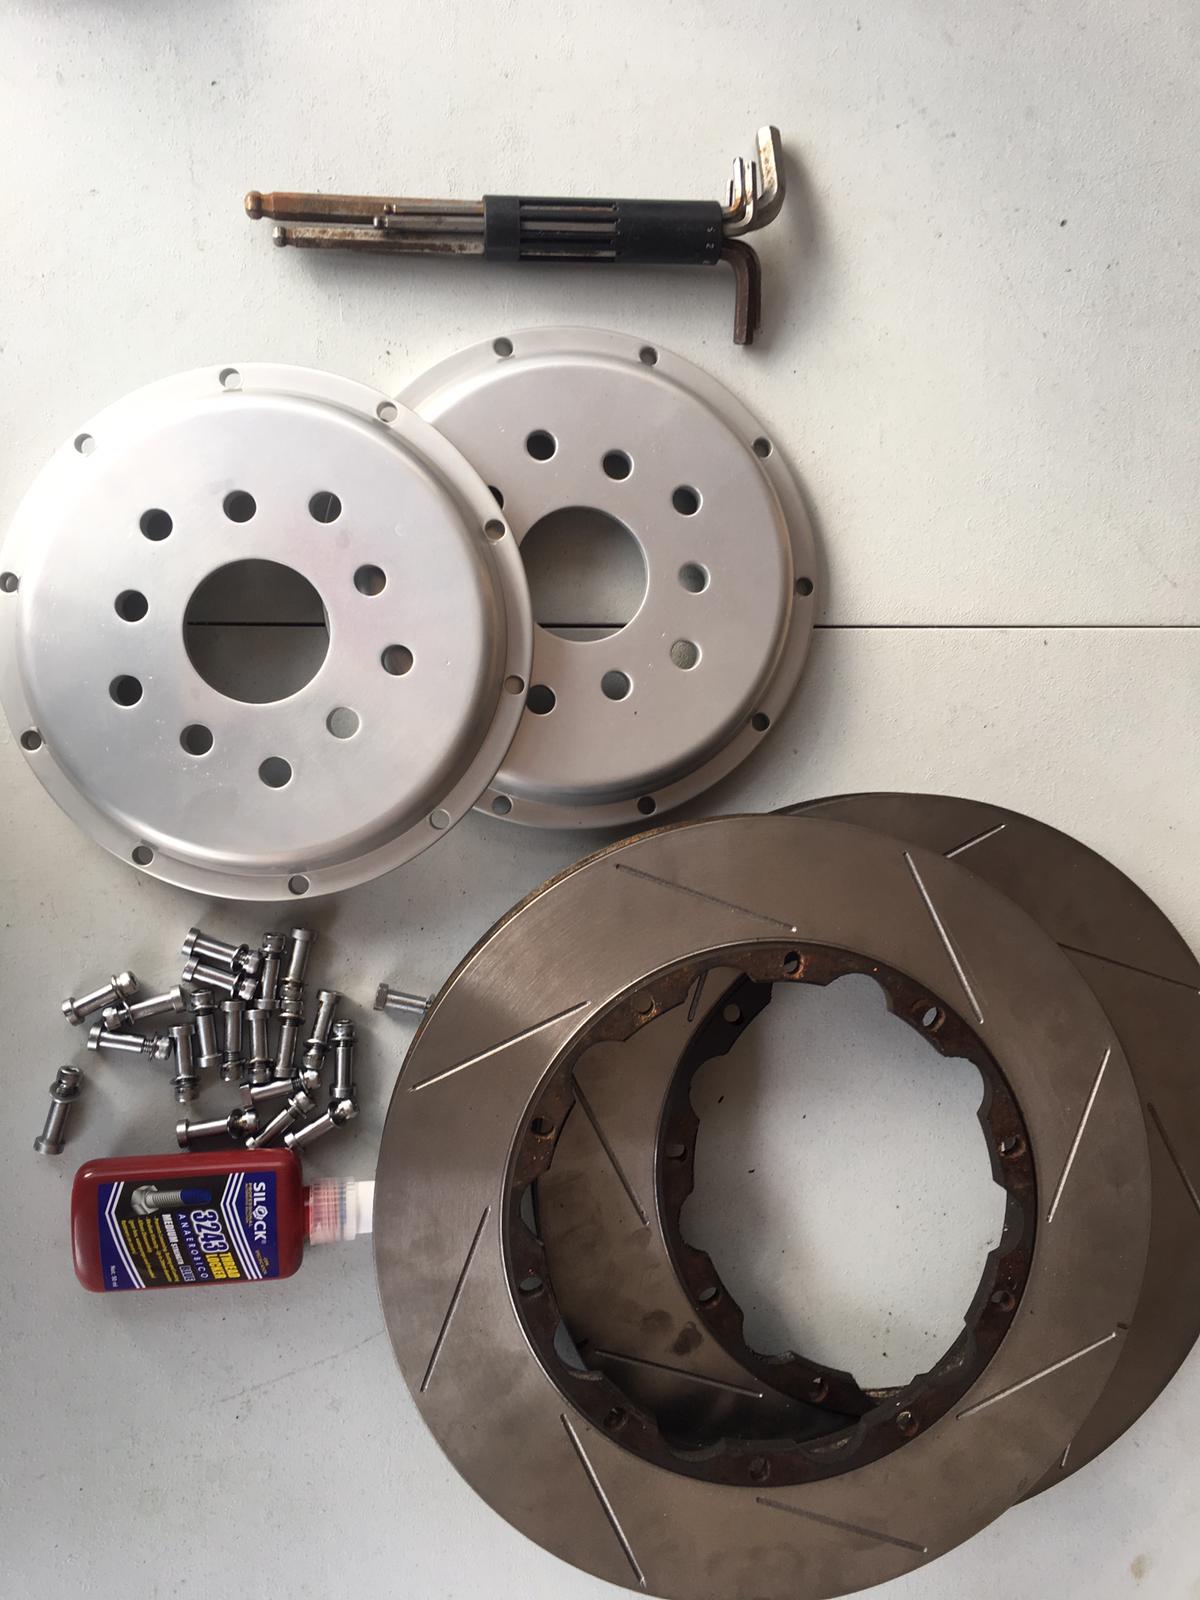
Re-slot the rotors, customise the brackets and bells, got a set of project mu brake lines for the civic fd2r (yes they fit) service the brake calipers, project mu brake oil, change all calipers hardware and the end result…..
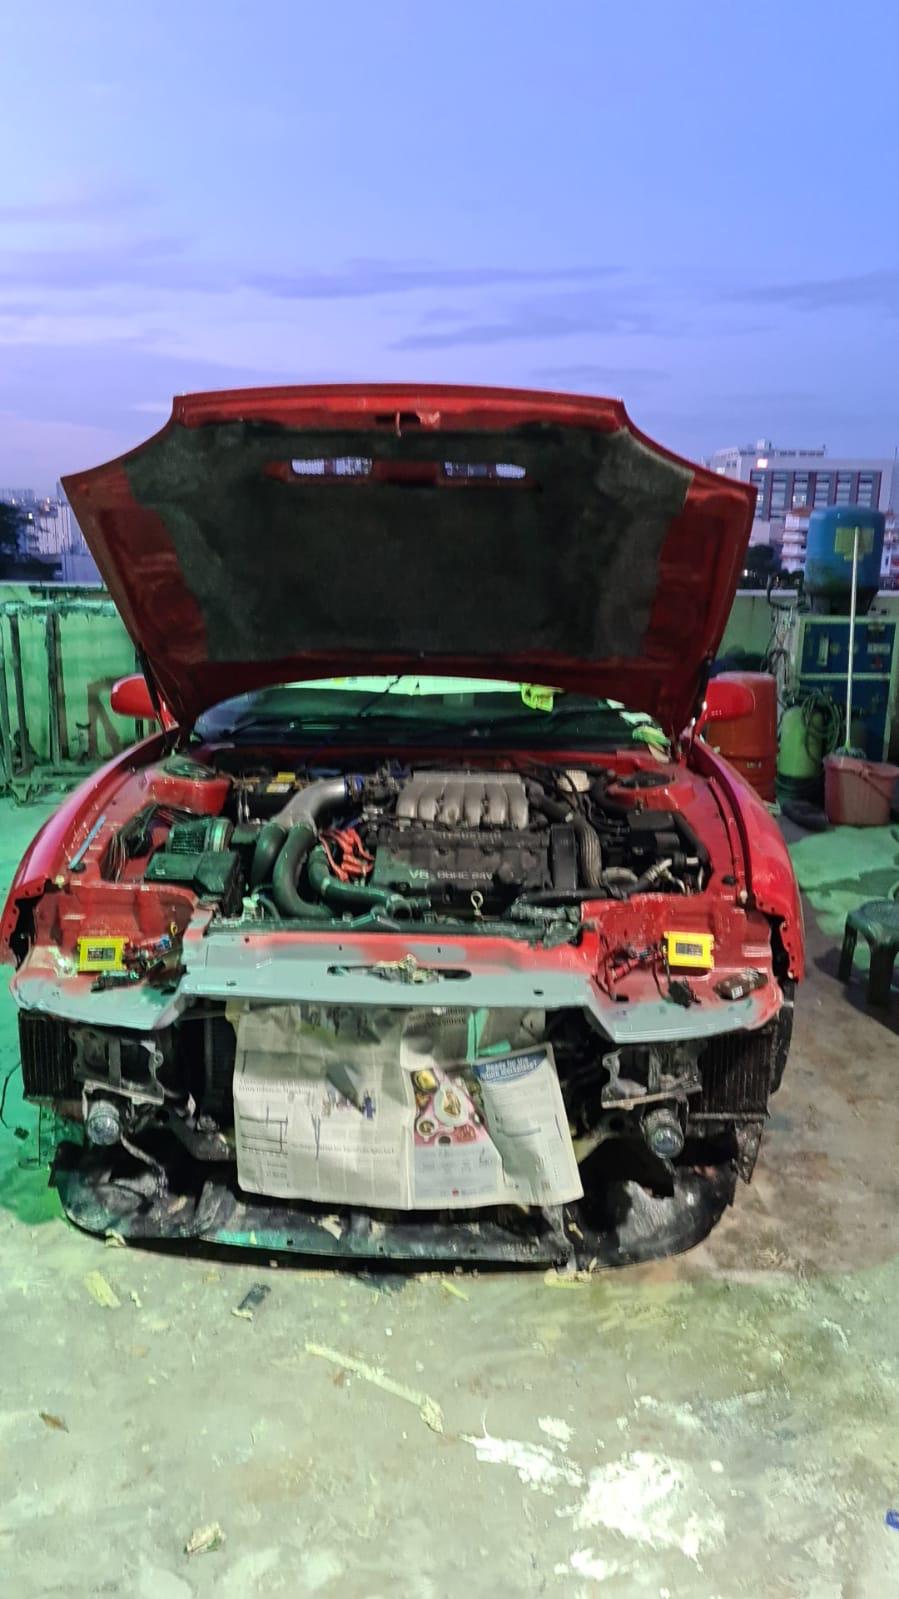
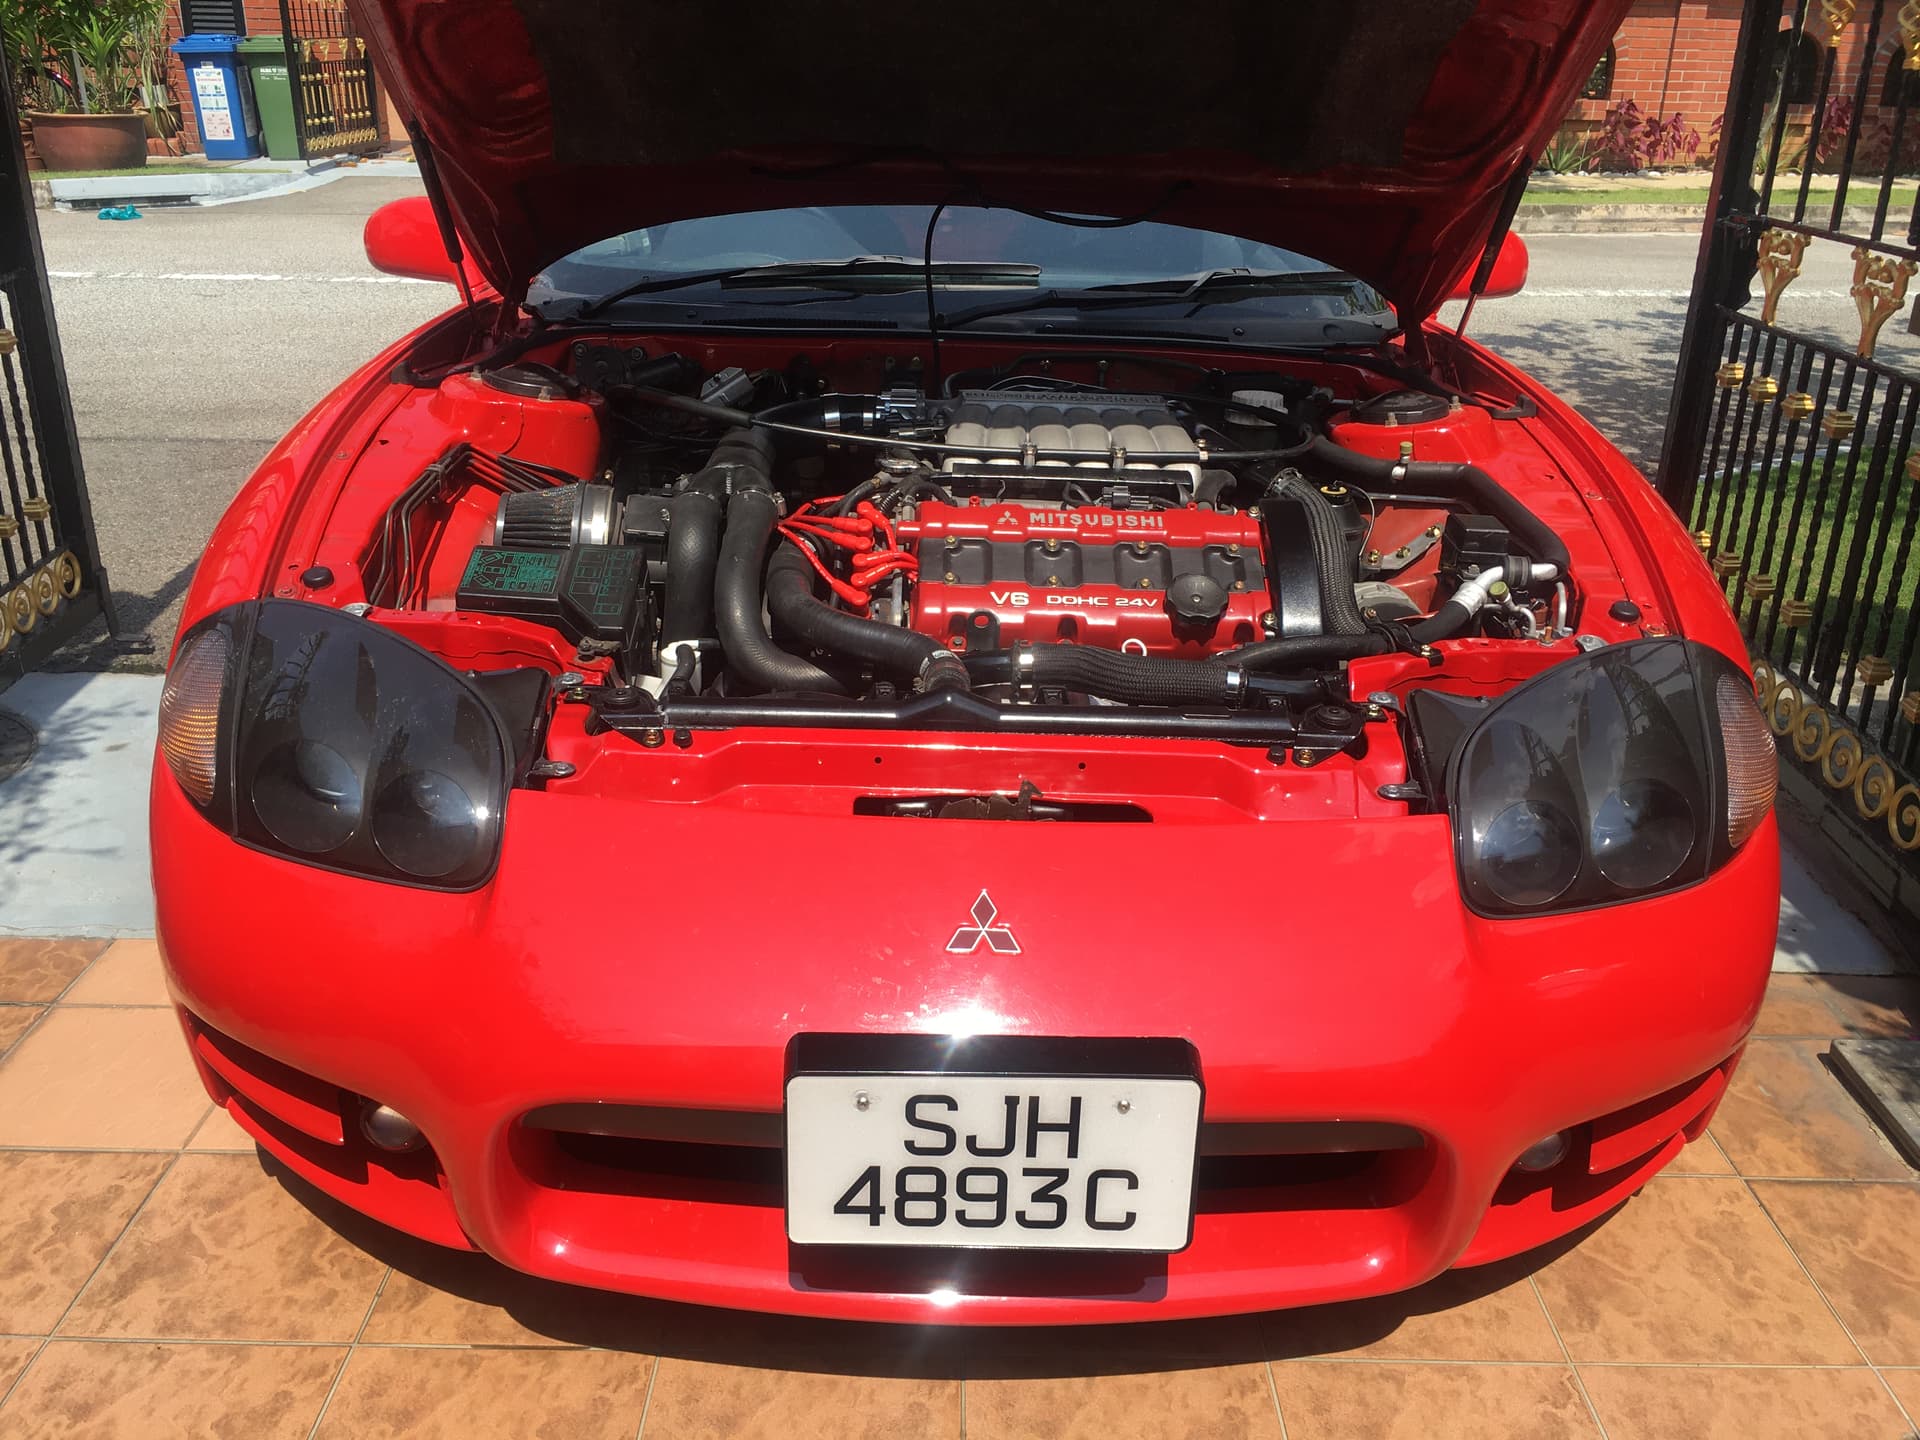
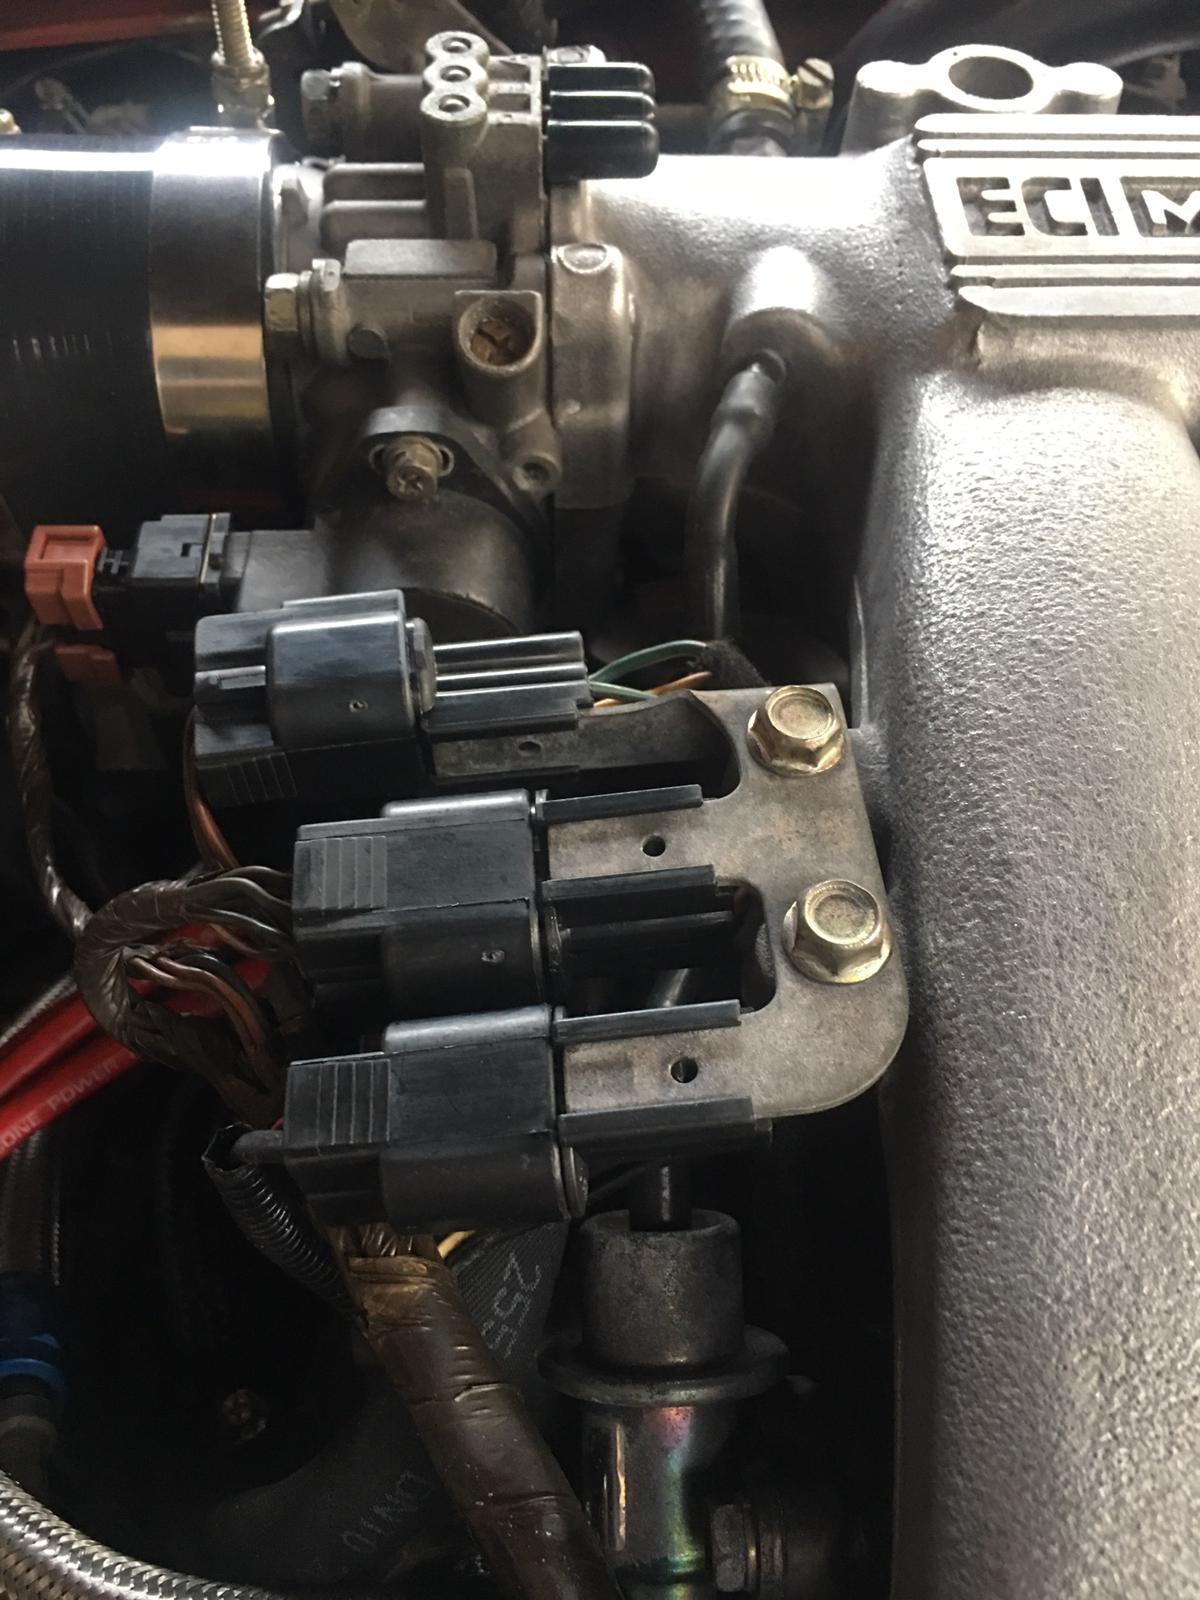
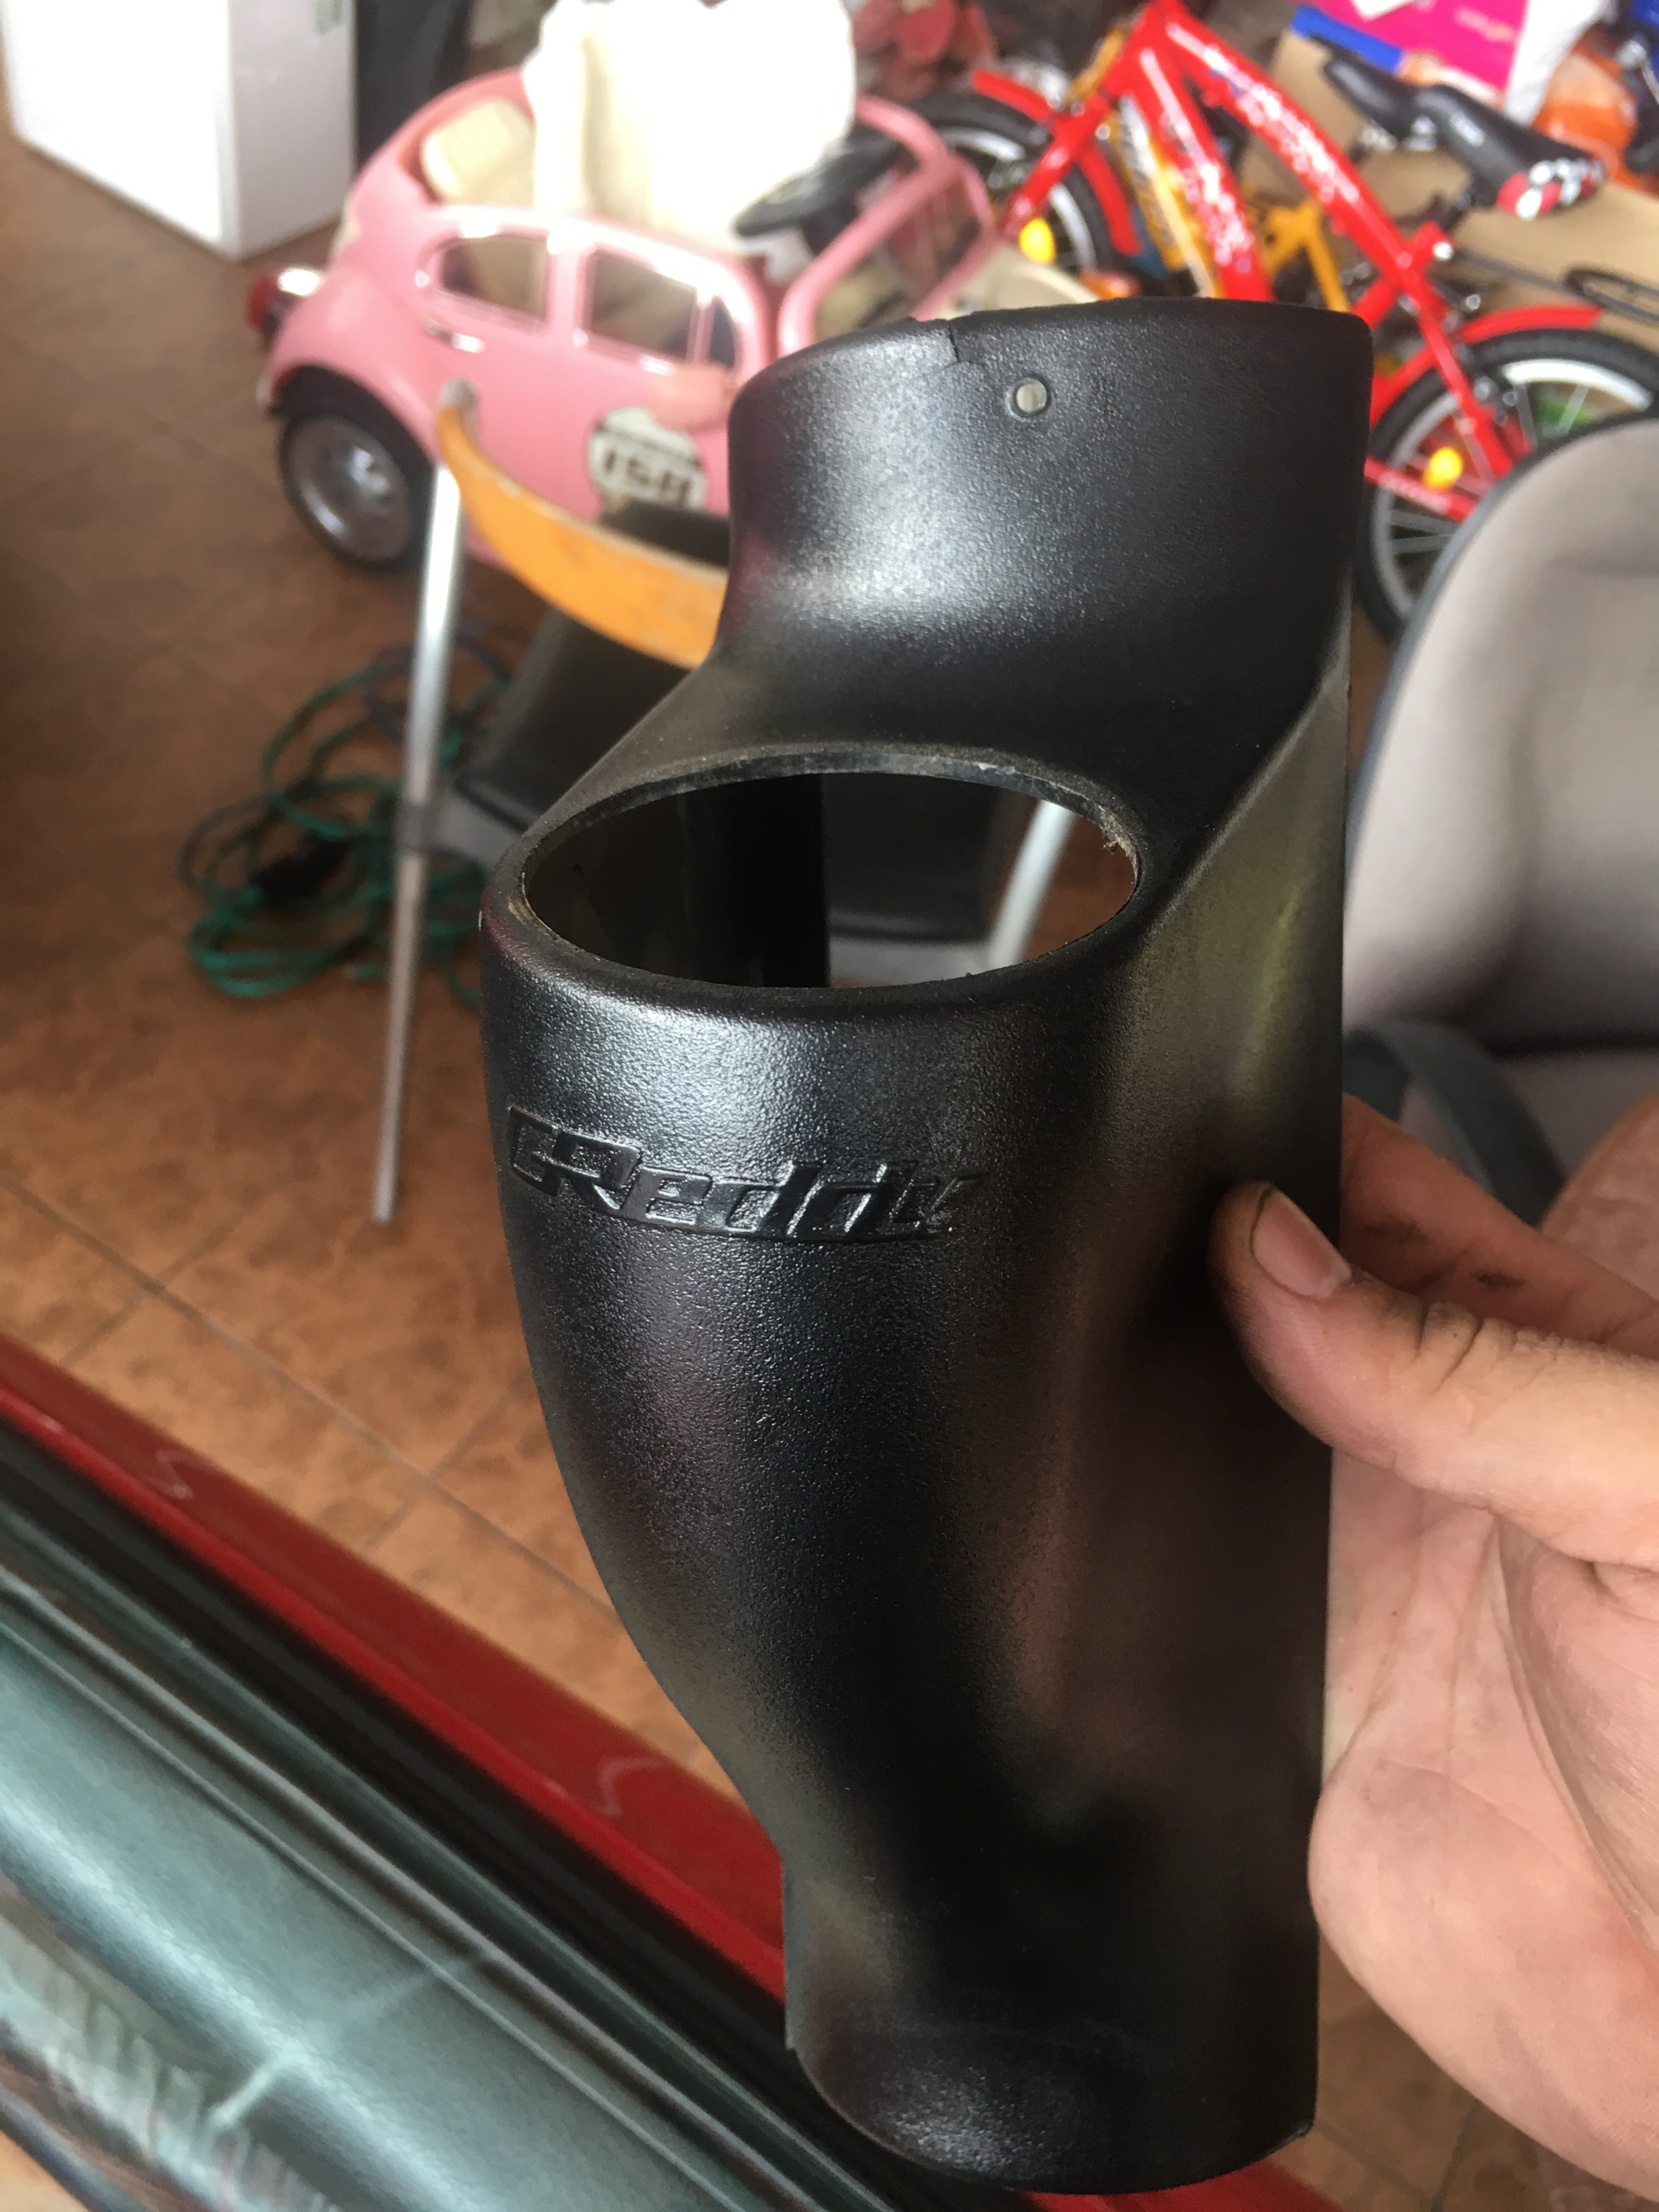
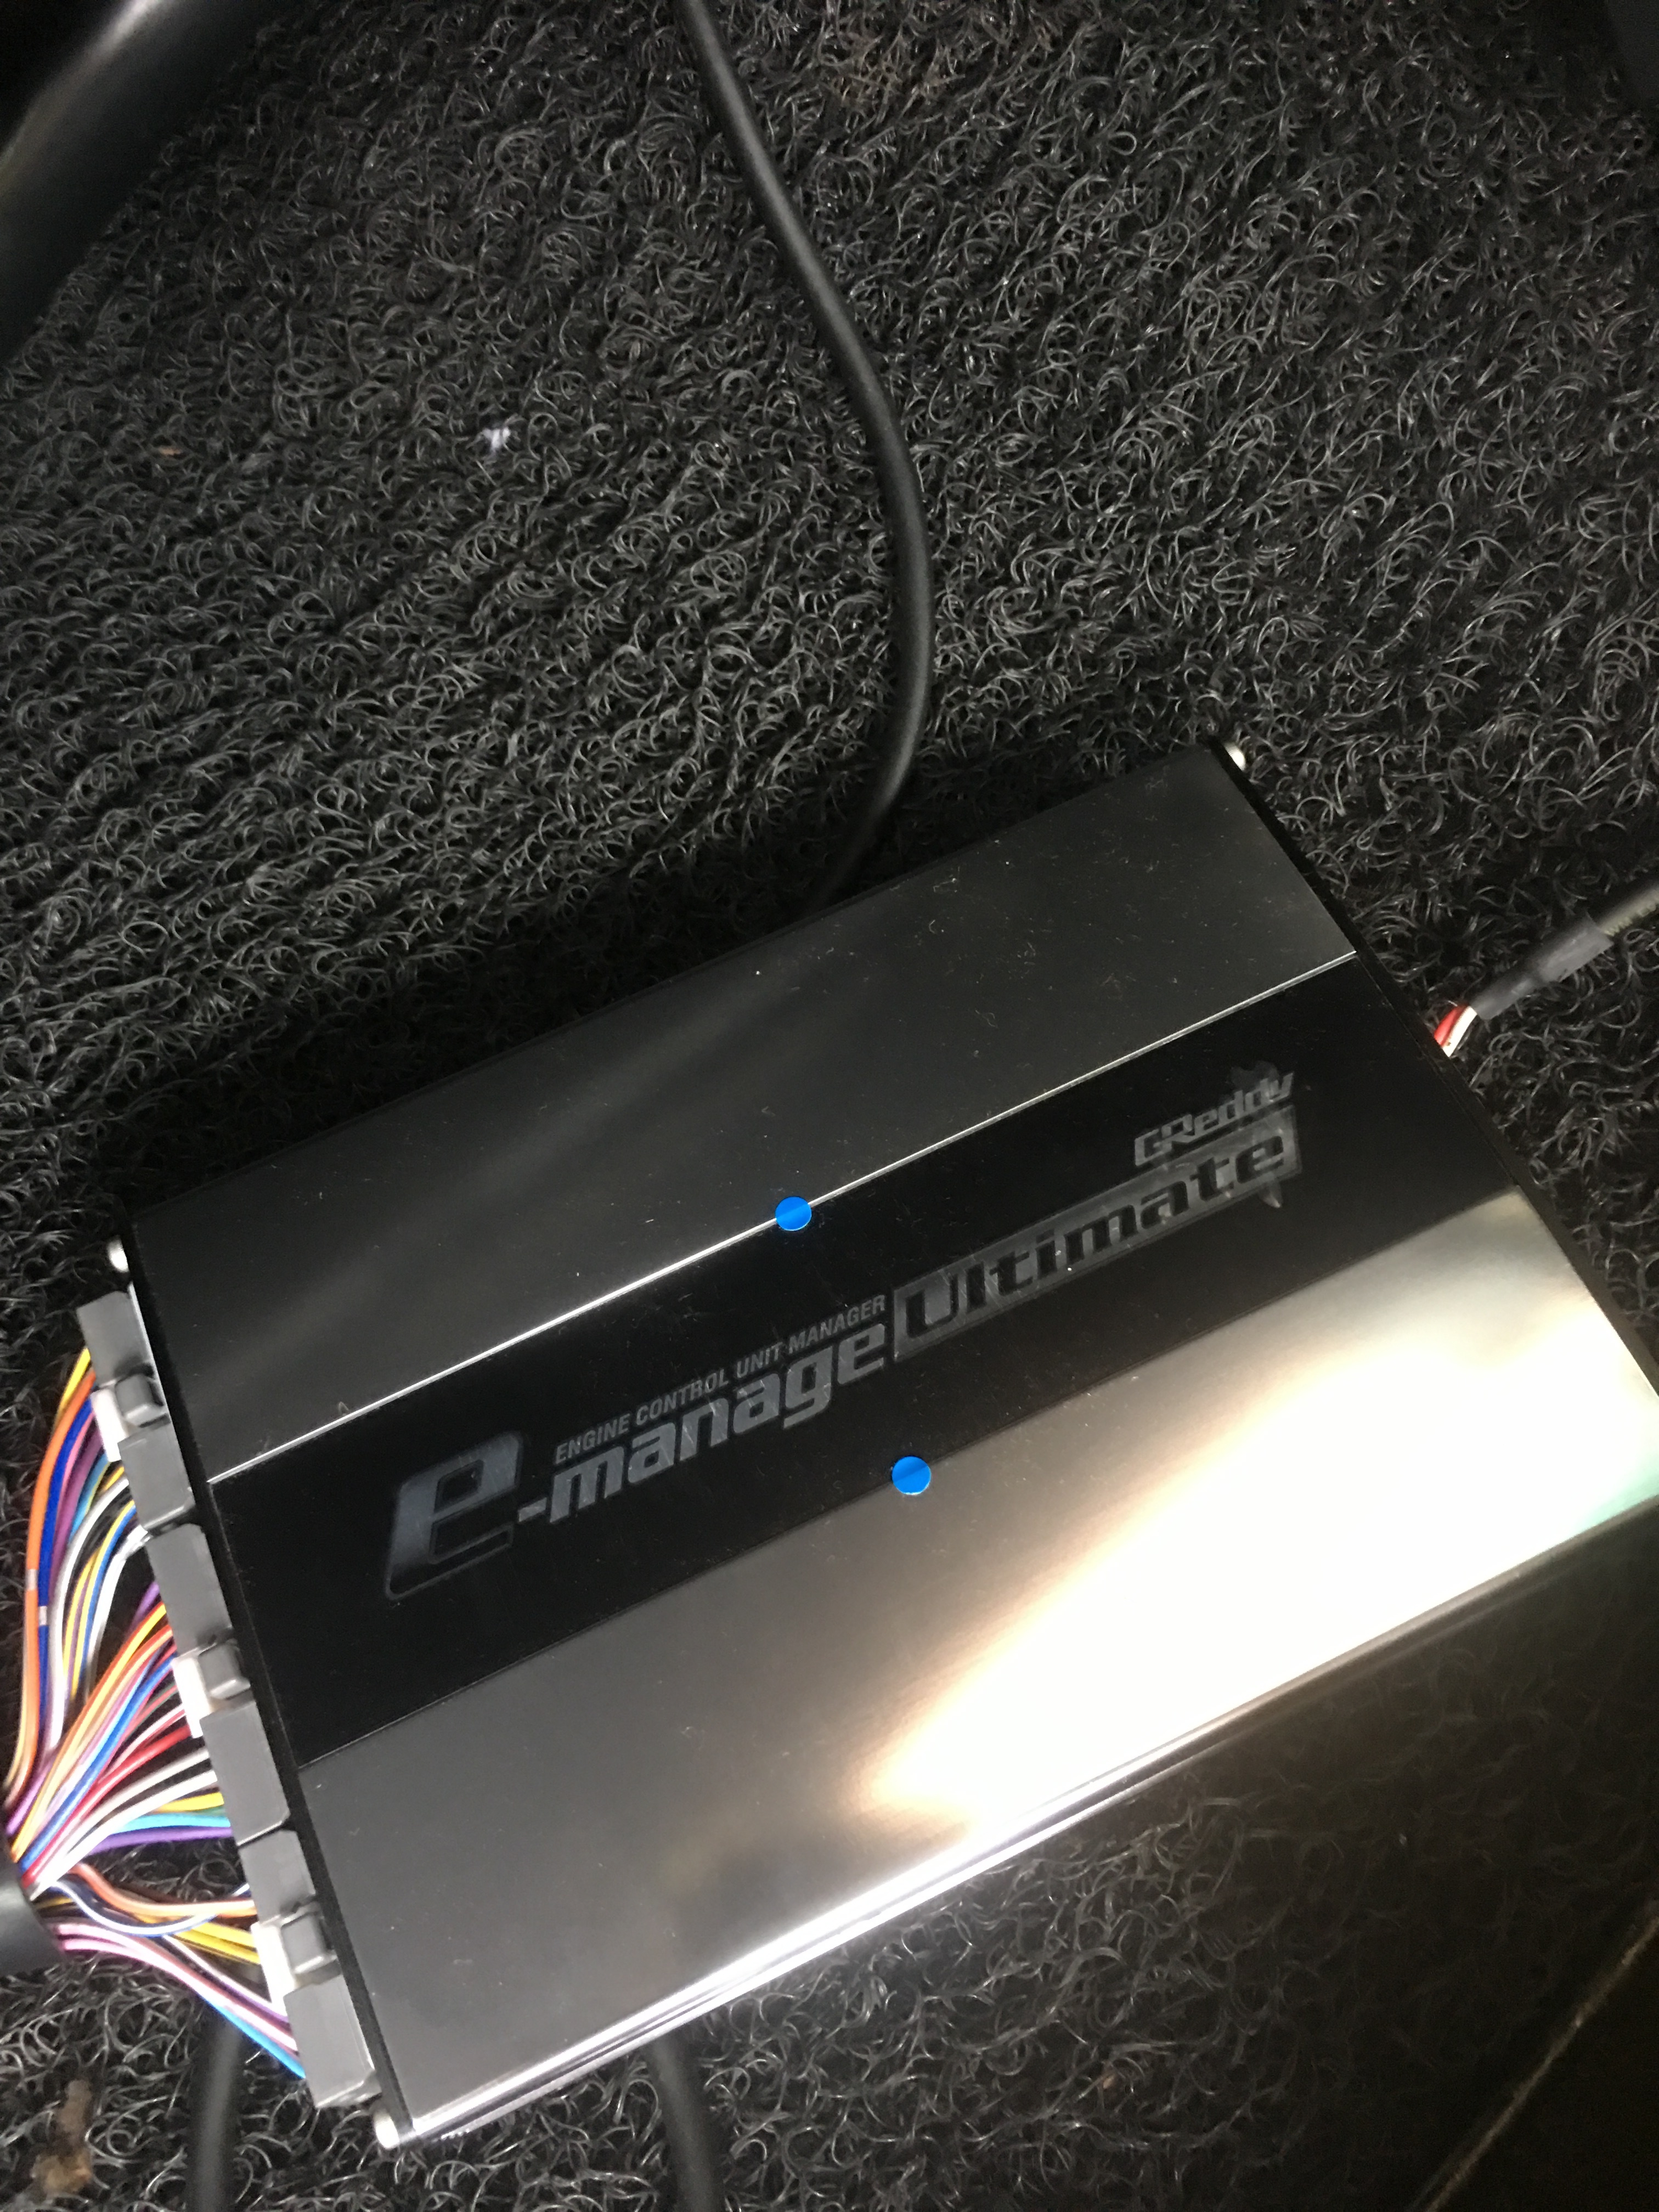
Brand new screw gommets for the whole car, cruise control delete, wiper spray tank relocate to the rear, fuel system upgrade to dual feed system with ptfe stainless steel braided fuel line with fittings, AN6 fuel return, radium fuel filter and multiport fuel pressure reg with gauge, super90 enlarge throttle body, custom work to intake manifold to match the size of the throttle body, evap system delete, stock boost control solenoid delete and many other things were done like powder coated cam cover, new fan motors, and most importantly is the changing out of the very “crispy” wiring connection socket with exactly the same ones Mitsubishi uses it 25yrs back.

 . For that much money, I would demand it to be in pristine shape