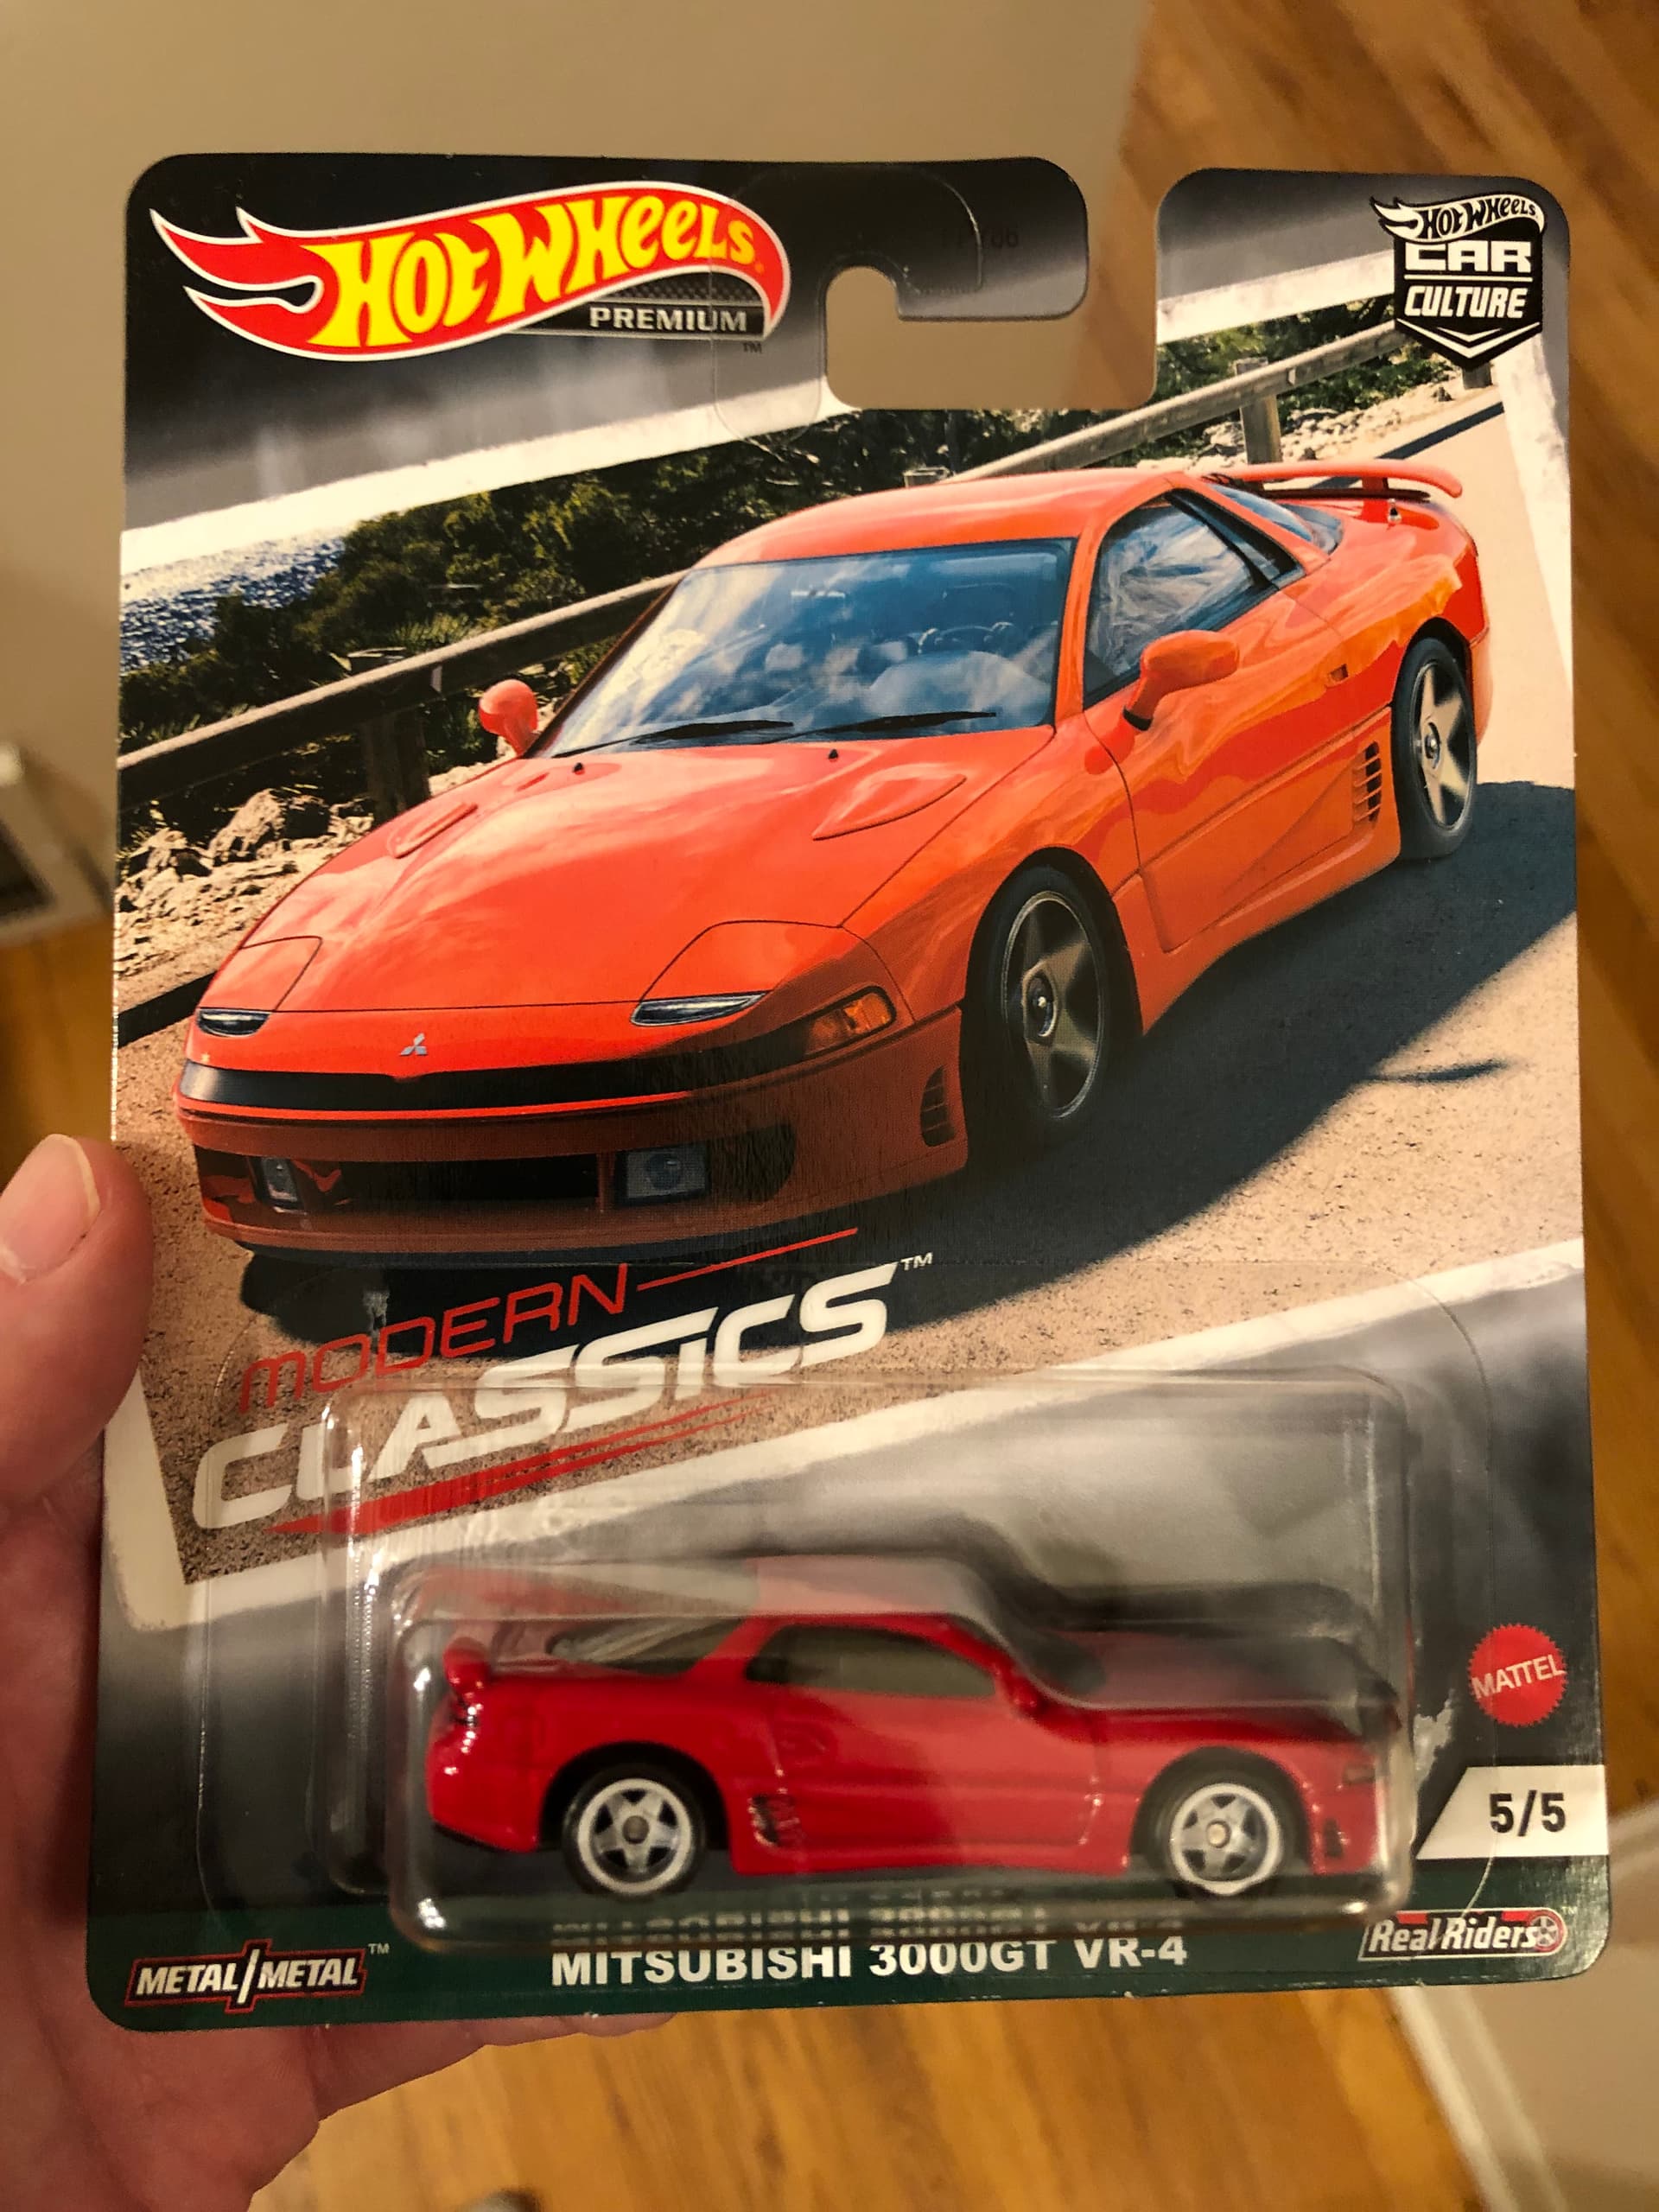
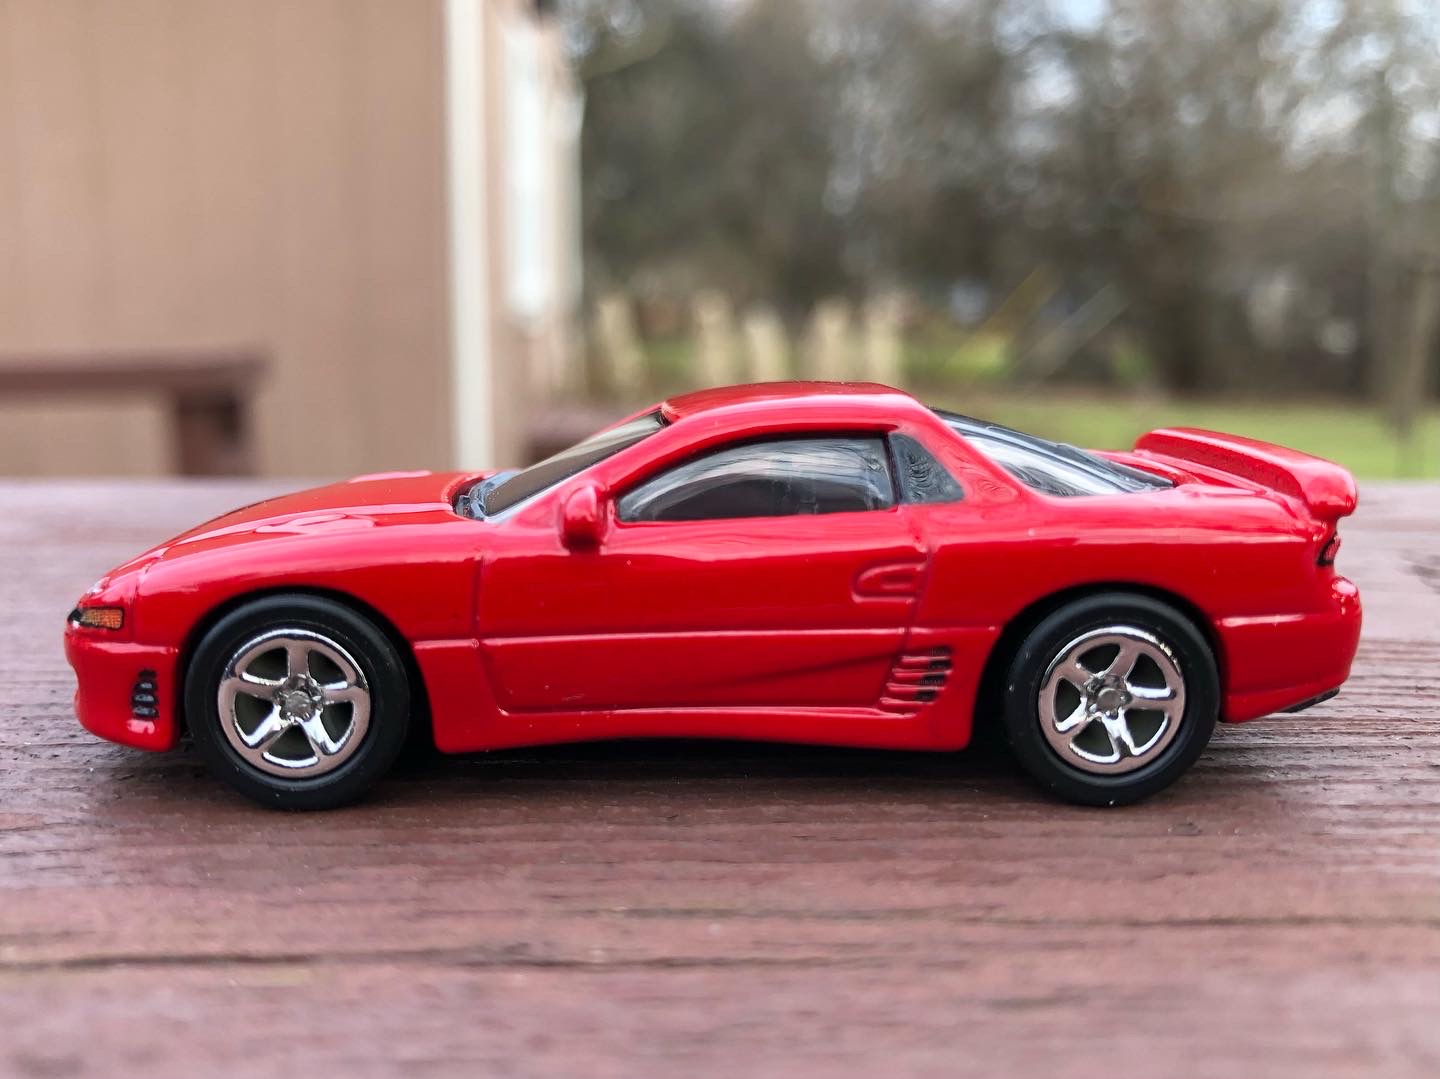
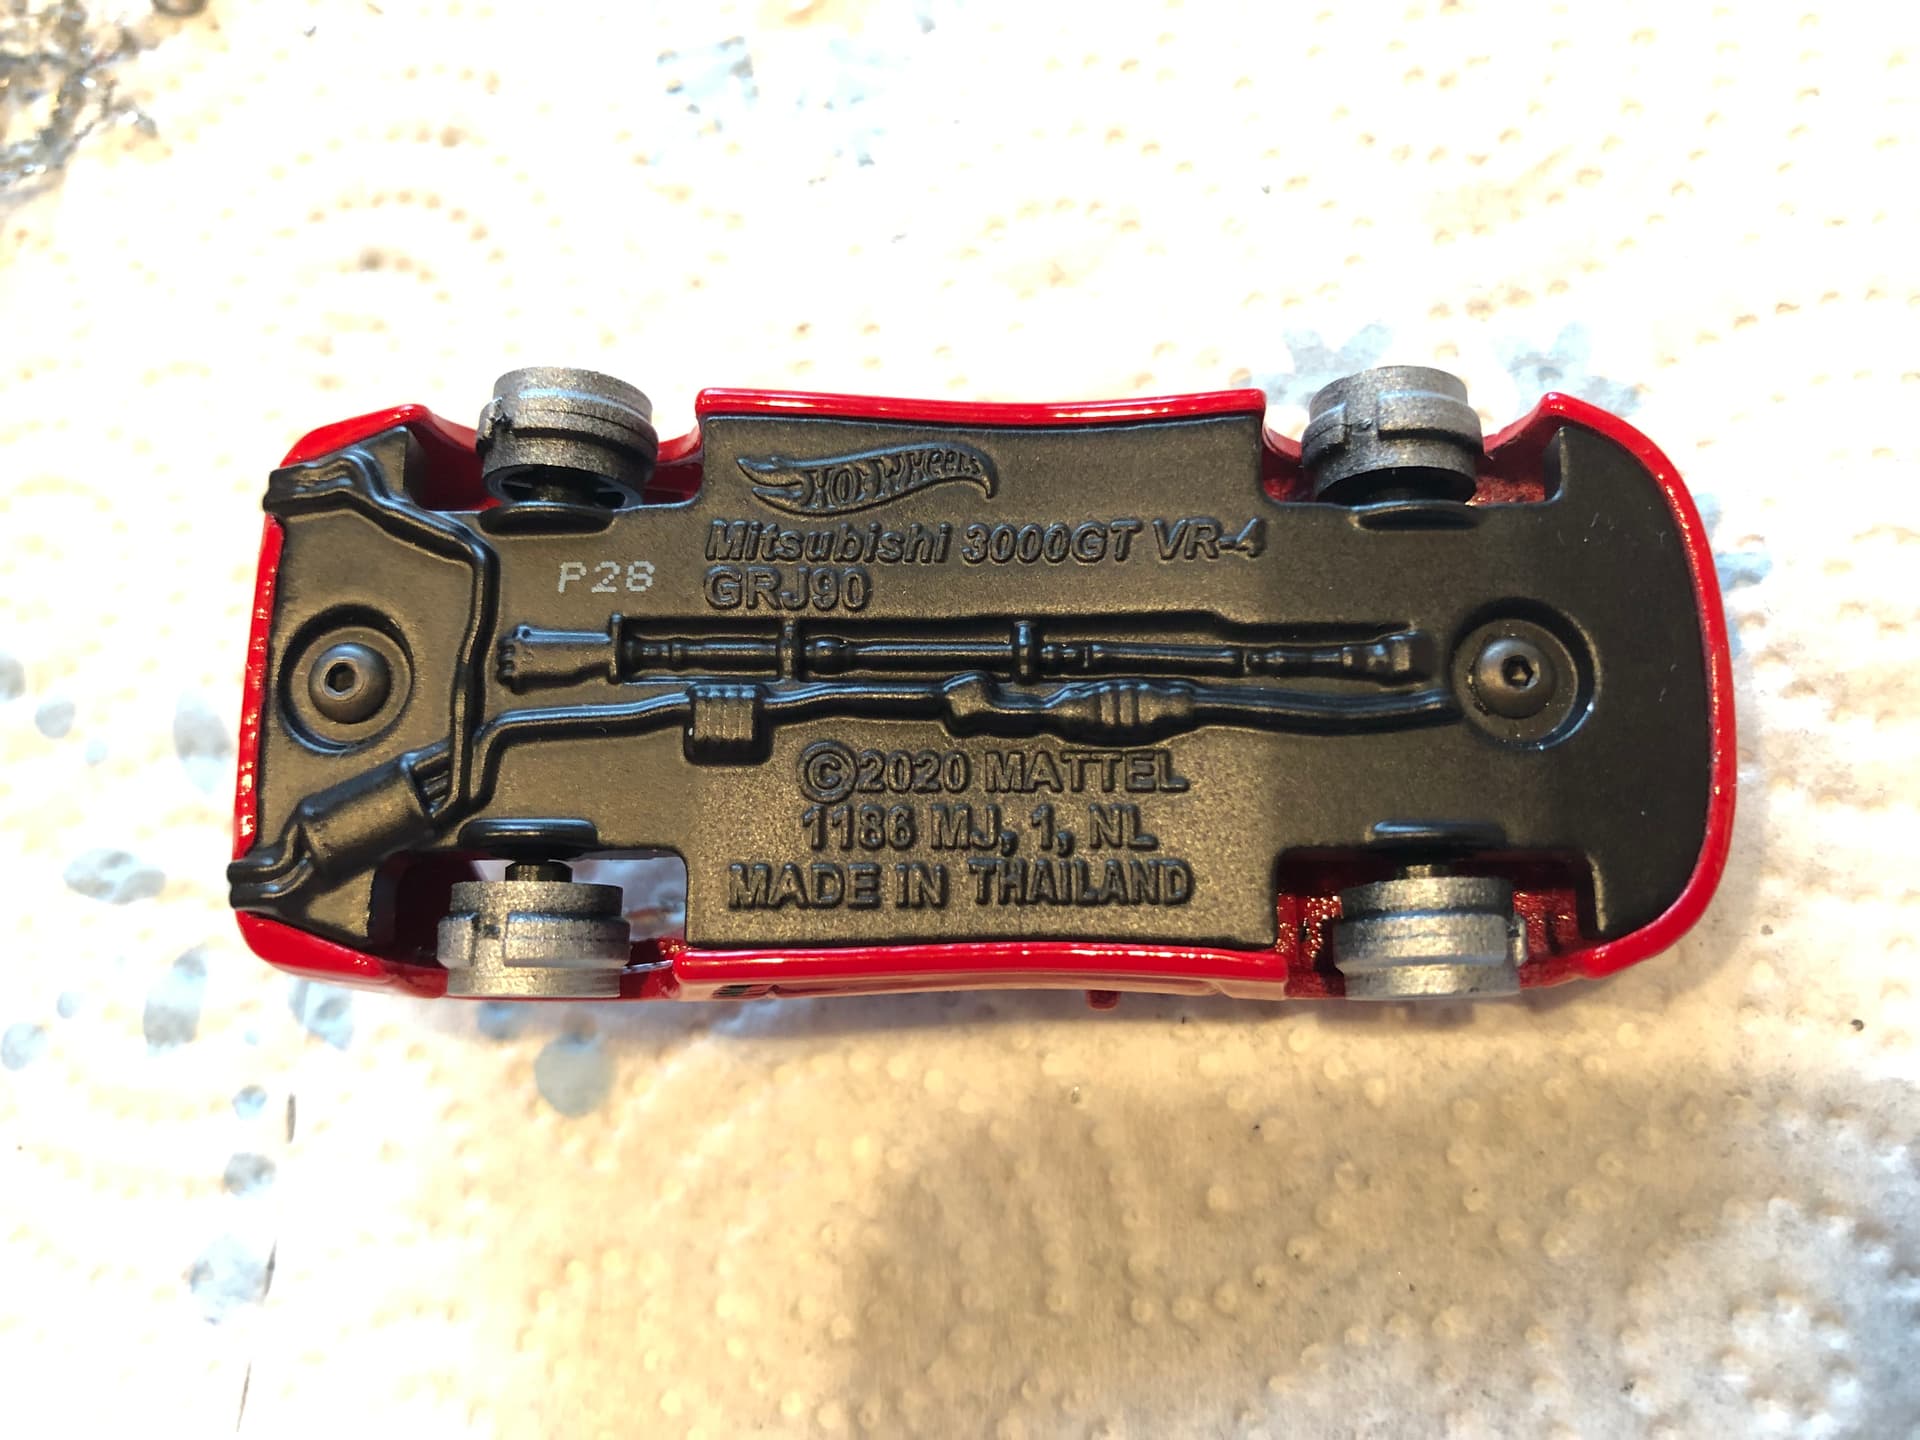
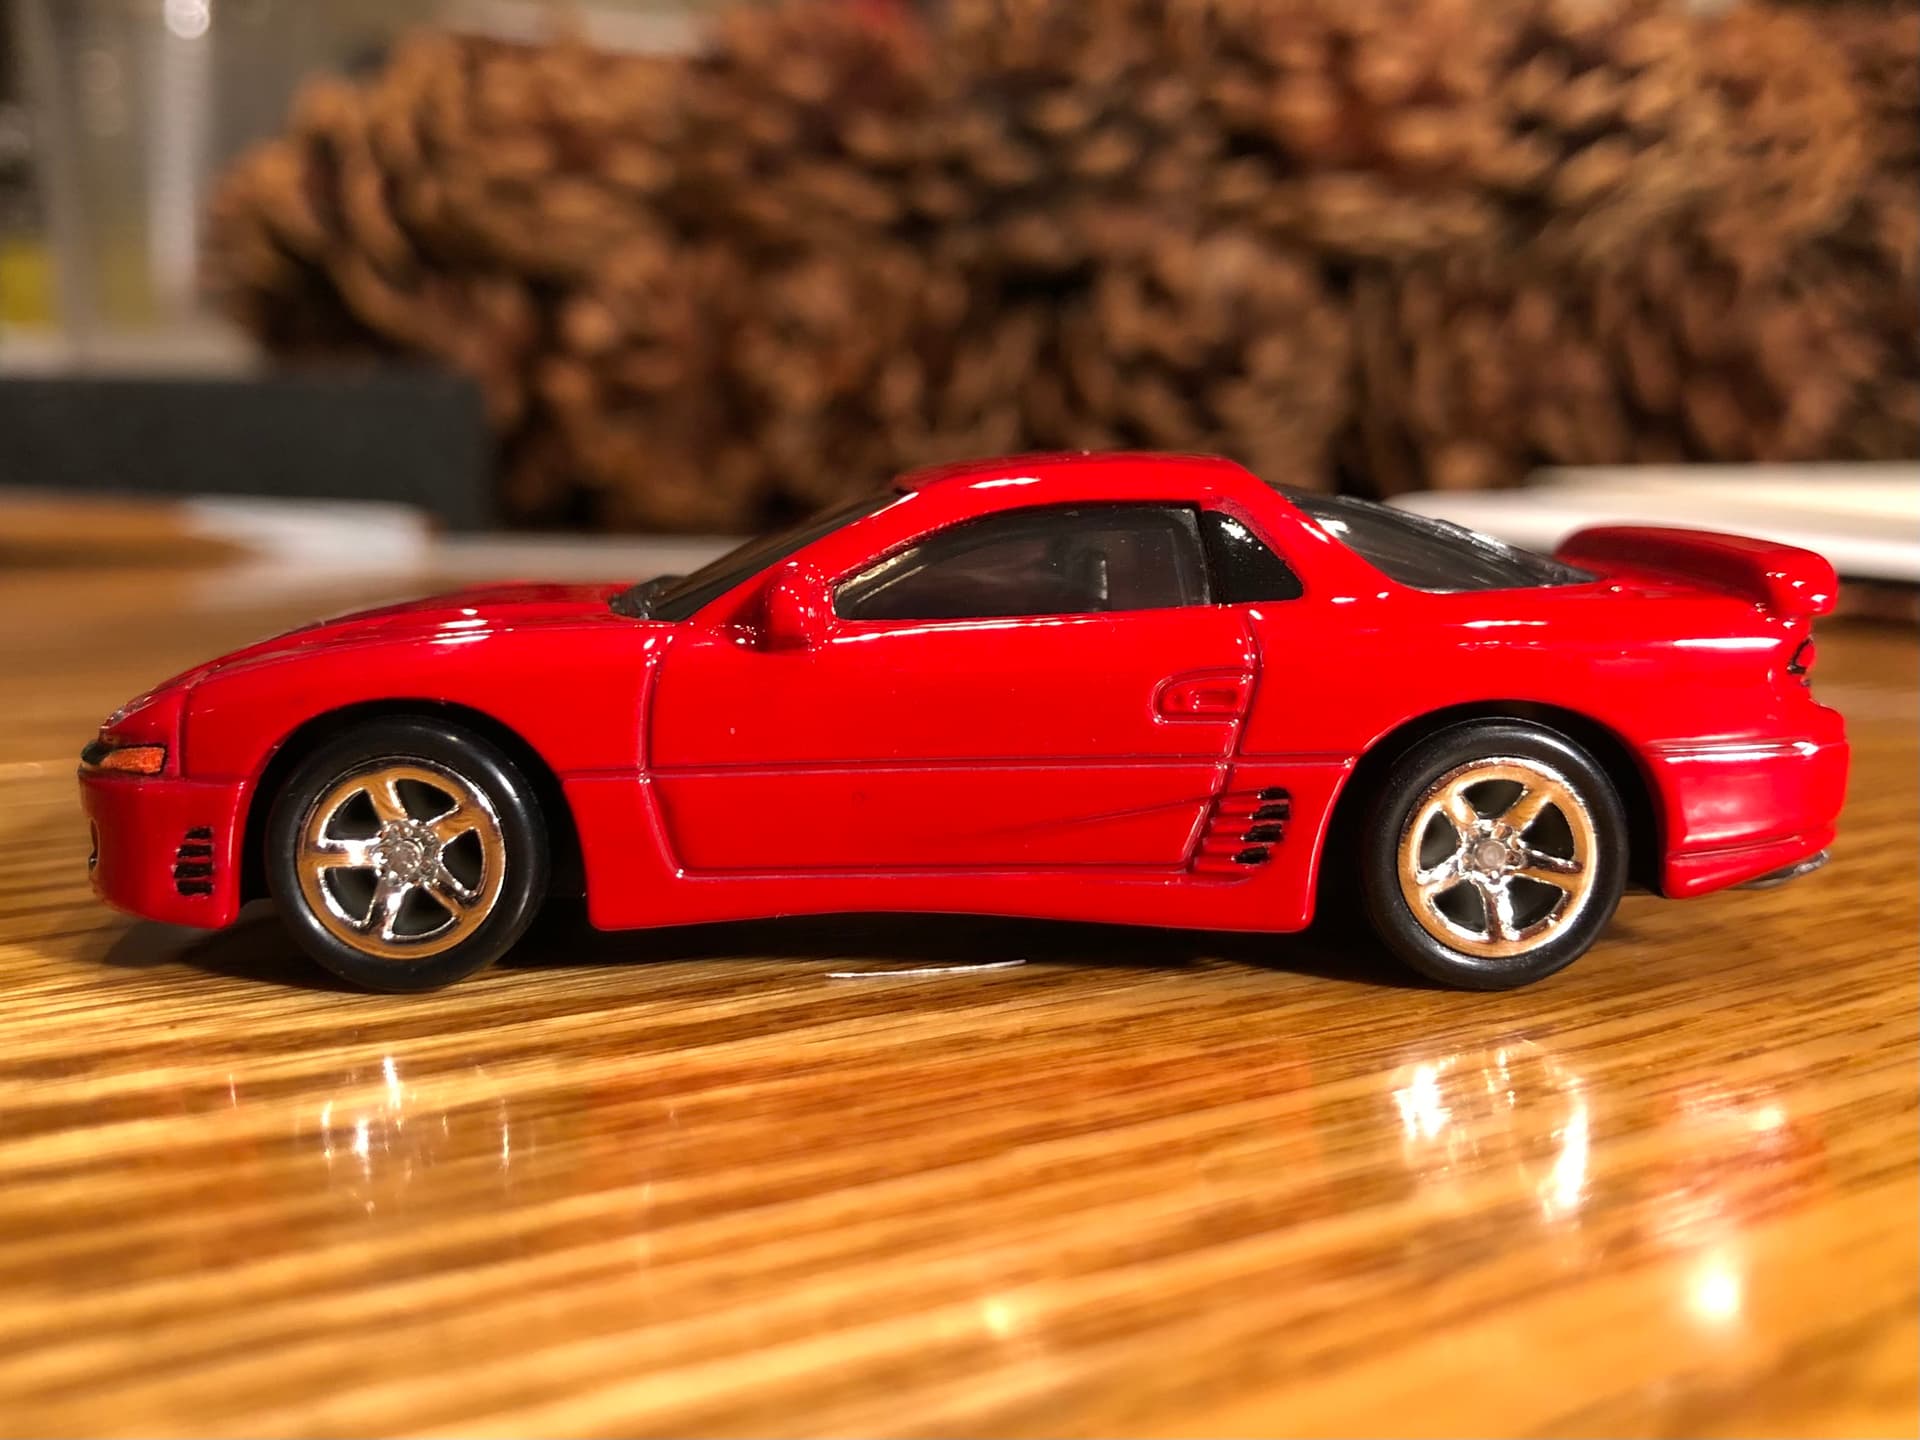
In case you haven’t seen/heard yet, there is now a 3000GT Hot Wheels car. It’s new for 2021 as part of their Car Culture Modern Classics line (a premium line of cars with extra detailed castings, metal body + base, rubber tires).
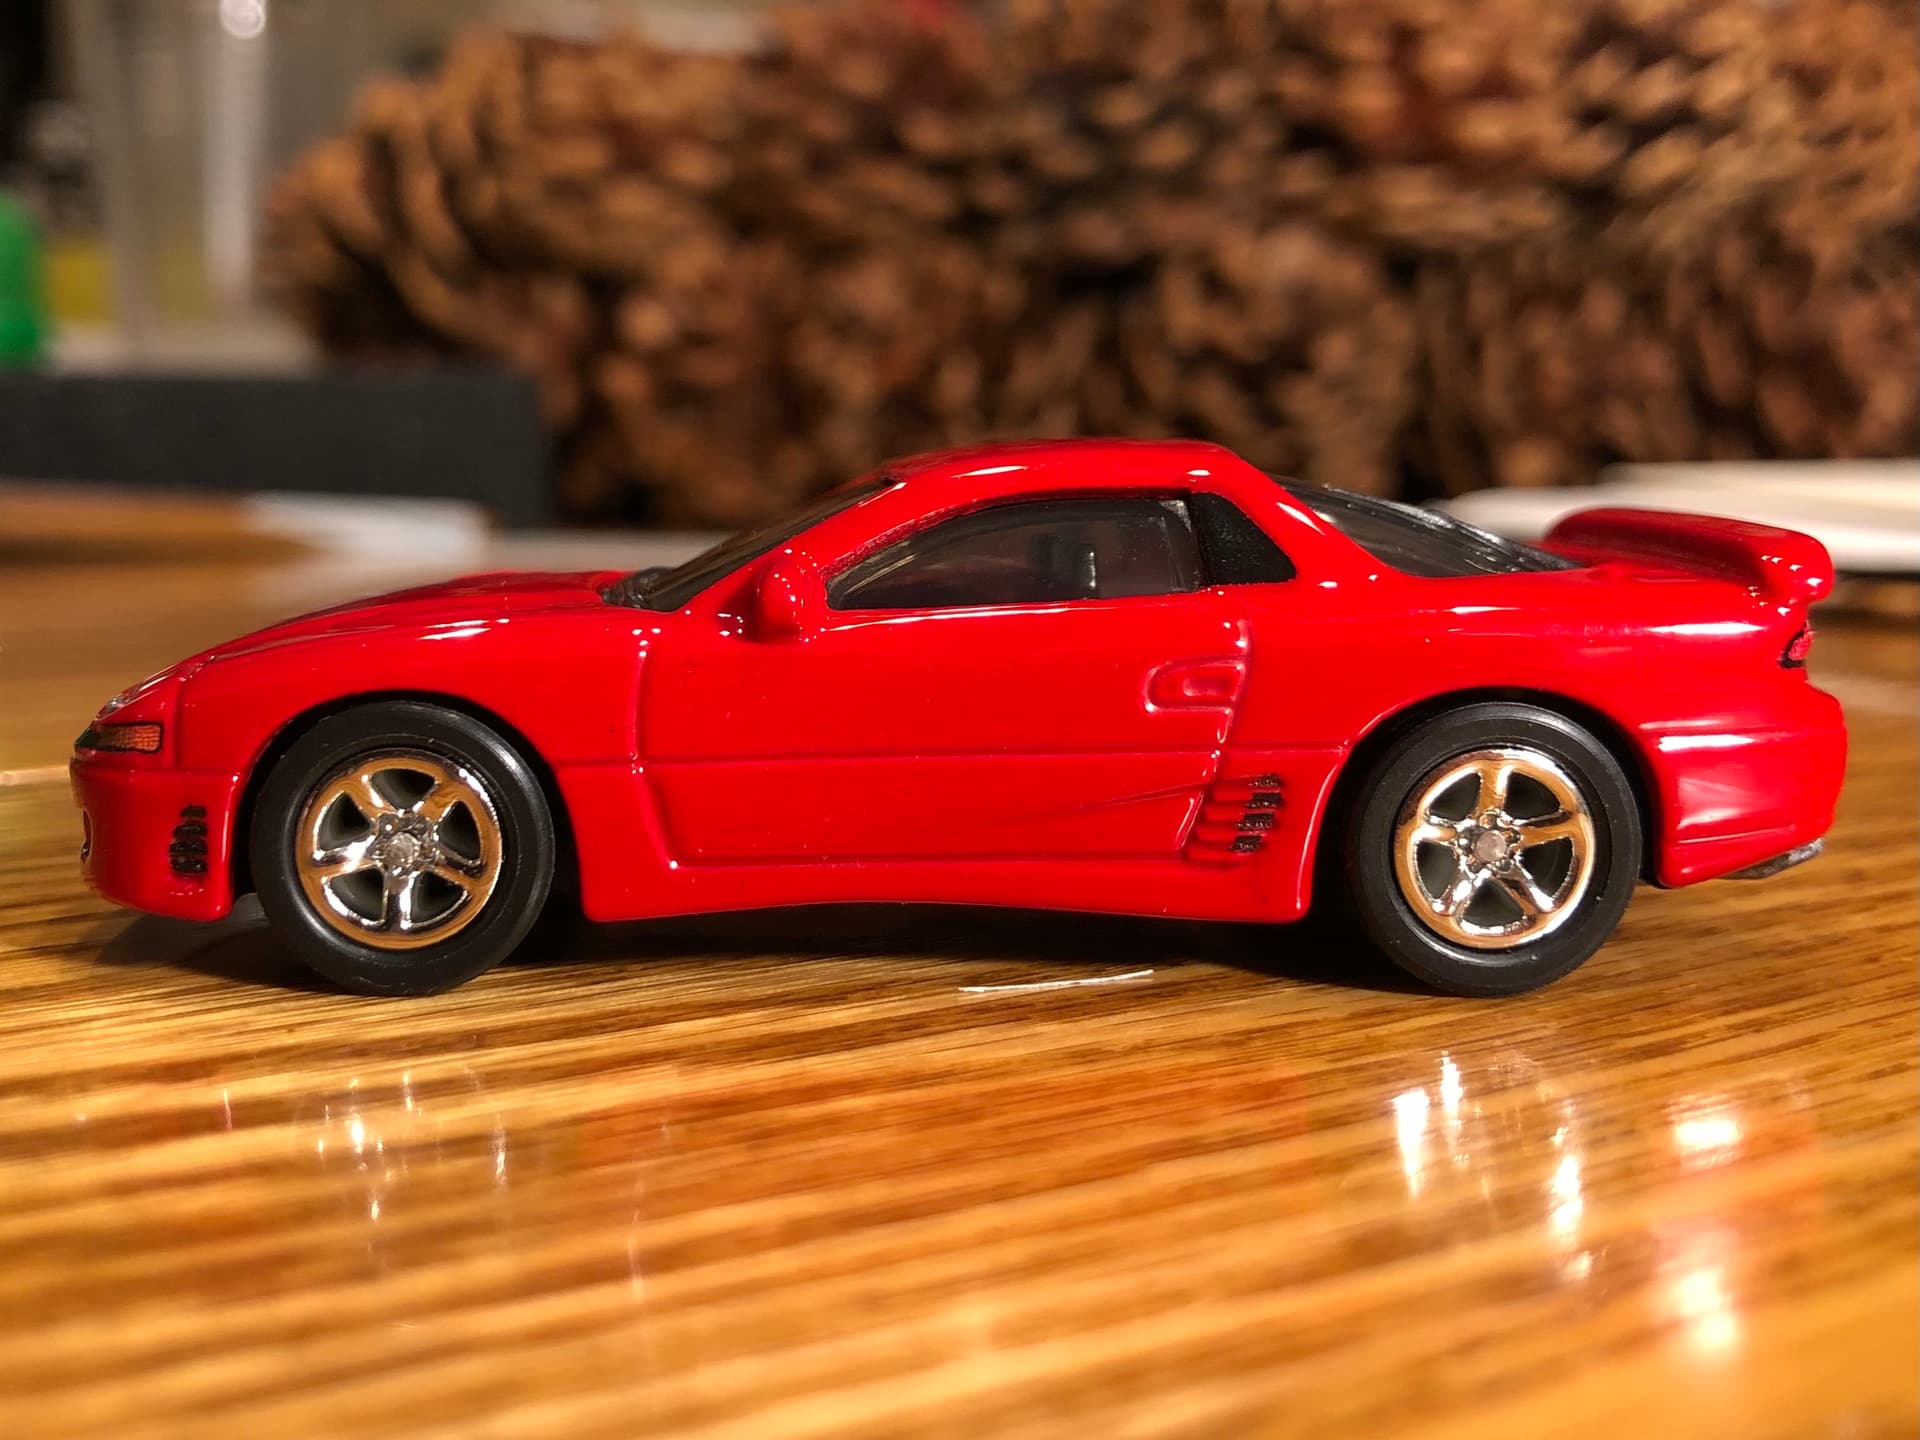
I was disappointed by the wheels they chose to include on the car. They are Ferrari F40 wheels, and nowhere close to matching the OEM wheels for a 91-93 3000GT VR4. So I decided to fix it with some better wheels I found on eBay from a seller named “titaniumplate” from Malaysia:
There’s plenty of articles/videos out there about how to disassemble and reassemble Hot Wheels, so I won’t go into full detail of tips and exact techniques, but I’ll give an overview of what’s involved.
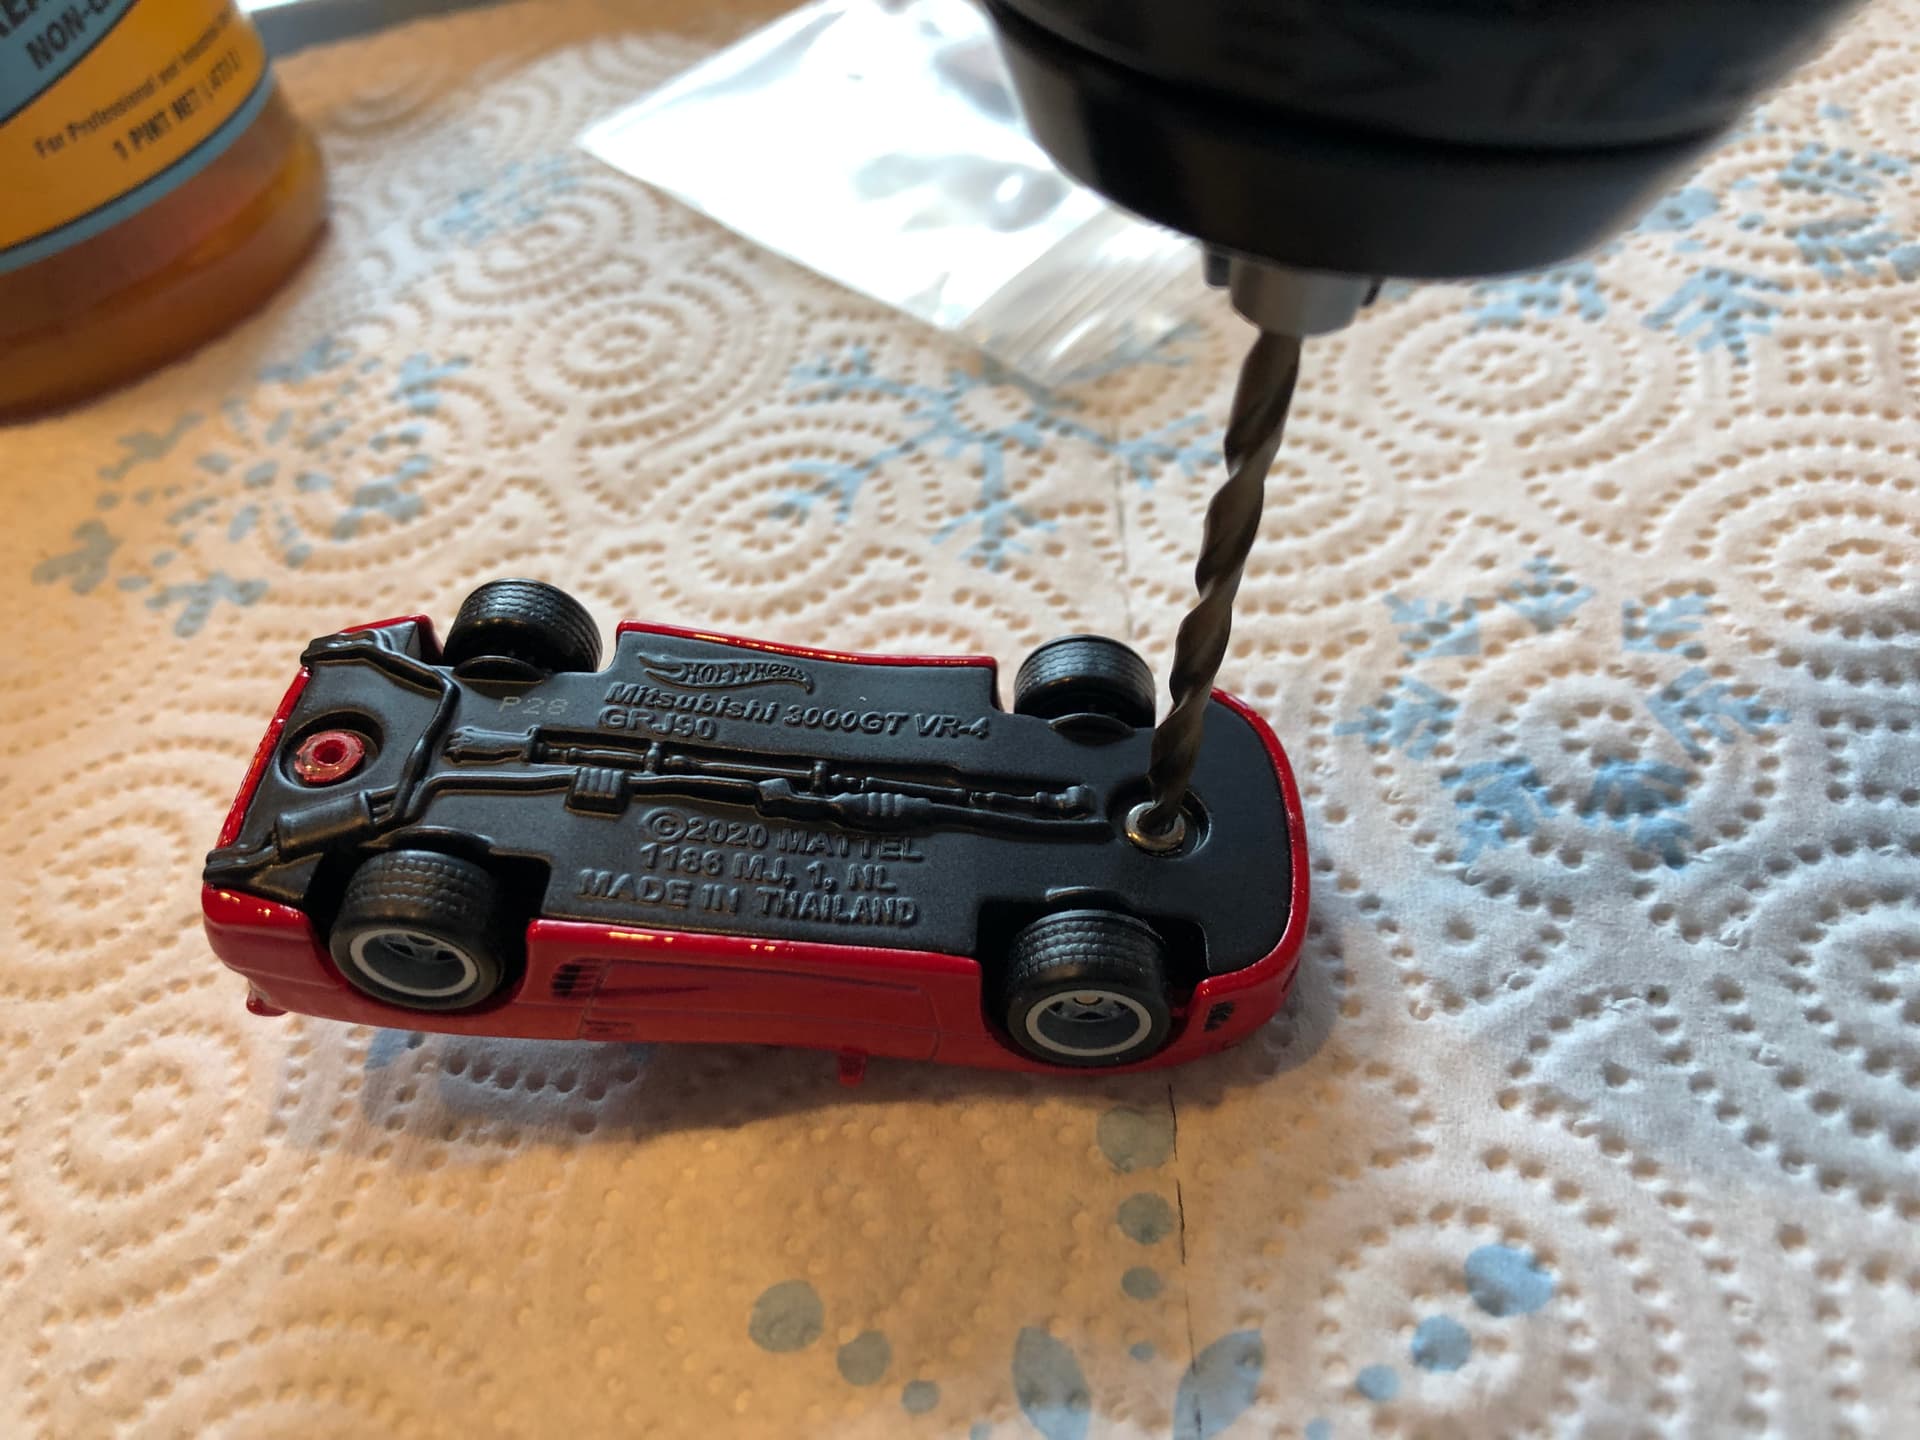
First step is to drill off the “rivets” (which are really just the ends of posts that have been “mushroomed”) that secure the body to the base. This requires a 1/8" drill bit, gentle pressure, patience, and frequent checking.
(NOTE: Don’t actually drill down into the car like the picture. I found it best to stand the drill up and hold the car in my other hand to gently press against the spinning drill bit).
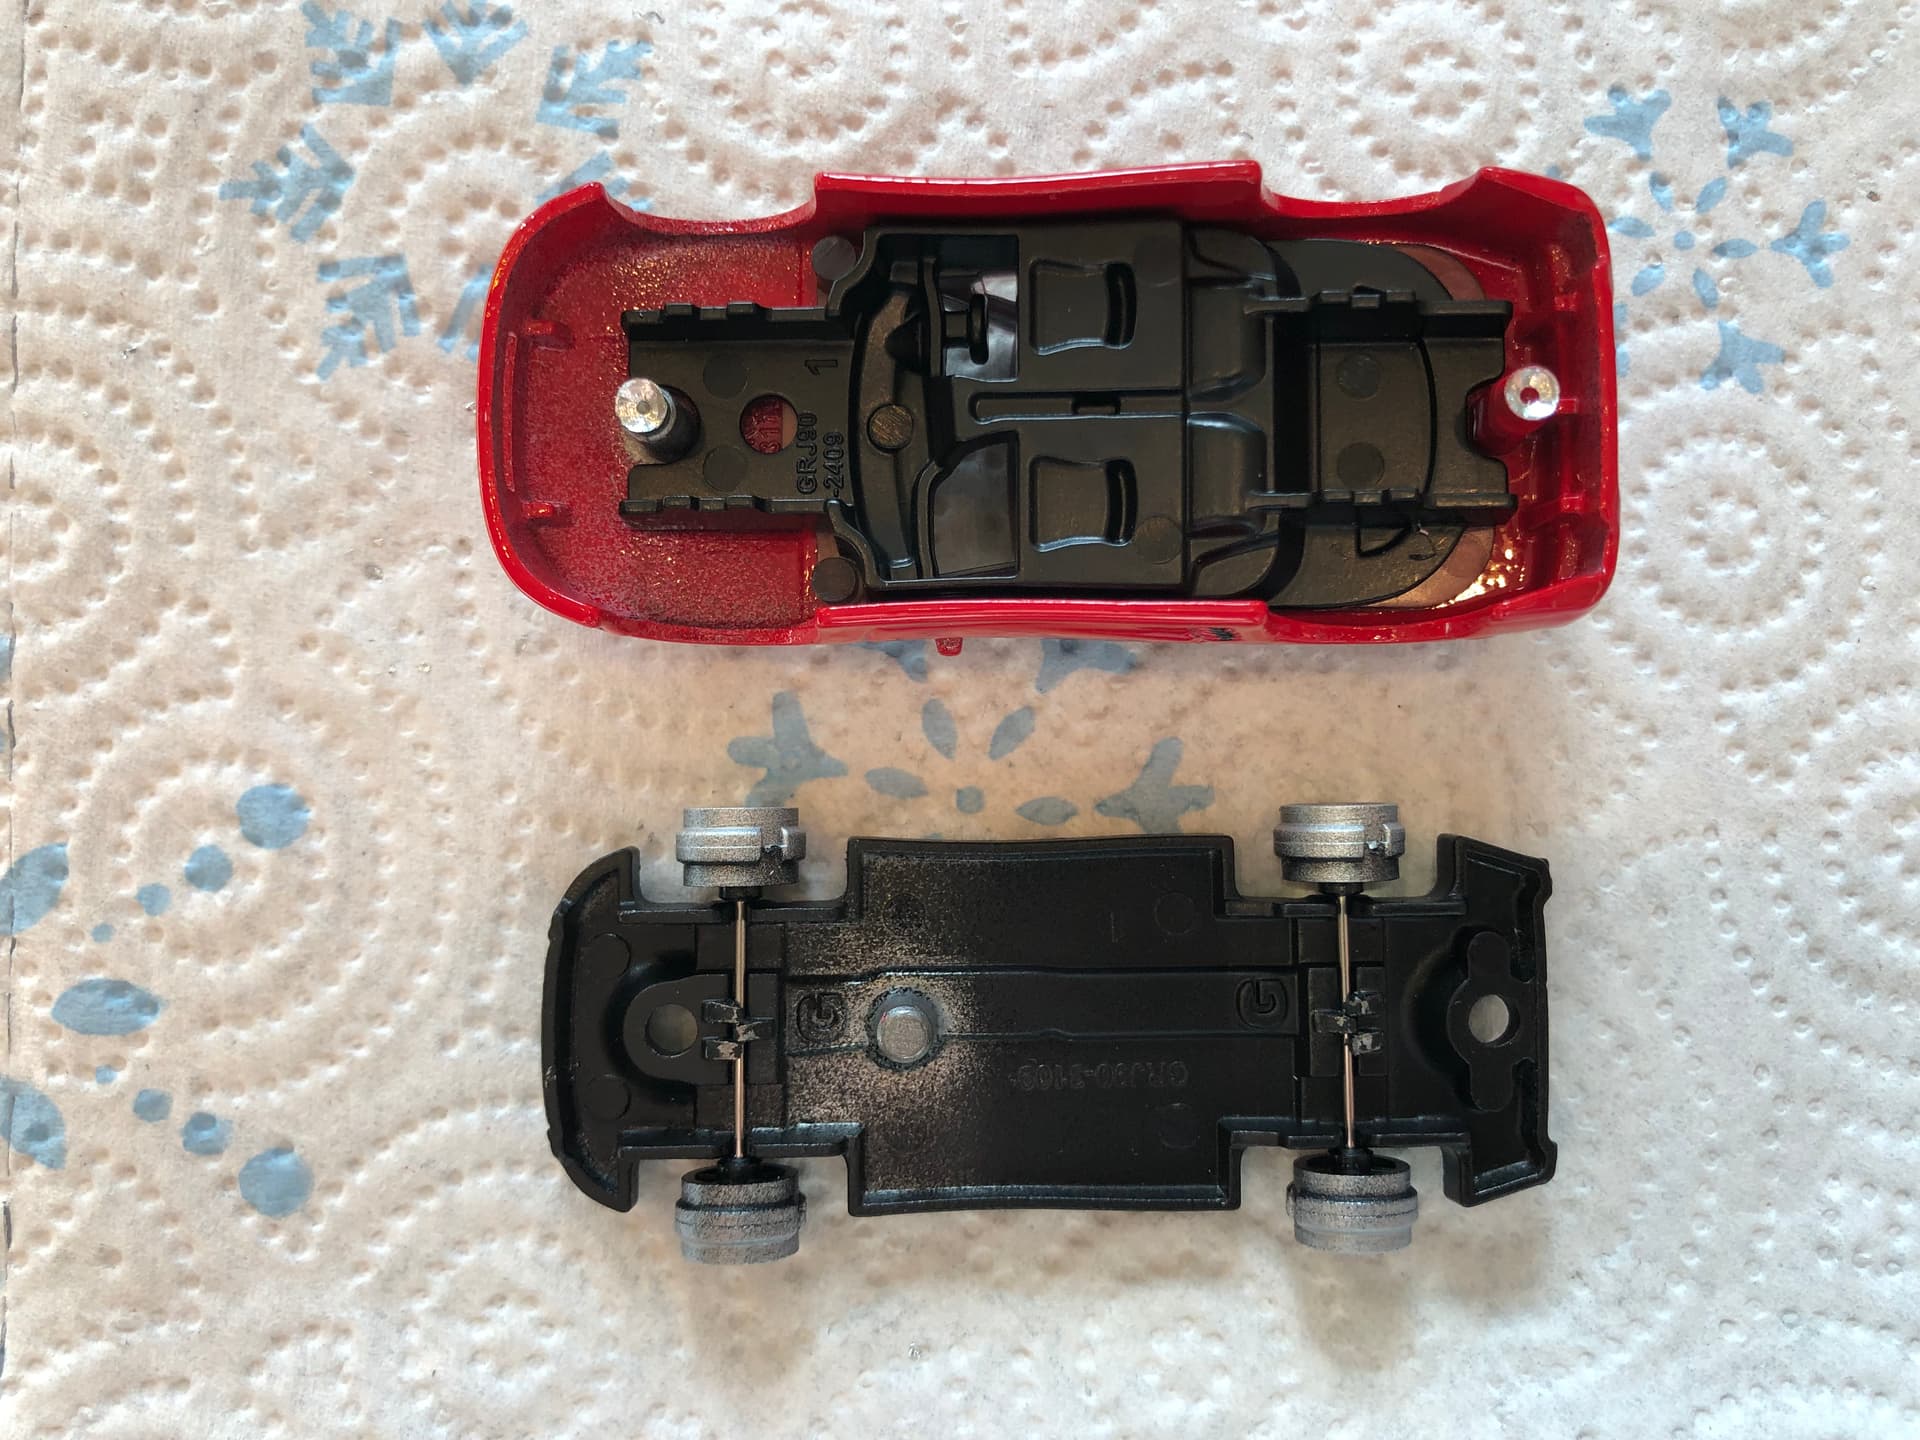
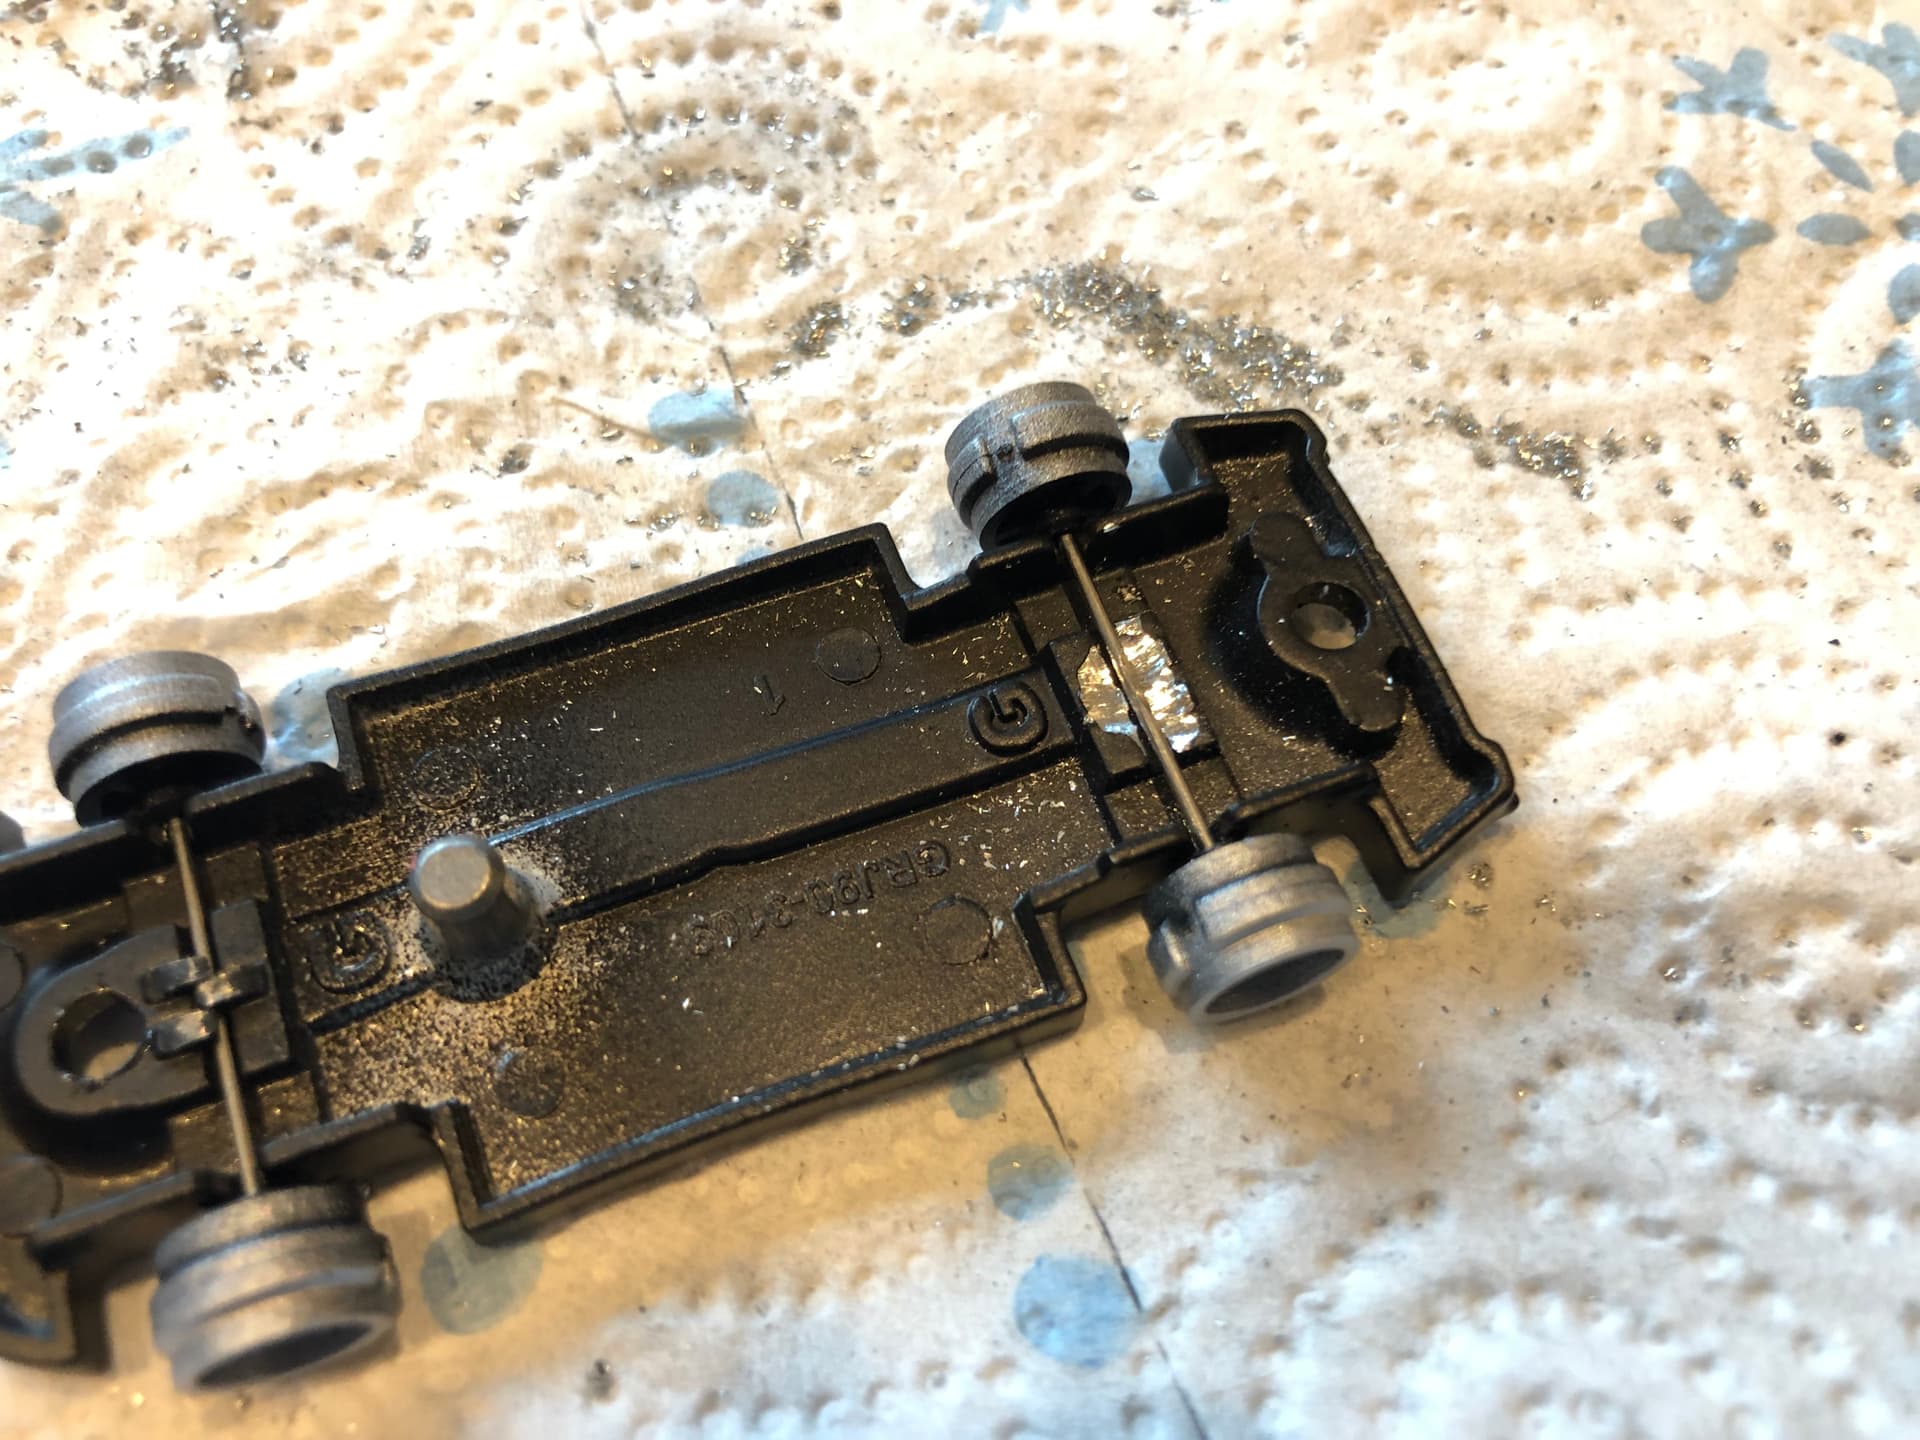
(NOTE: I pulled the rubber tires off to avoid possibly damaging them and give me better access through the wheel well to gently pry the base away from the body with pick tool)
We need a way to put the car back together. Some people will just superglue the body posts to the base when reassembling, but I went the more professional and reusable approach of drilling/tapping threaded holes to bolt it back together.
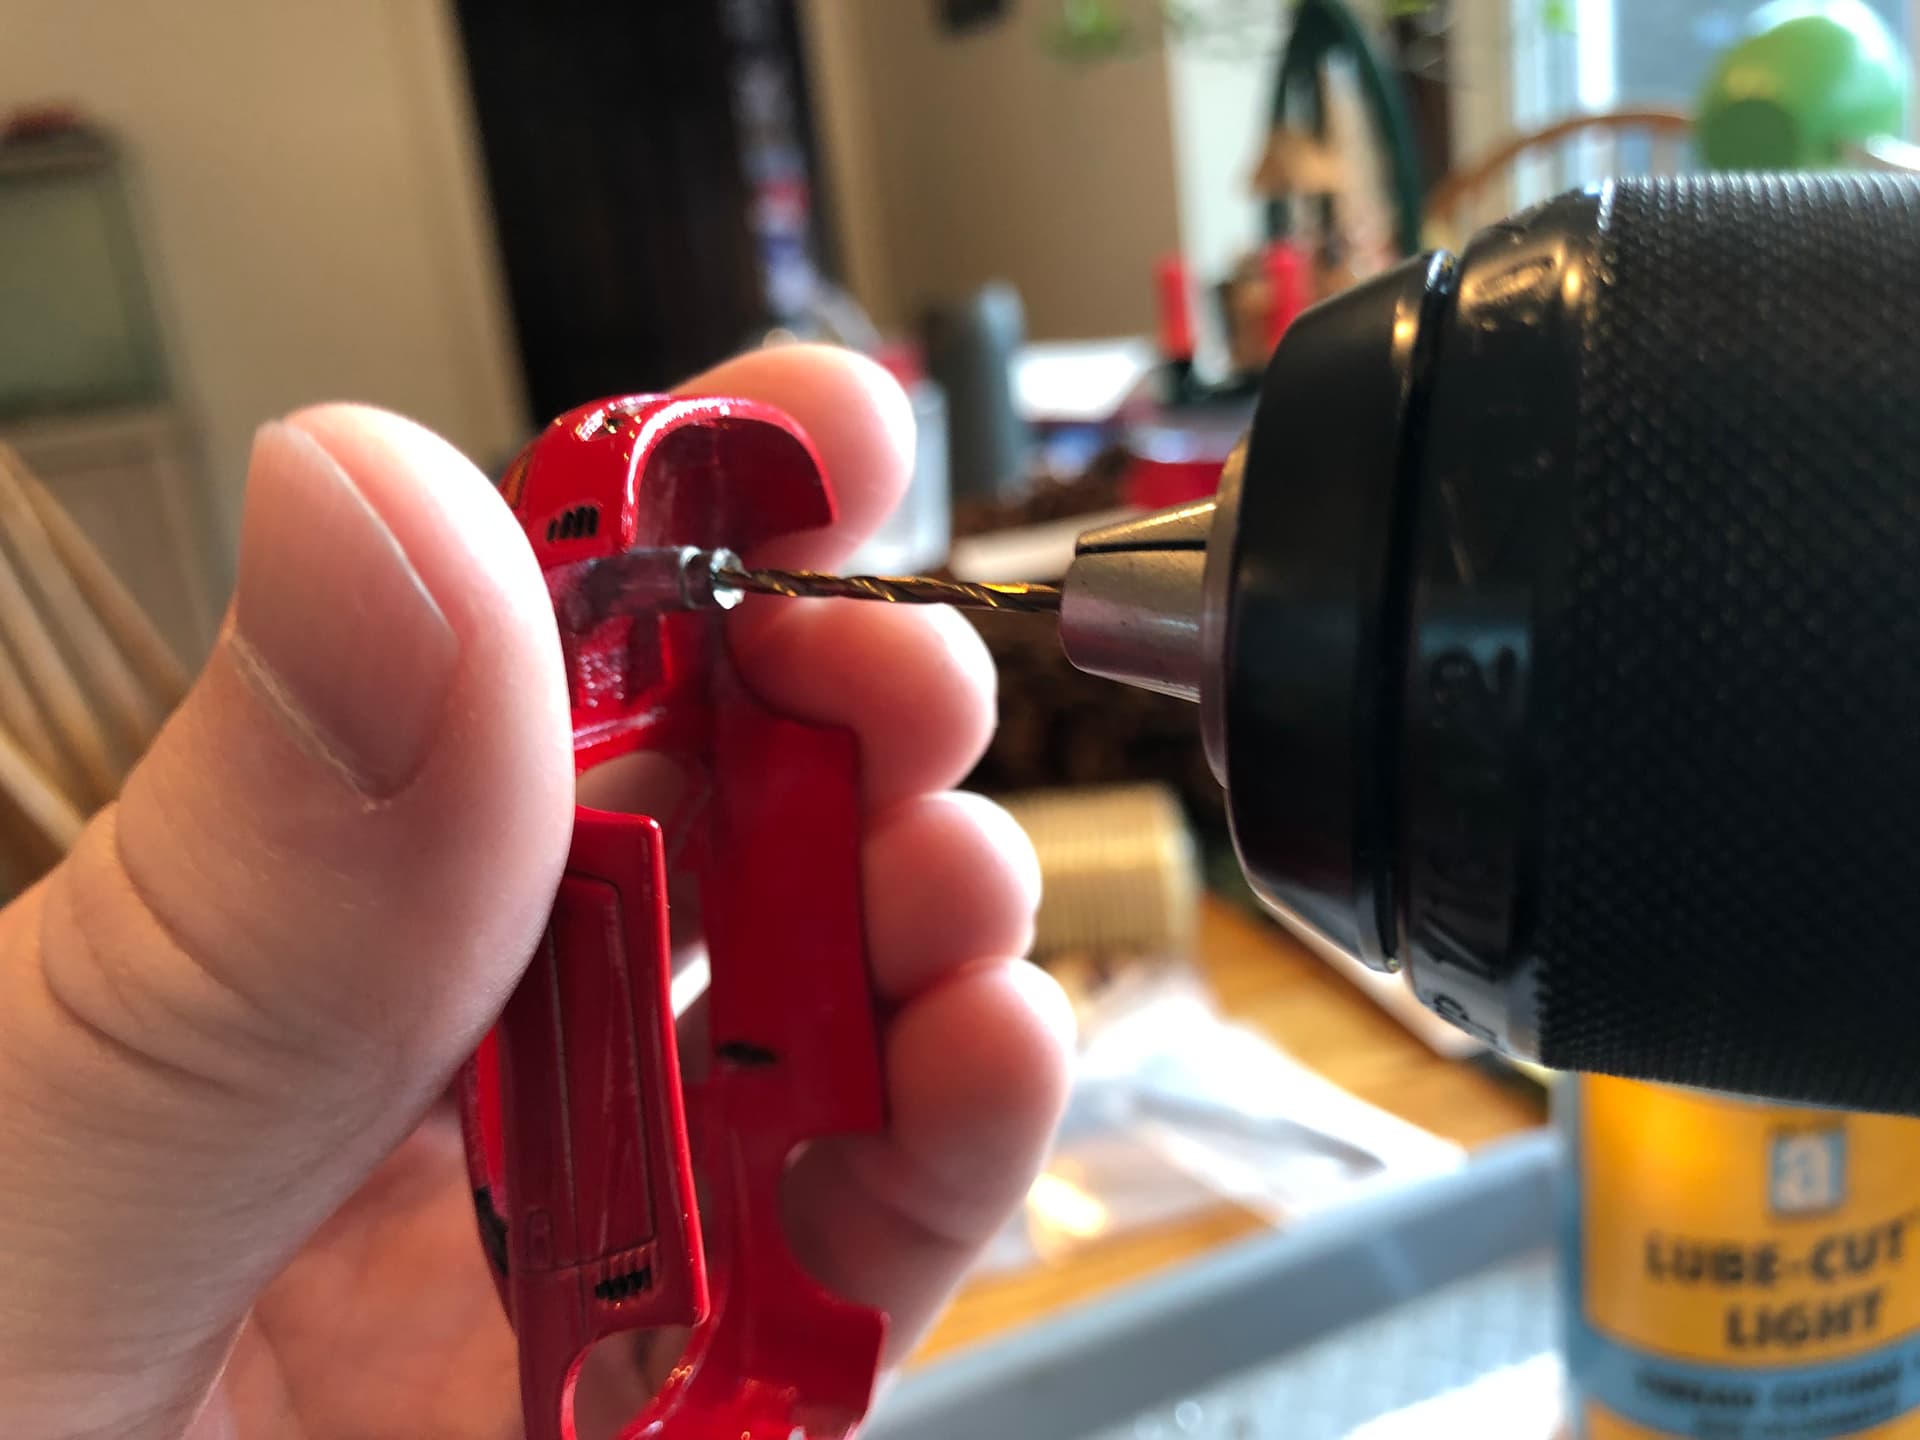
Drill holes in the posts with a 1/16" drill bit (I used some cutting oil to lubricate the bit, checked frequently for depth of hole):
Tap threads with a #2-56 tap (careful to get to started straight, use cutting oil, follow standard guidelines for tapping threads, I used some tape on the tap as a depth guide):
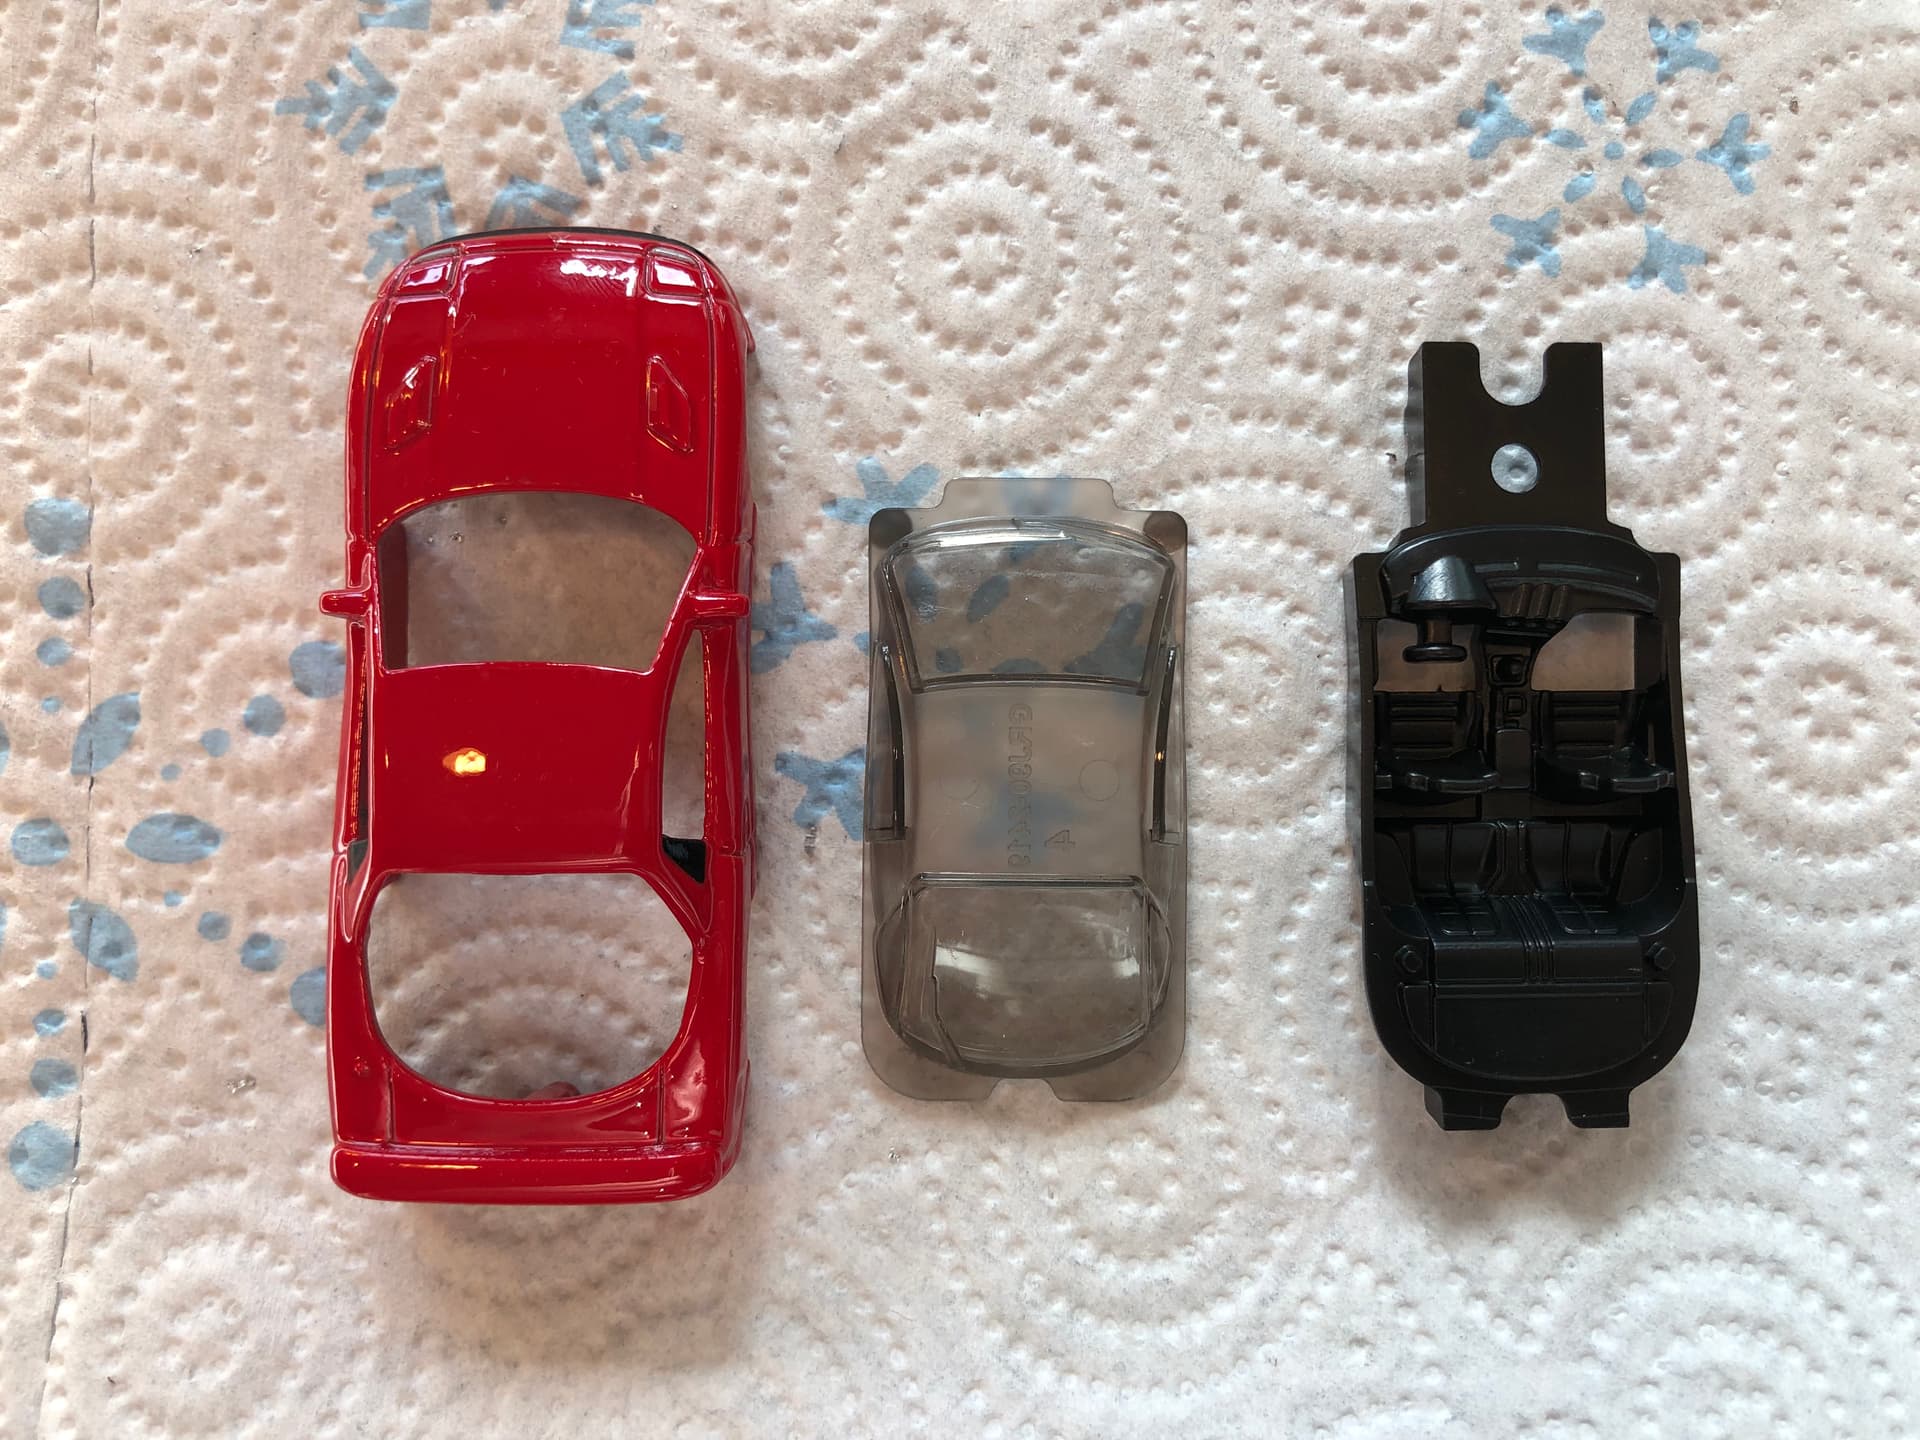
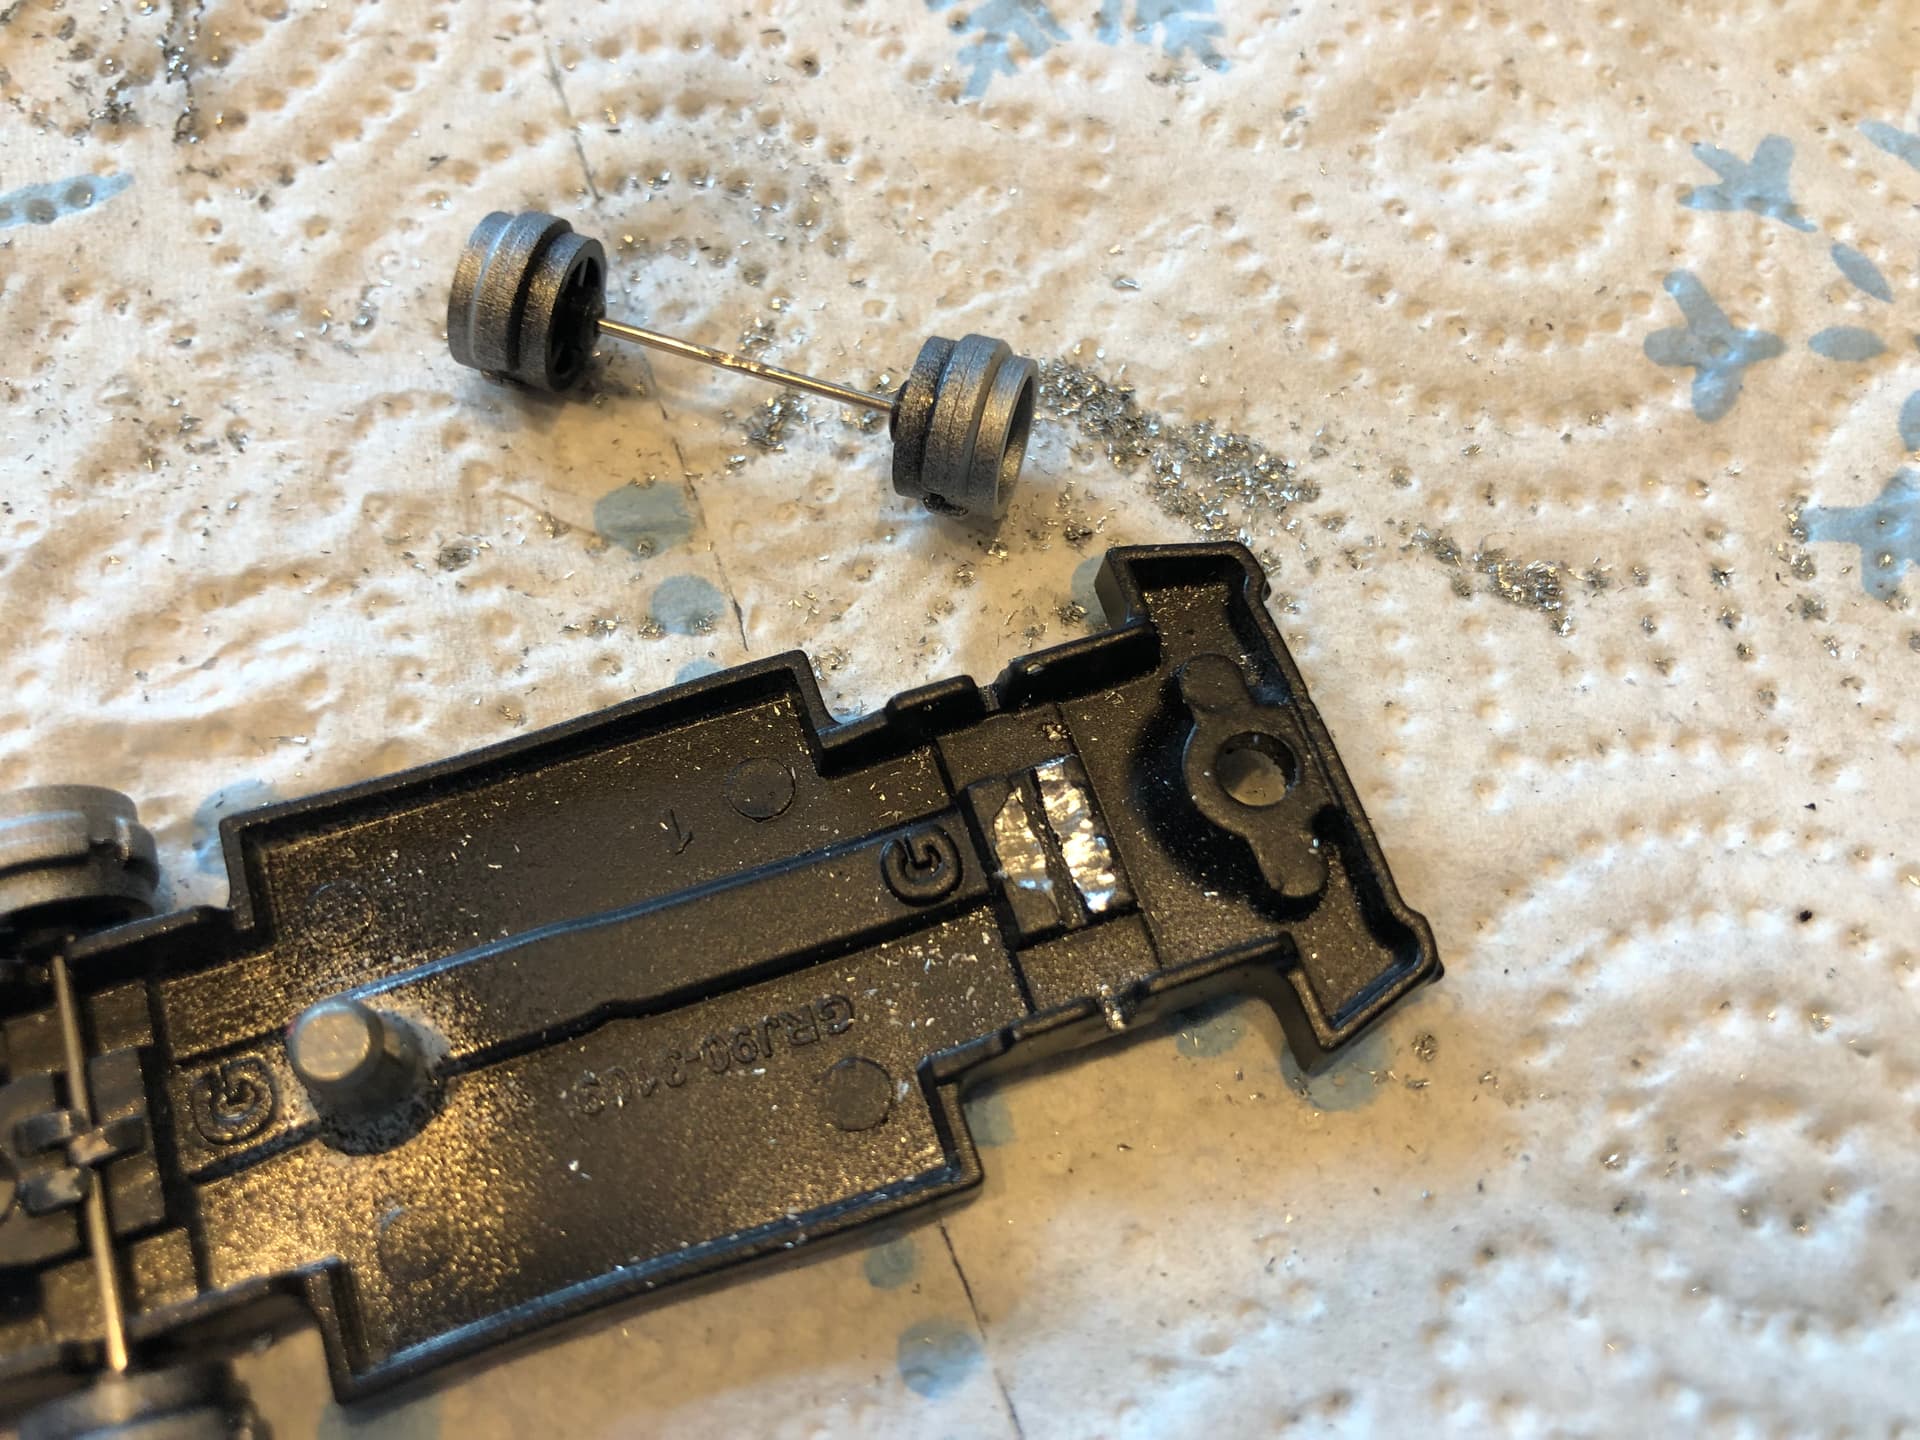
At this point, you could reassemble with the new wheel sets if you are only performing a wheel swap. You don’t need to do anything to secure the axles to the base, because the interior piece of the car actually helps locate the axles during assembly, and holds them in place against the base when assembled. But some people like to use a dab of superglue to secure the axles to the base (be sure to get the axles centered if you do this).
Before reassembly, you can also touch up any spots where you nicked paint on the base while drilling or grinding. I found that matte black acrylic paint is a near perfect match to the original black paint on the base.
The tires that came with my new wheels were actually a bit larger than the original tires. Luckily, the tires are easy to swap between wheel sets (they pull right off, and pop back on; no glue, no tools required). Here’s a few comparisons.
Cleaned with rubbing alcohol to ensure a nice clean surface. This also dulled the black paint a bit, so I’m hoping it “etched” the surface of the original paint a bit for good adhesion.
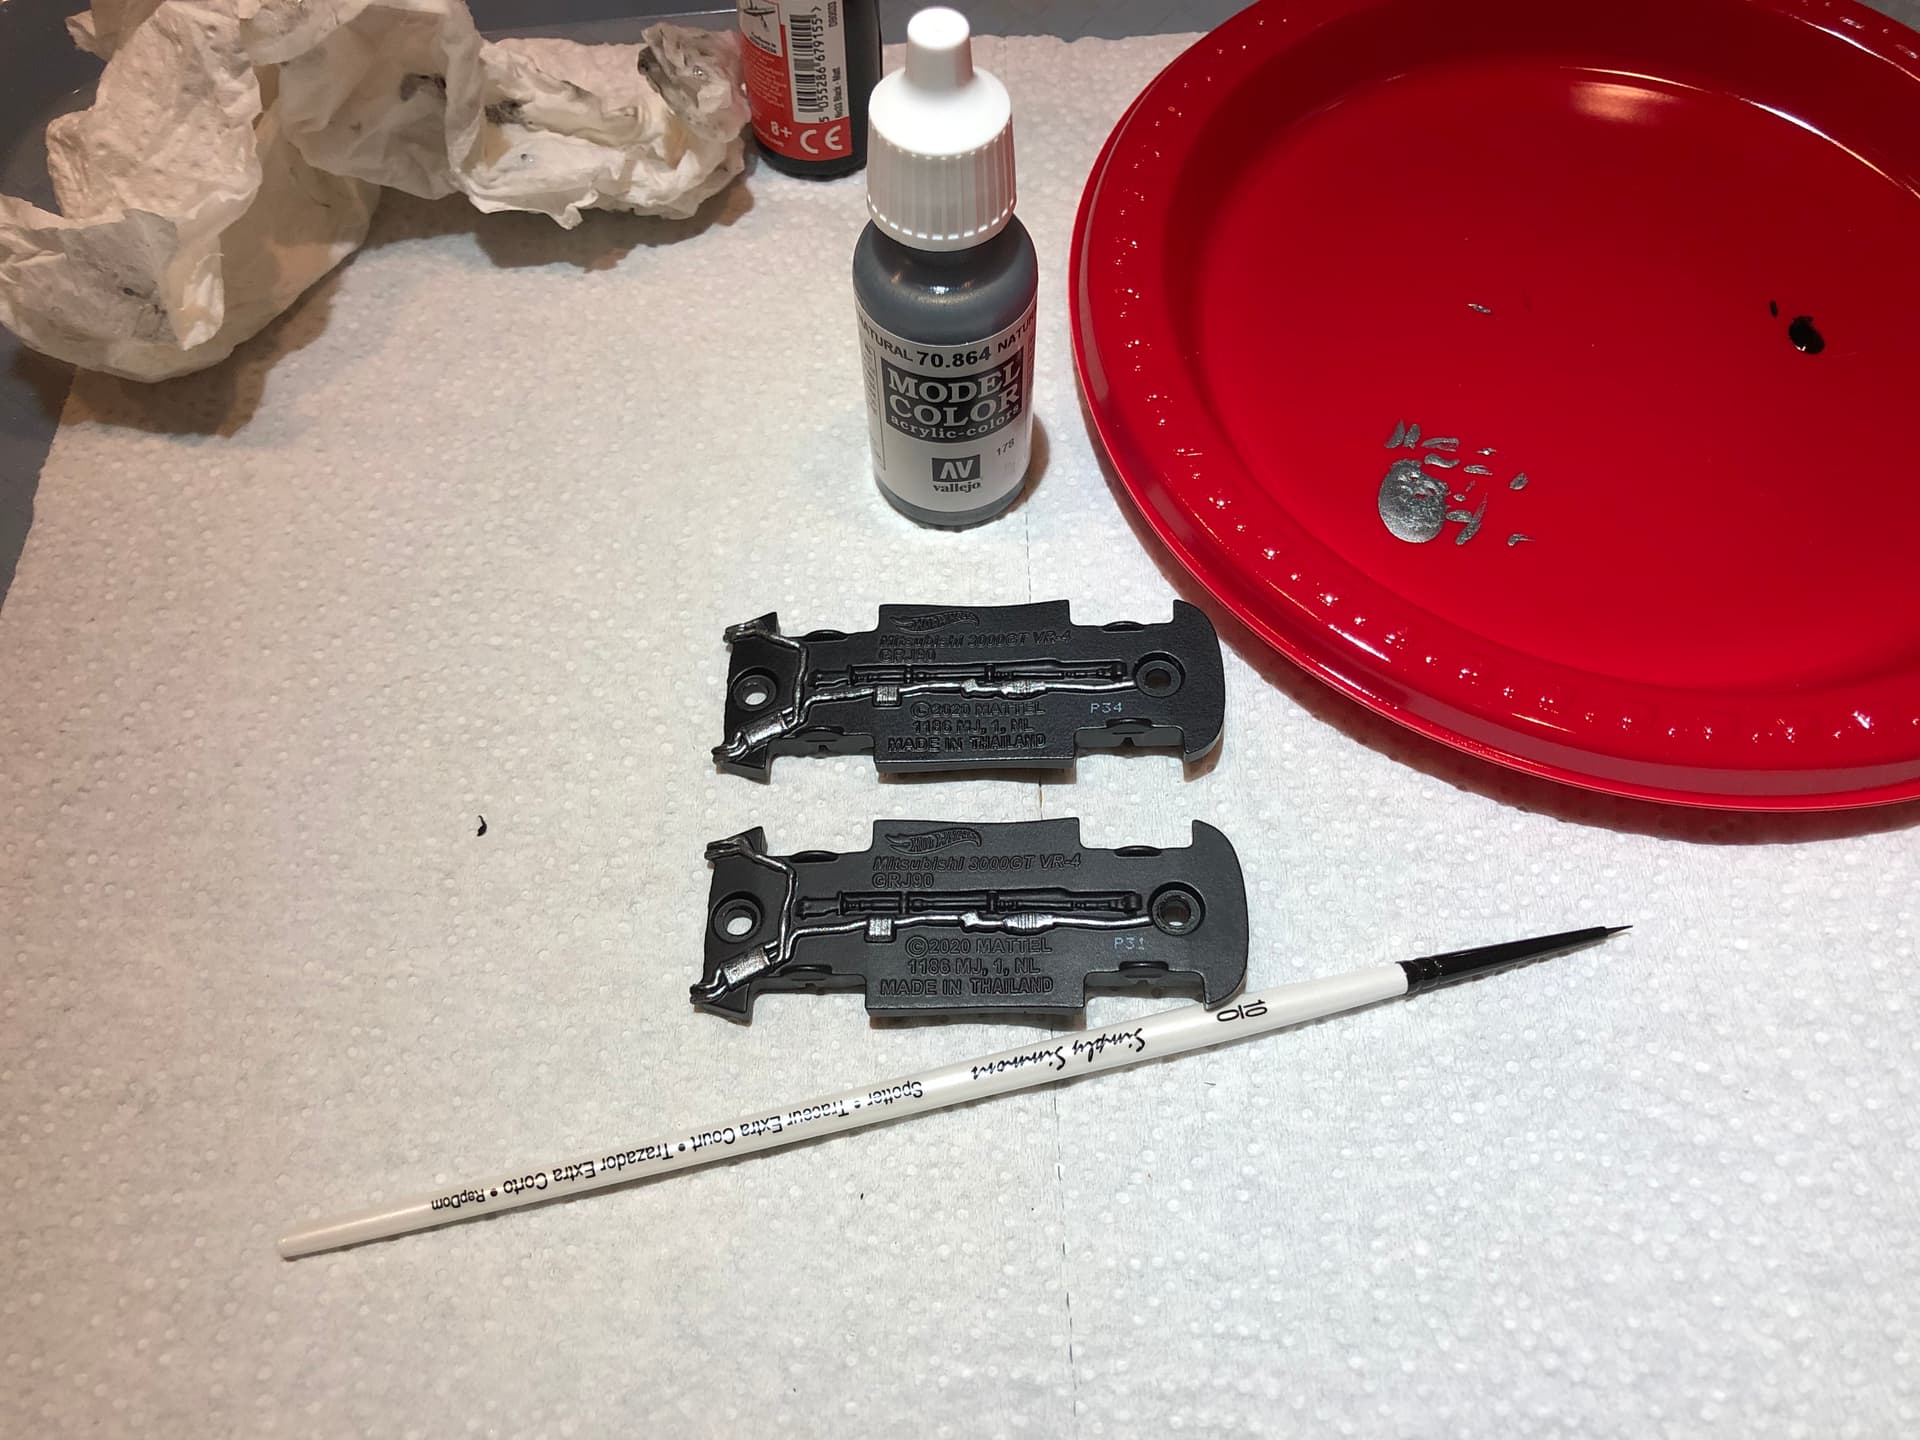
I chose acrylic paint because it’s easier to work with than enamel paint. Fairly easy to clean up a mistake with a toothpick, paper towel and either water or acrylic paint thinner. Use quality paint for models and miniatures; not the cheap stuff from a crafting store.
Used the smallest paint brush I could find at a hobby store. The size on the brush is “10 / 0”.
Steady hand and patience.
I painted the exhaust with the base separated from the body so I could paint the exhaust tips without risking painting the body. But I found it easier to hold the fully assembled car for painting other details where there was little risk of accidentally painting the body.
Know when to stop (paint starts getting tacky), and wait for your progress so far to cure for a day before continuing.
Matt black paint is great for going back and touching up spots where you painted a bit “outside the lines”.
I’ll be using Testors Dullcote spray lacquer to seal/protect the acrylic paint (haven’t applied this yet; will follow up with results).
Paint colors I used (mix of brands based on availability at my local hobby store):
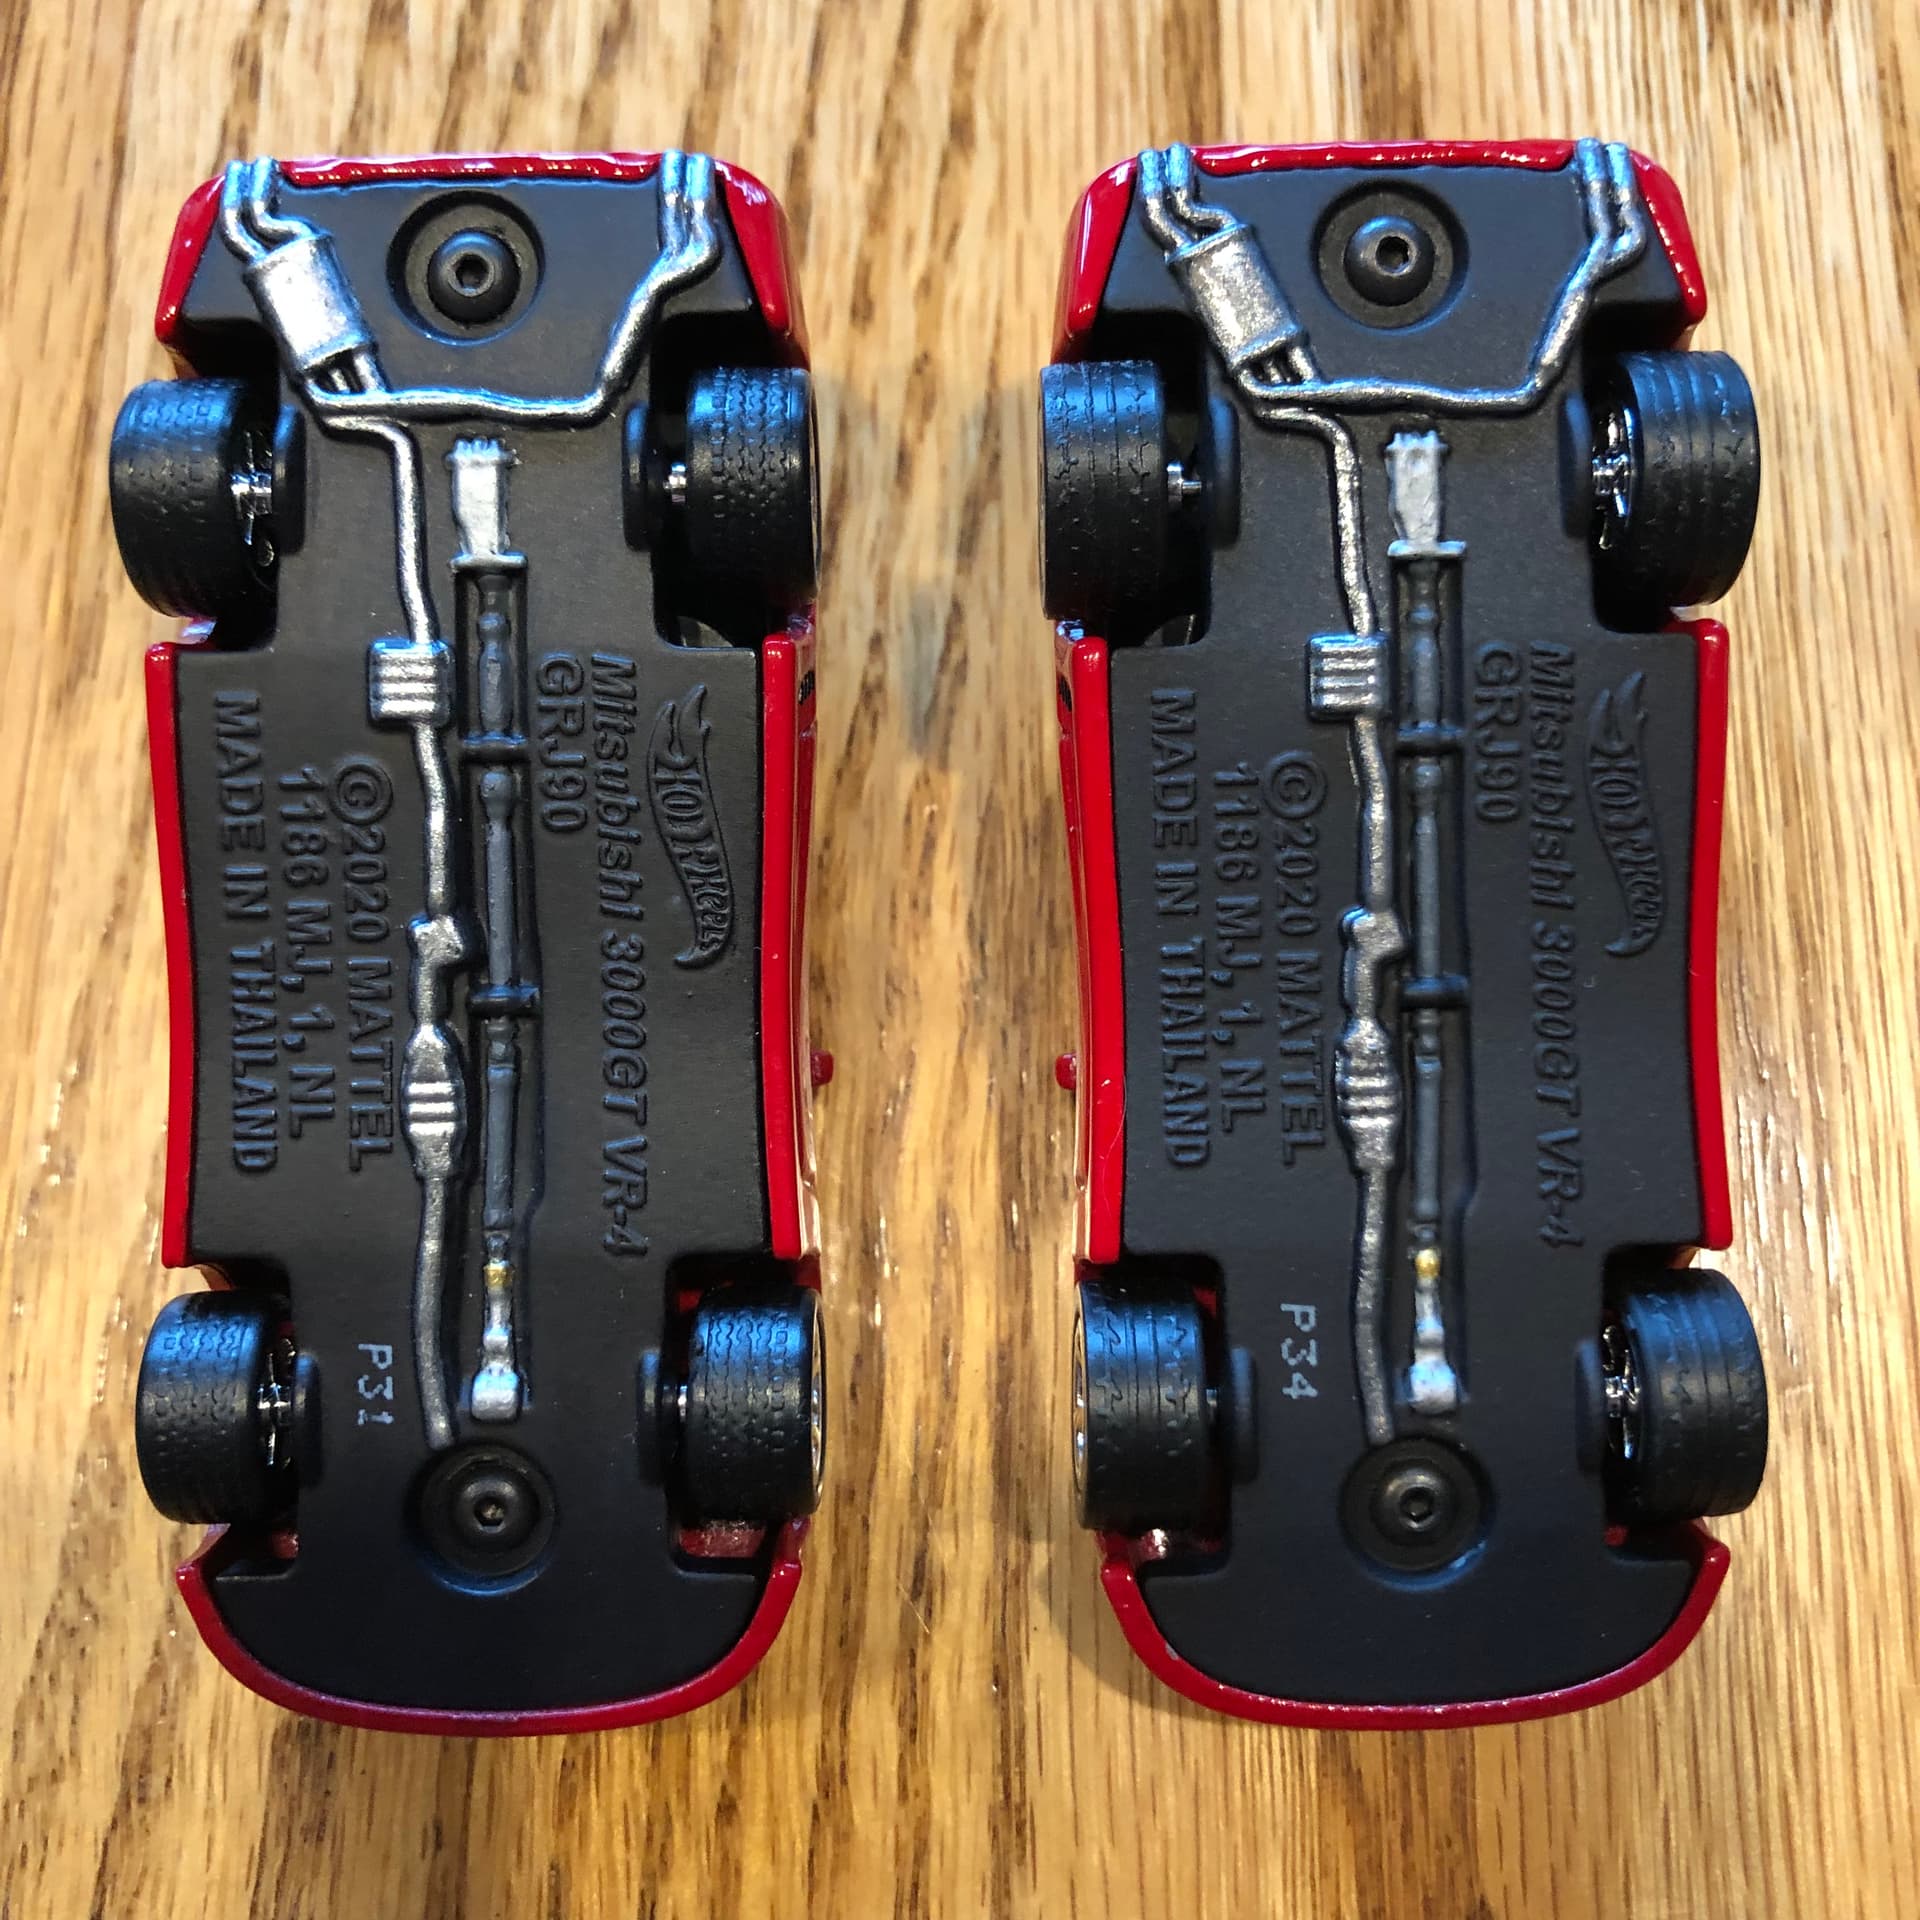
Humbrol - Matt Black: for touching up small mistakes from drilling, grinding, and painting (matches original color of the base of the car very closely).
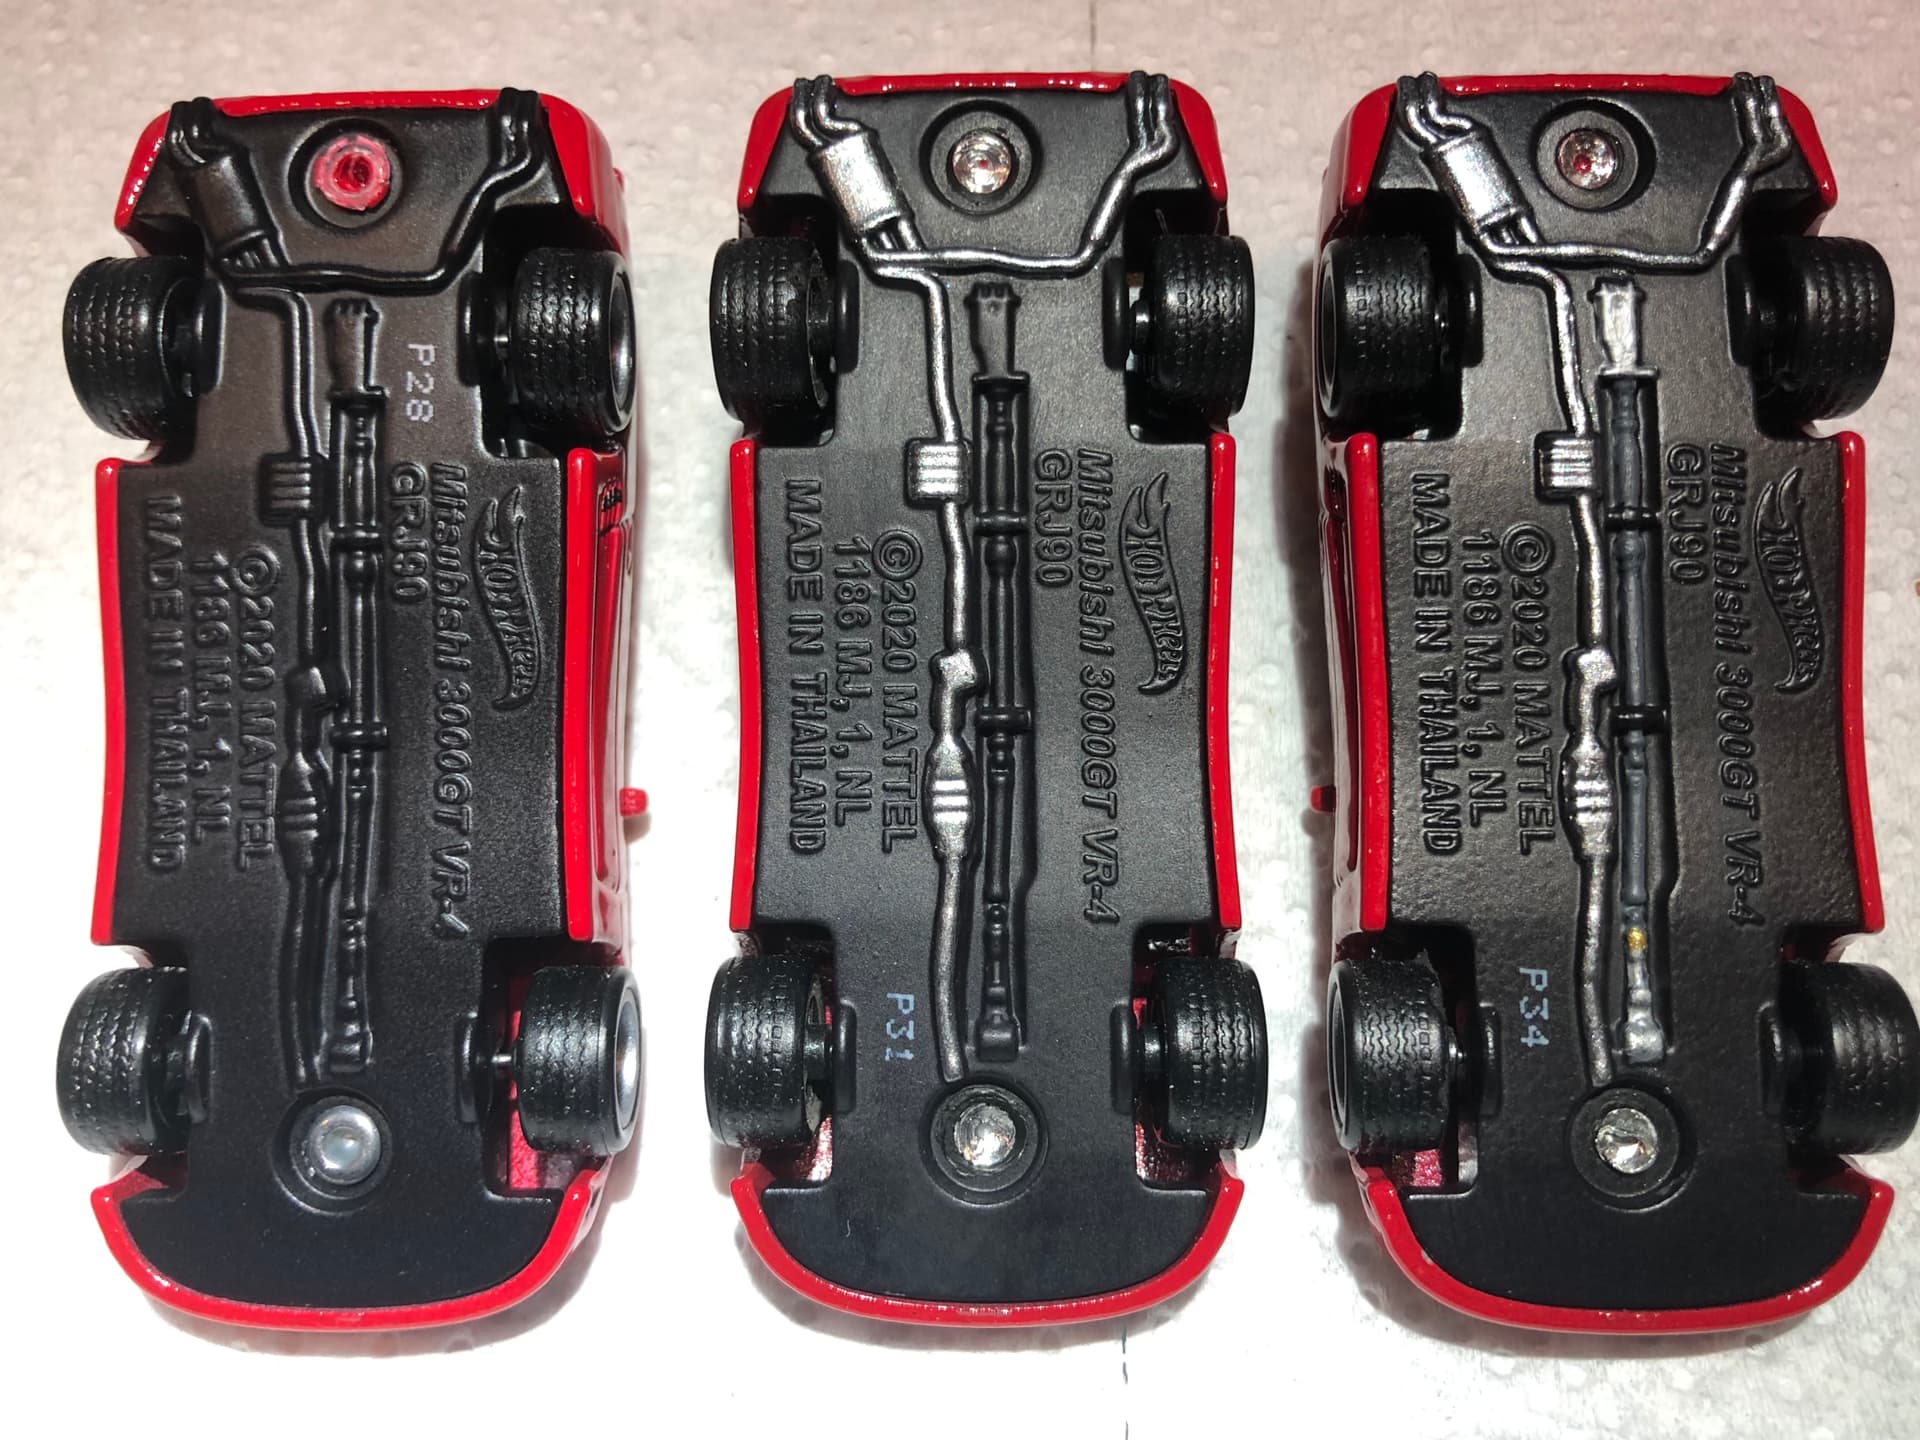
Model Color - Natural Steel: for the exhaust.
Humbrol - Aluminum (Metallic): For the transfer case and rear differential.
Model Color - Basalt Gray: For the driveshaft.
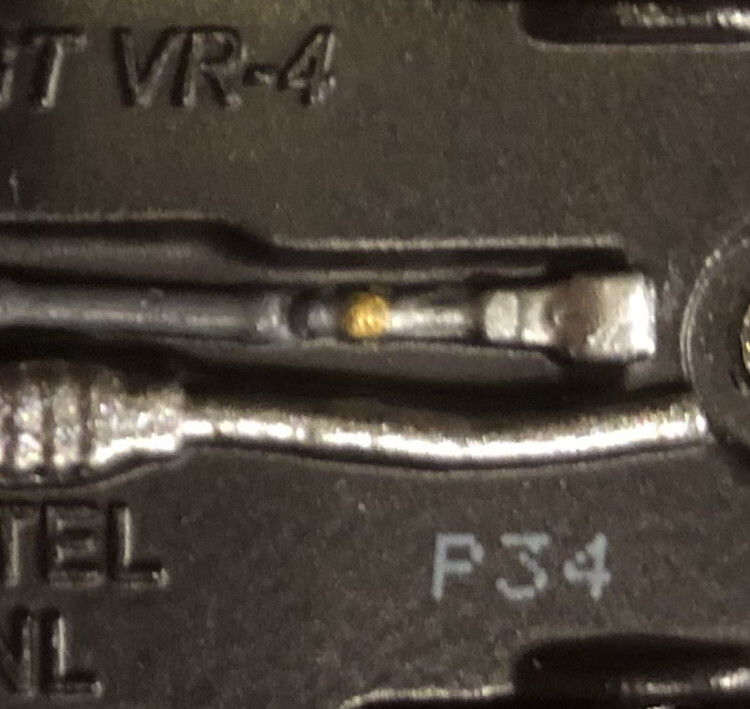
Random cheap metallic gold paint that my wife conveniently had: for the bell at the end of the transfer case.
Technically, the driveshaft should be black. But it looked “unfinished” when I painted the other parts without doing anything to the driveshaft. So I decided to use a dark gray paint just to make the driveshaft stand out a bit “different” than all the surrounding matte black.
UPDATE: I applied a few light coats of Testors Dullcote (spray can) matte lacquer to seal/protect the acrylic paint, and it really killed the metallic look of the exhaust (forgot to get a picture of this). The exhaust looked almost like it was just painted with gray paint. But that was to be expected with a matte clearcoat.
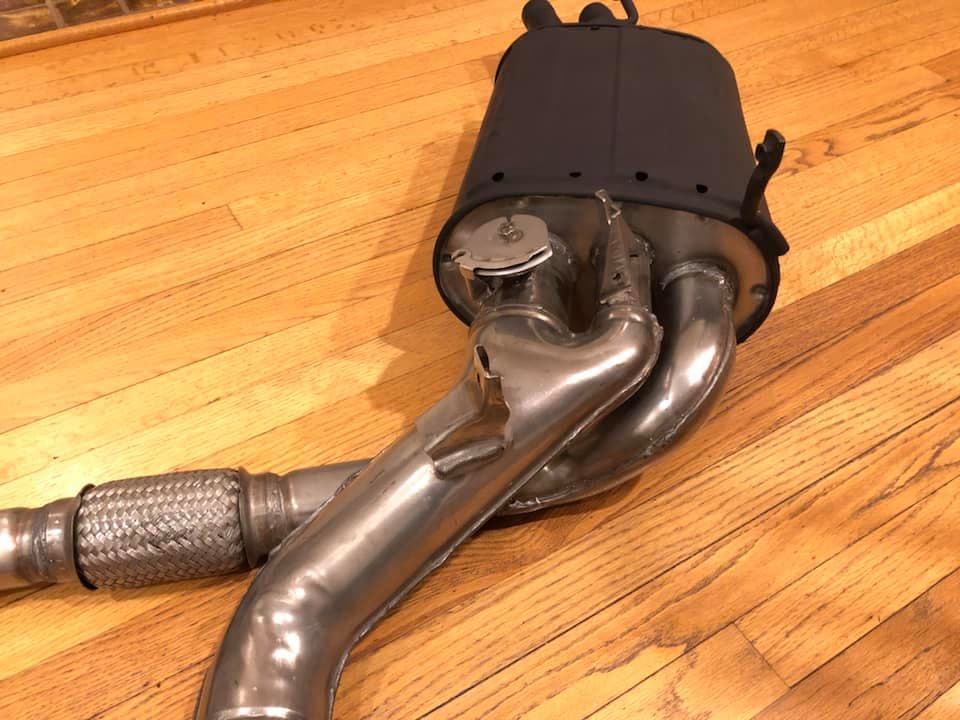
So then I got some Testors Glosscote gloss lacquer in a jar and brushed a few coats of that onto the exhaust only. It brought back the metallic appearance of the exhaust, and also conveniently changed the color a bit to be a closer match to the color of brand new OEM exhaust pipes!.
Here’s a side-by-side comparison of without lacquer (left) and with lacquer (right).
Or are you referring to the apparent rough “texture” of the paint making it look badly aged? I think that’s an optical illusion in the photo caused by the metallic paint, brightness/contrast, etc. Metallic flakes in the paint are relatively large compared to the size of the exhaust, so it creates a grainy appearance in photos, but looks “shimmering” in person. The non-lacquered exhaust looks comparatively smoother in that picture partly because it is lighter and some areas are over-exposed a bit (the muffler, for example).
Ooooh … I just see here on my screen that the one on the left looks smooth and shiny (new how I think they are supposed to look like) and the one on the left looks flaky and almost mishandled … Looks like somebody took a hammer and beat on it here on the picture I am looking at