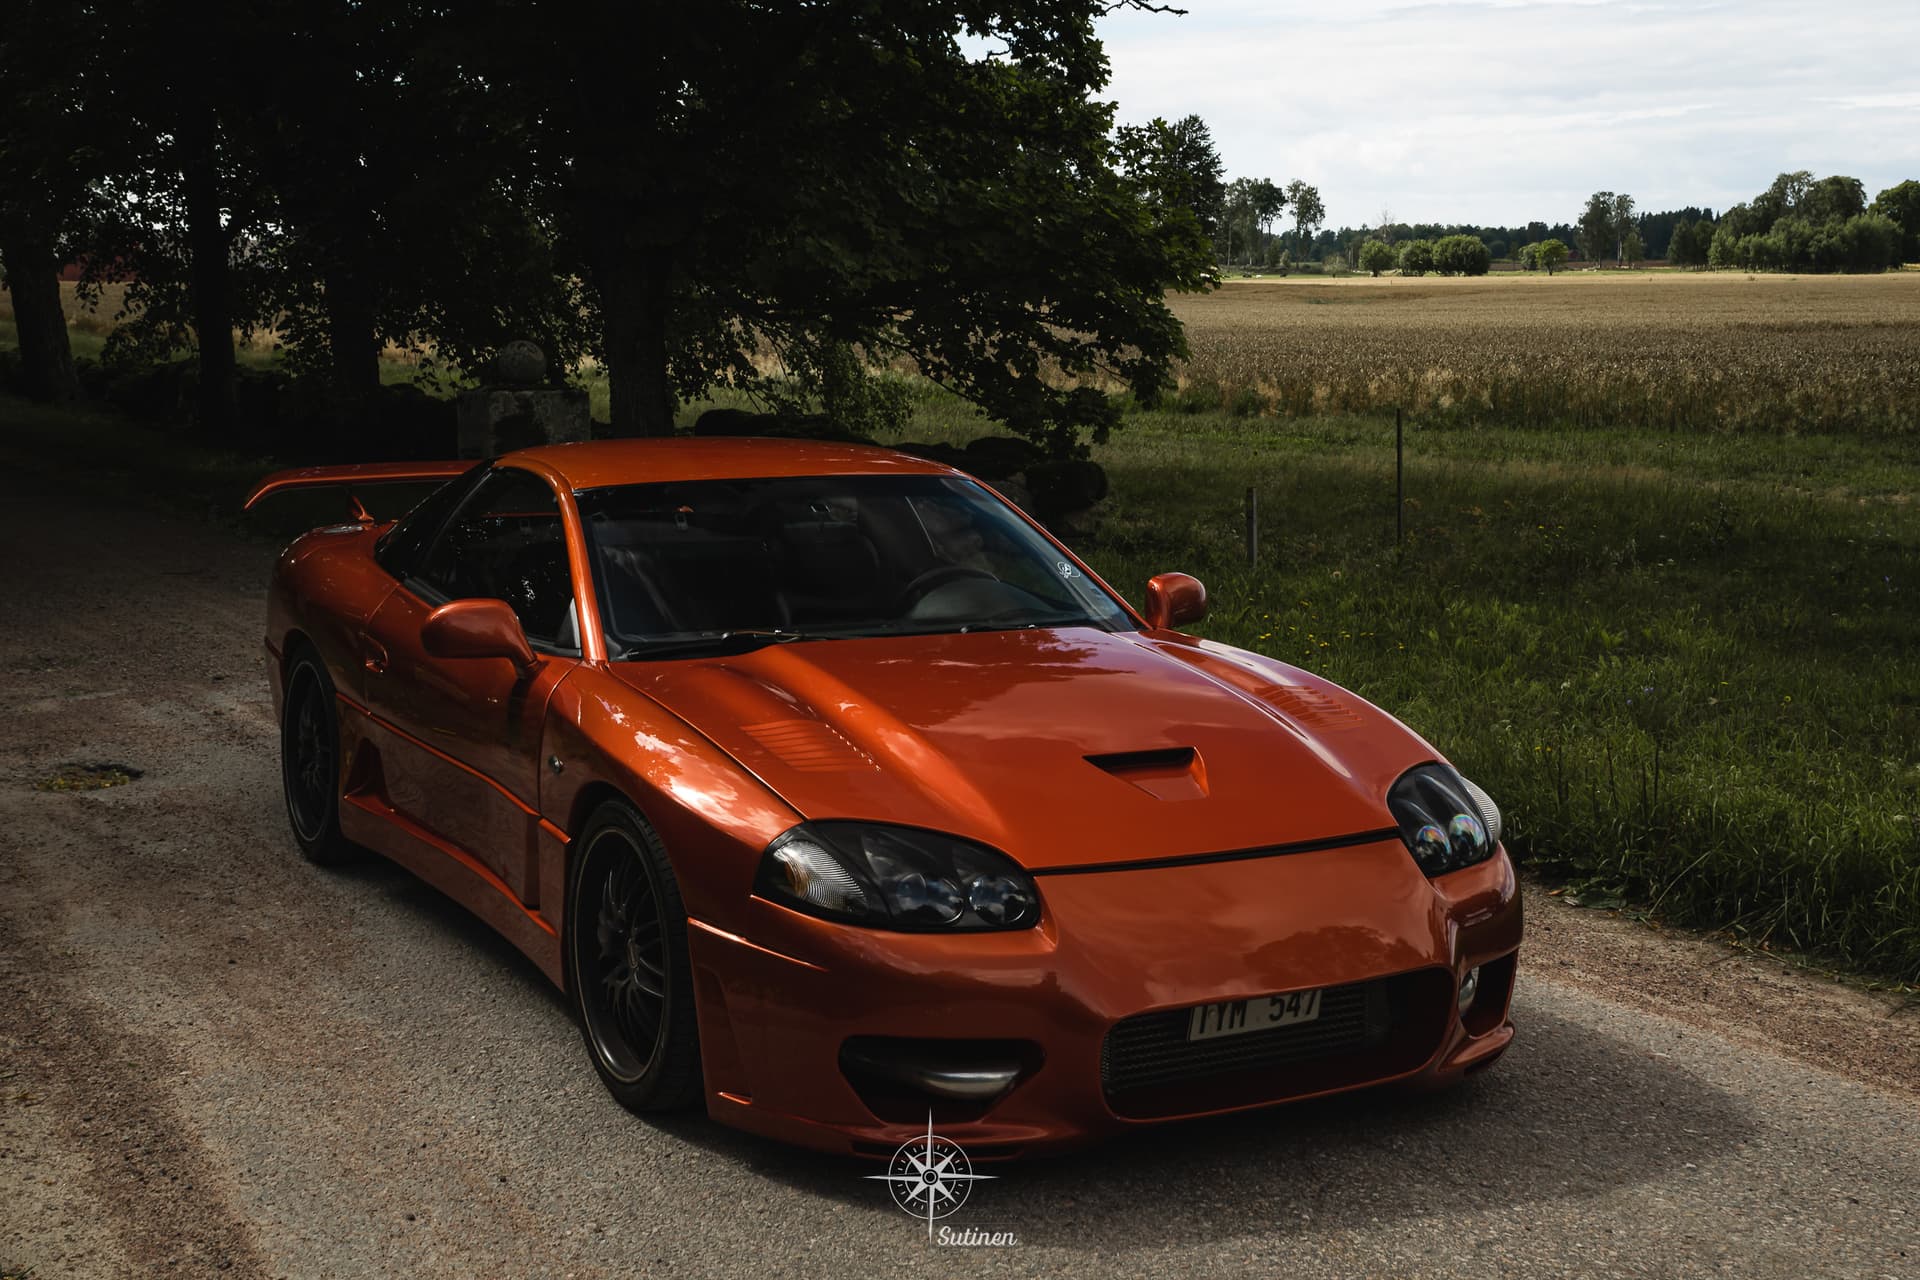
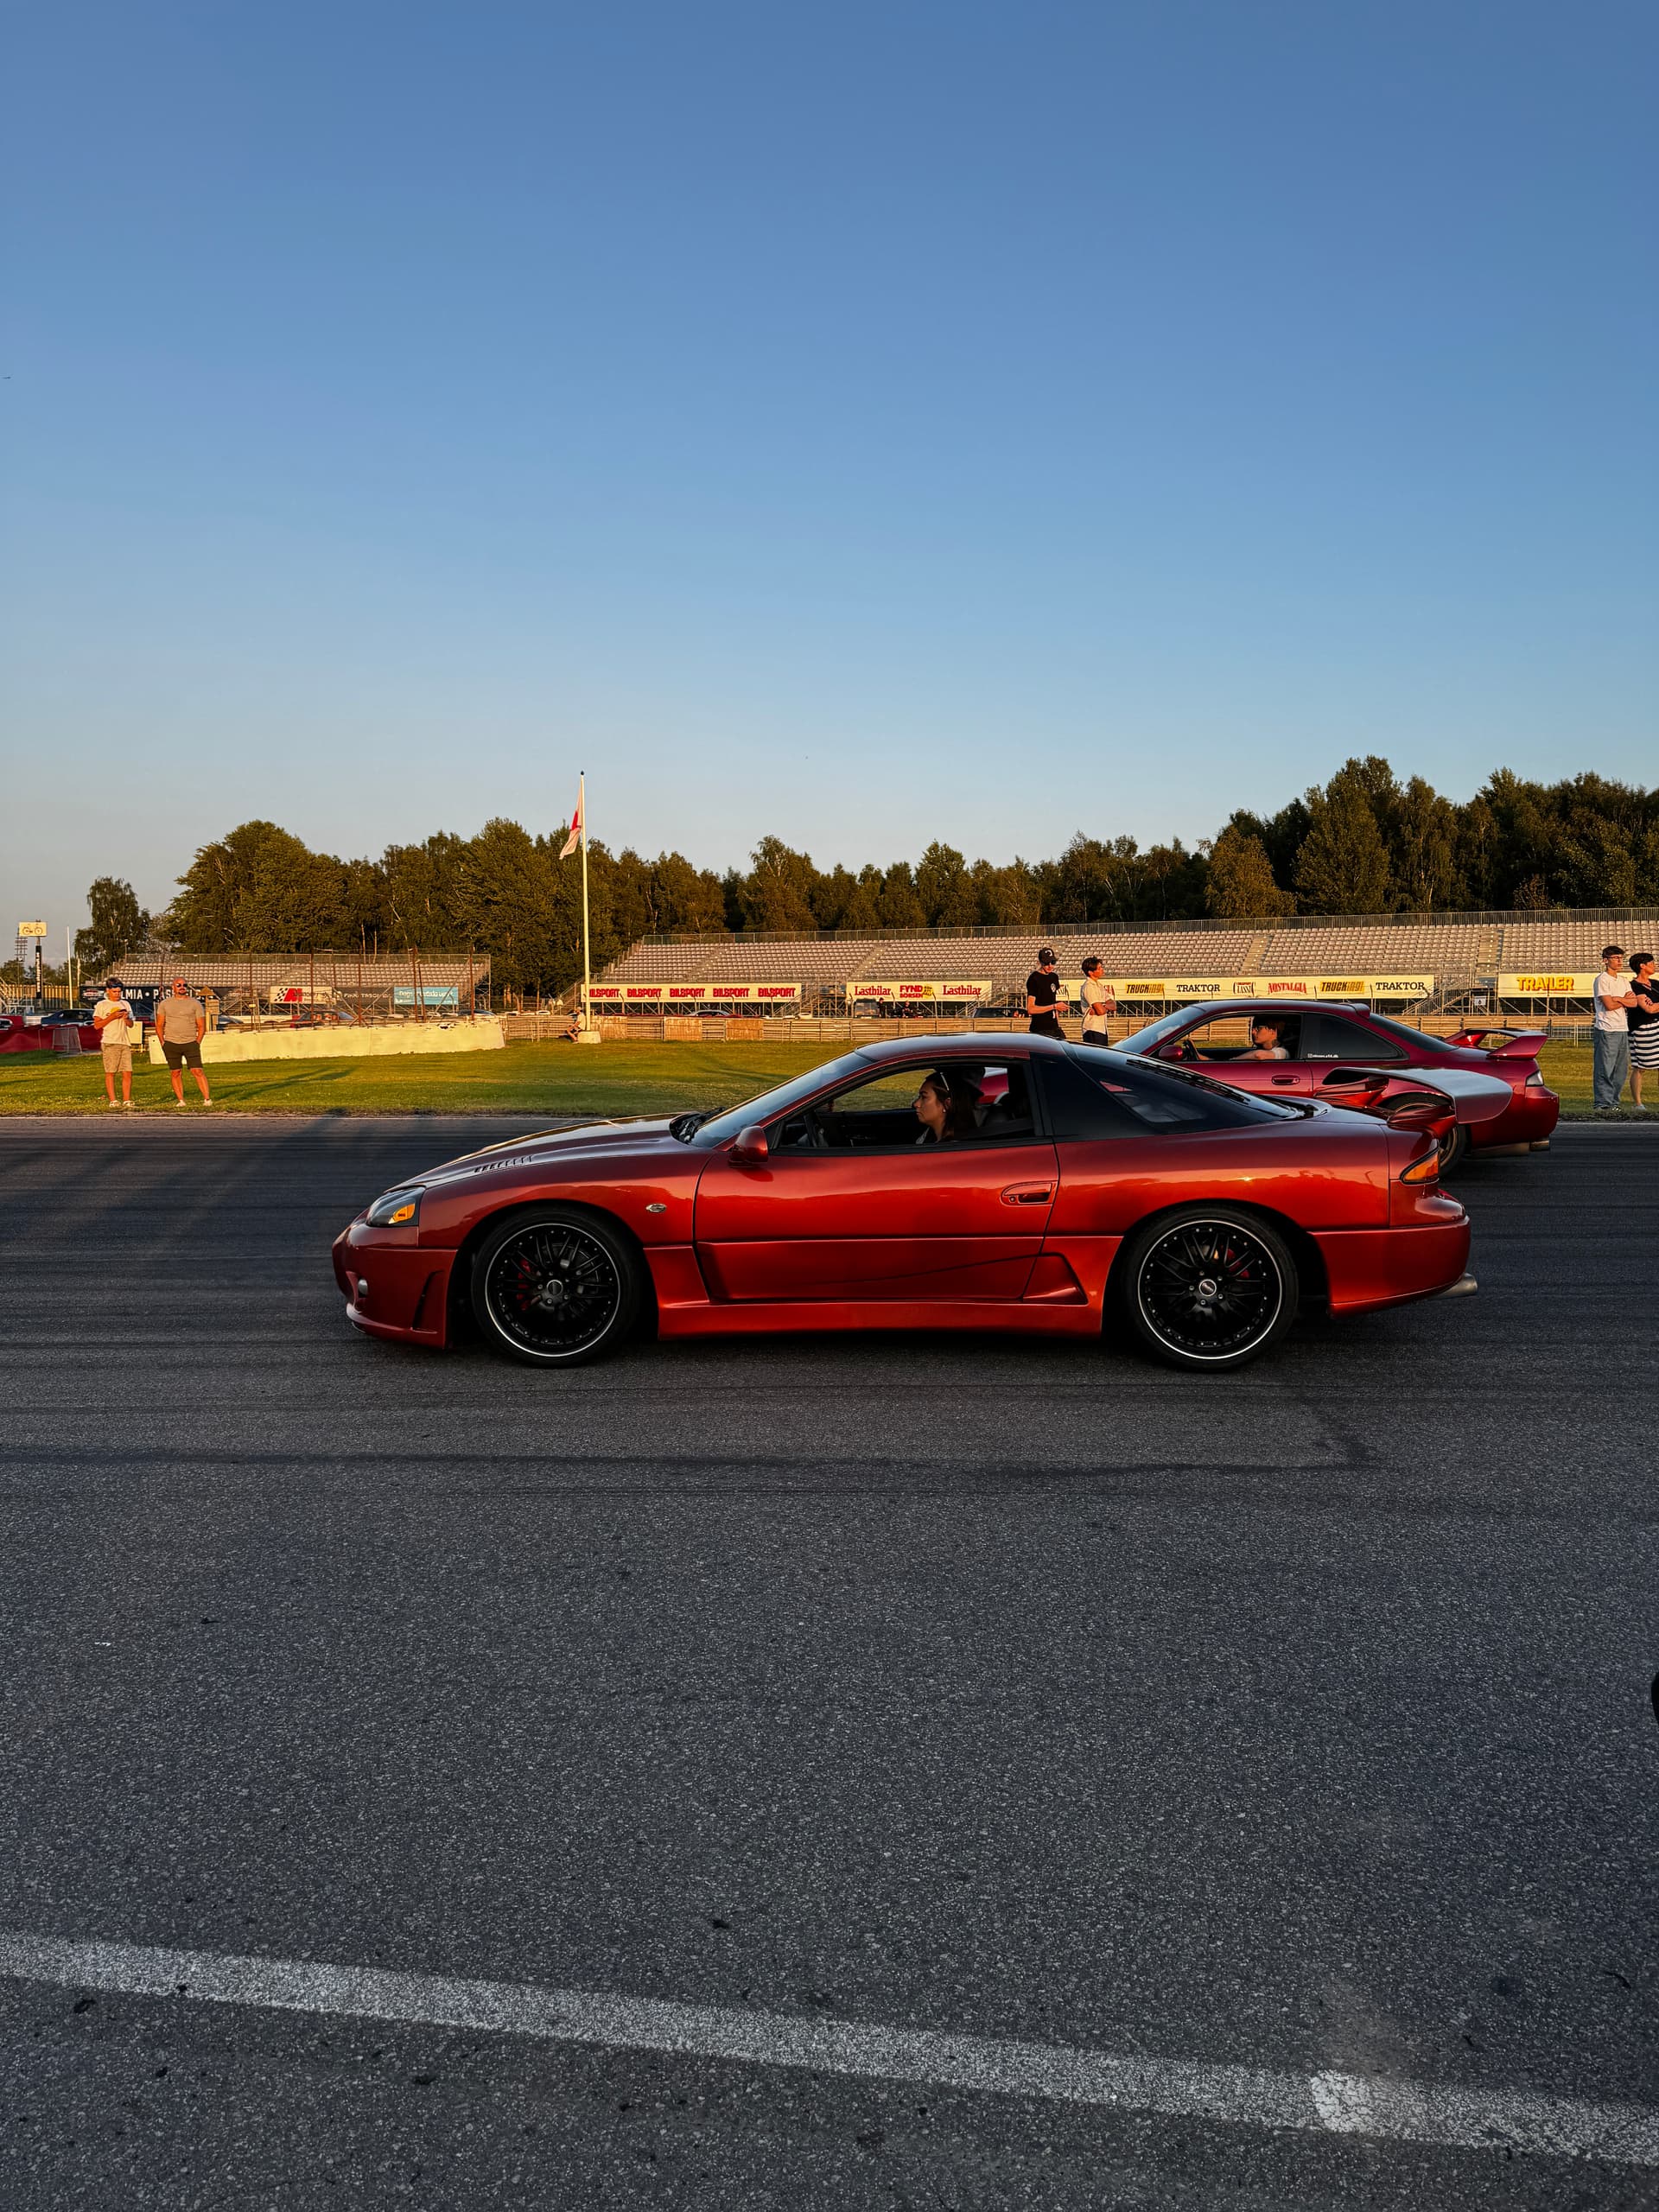
-94 GTO MR - Track car project

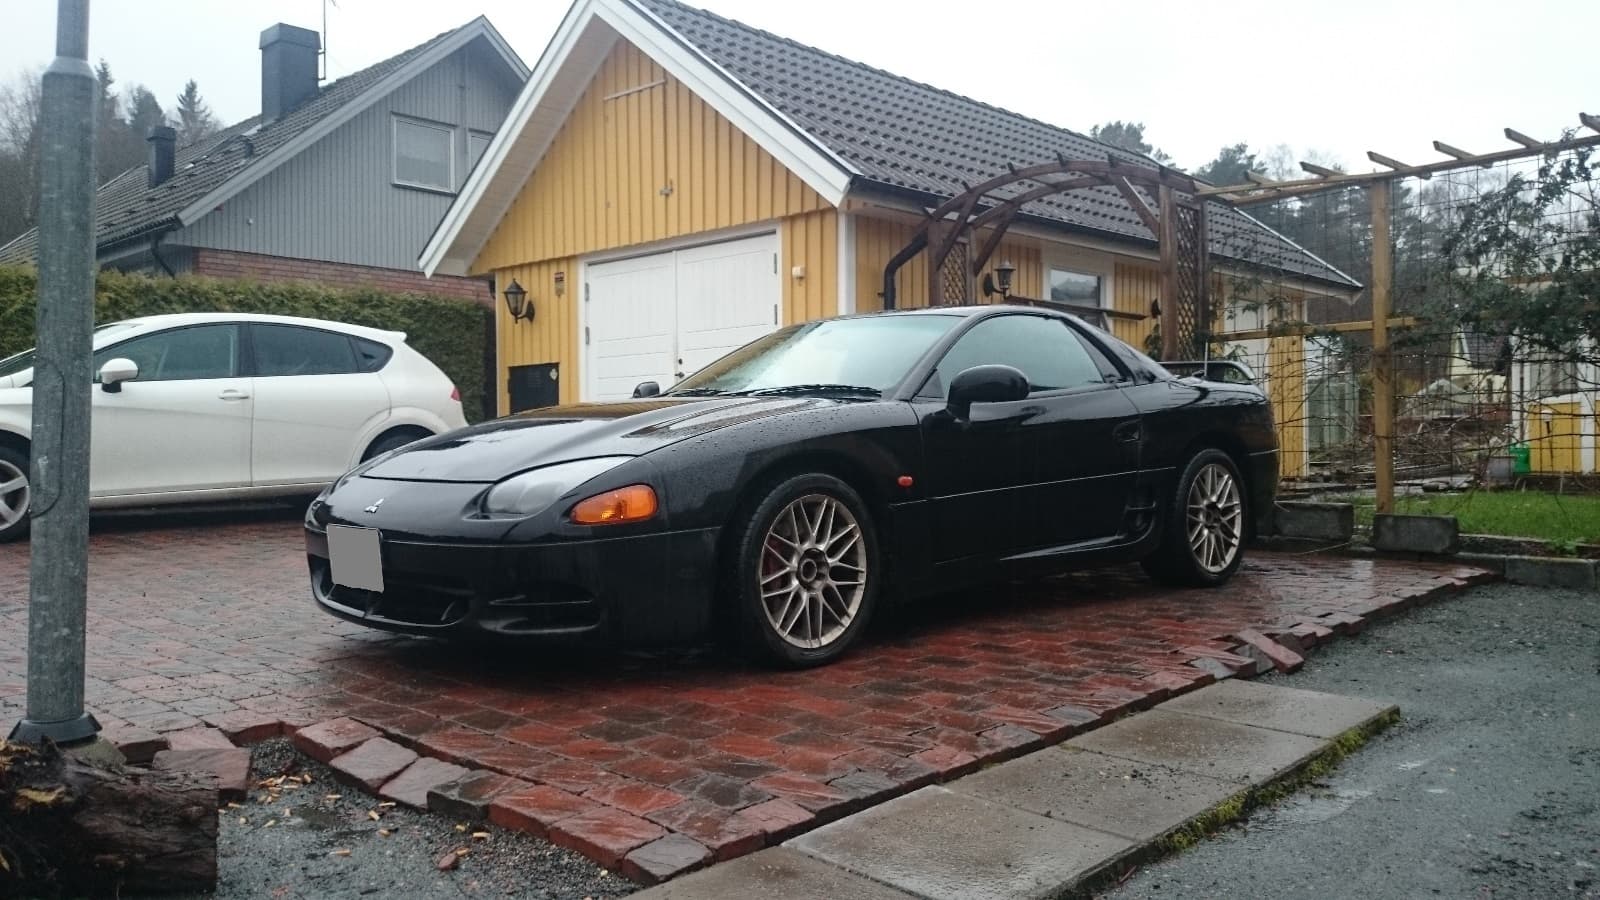
Just thought I´d introduce myself and what I do with one of my GTO’s. I’ve been in the platform since 2011, but tend to only update within our Swedish forum and rarely post on any international forums or fb-groups, but thought it might be fun to share with a few more of you so here’s a brief summary.
As far as we’re aware within our Swedish community - this is the only MR in the country.
Original plans were therefore to keep it mostly untouched, apart from converting it to the JDM/US -99 exterior - a plan that rather quickly went south :roll_eyes: :sunglasses:

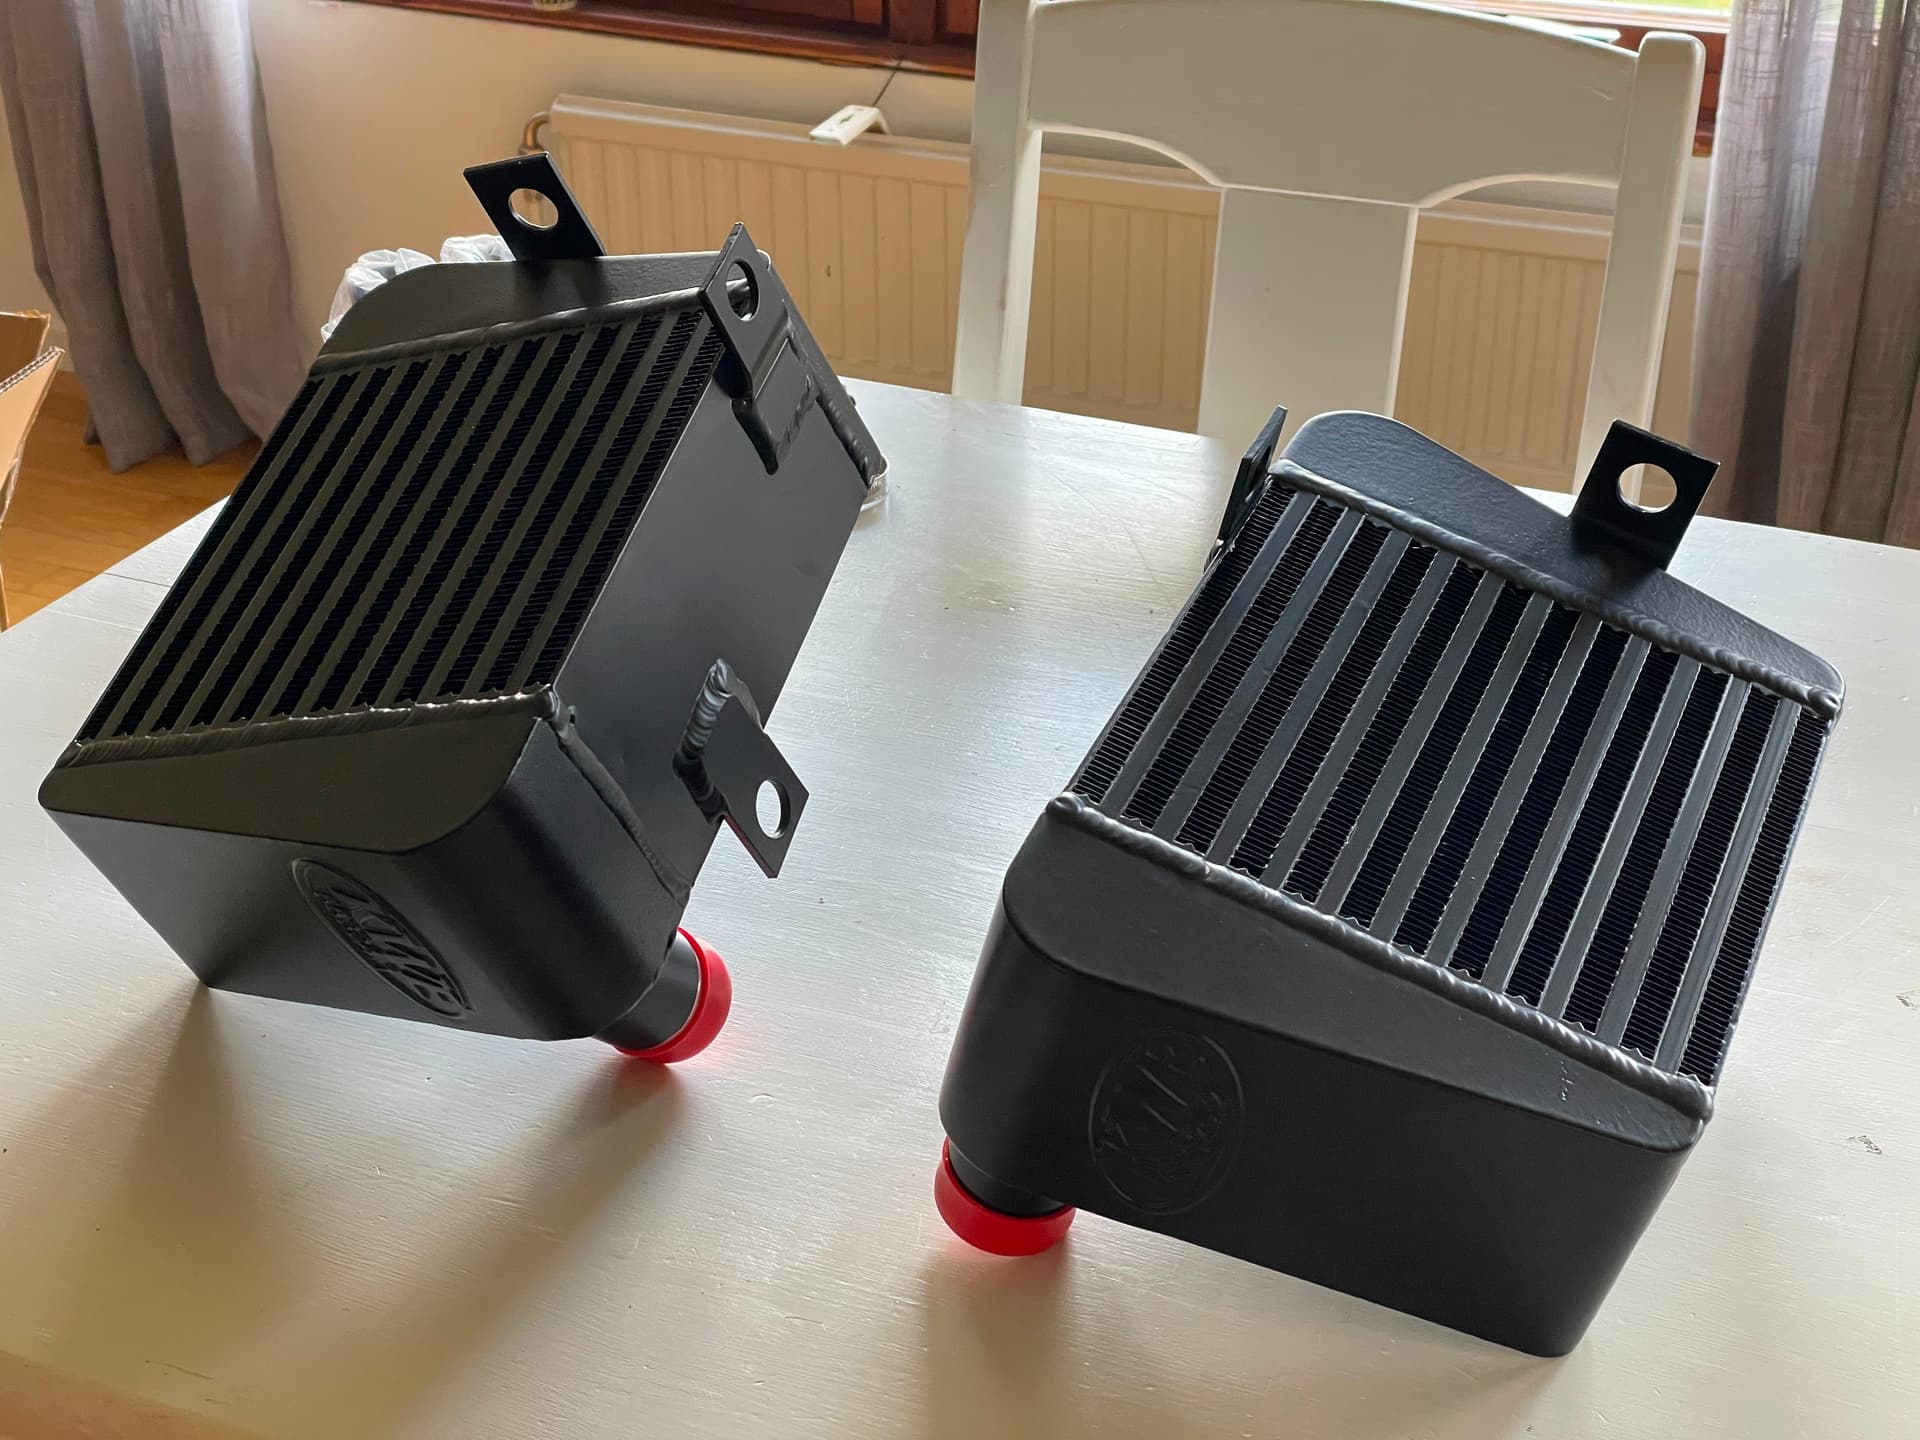
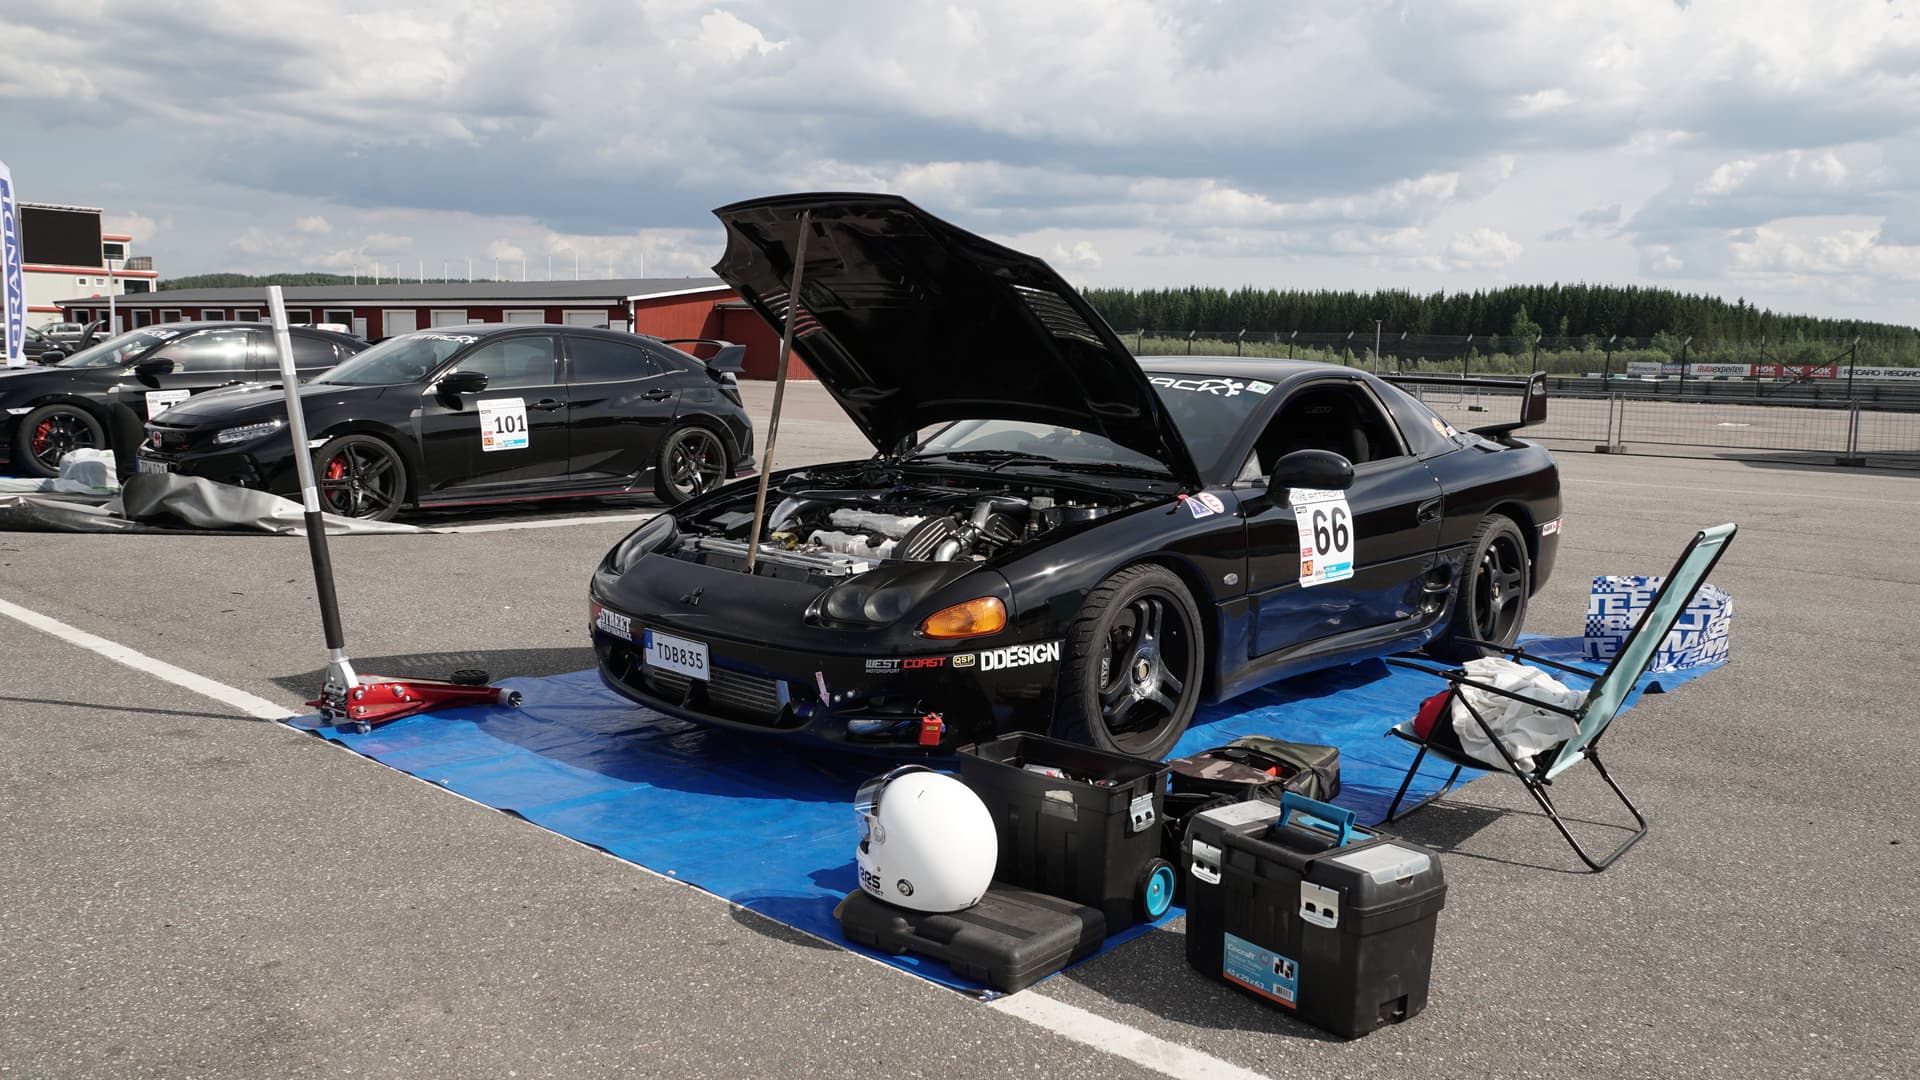
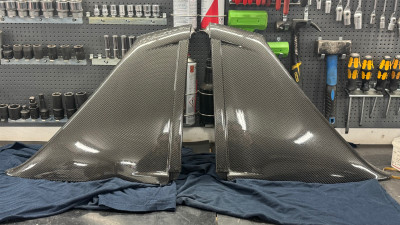
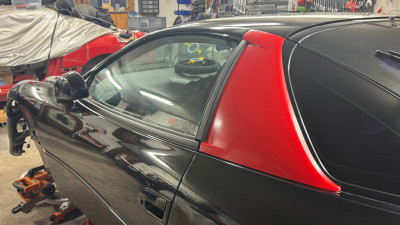
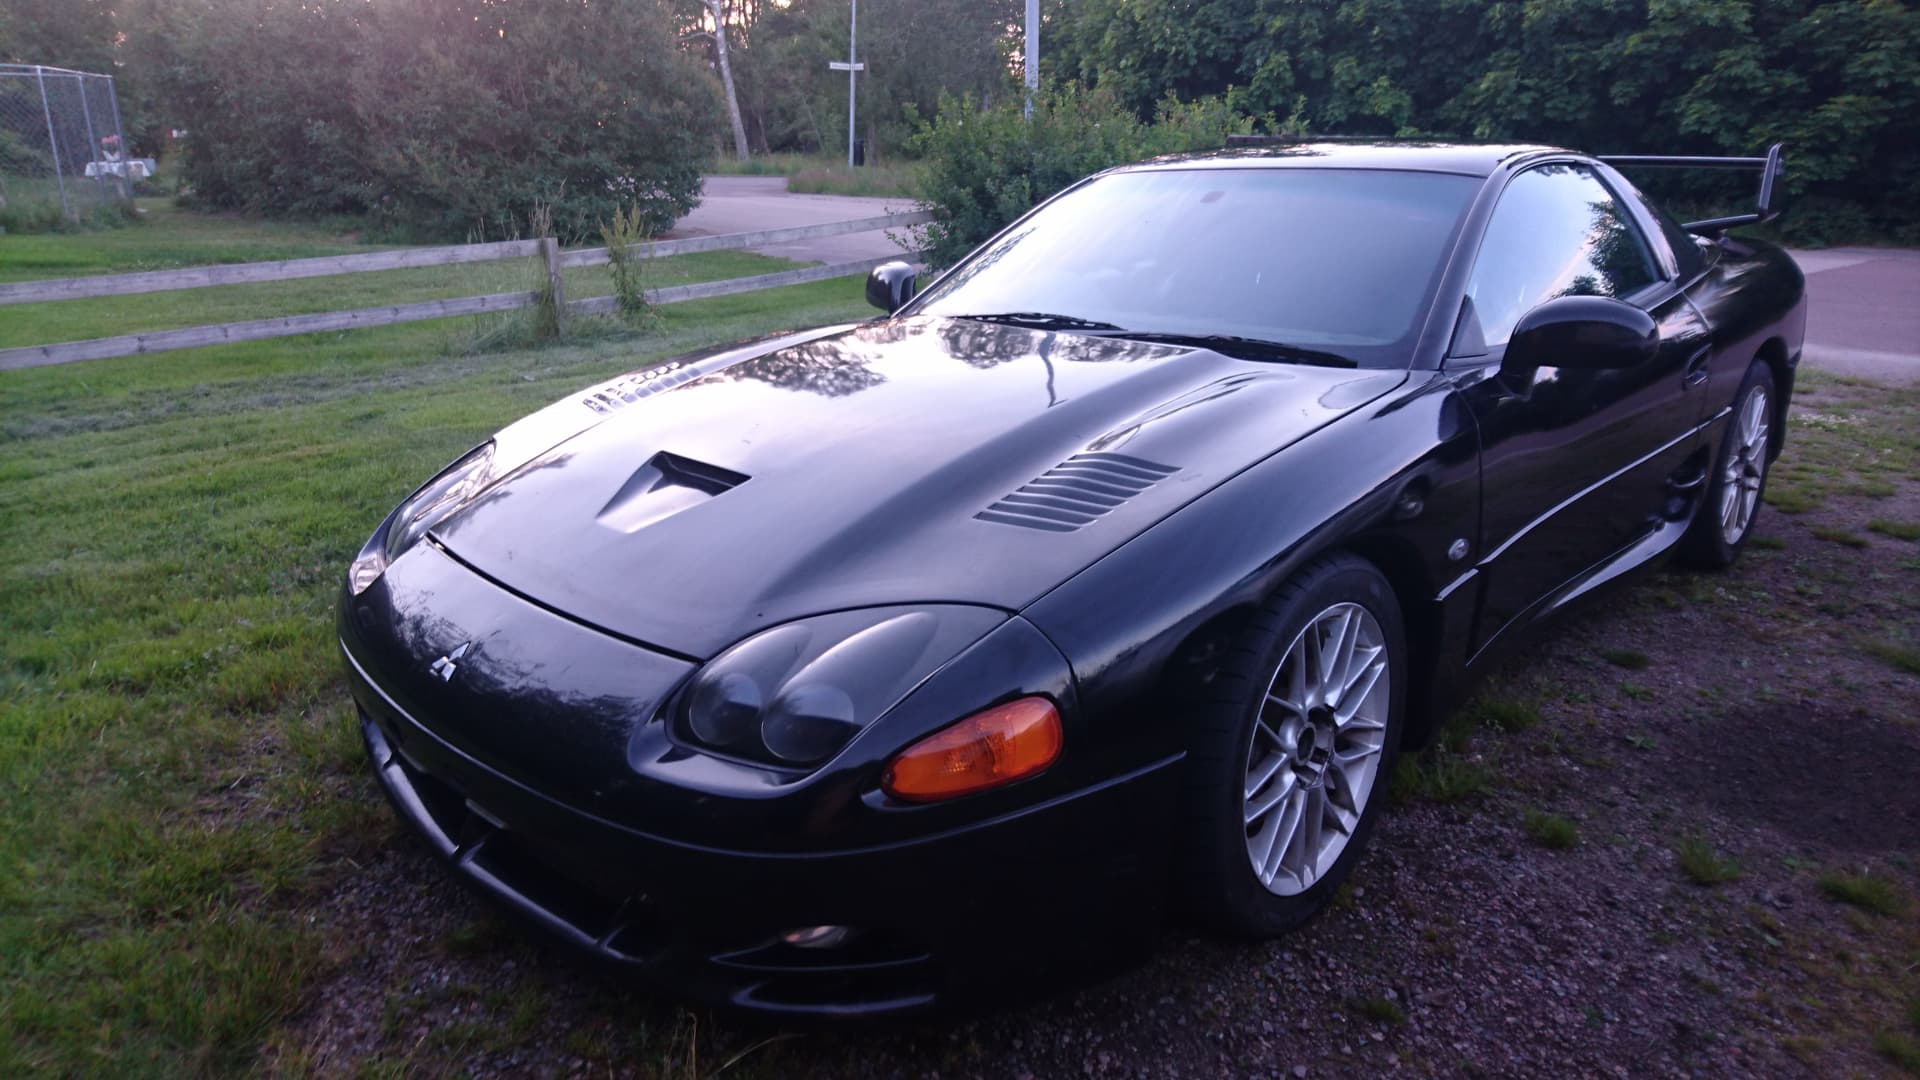
Bought and imported my MR through a non reserve eBay auction back in 2015 and drove it all the way back home. Once registered and up until august 2016 I had some modifications done to it: -99 headlights, CF -99 sail panels and combat wing, -99 rear center garnish, FMIC, k-sport coilovers, Cianci/C7 Victory bonnet, as well as repainting some of the front subframe and exterior panels, just to mention some of it.
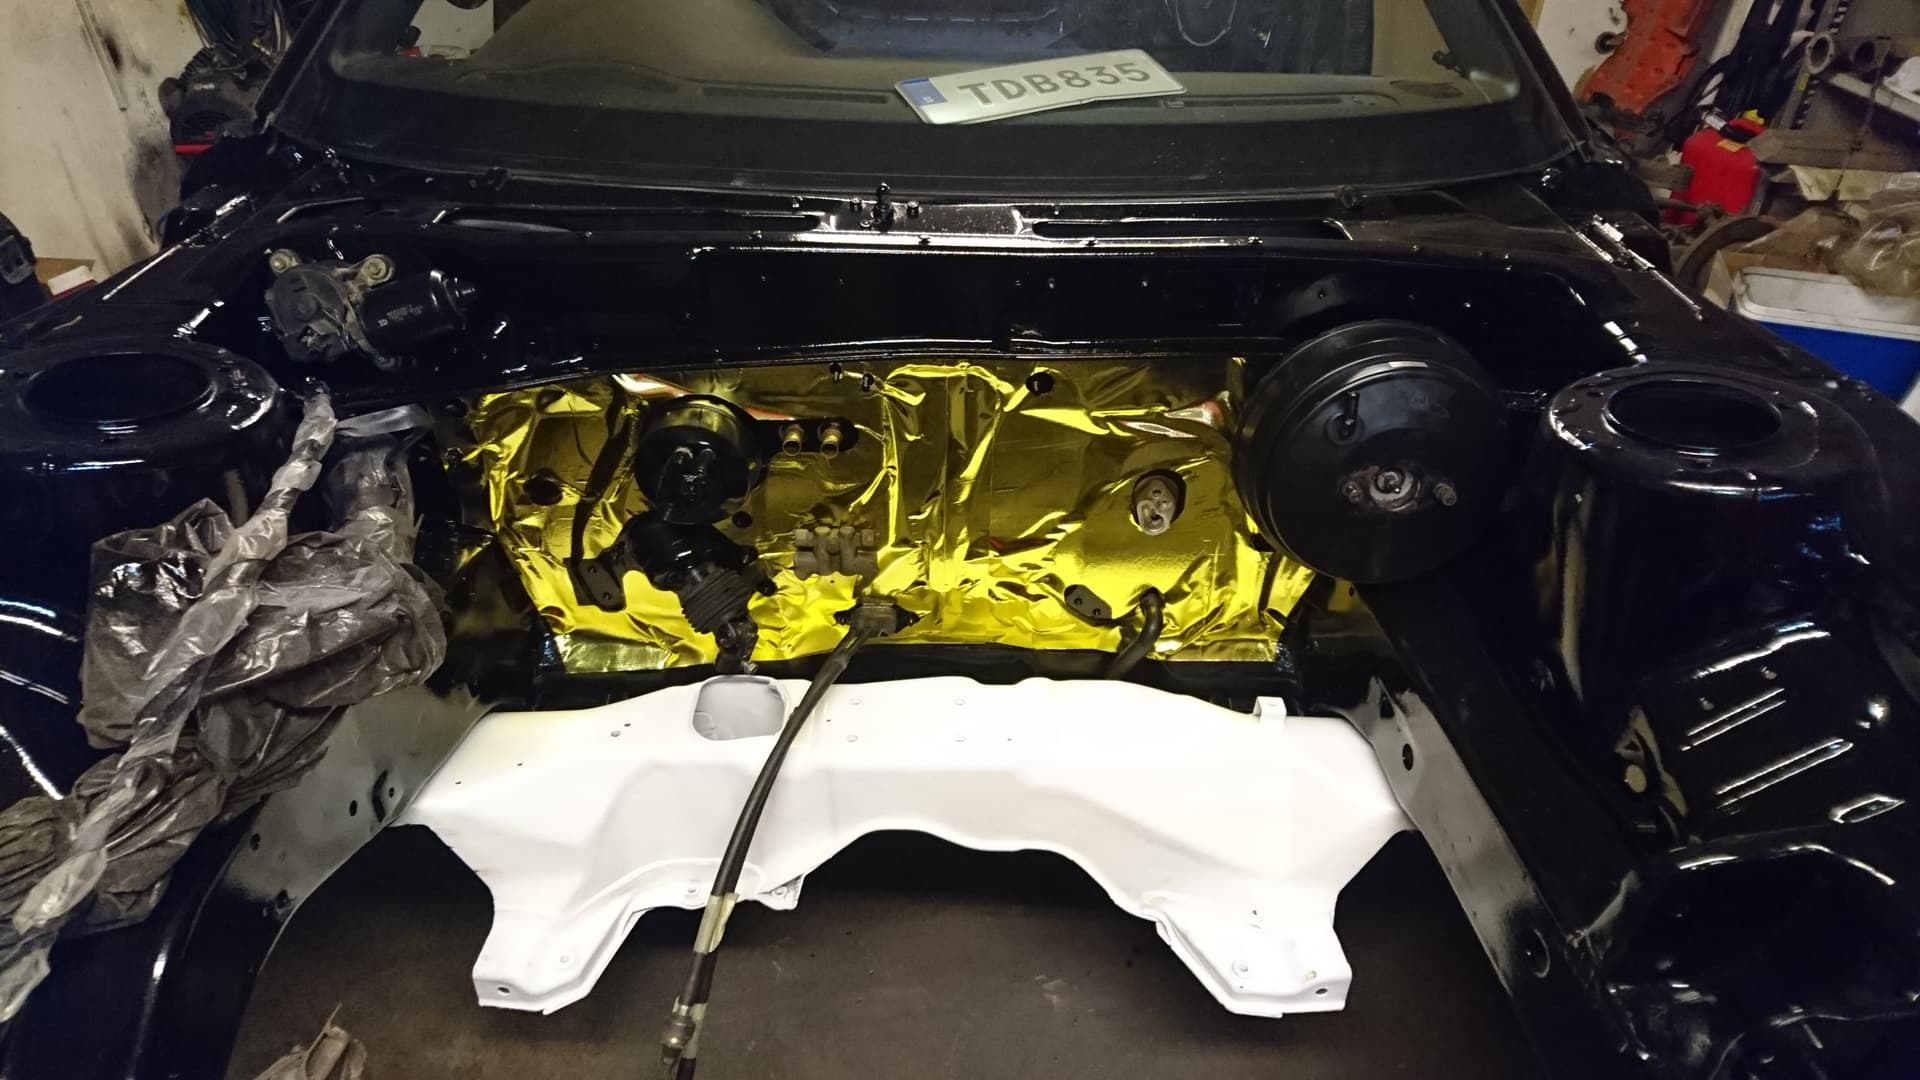
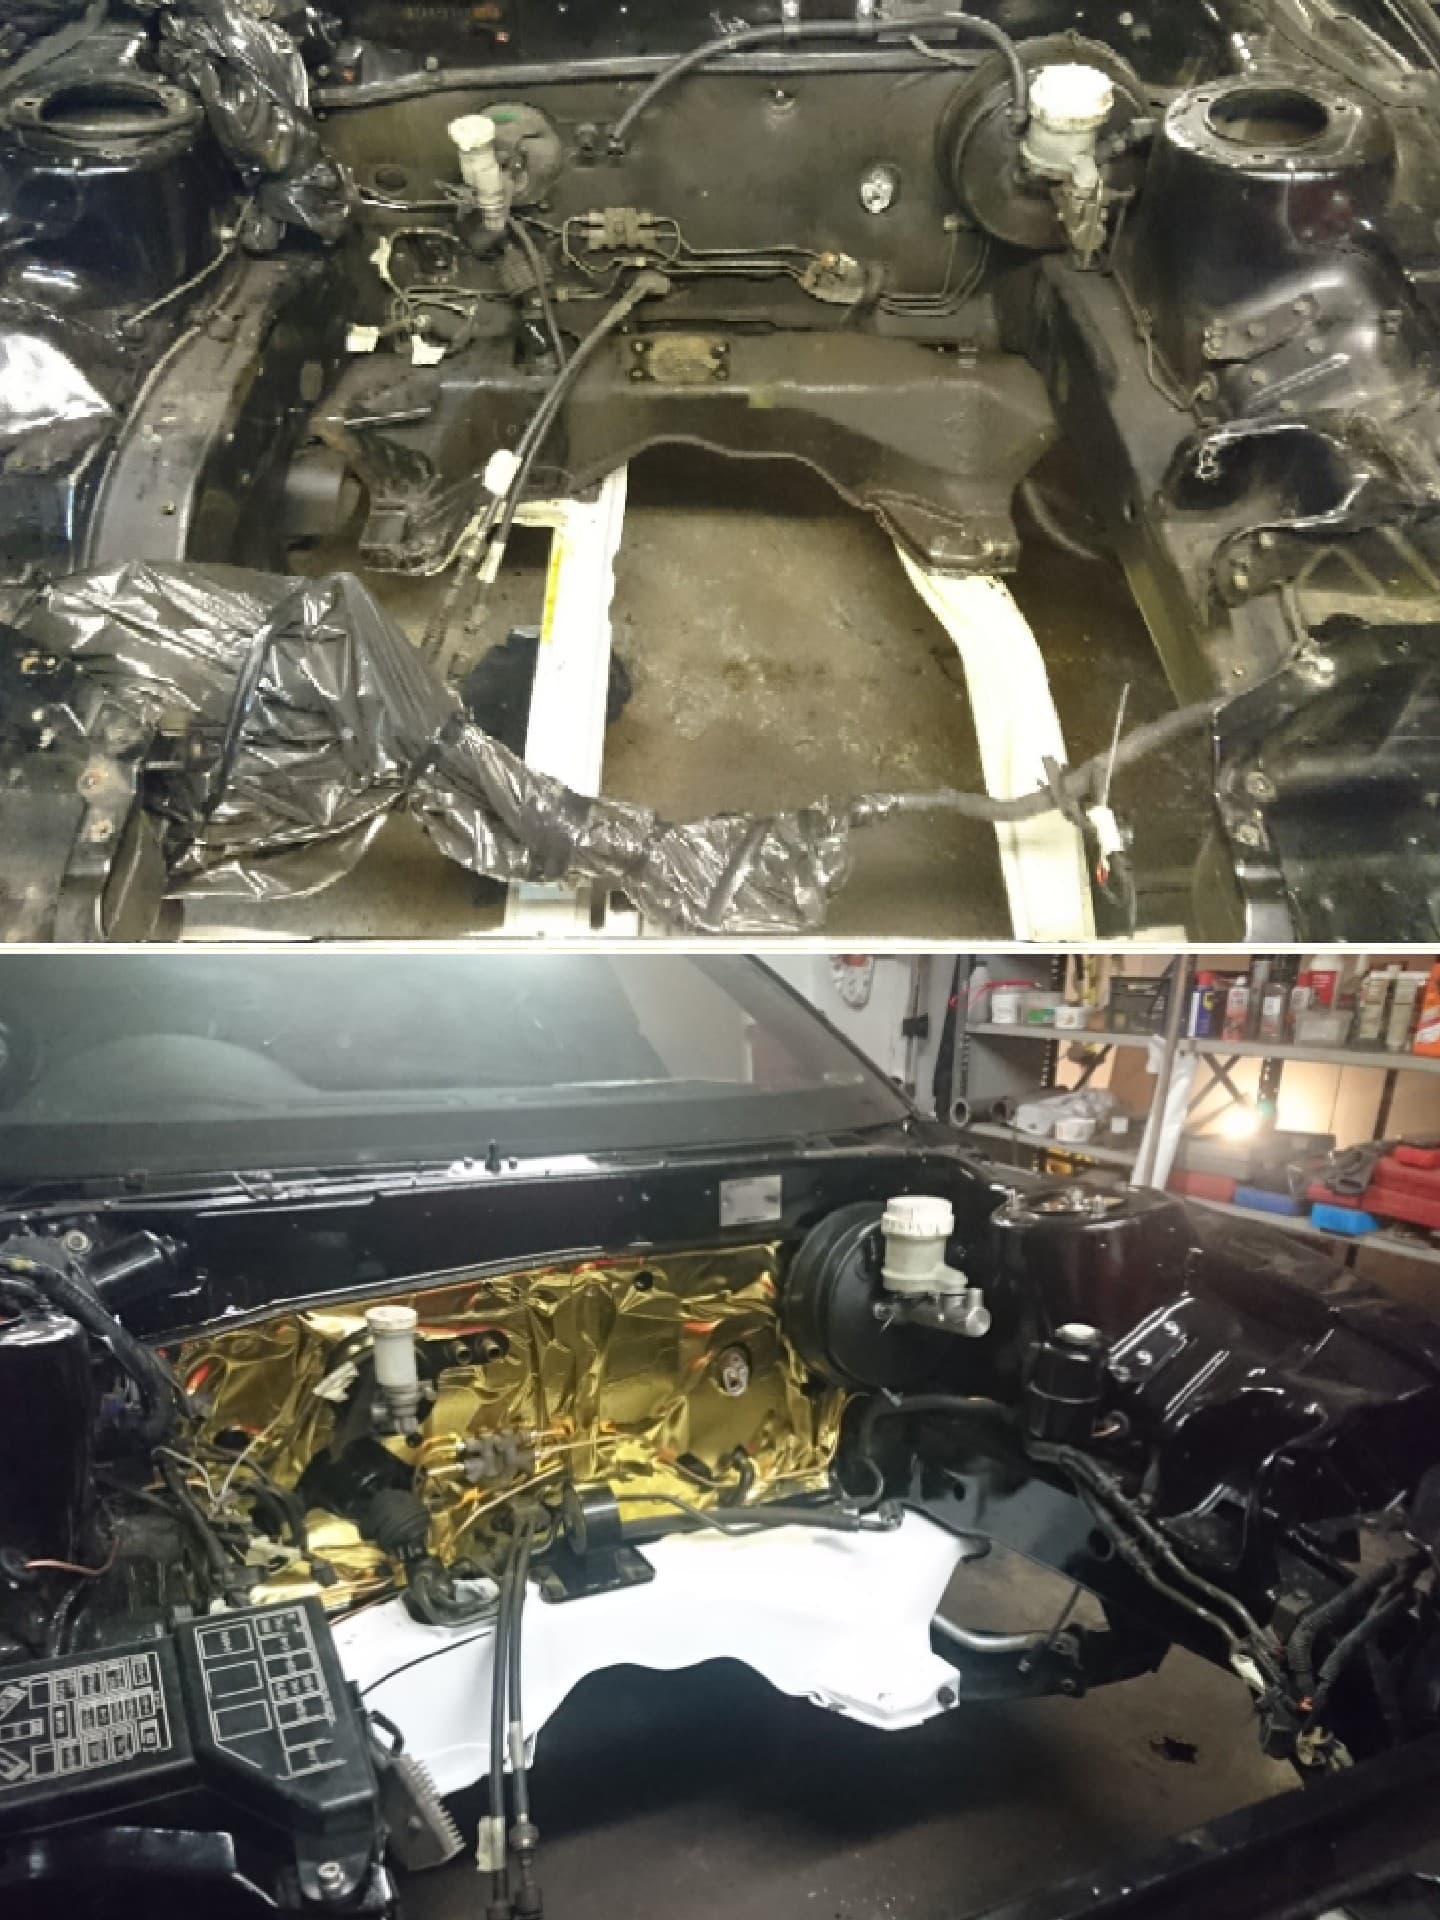
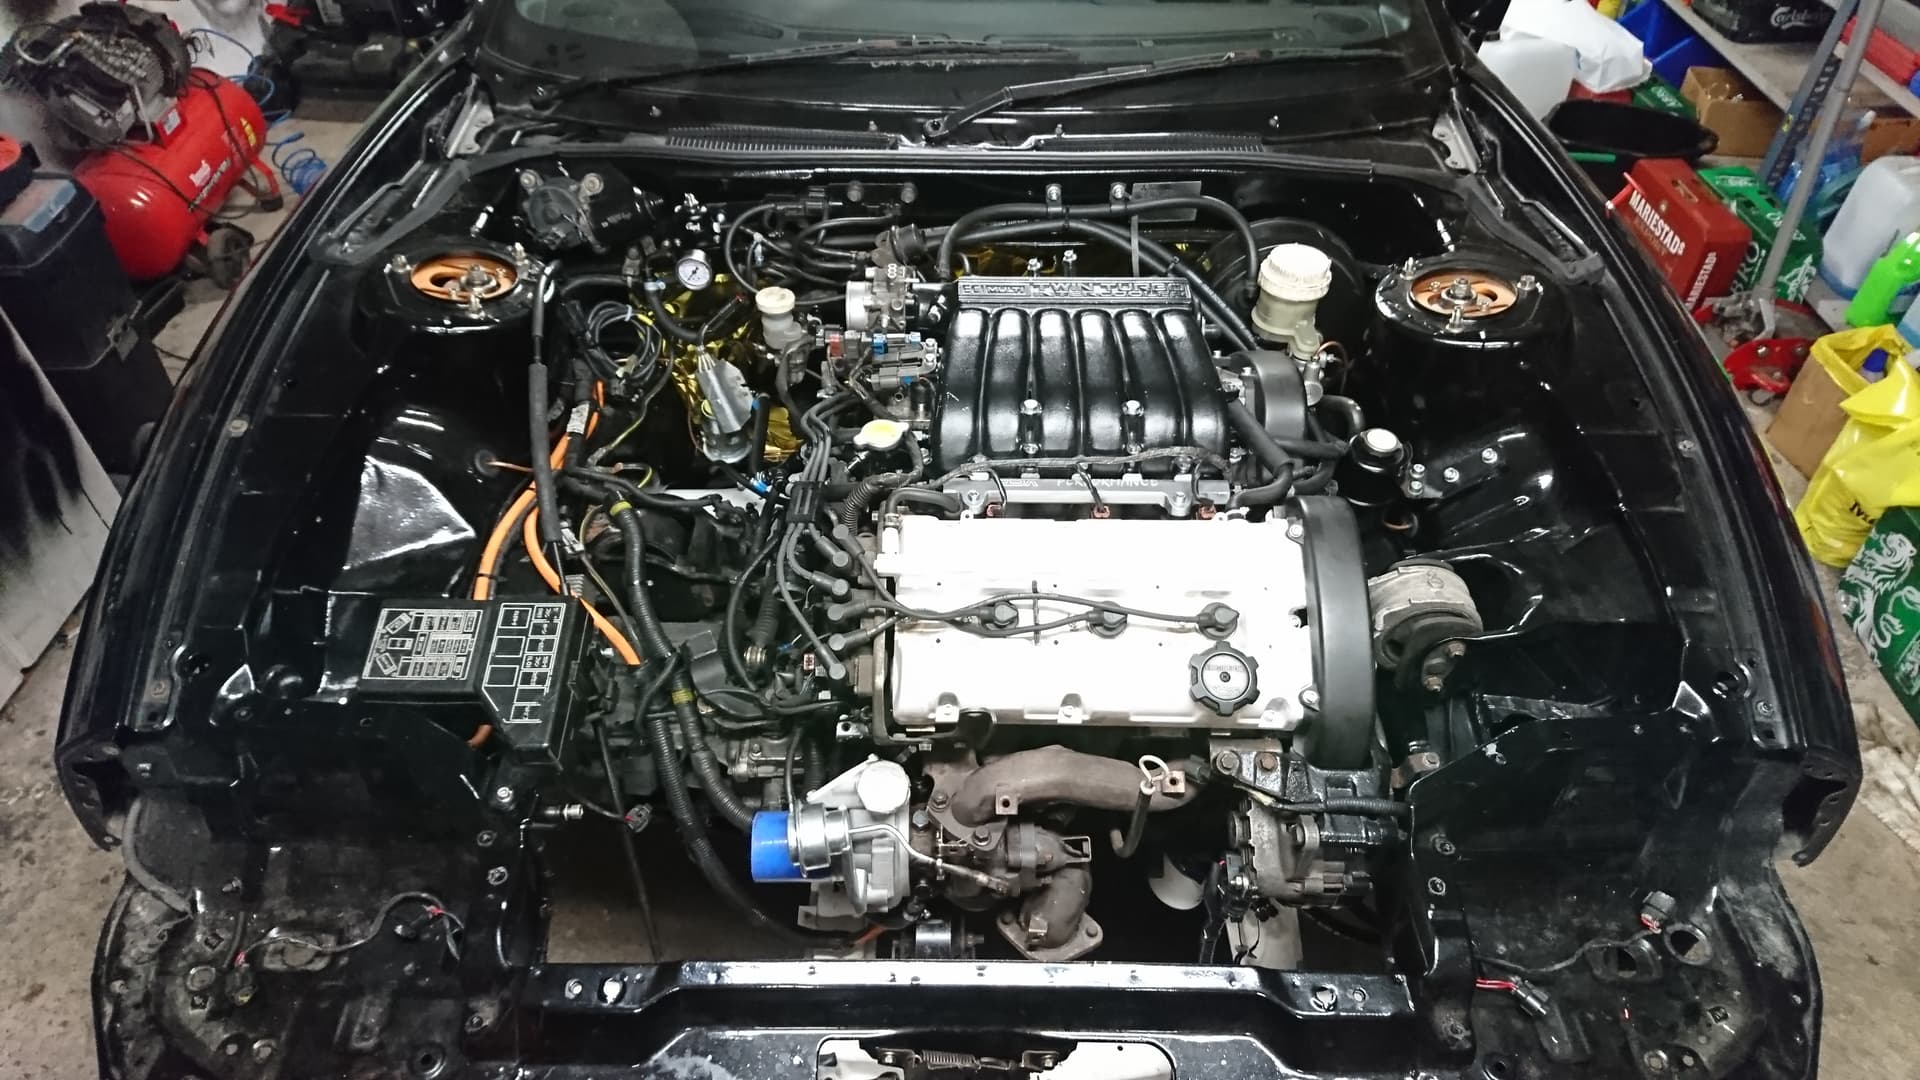
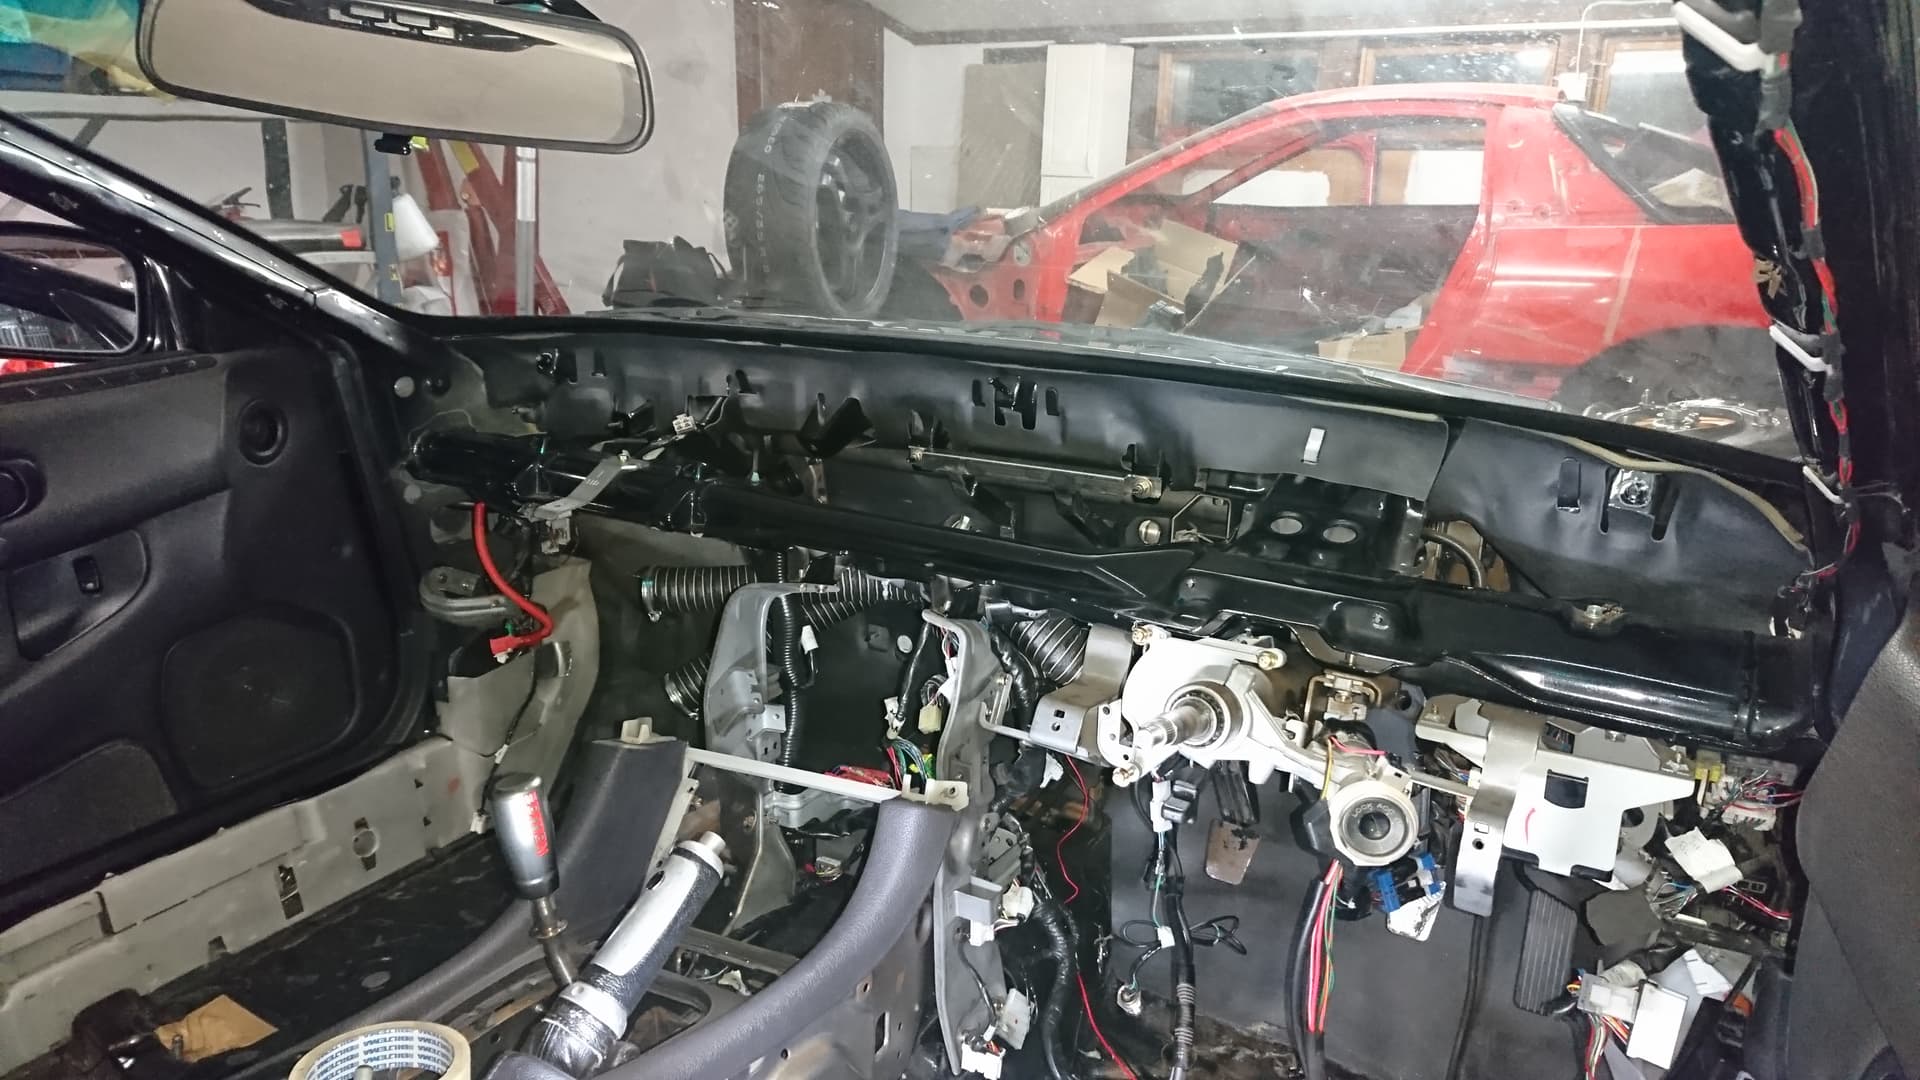
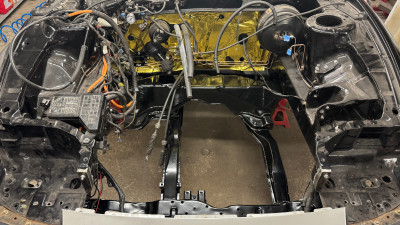
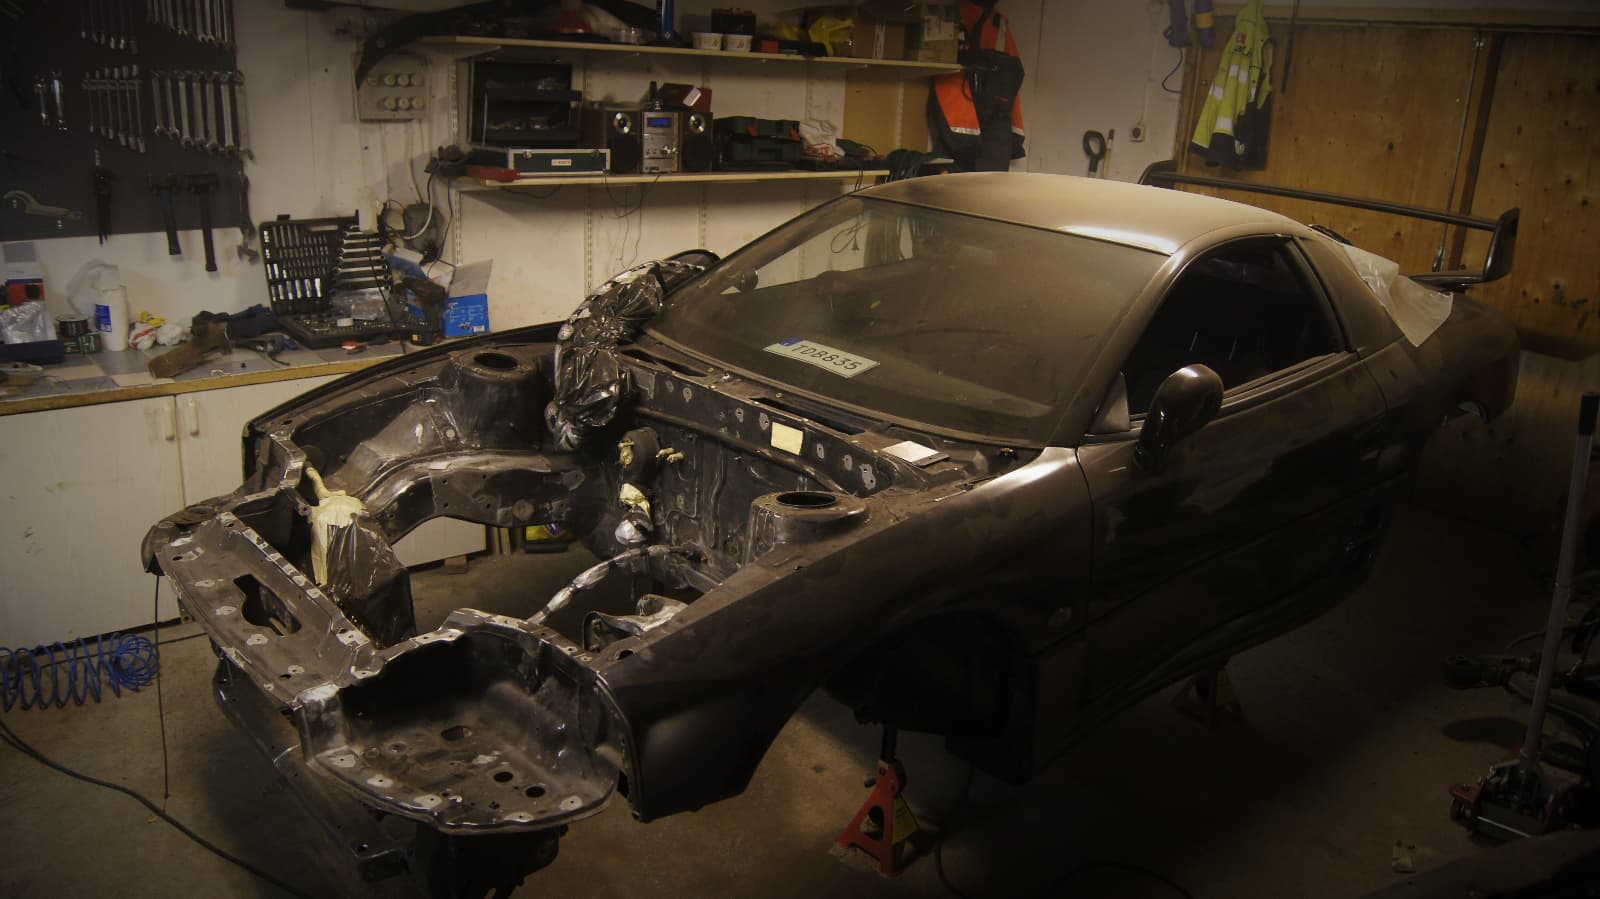
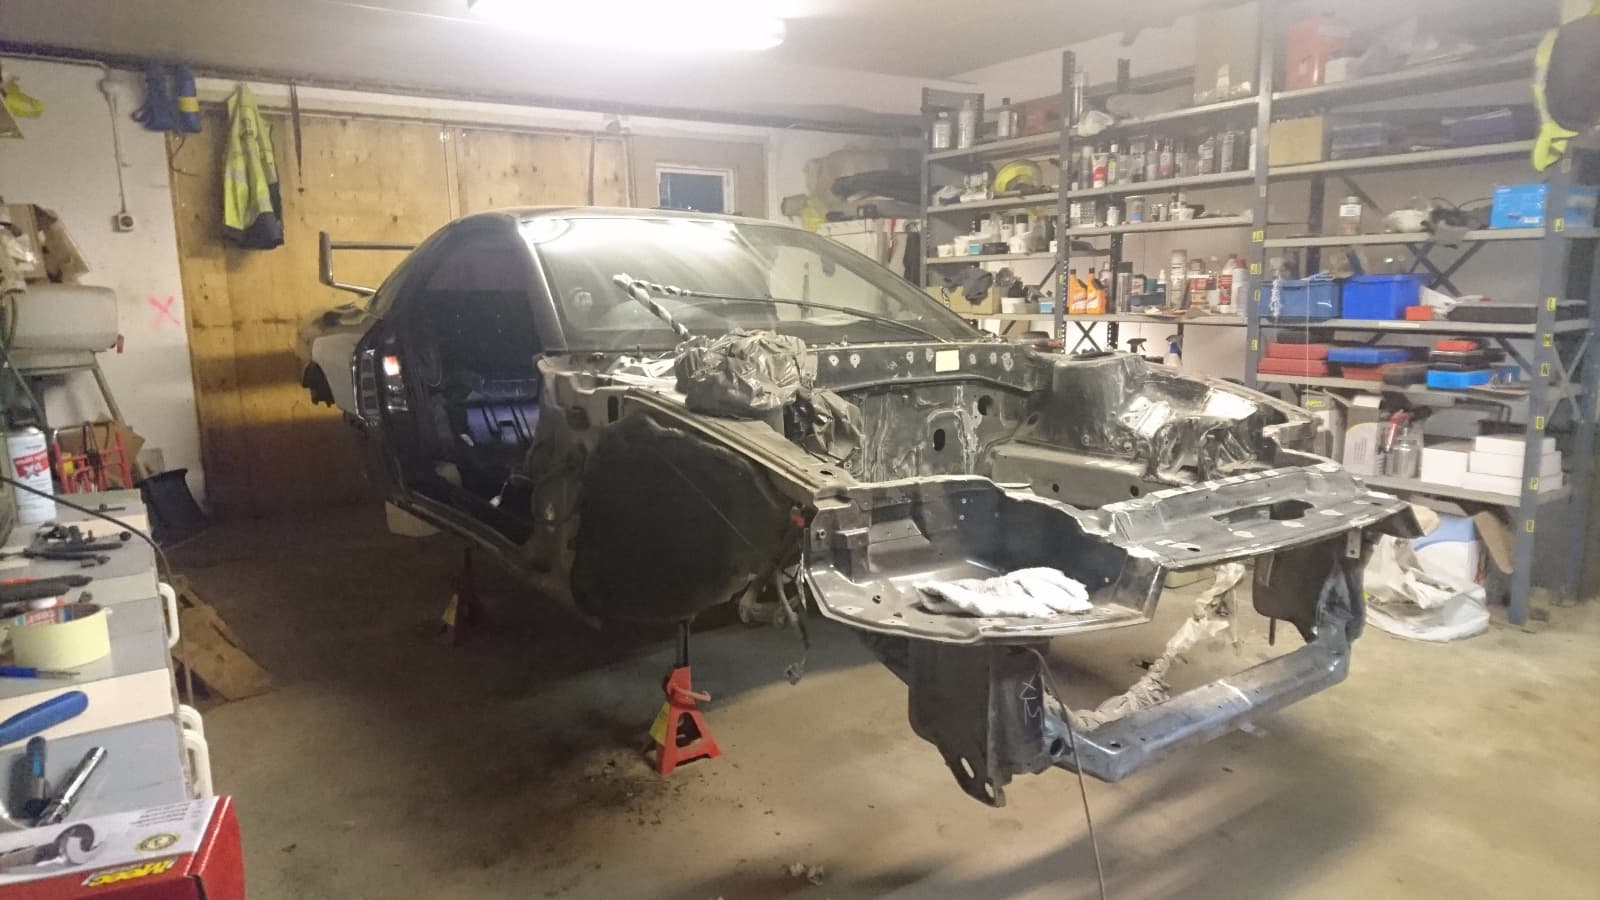
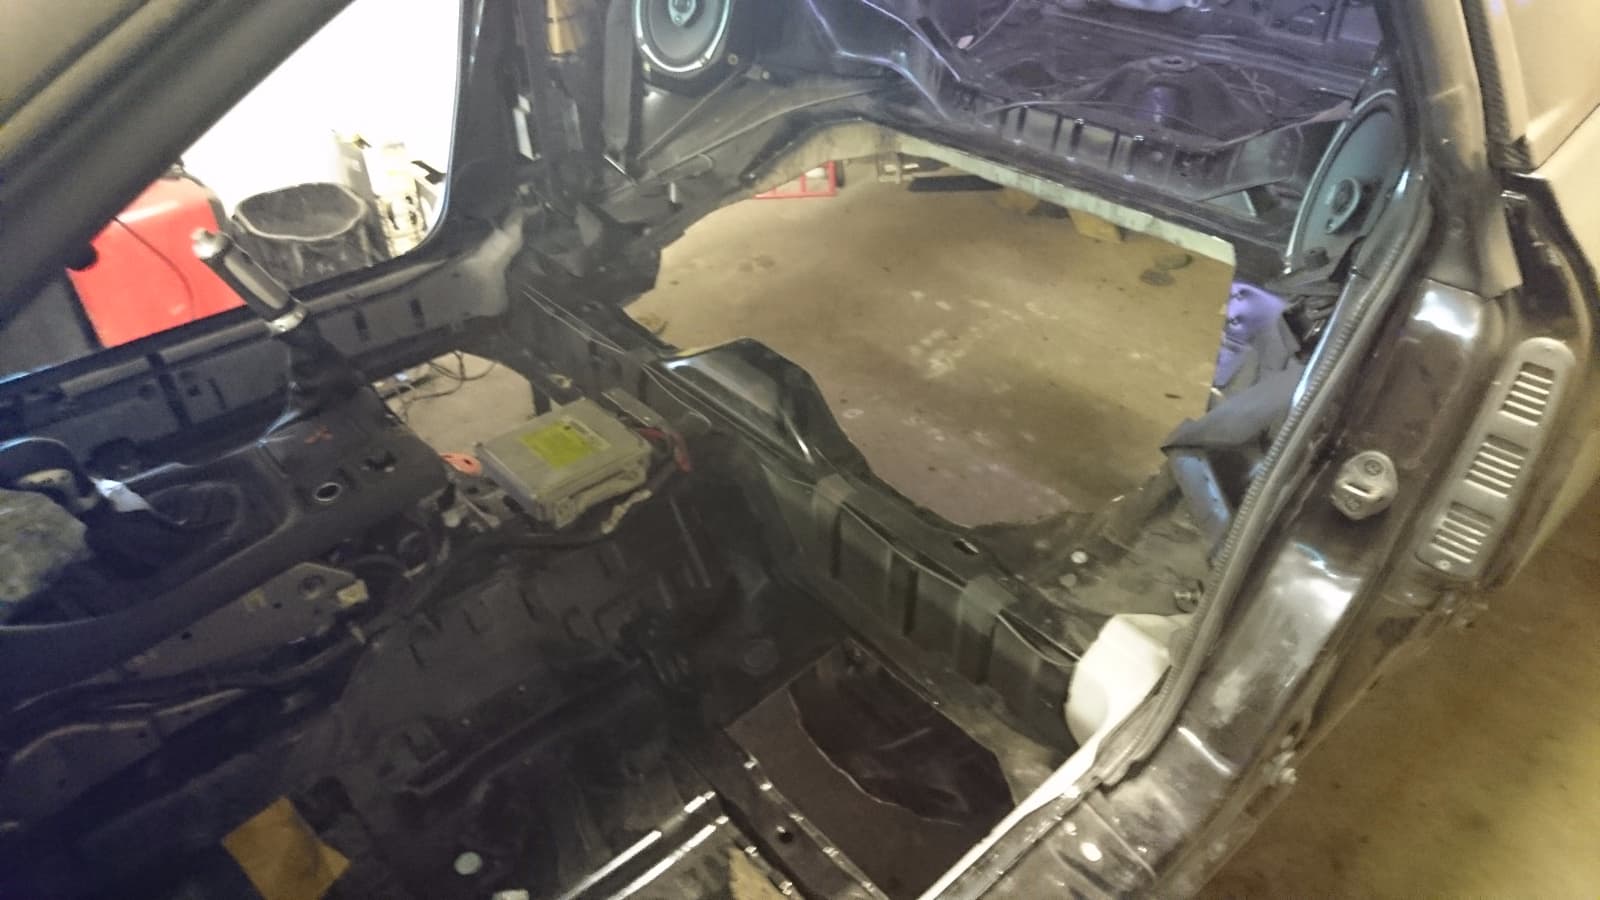
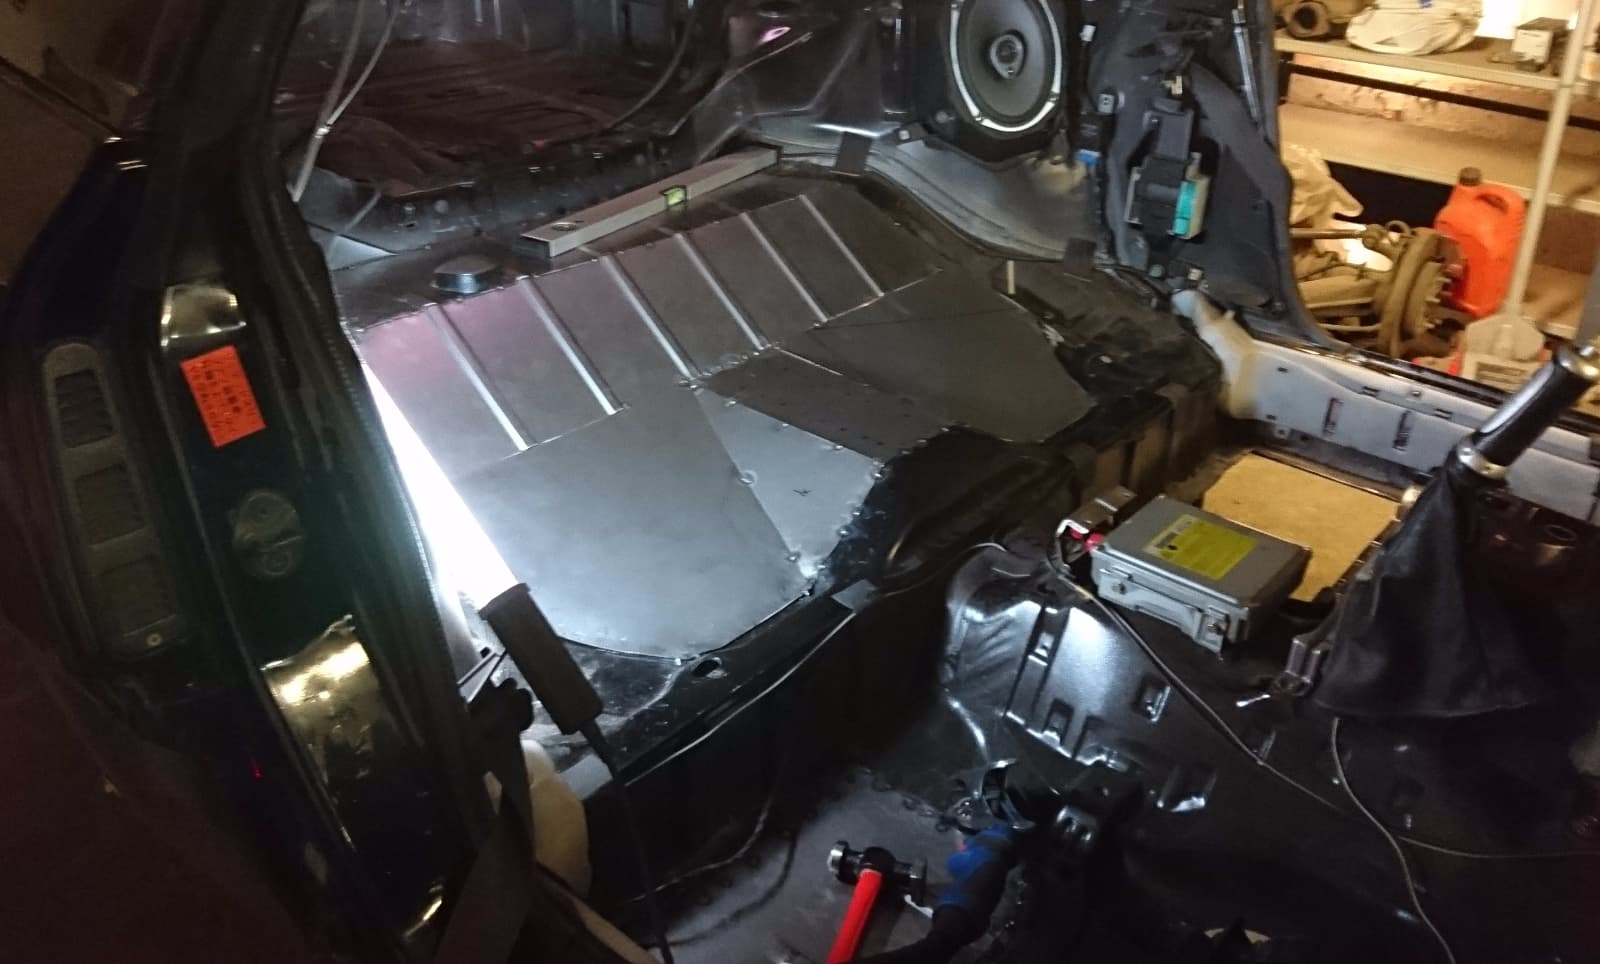
In september 2016 I pulled the drivetrain and stripped the entire engine bay and underside of the car. Found some rust issues in the floor pans and simply decided to cut it all out and have the rear seats permanently deleted, since it’s only registered for two persons anyway. Timing belt was changed along with resealing the transfer, amongst other things and the car was put back together and on the road in May -17.
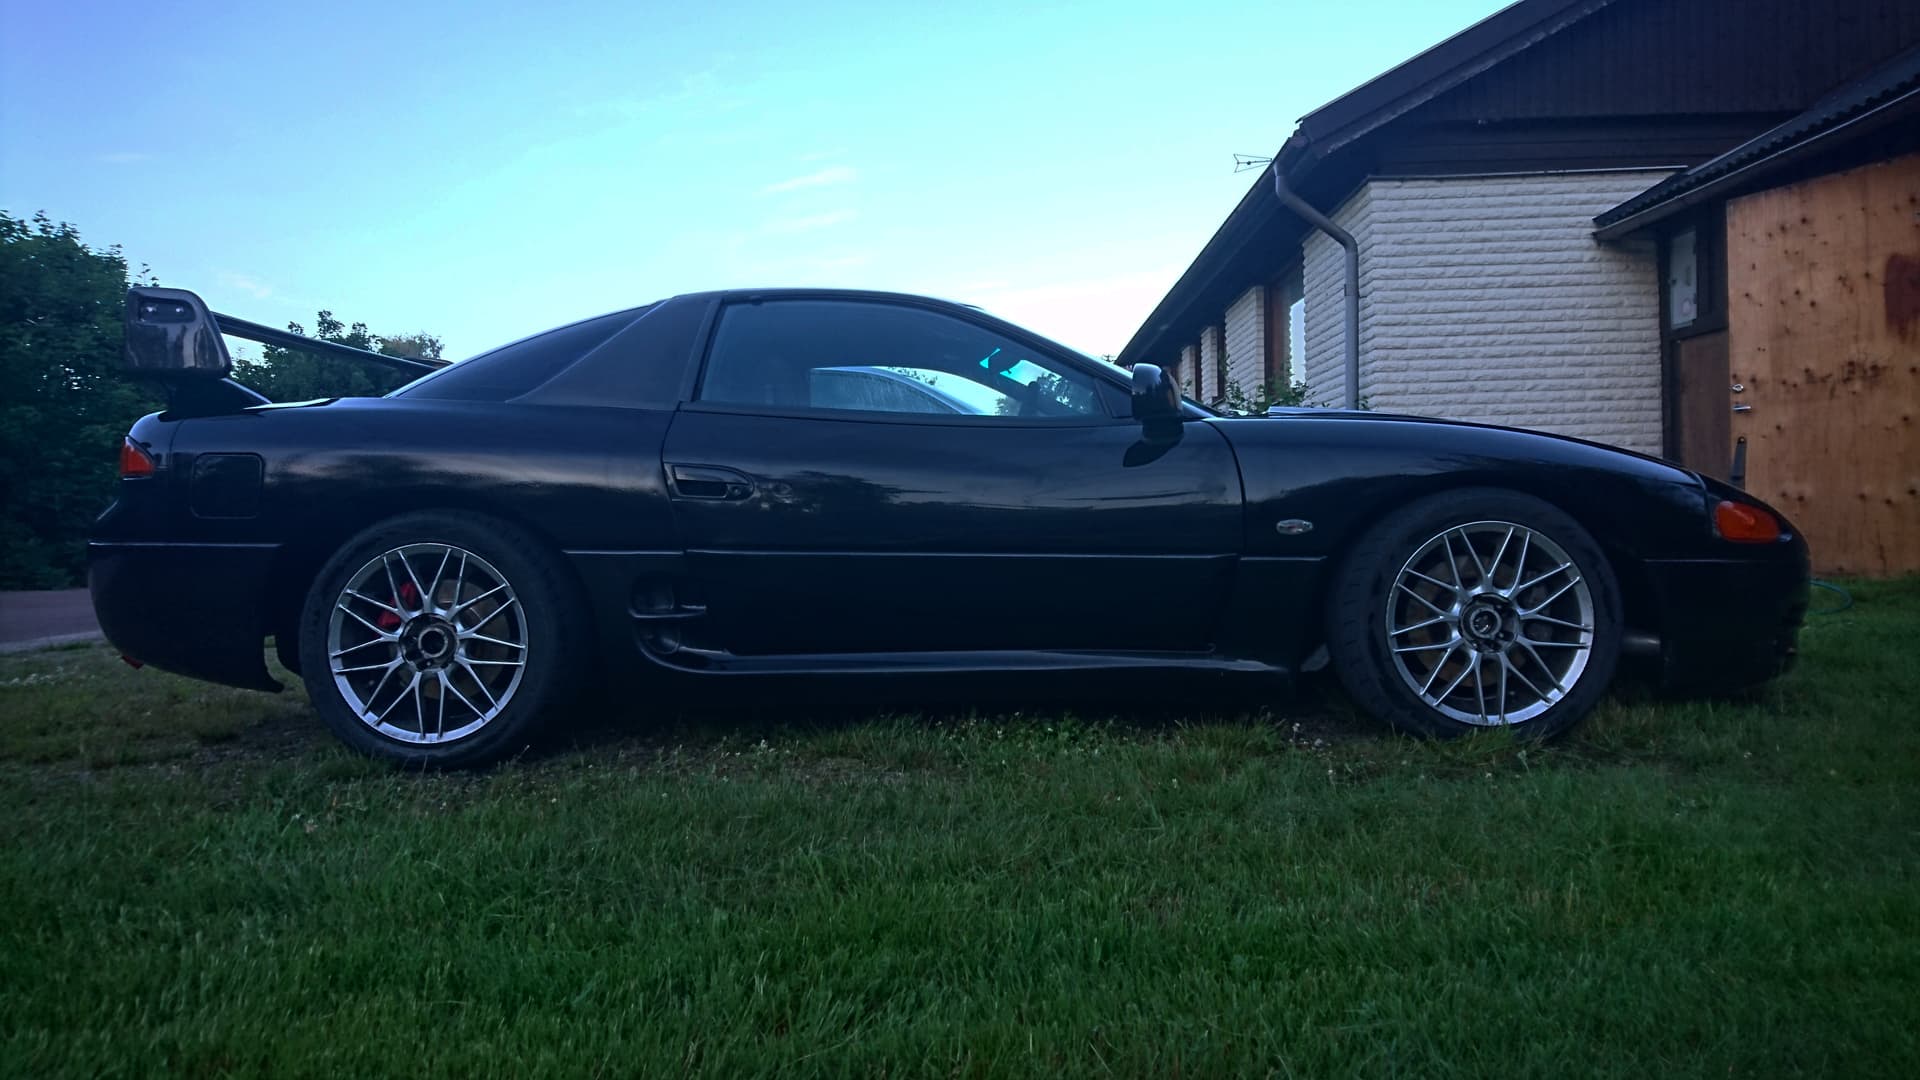
The same autumn I could finally put the XYZ big brake kit on that had been laying on a shelf for a couple of years, after having sourced a set of 18" Super Advan SA3R wheels from another member in the south of Sweden.
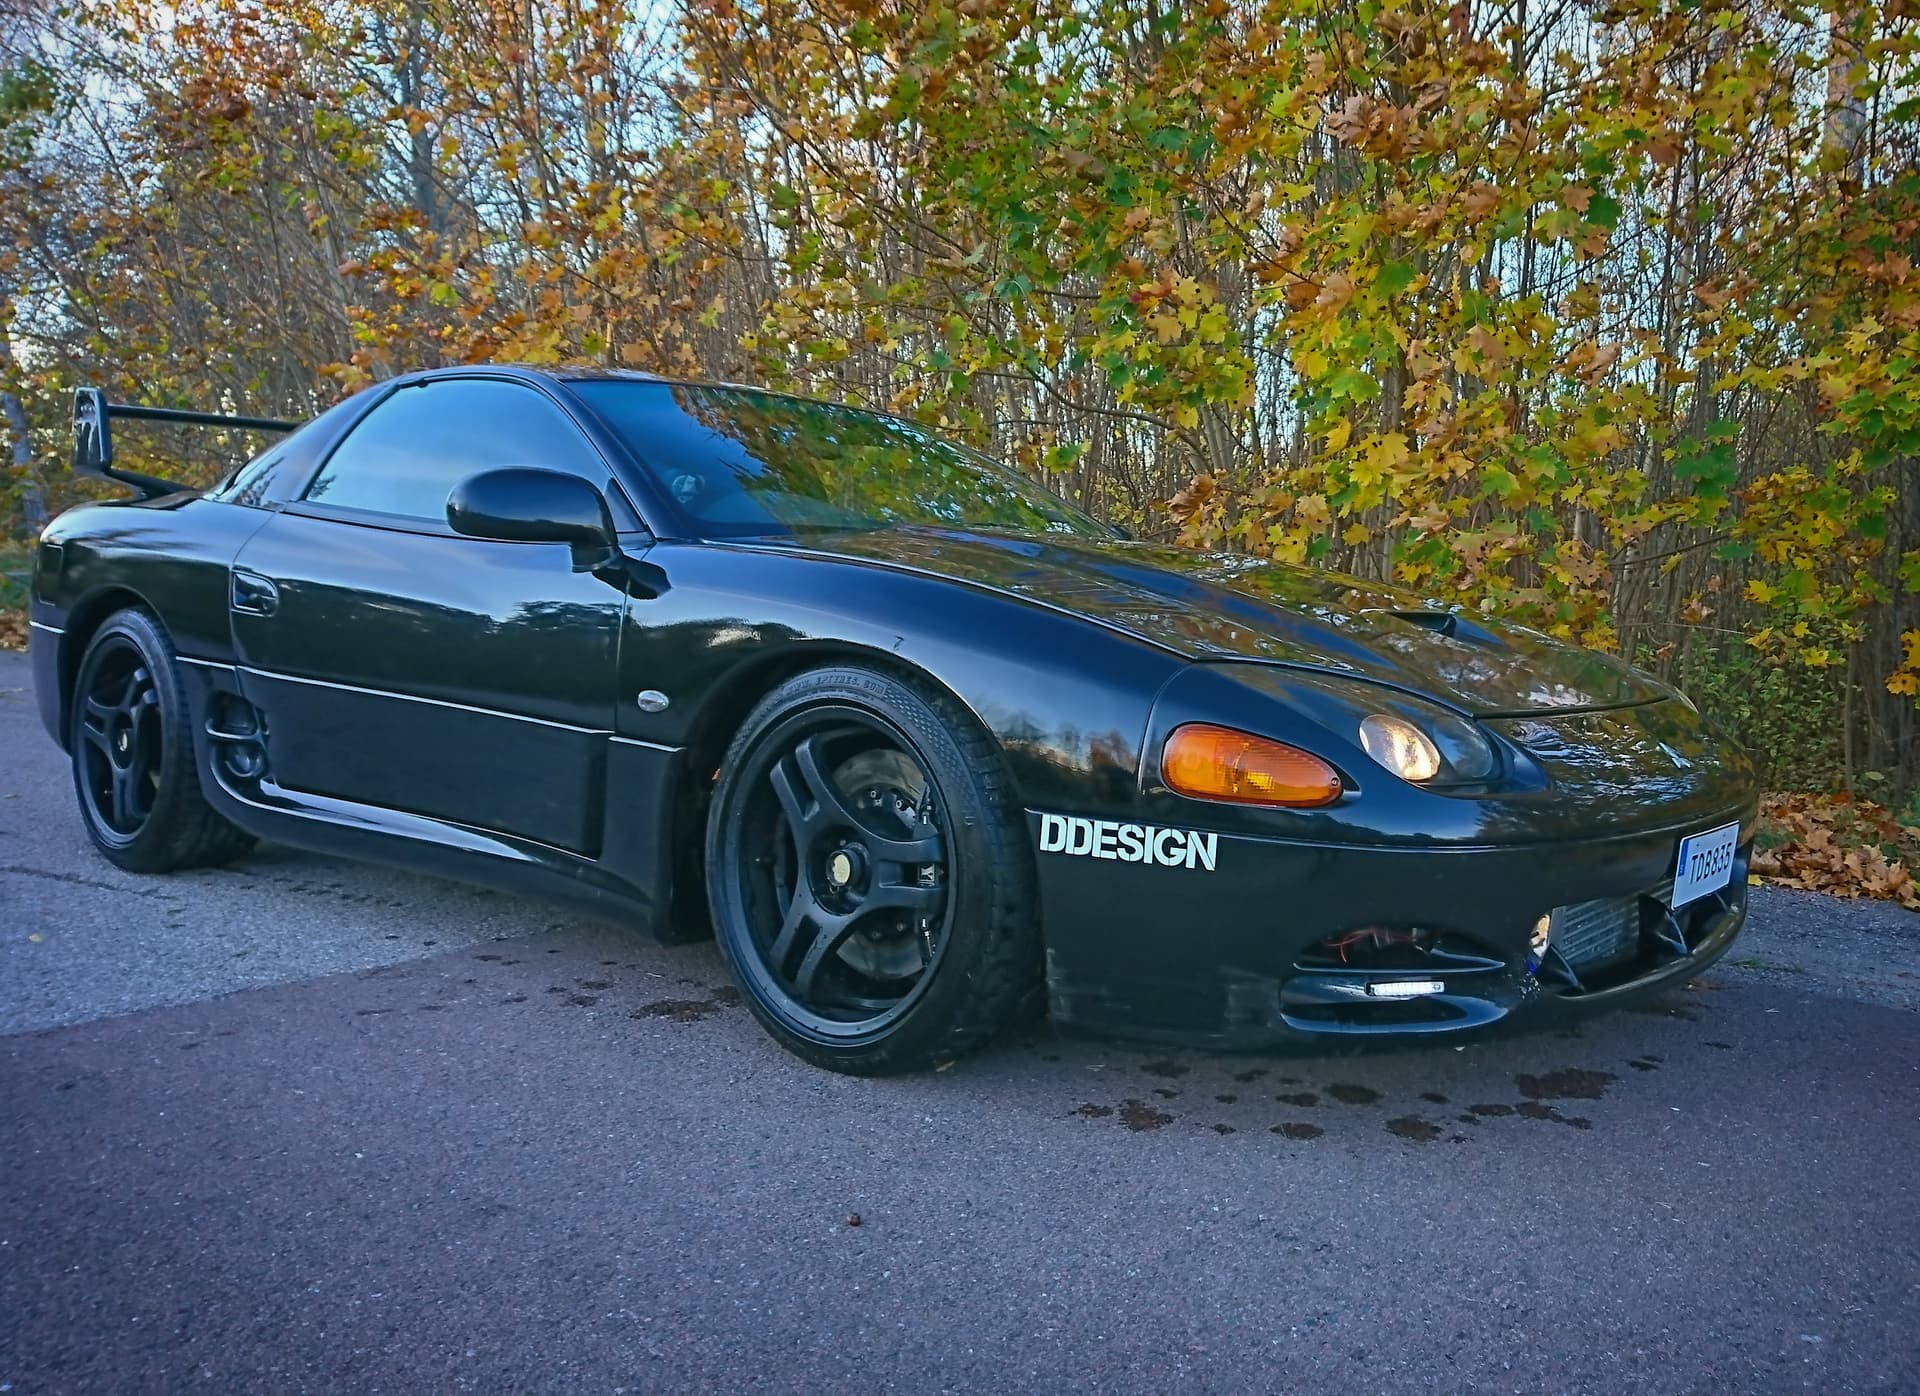
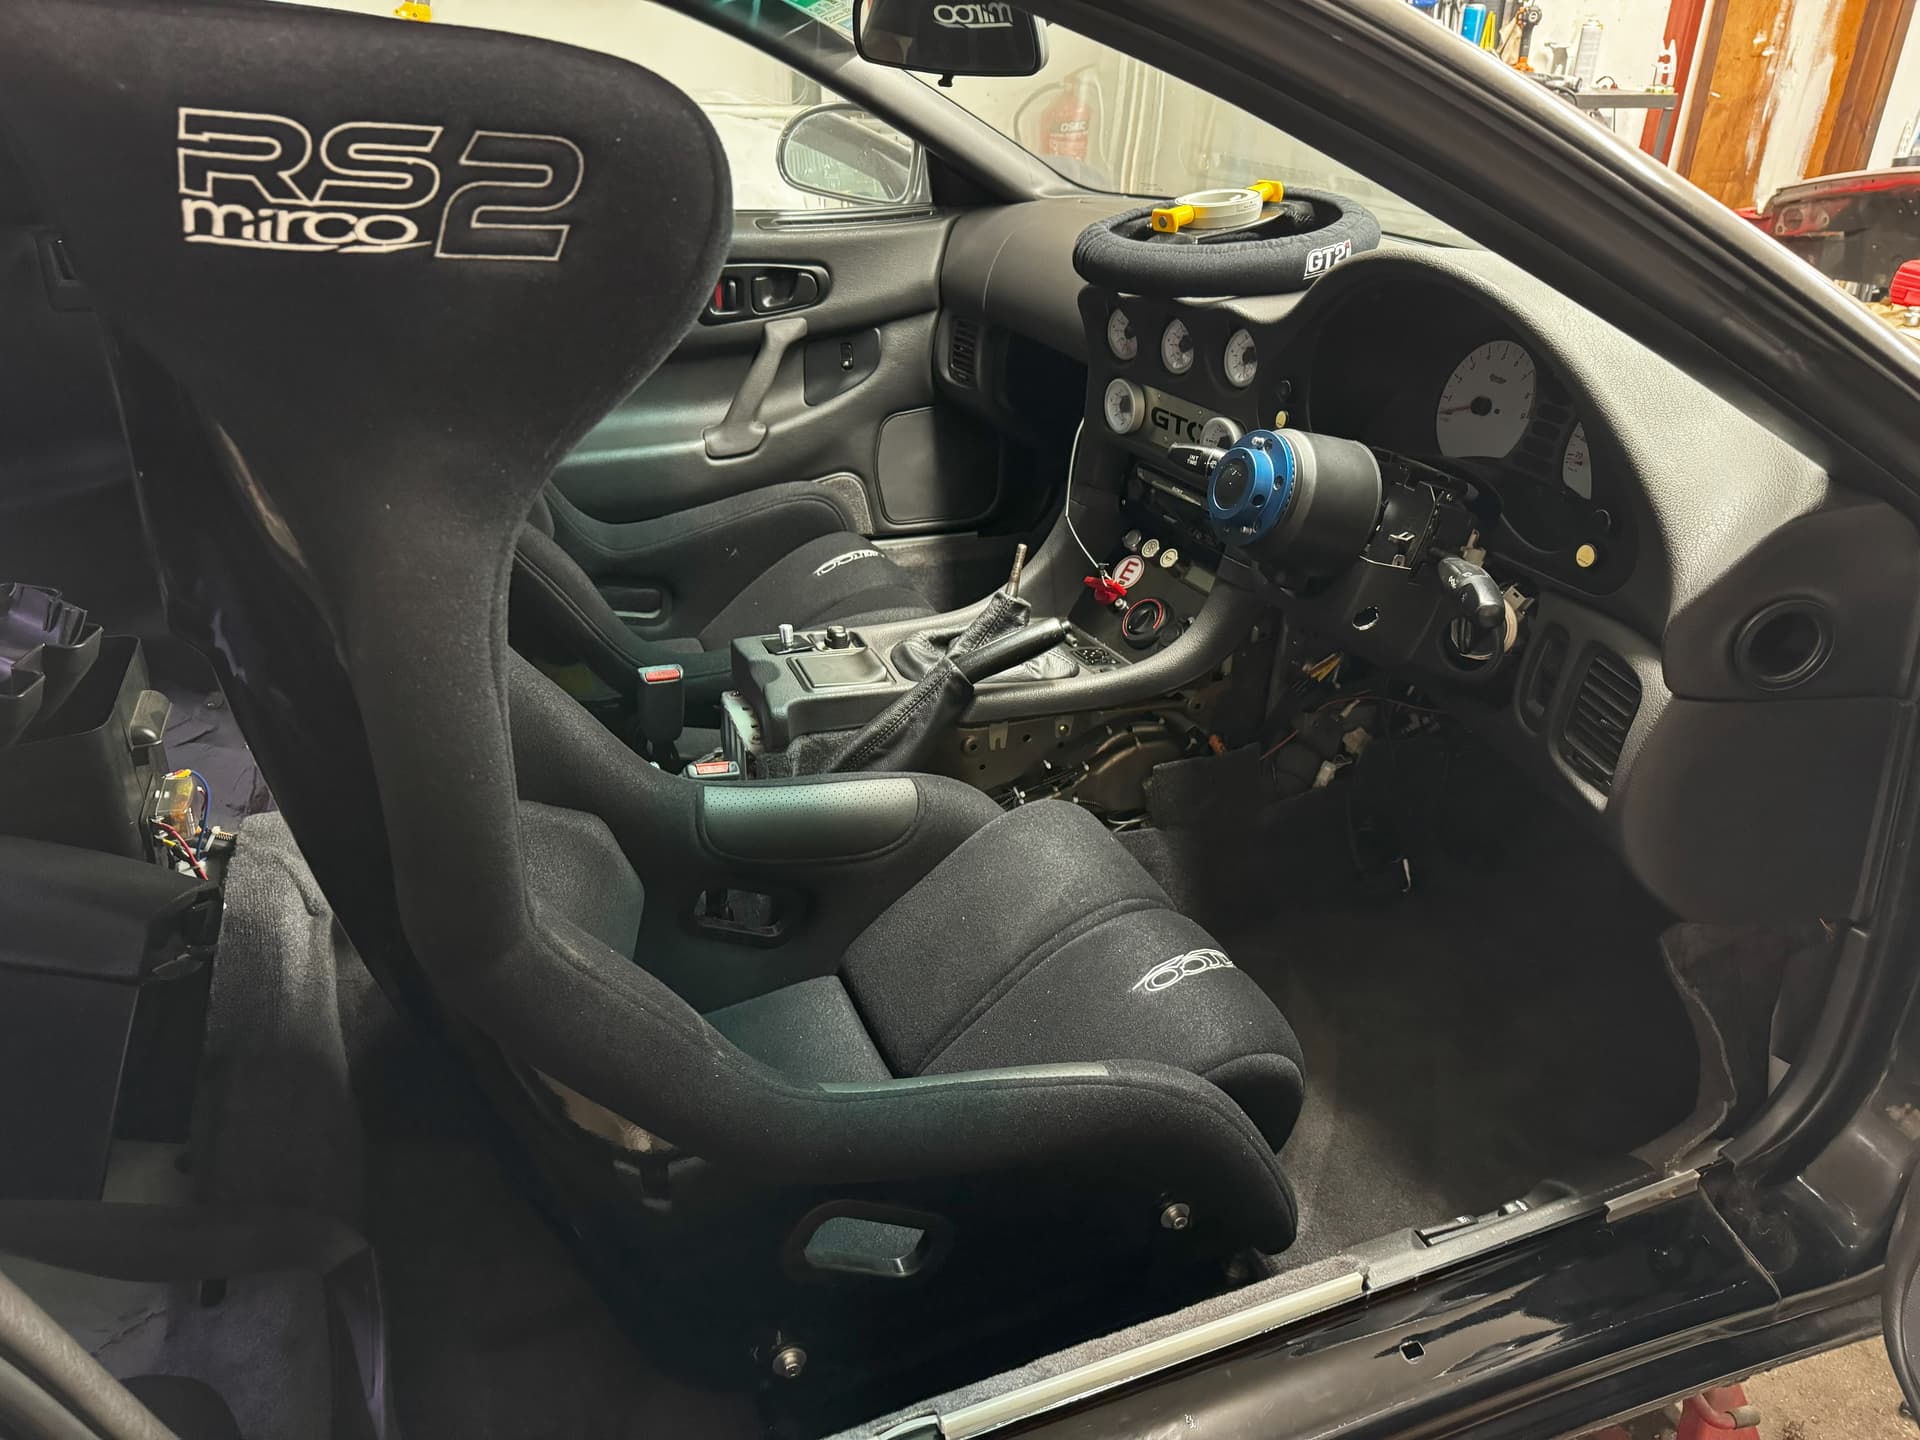
Autumn of -17 until spring / early summer of -18 mostly consisted of modifying the interior and have some performance upgrades done. Seats got replaced for bucket seats on sliders, and I swapped the stock heater system for an aftermarket core which saved me roughly 10kg / 22lbs. Fuel system was upgraded, 16T hybrid turbos put in and the ECU was replaced with an EDM -99 unit that I flashed Chrome software onto.
It pulled fairly hard, despite just being on a rough base map, but at the time I had also saved about 150kg / 330lbs since import - and it clocked in at about 1480kg / 3262lbs with 1/3-1/4 worth of fuel in it.
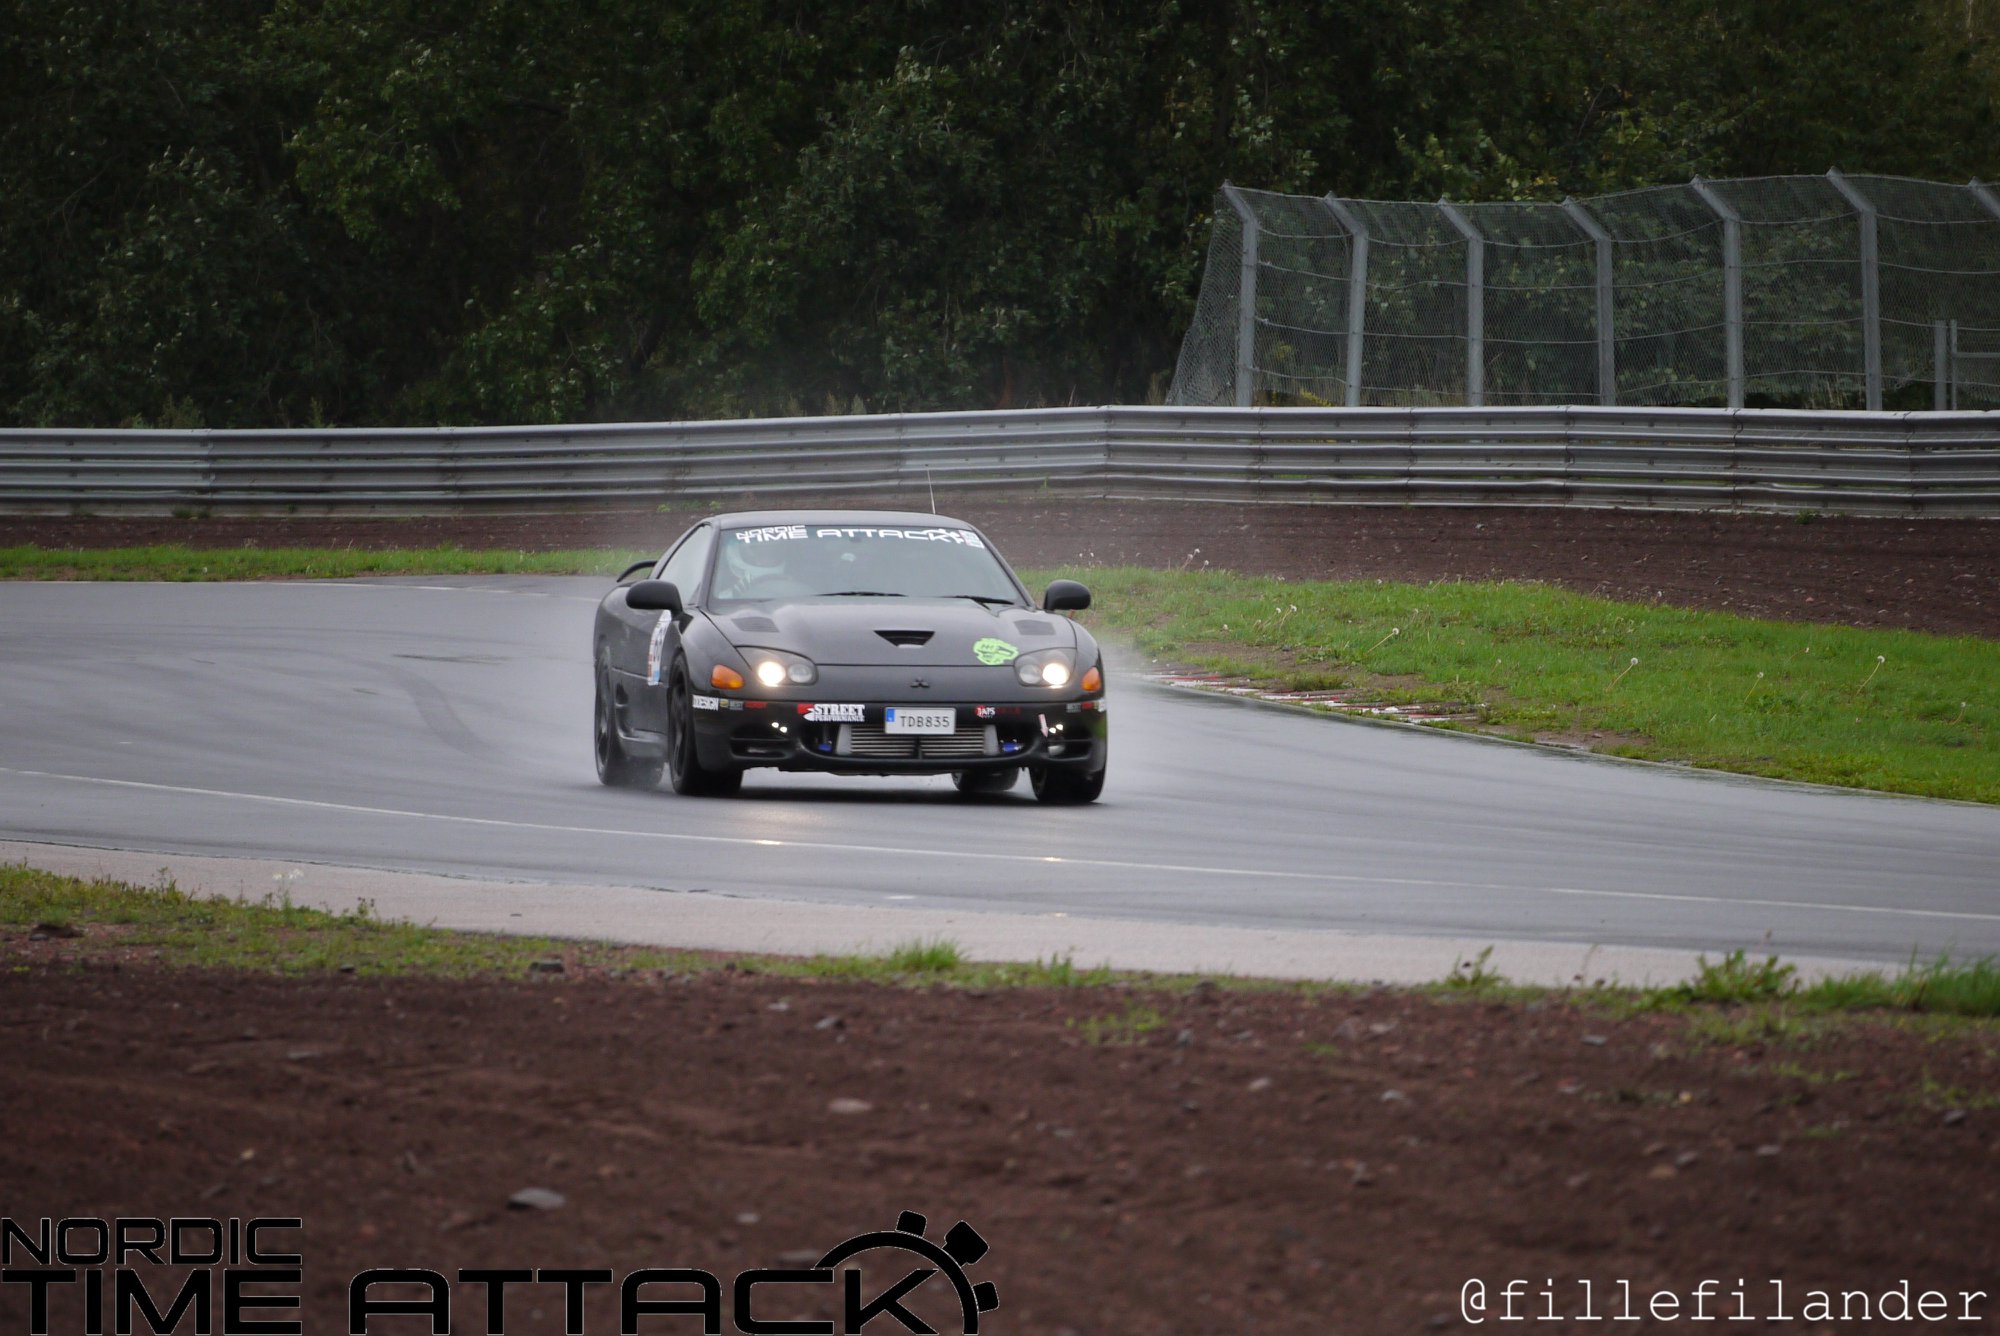
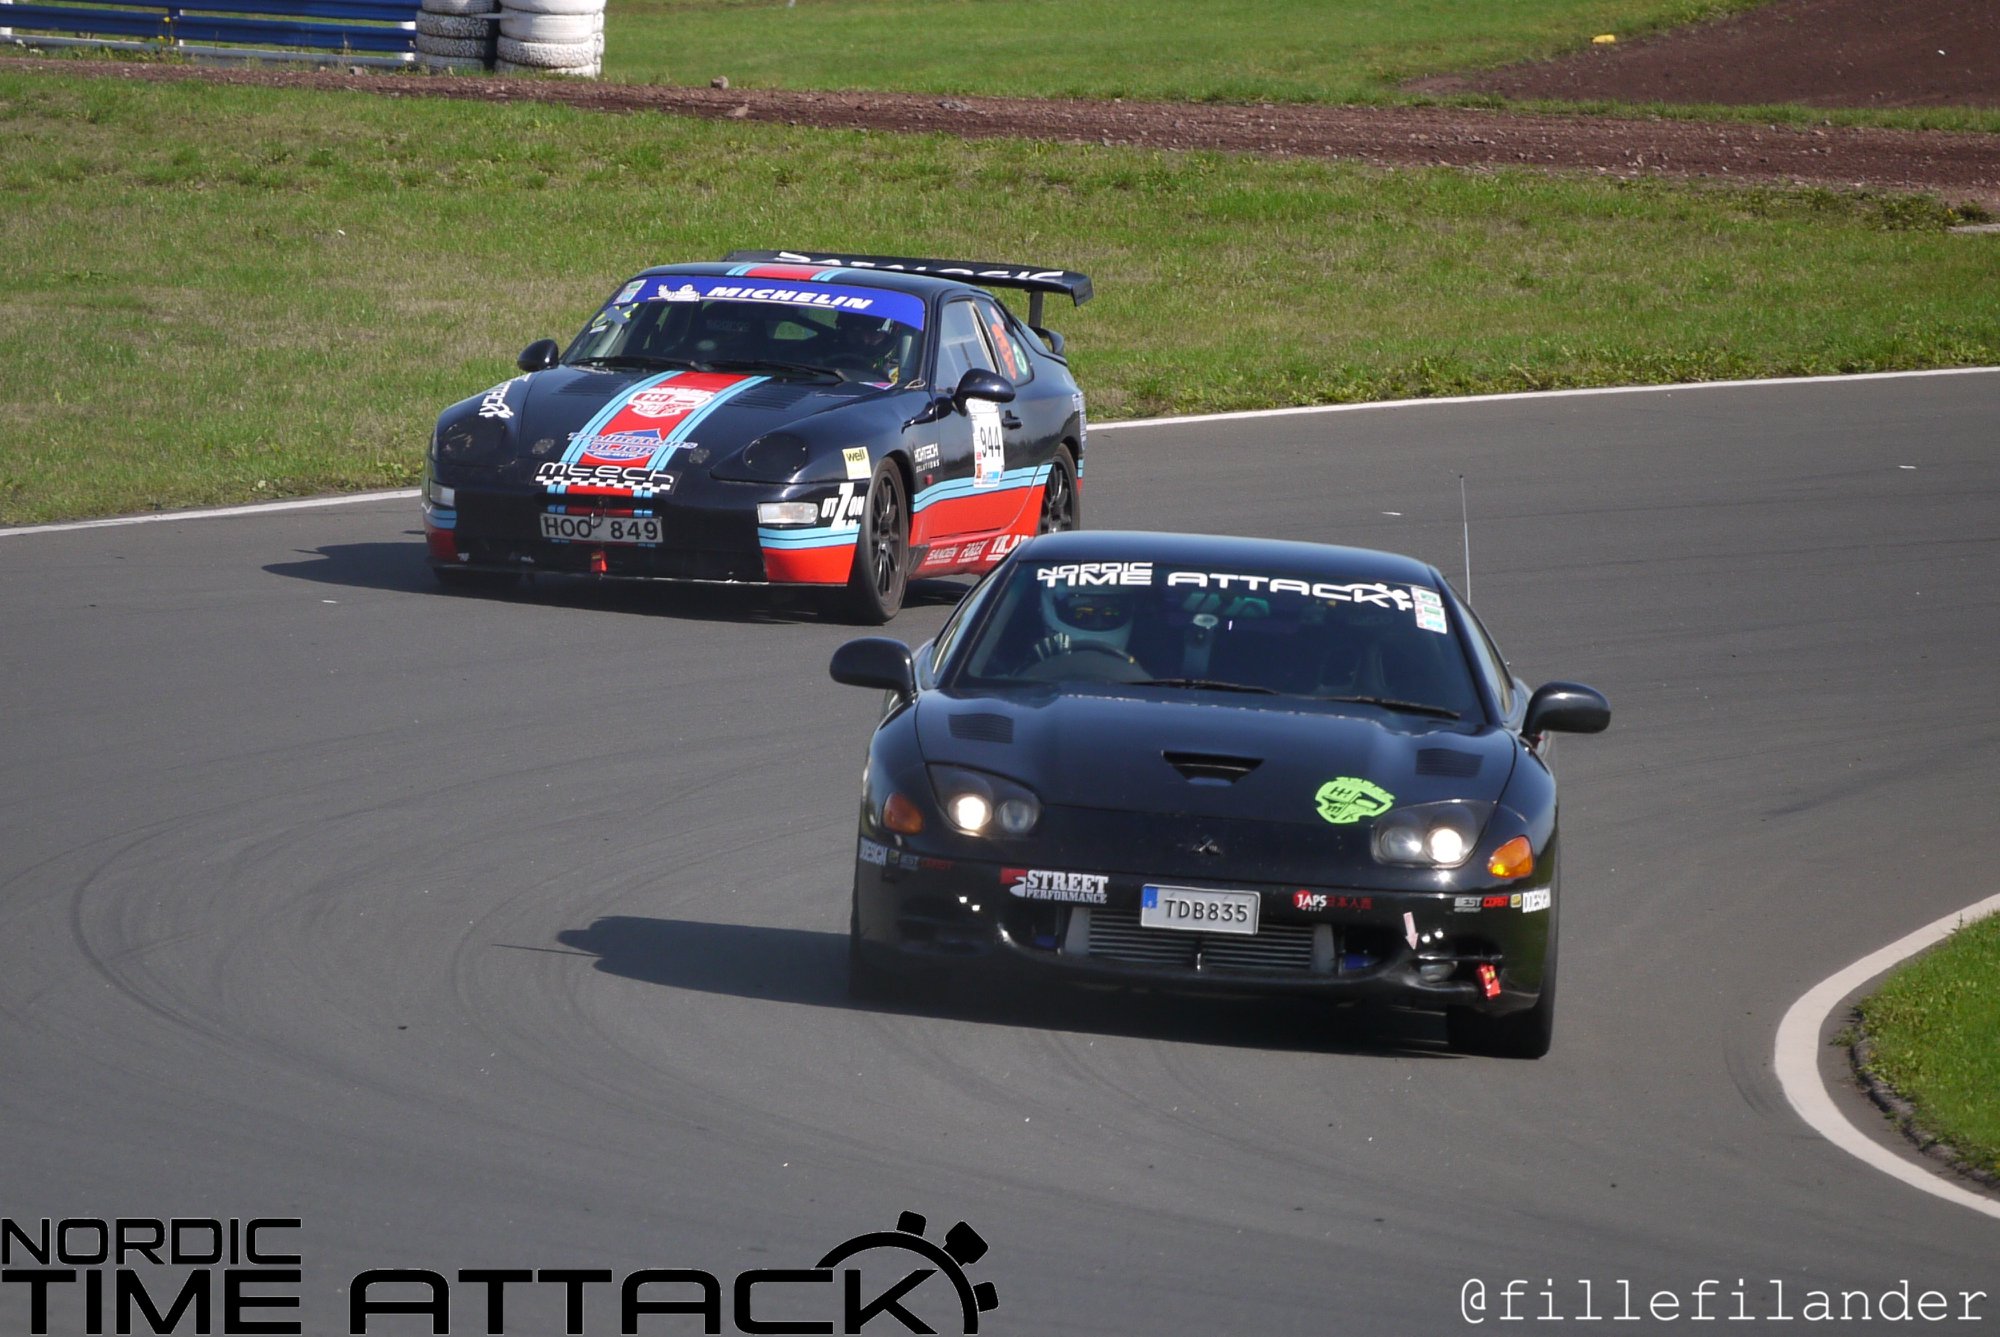
The same winter I signed up for one of the 2018 time attack series - a journey that ended with me going off the track at about 90-95mph into the grass followed by the sand pit and almost rolling the car.
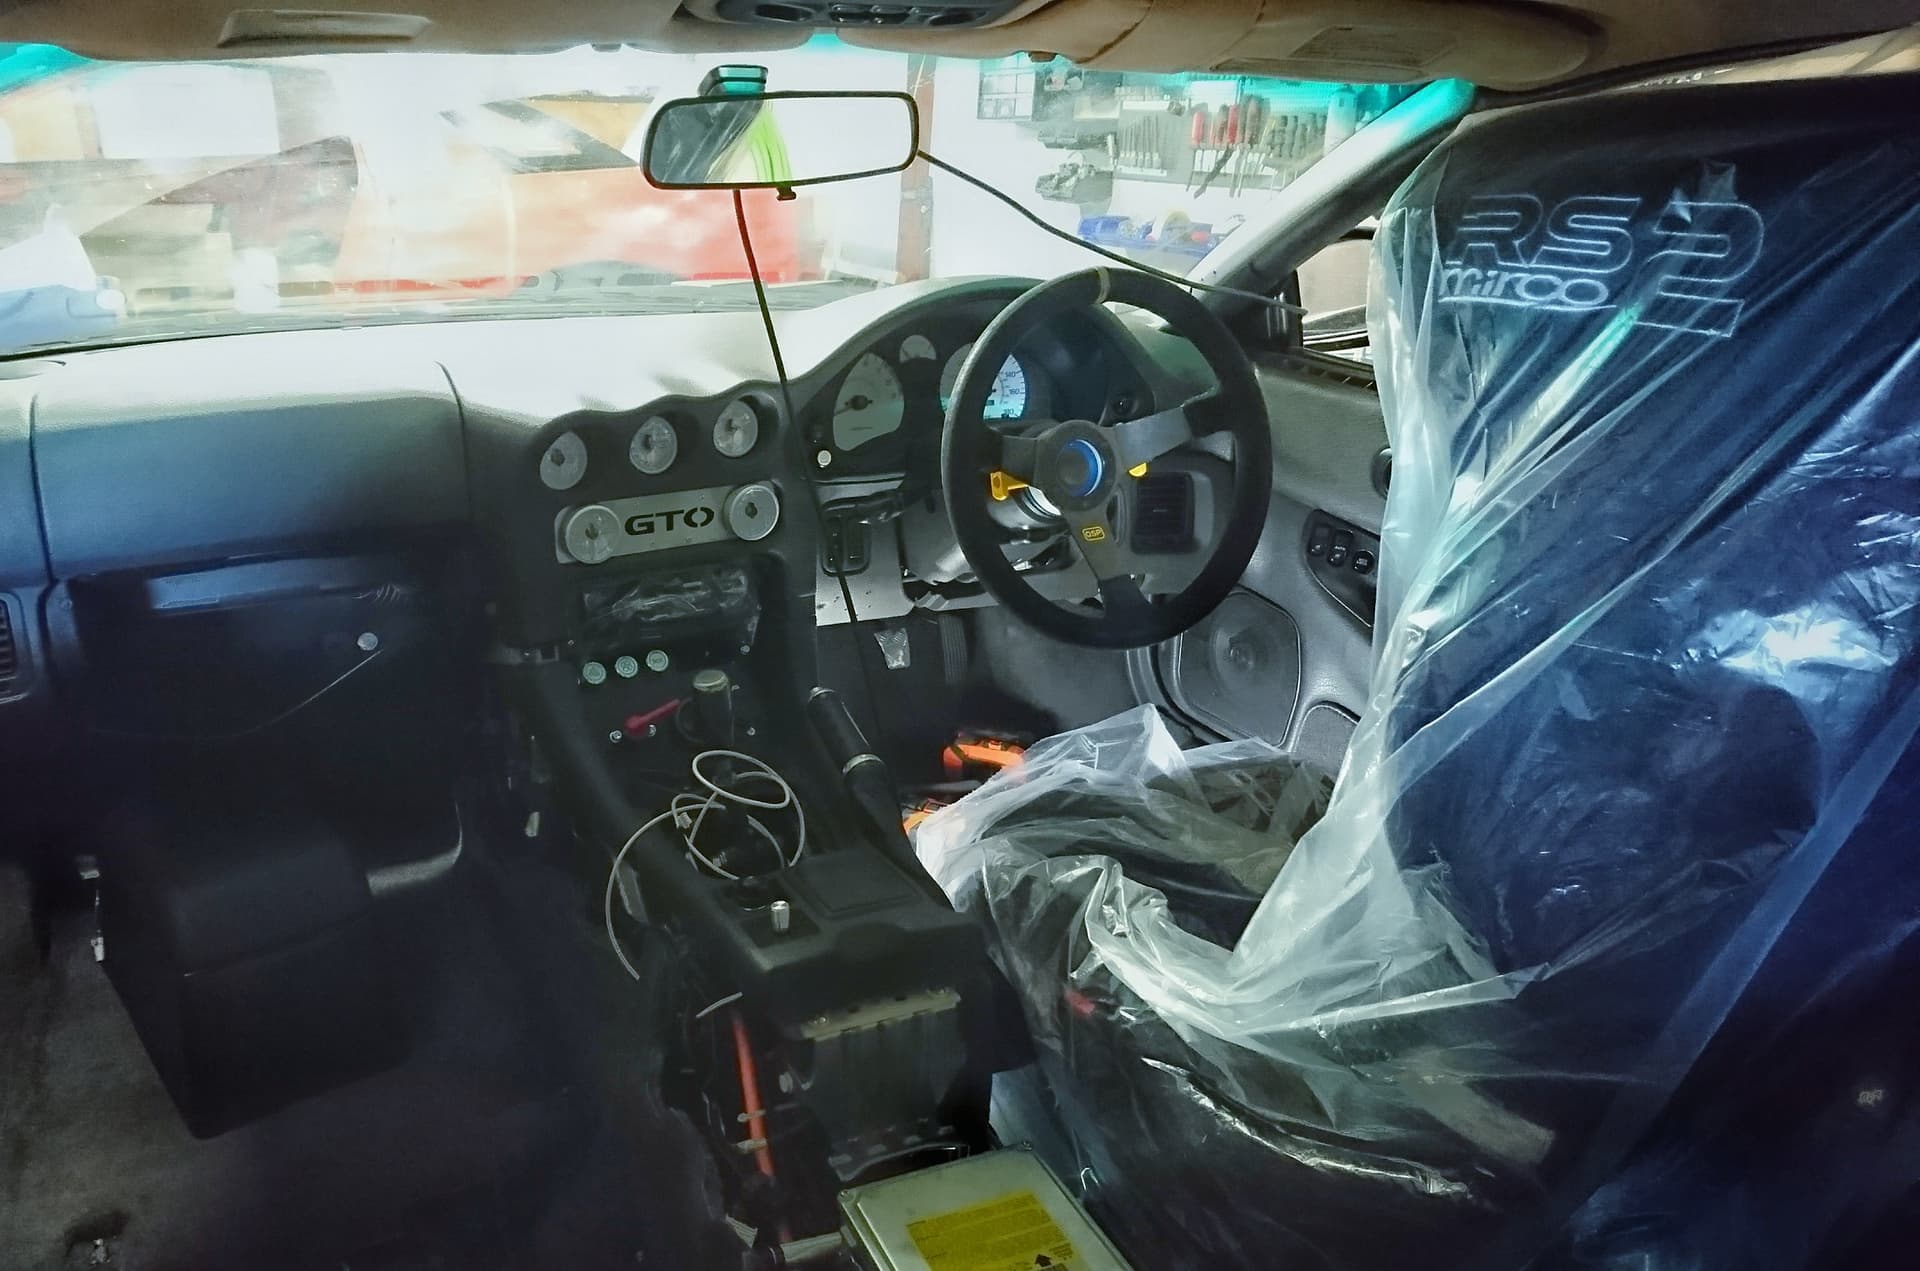
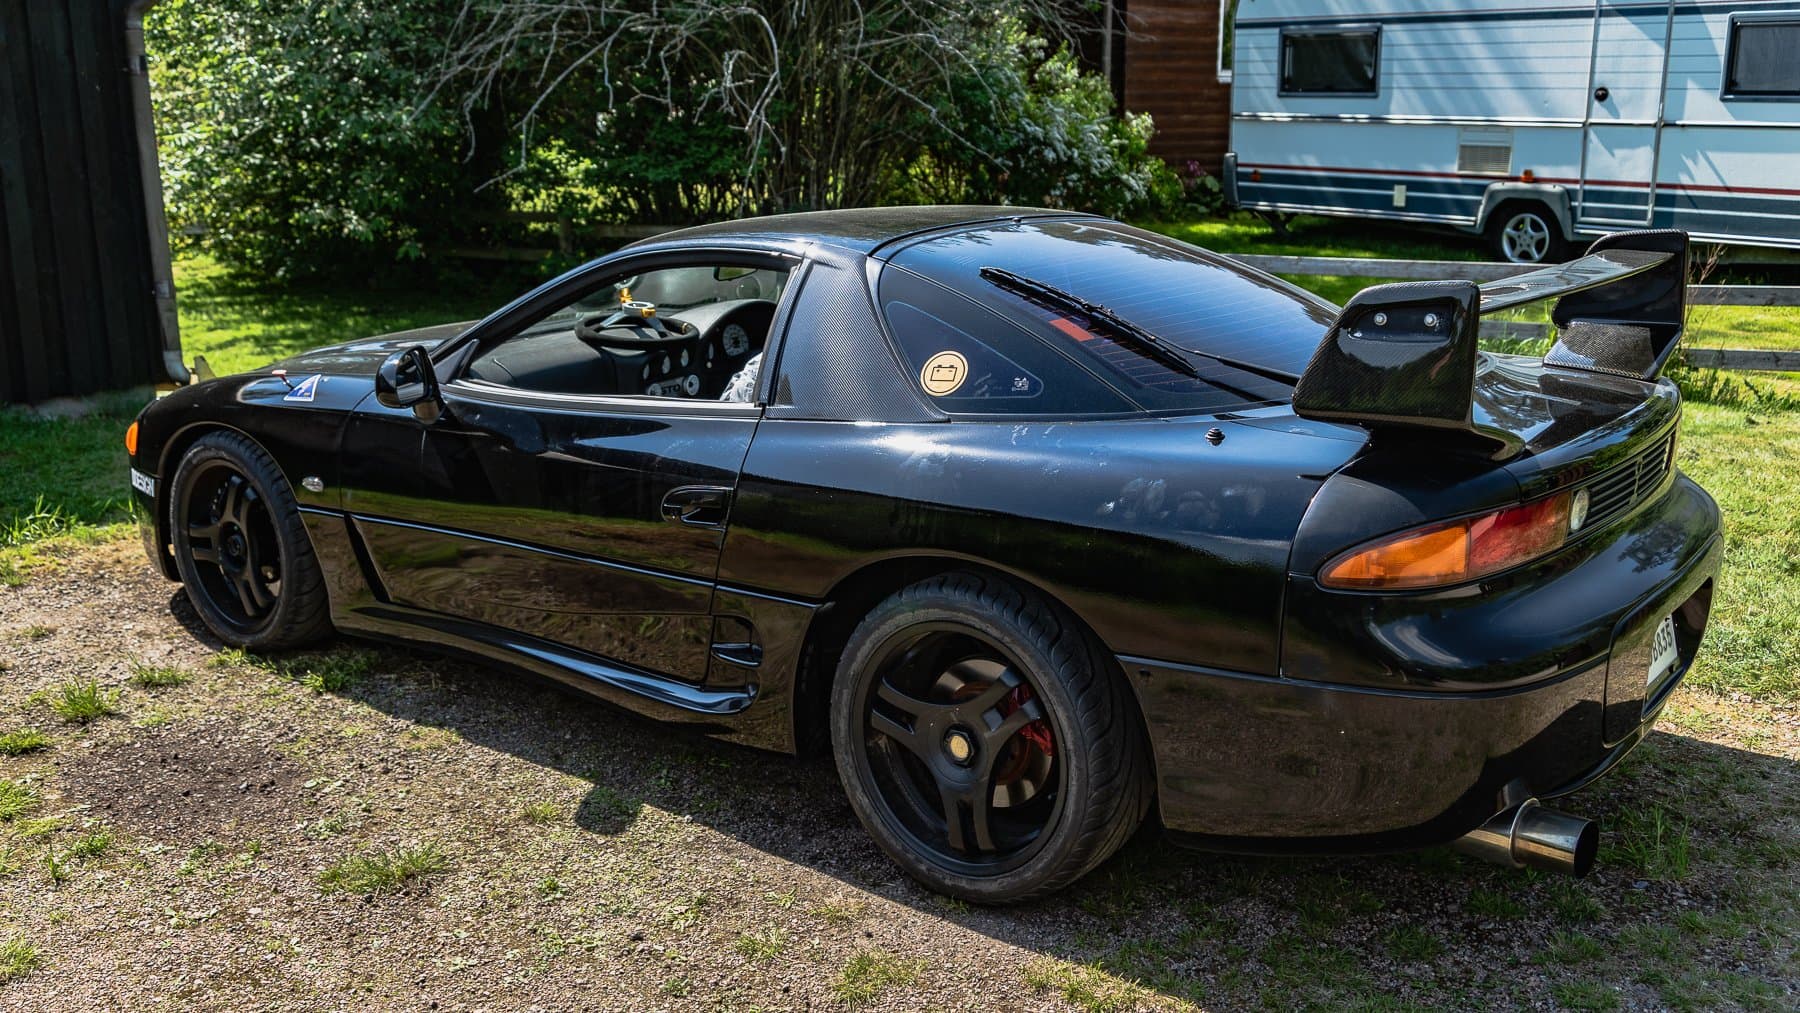
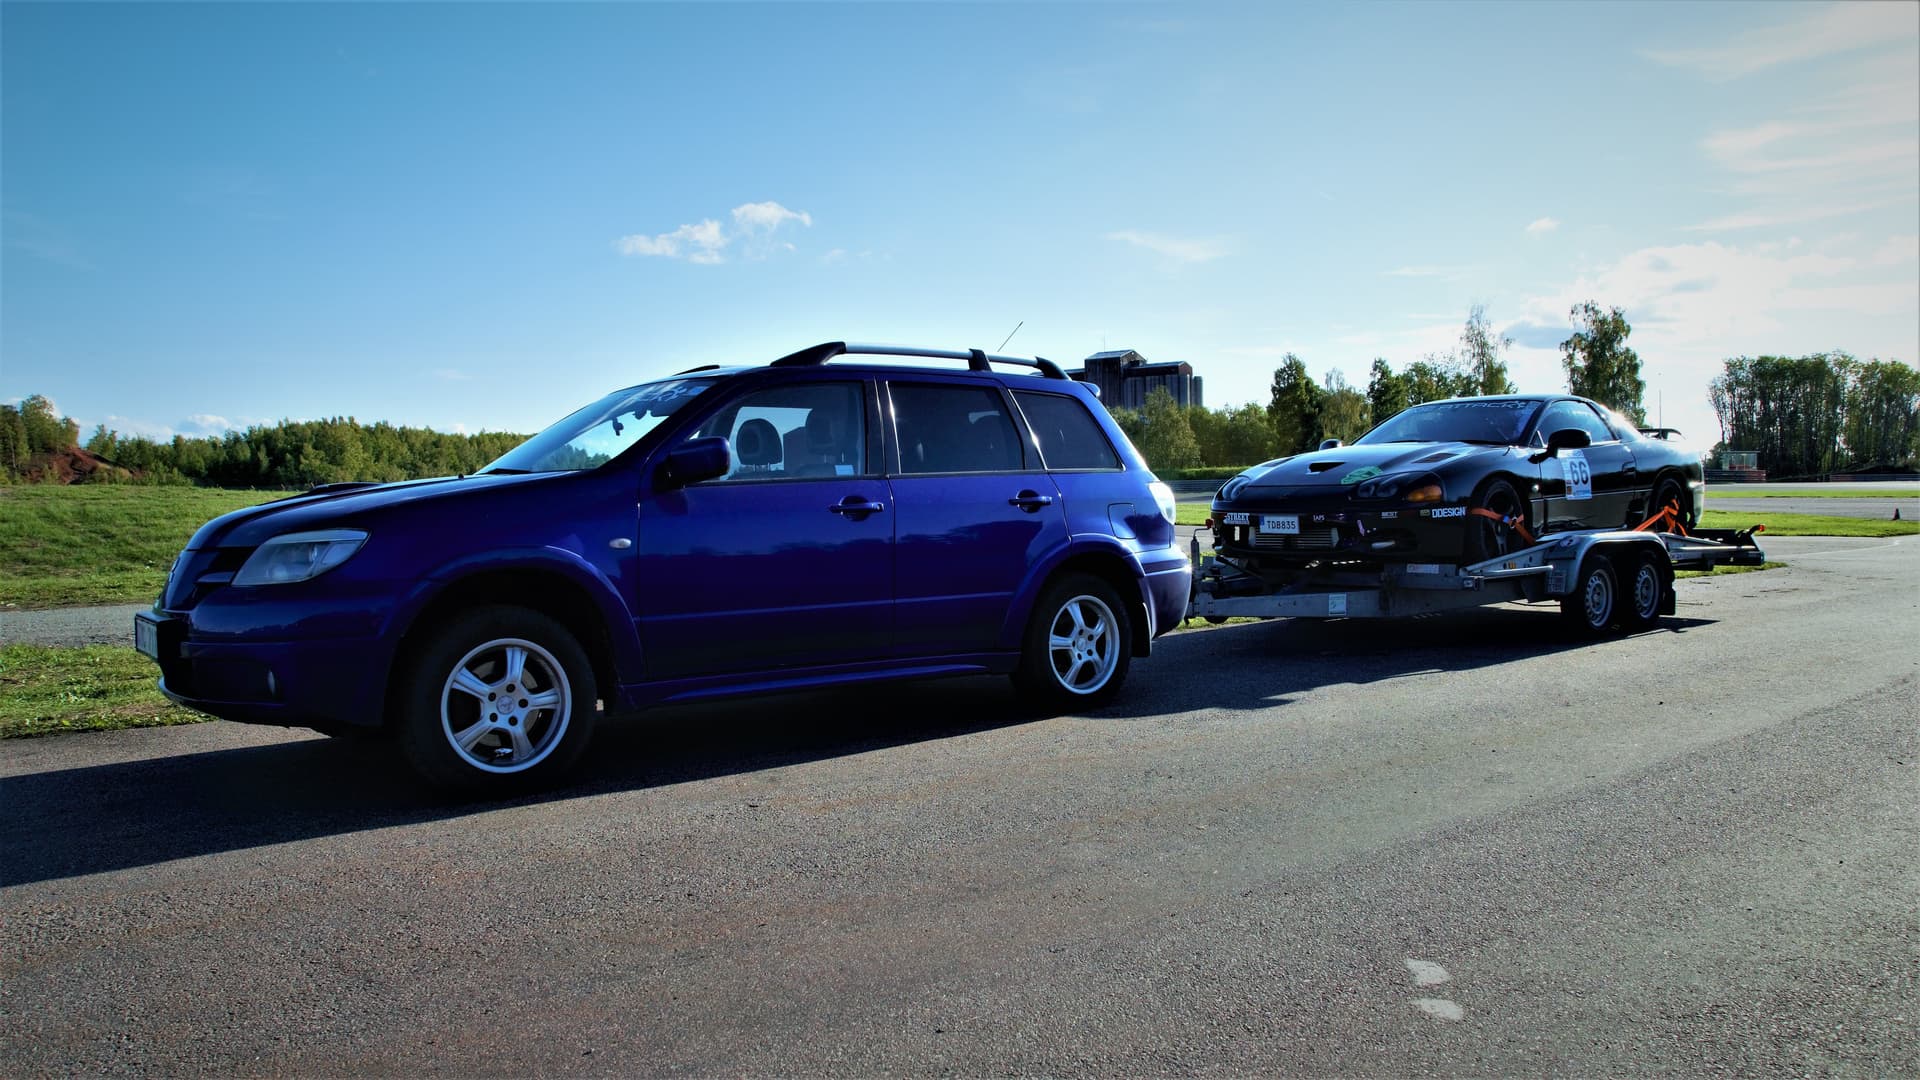
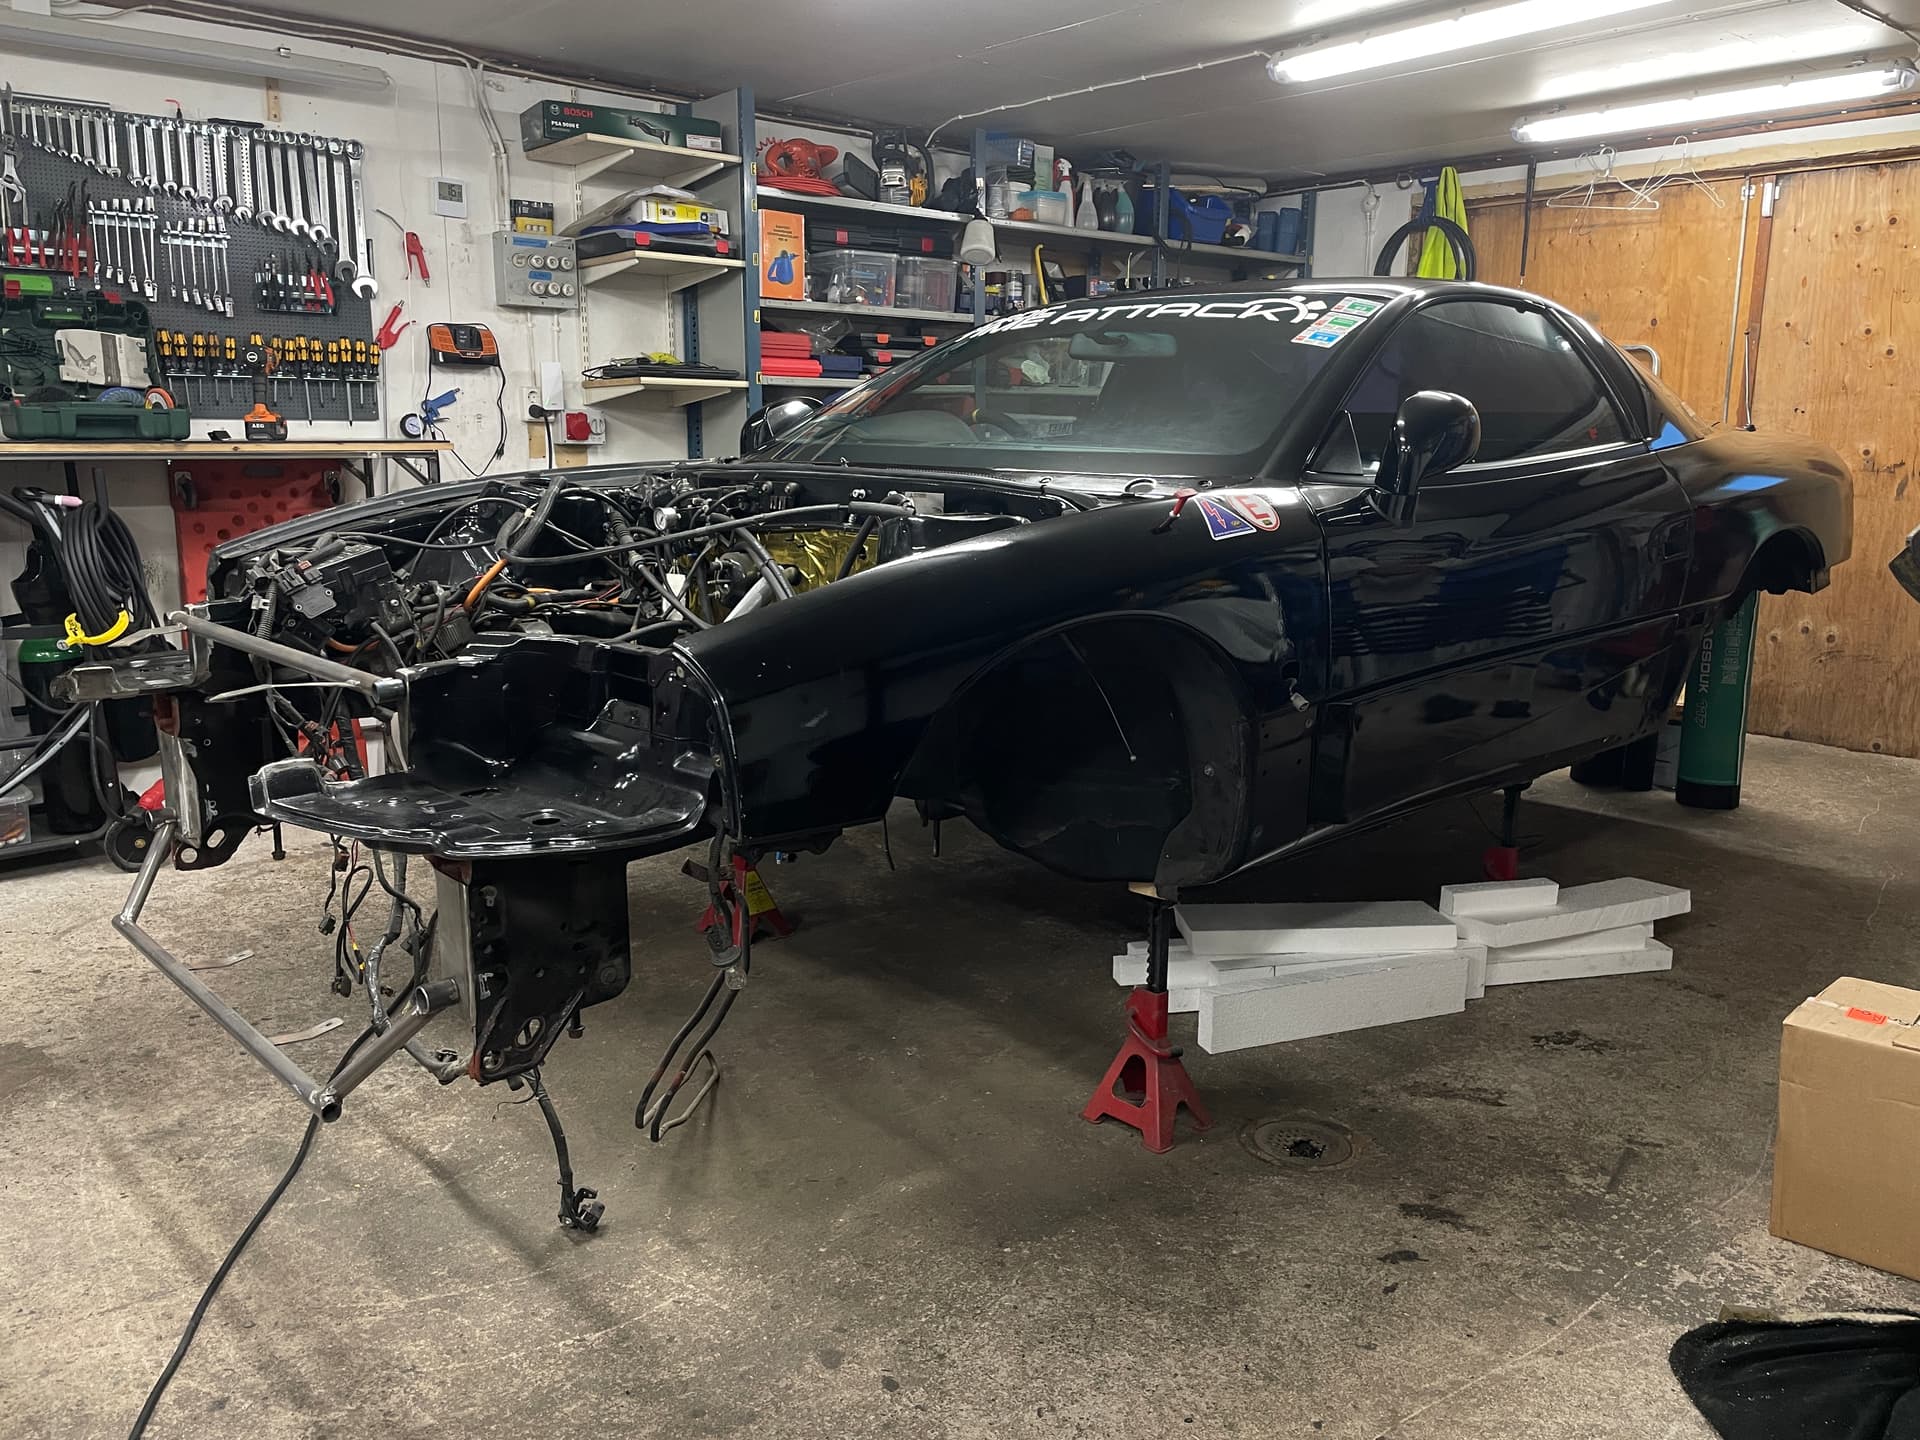
Since then, it’s been sitting torn apart yet again. Partially because I felt put off emotionally after all time and money spent, but while stripping it I accidentally tore a bolt off of the rear driveshaft mount. I also bought myself a couple of more GT’s - one of which some of you might have seen some pictures of on various fb-groups ( -99 converted widebody gen.1 car with a complete Cianci/C7 exterior, apart from the rear bumper, in a sort of copper/saffron colour).

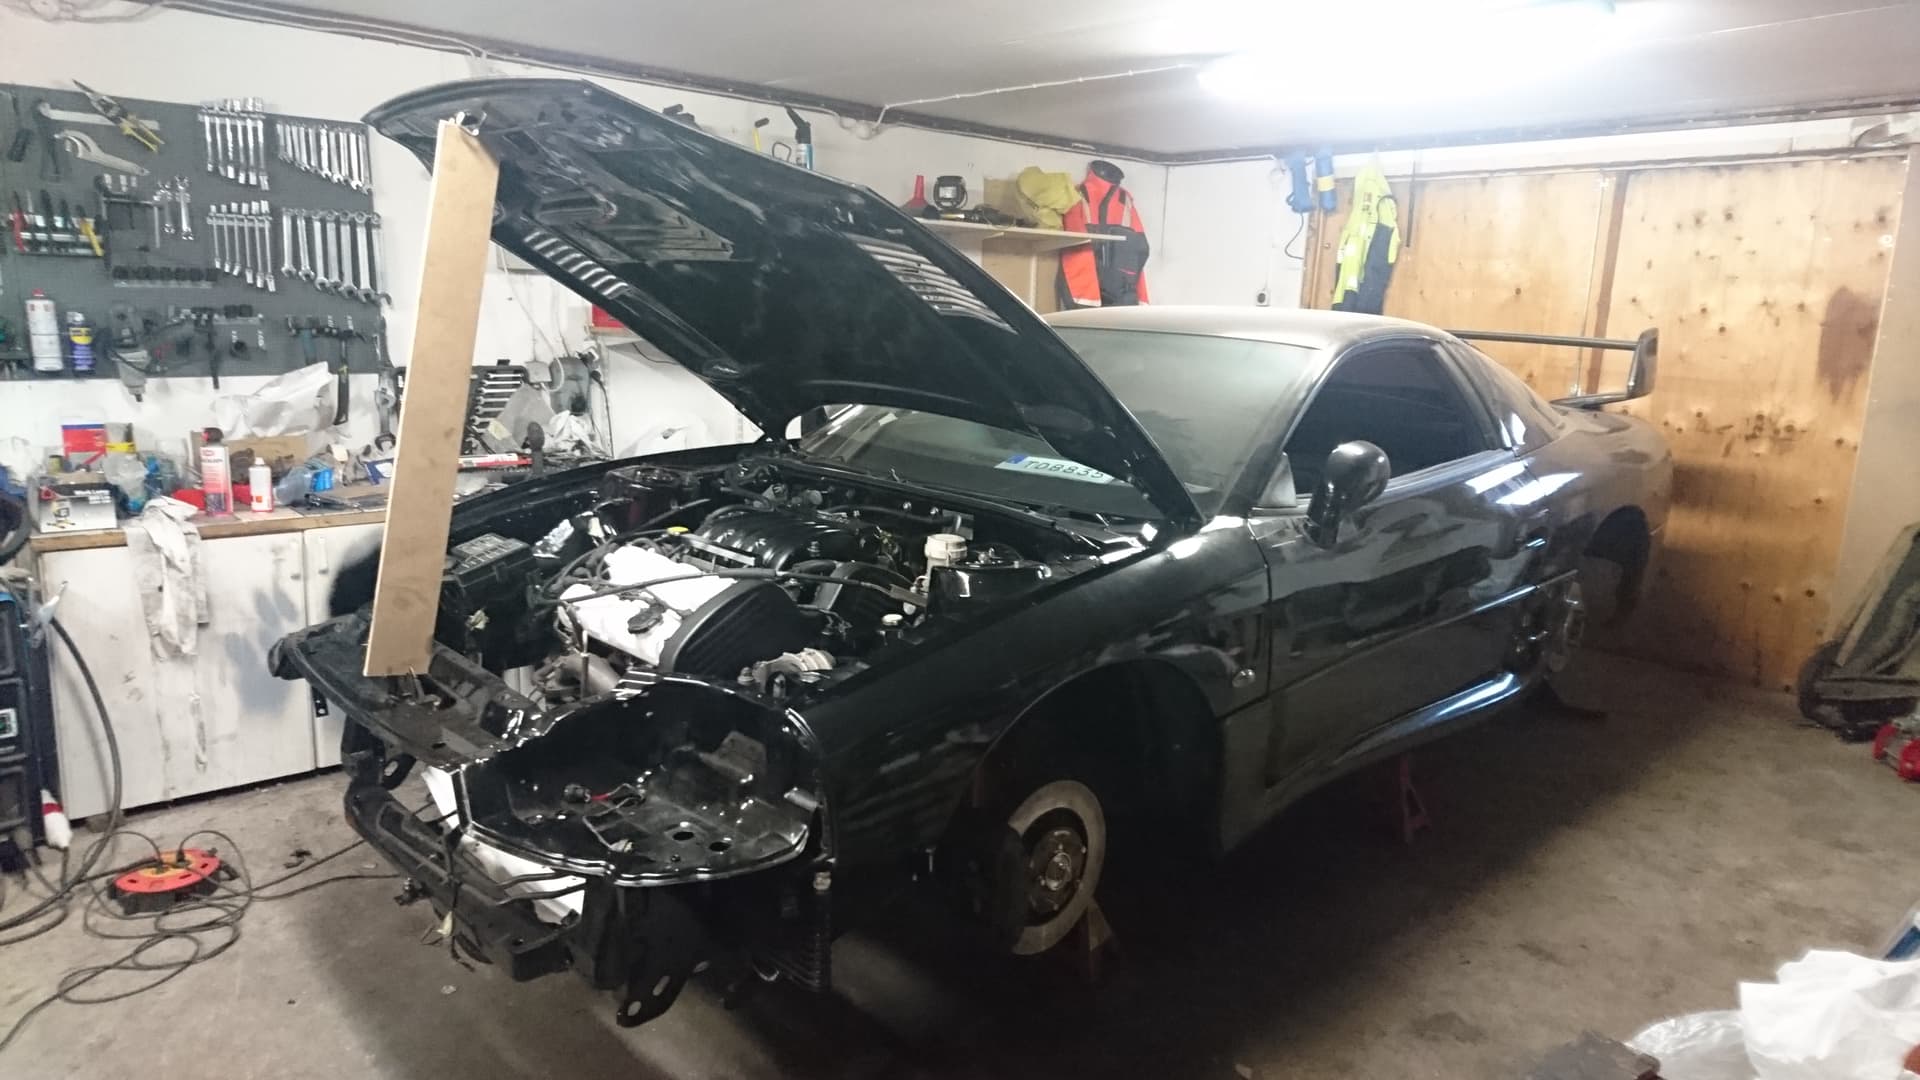
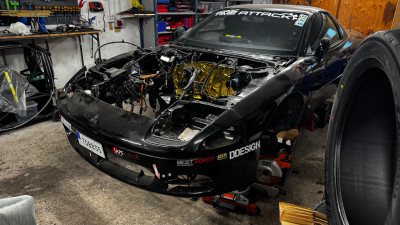
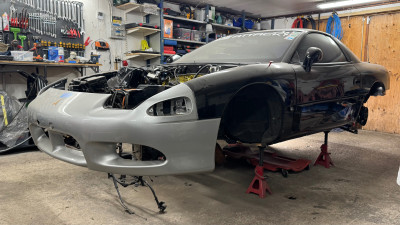
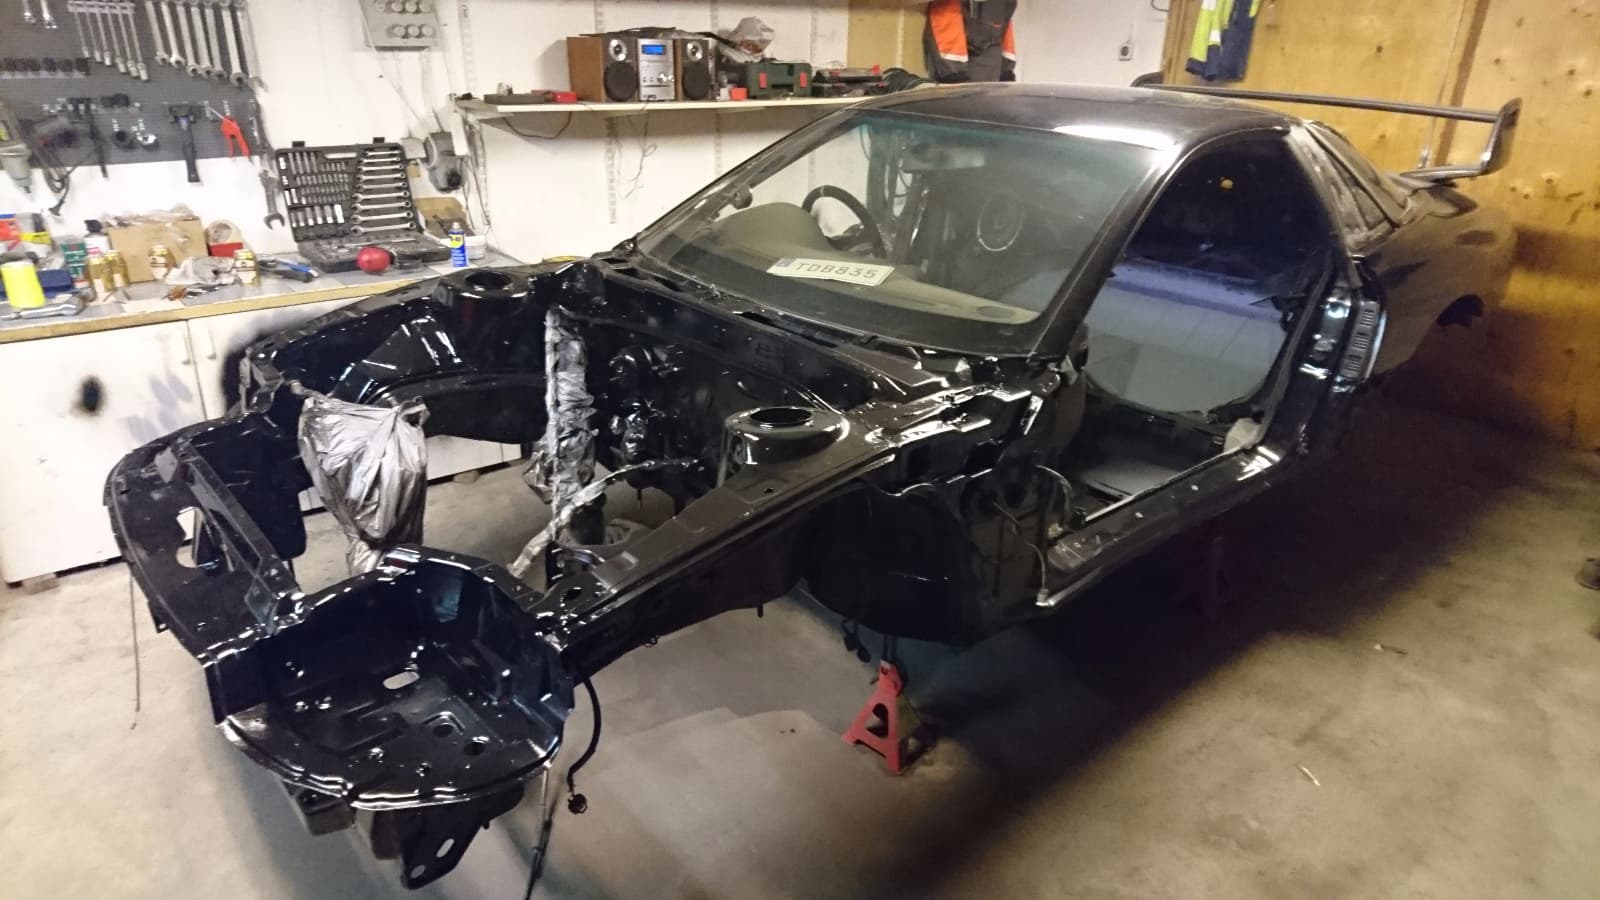
The project with my MR escalated a bit during this time after a few too many beers and ended with me cutting most of the front end off in an effort of having a bigger radiator fitted since I experienced some heating issues despite running a Mishimoto and a lower temperature thermostat already.
Still working on that setup, nowadays though I have a Toyo radiator that I´ll probably end up fitting in a similar position instead - but have it modified as I’ve already welded AN20 connections to the thermostat housing. I also finally found the encouragement to sort out the issue with the drive shaft mount, cutting/drilling the old ones out and weld it back together.
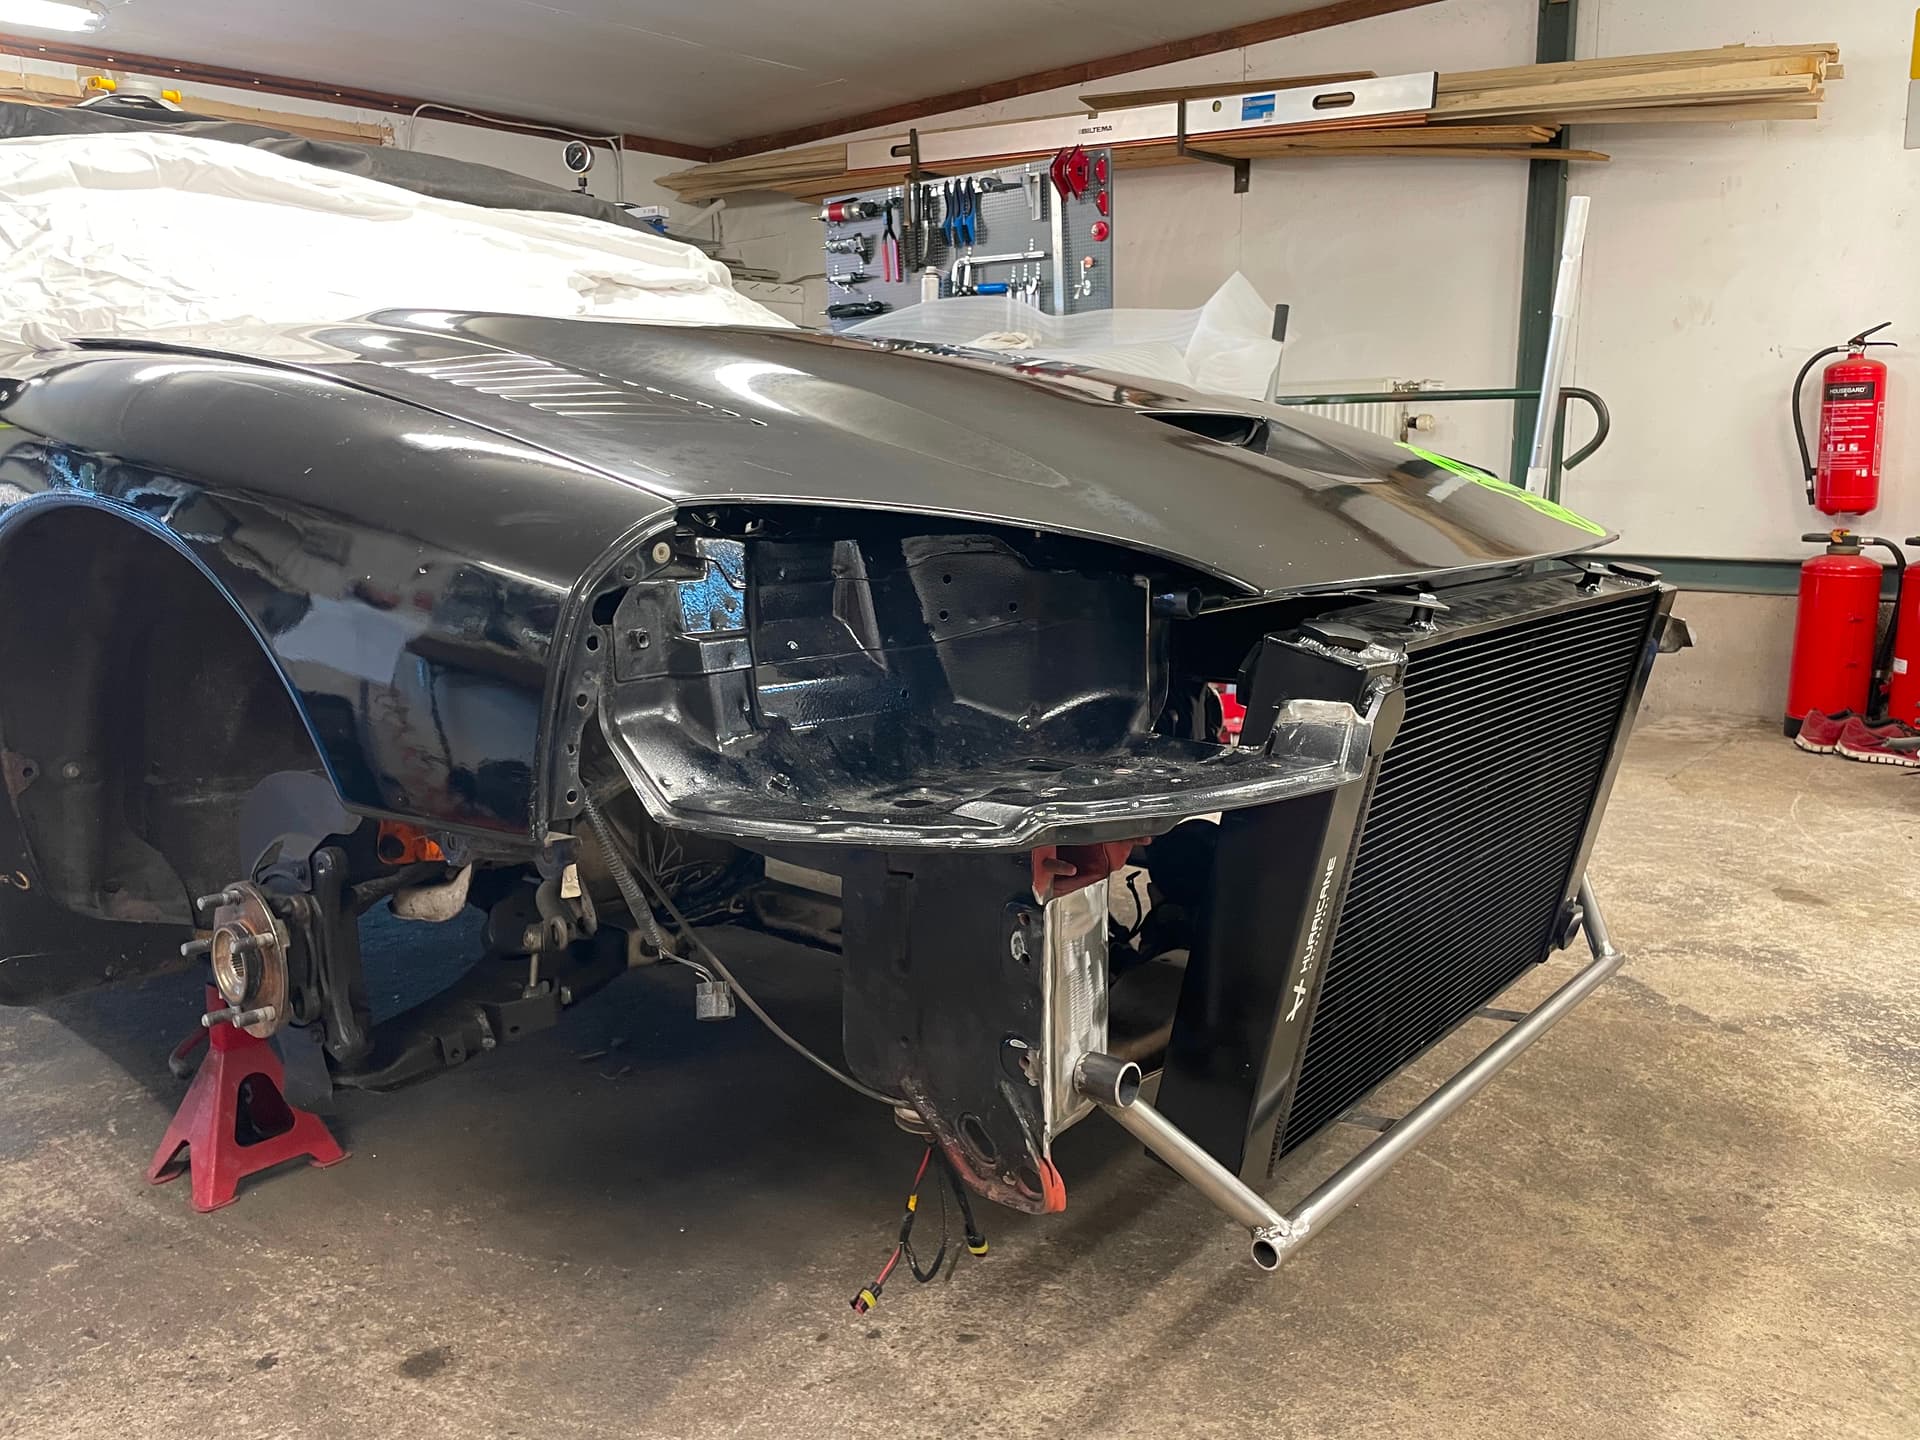
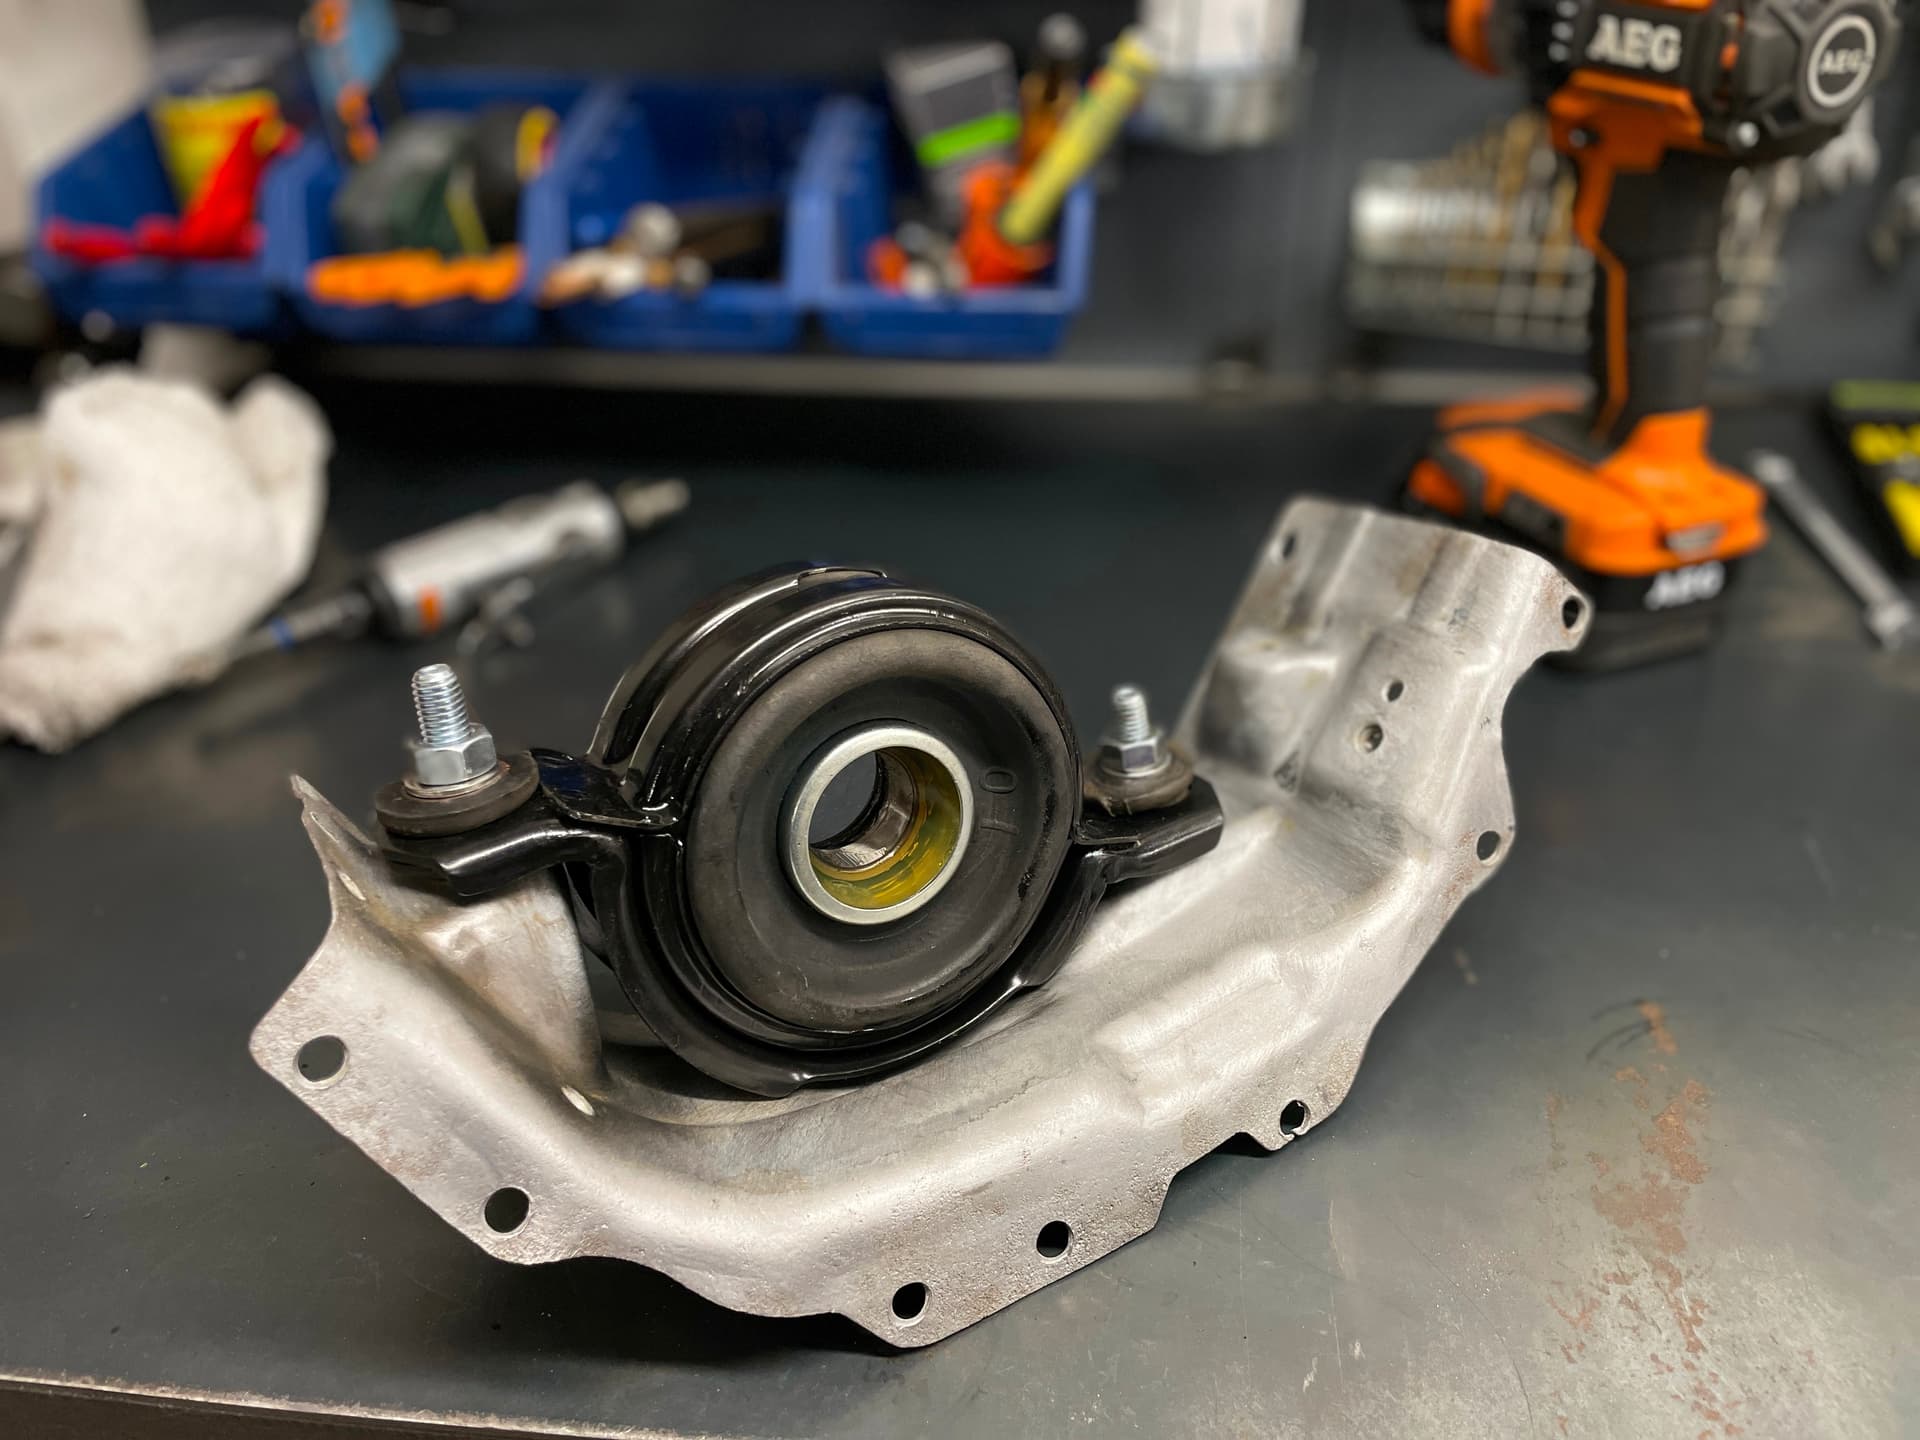
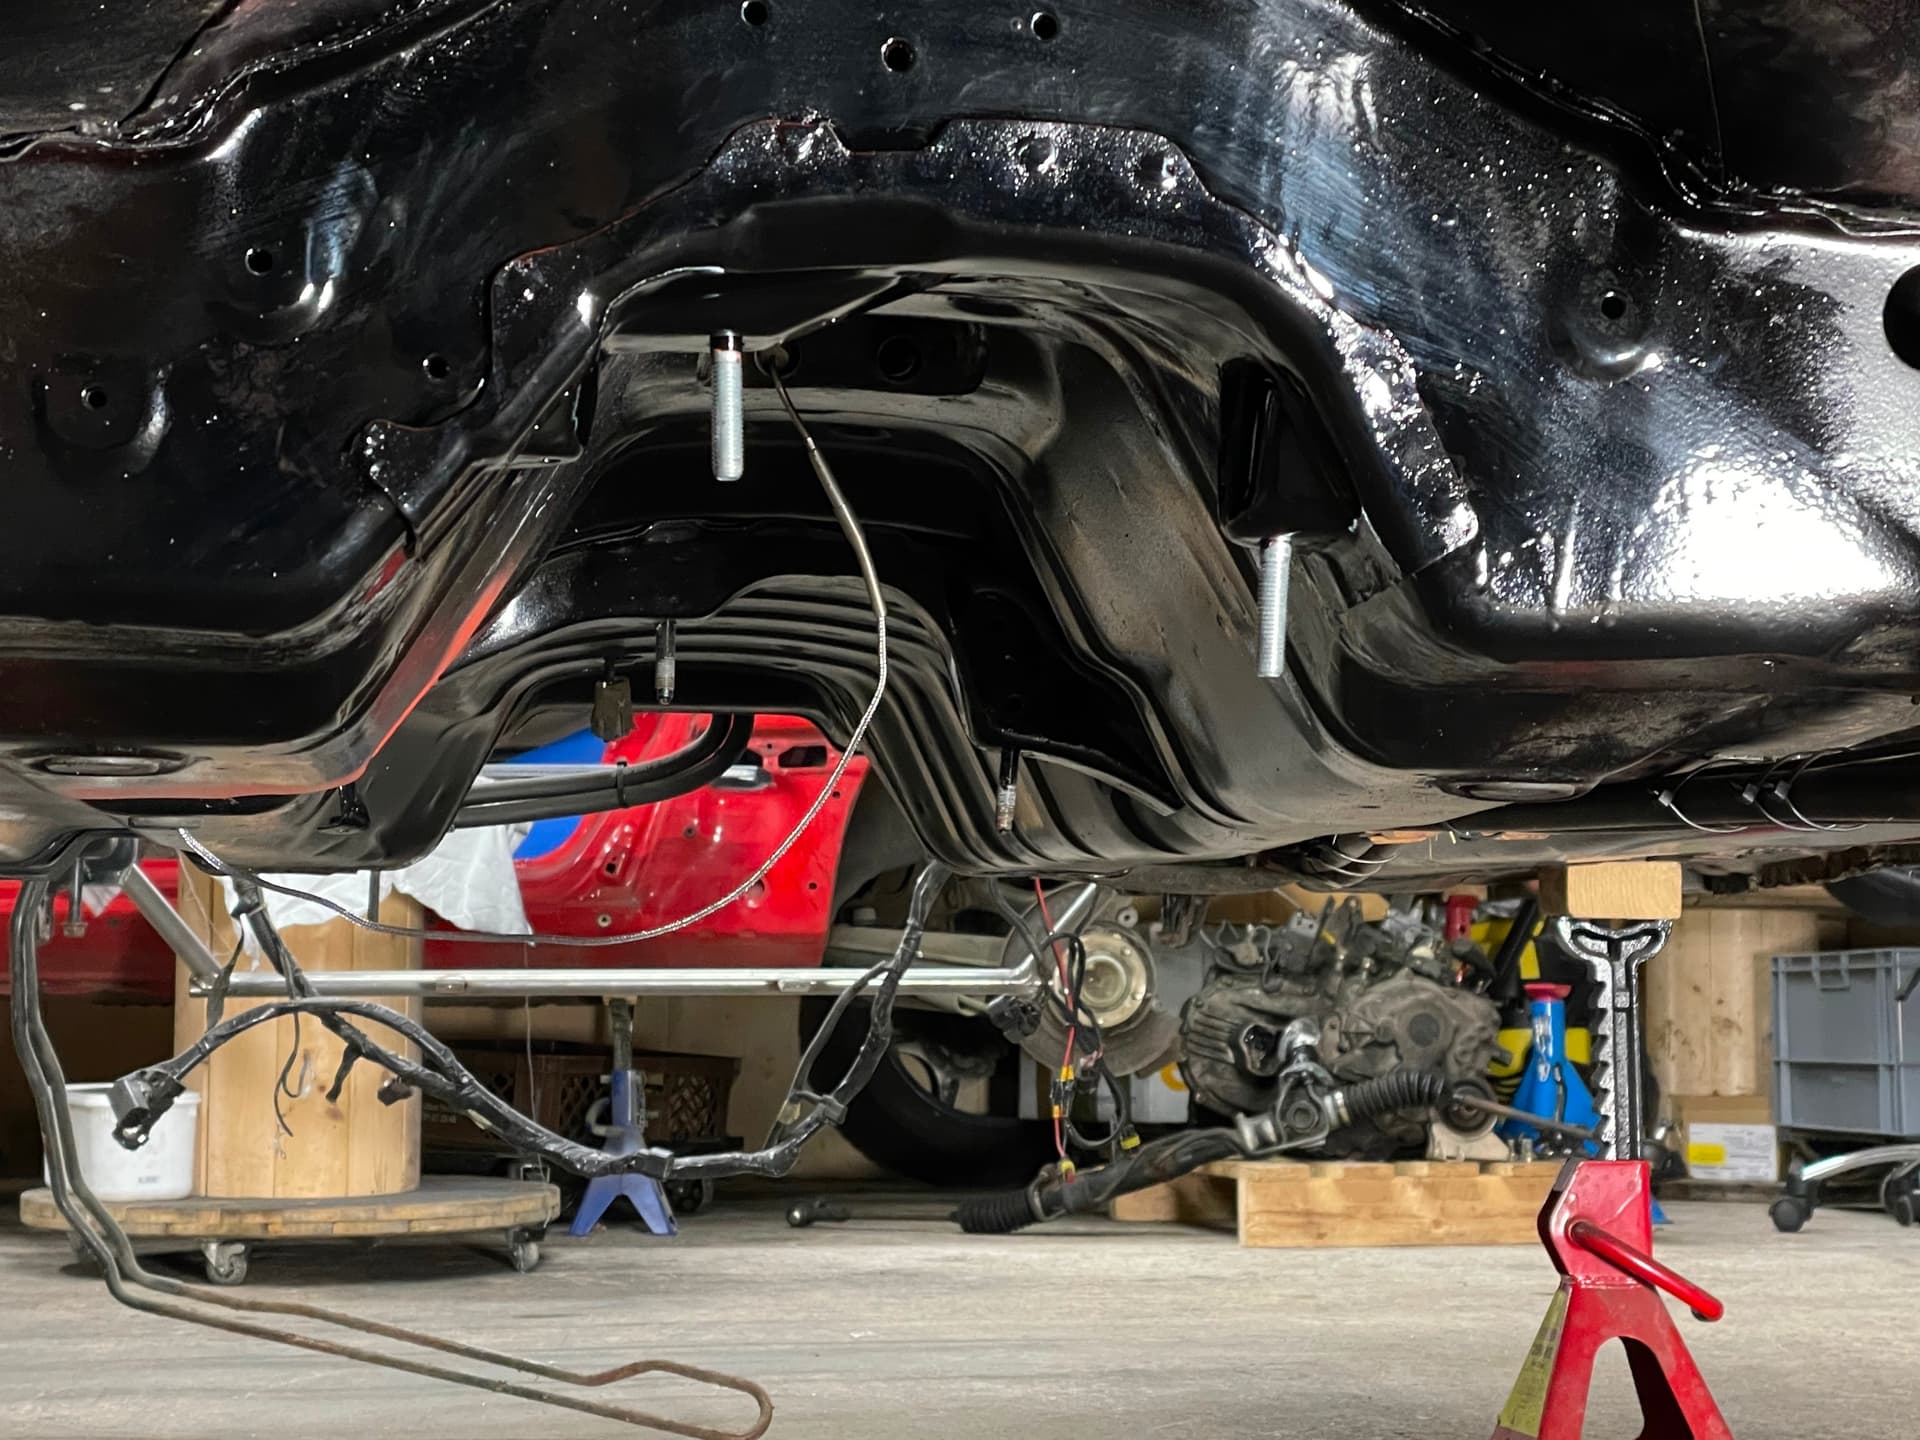
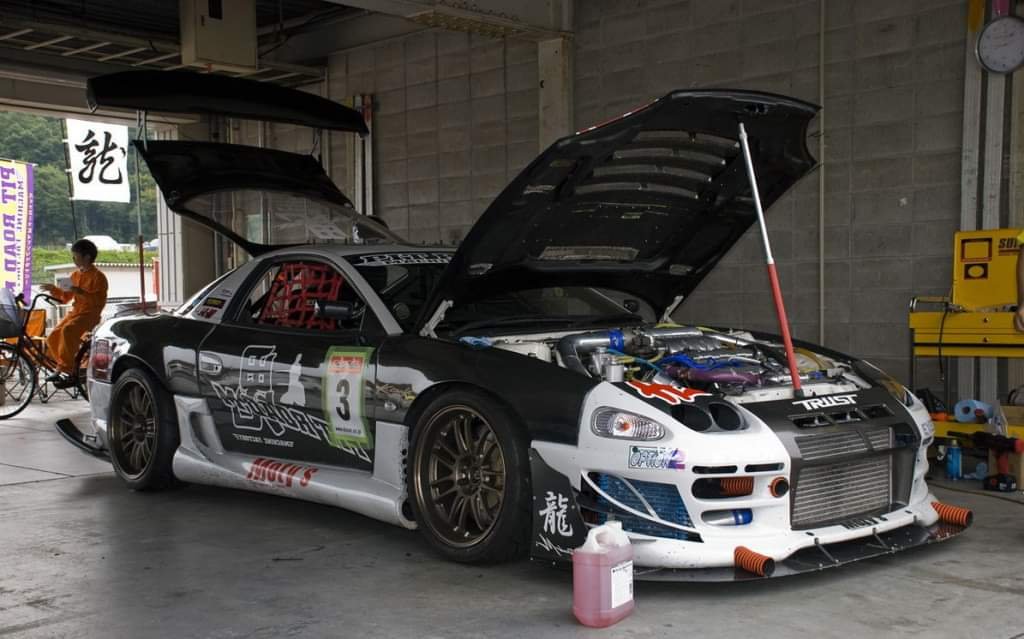
Rather than my original plans of keeping the car somewhat stock, the idea is to make it a sort of replica out of Pit Road M’s old circuit car - but in a different colour scheme, with other wheels and a different wing. All of which I have laying at home already.
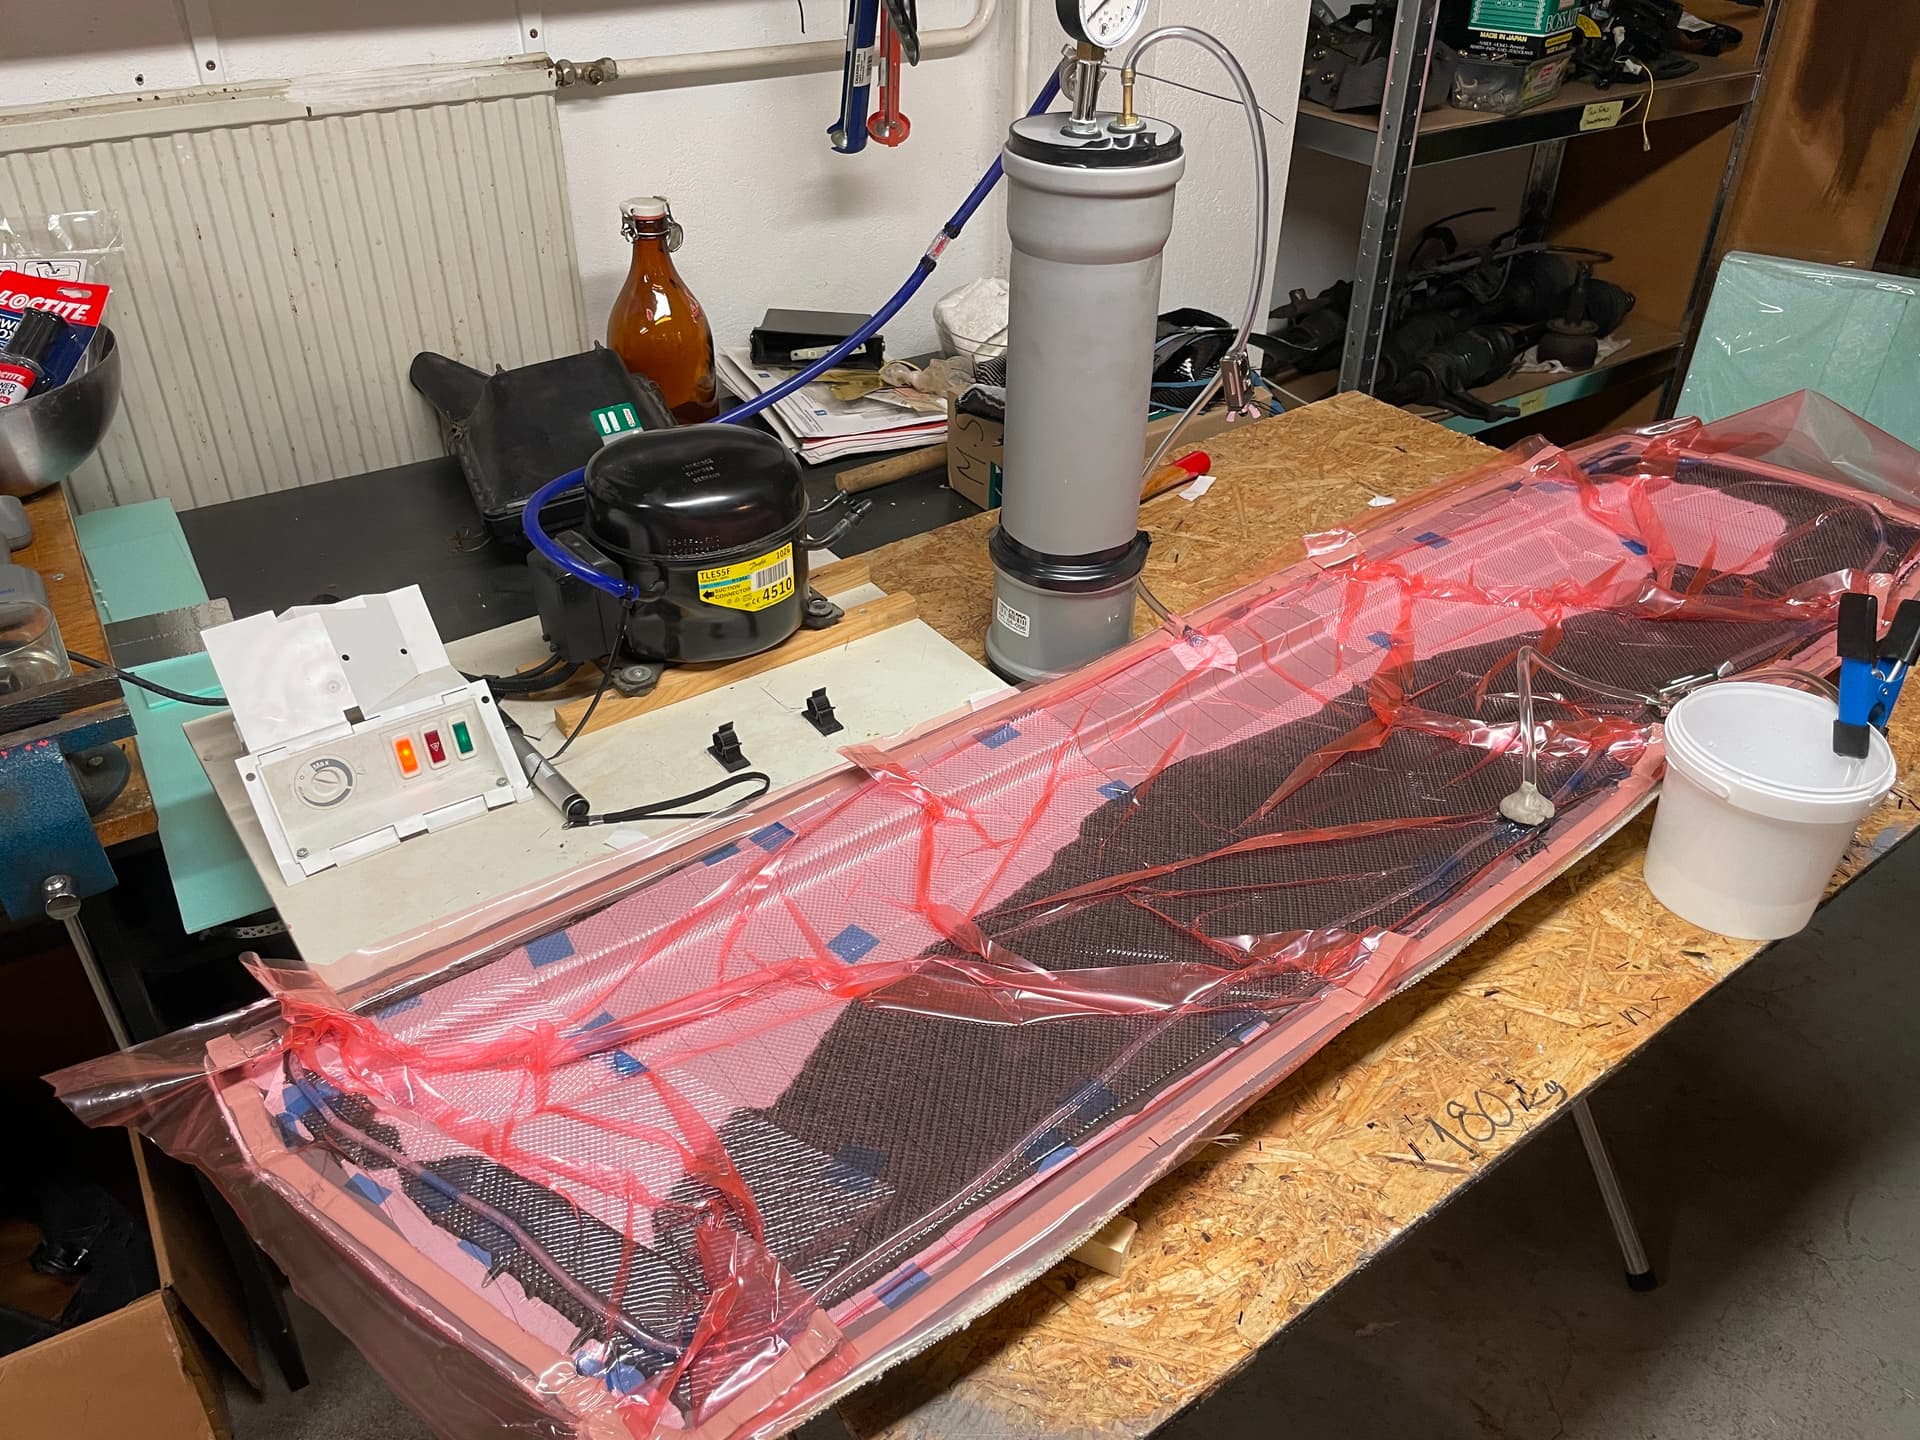
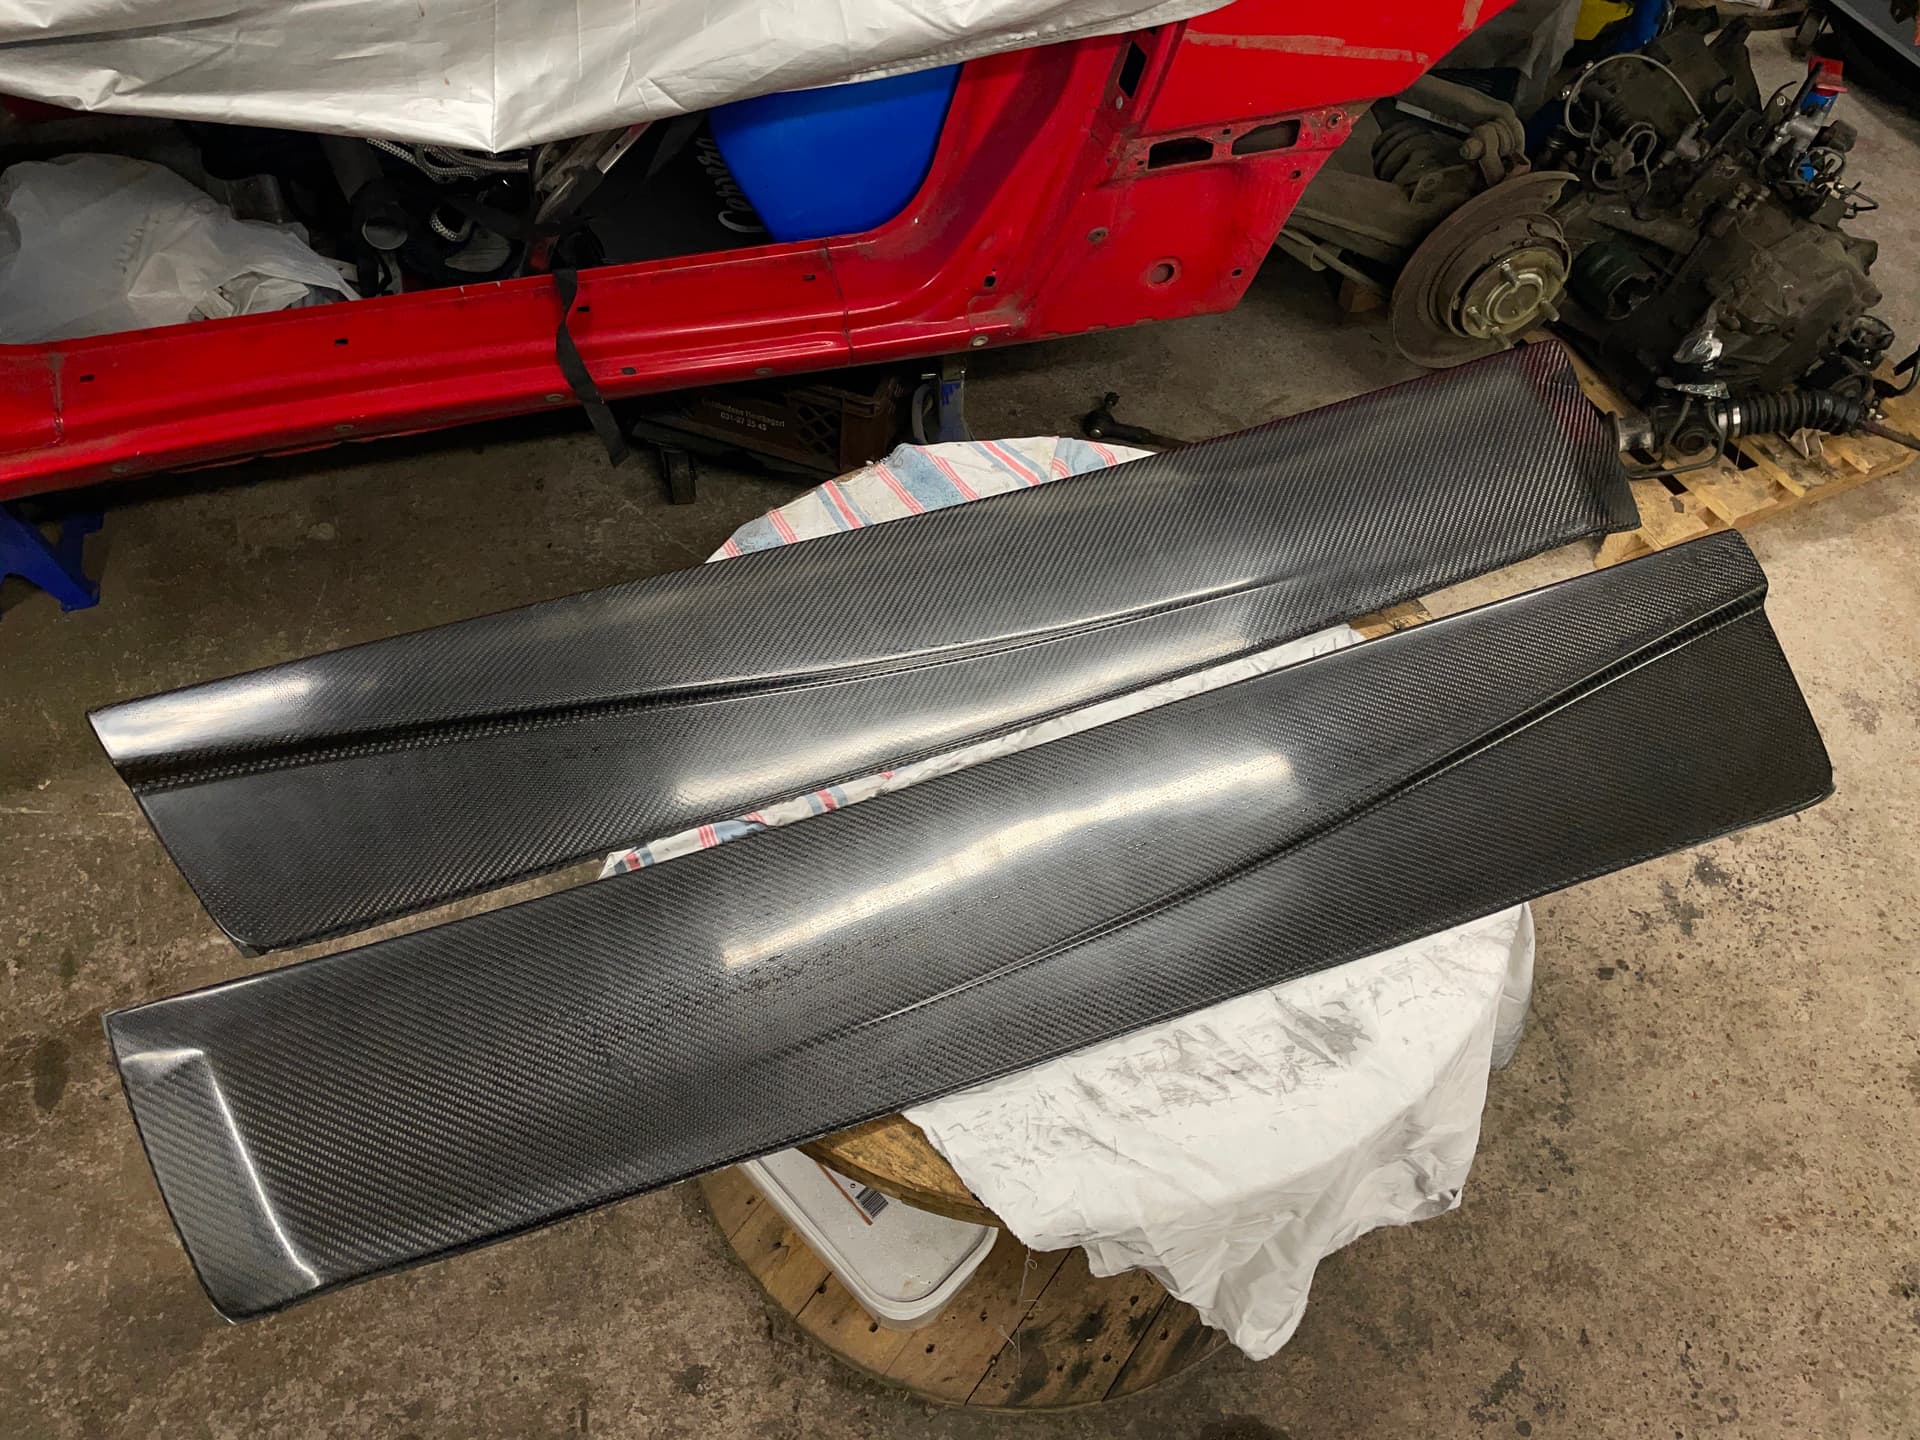
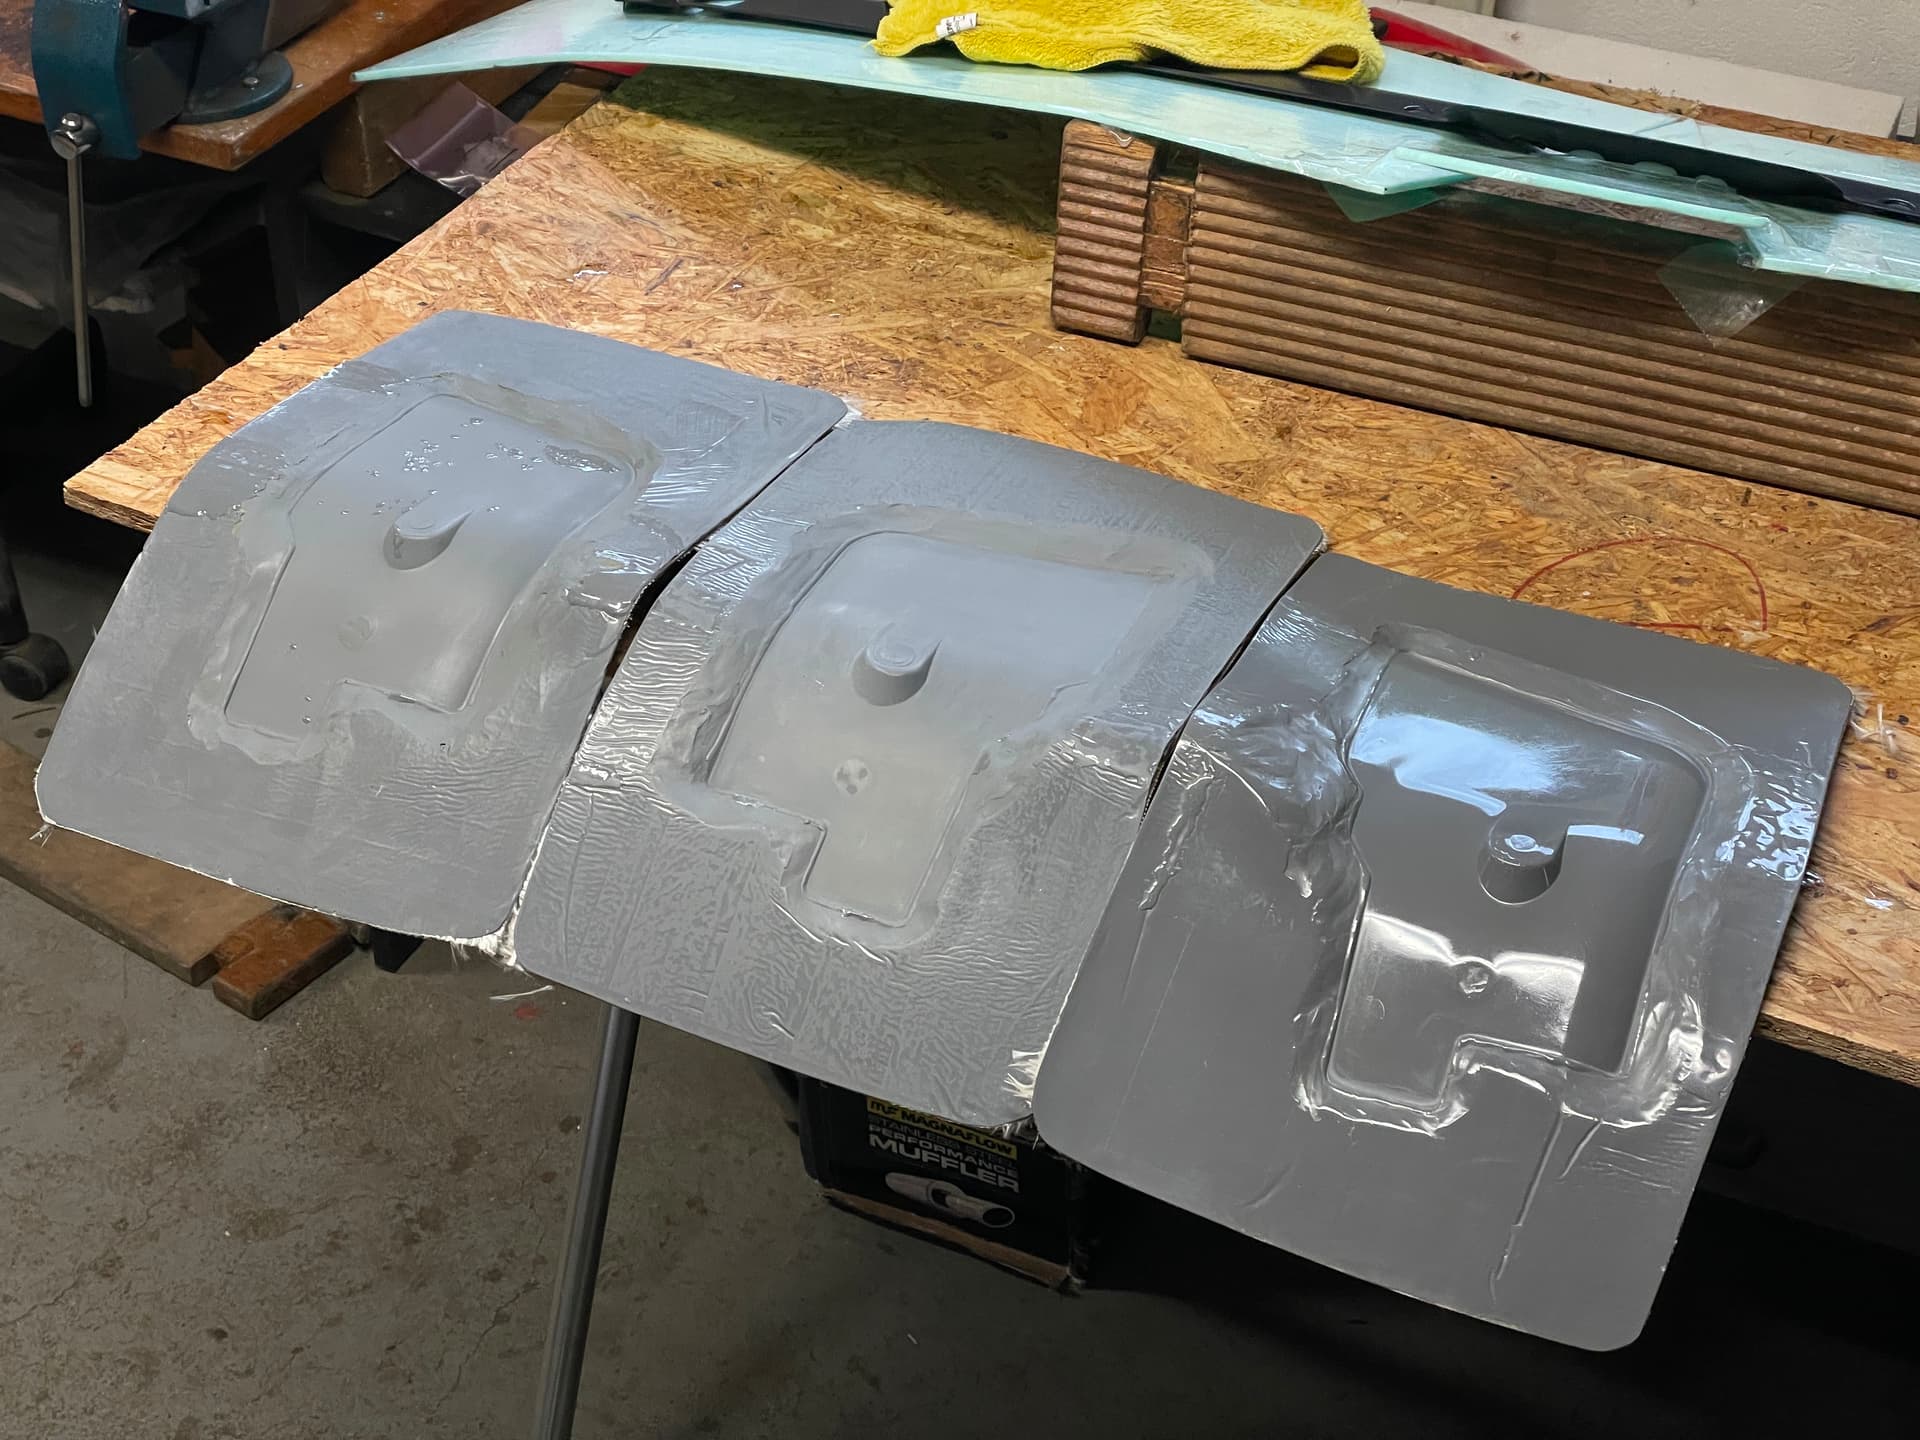
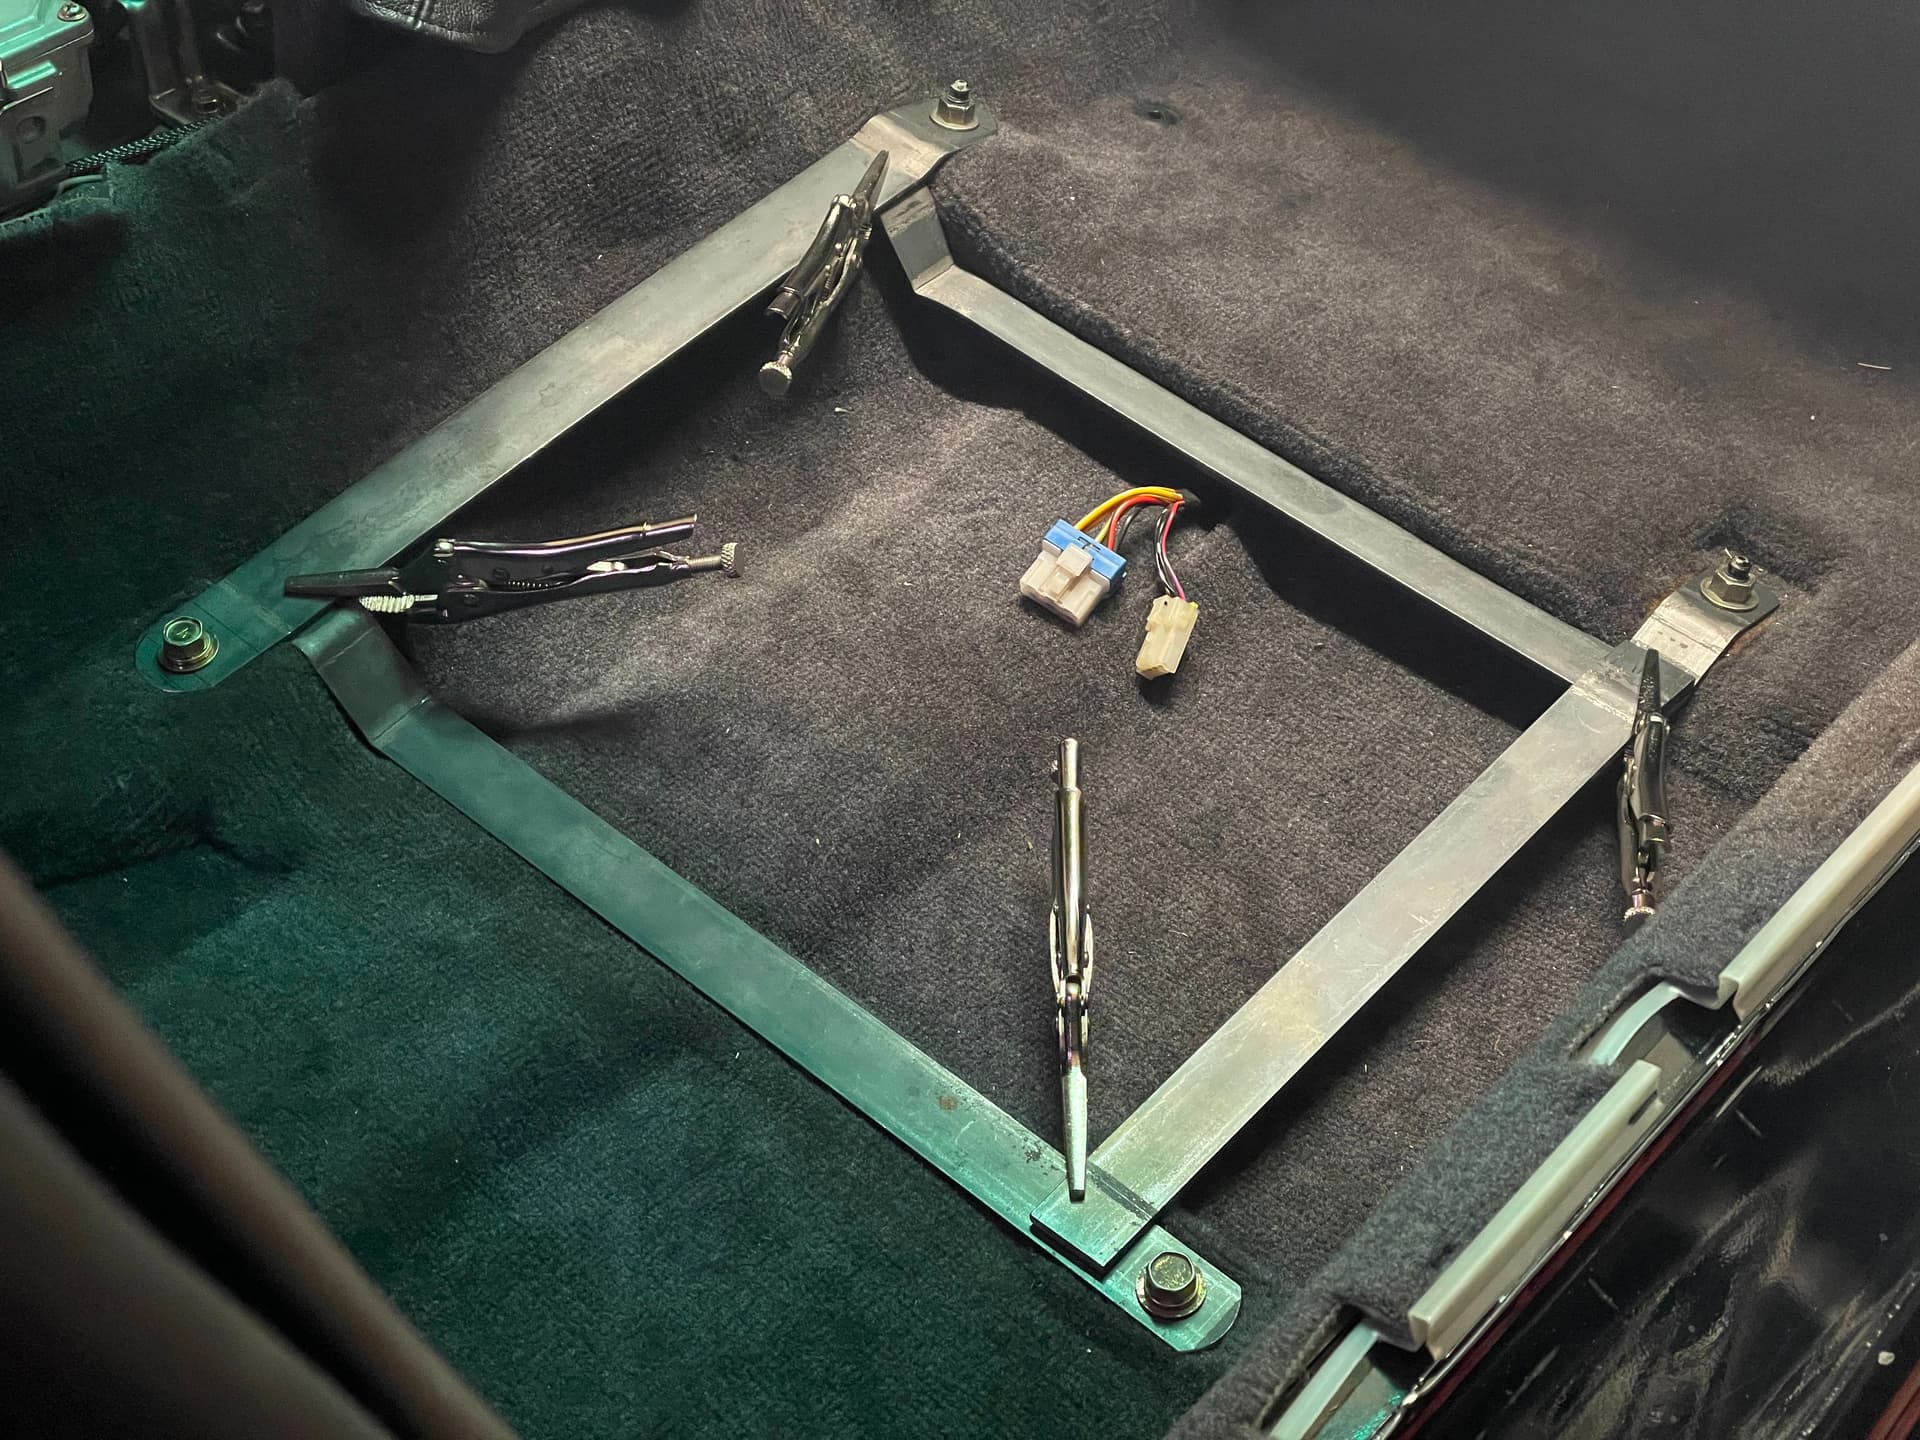
Most of the time otherwise, since I competed in 2018, have been spent on sourcing parts, experimenting with making my own composites parts, having the front and rear subframe with misc parts sent off for industrial sand blasting/paint and making my own seat mounts. Always felt I was sitting higher than stock and too uncentered from the steering wheel with the Bride seat sliders I previously used.
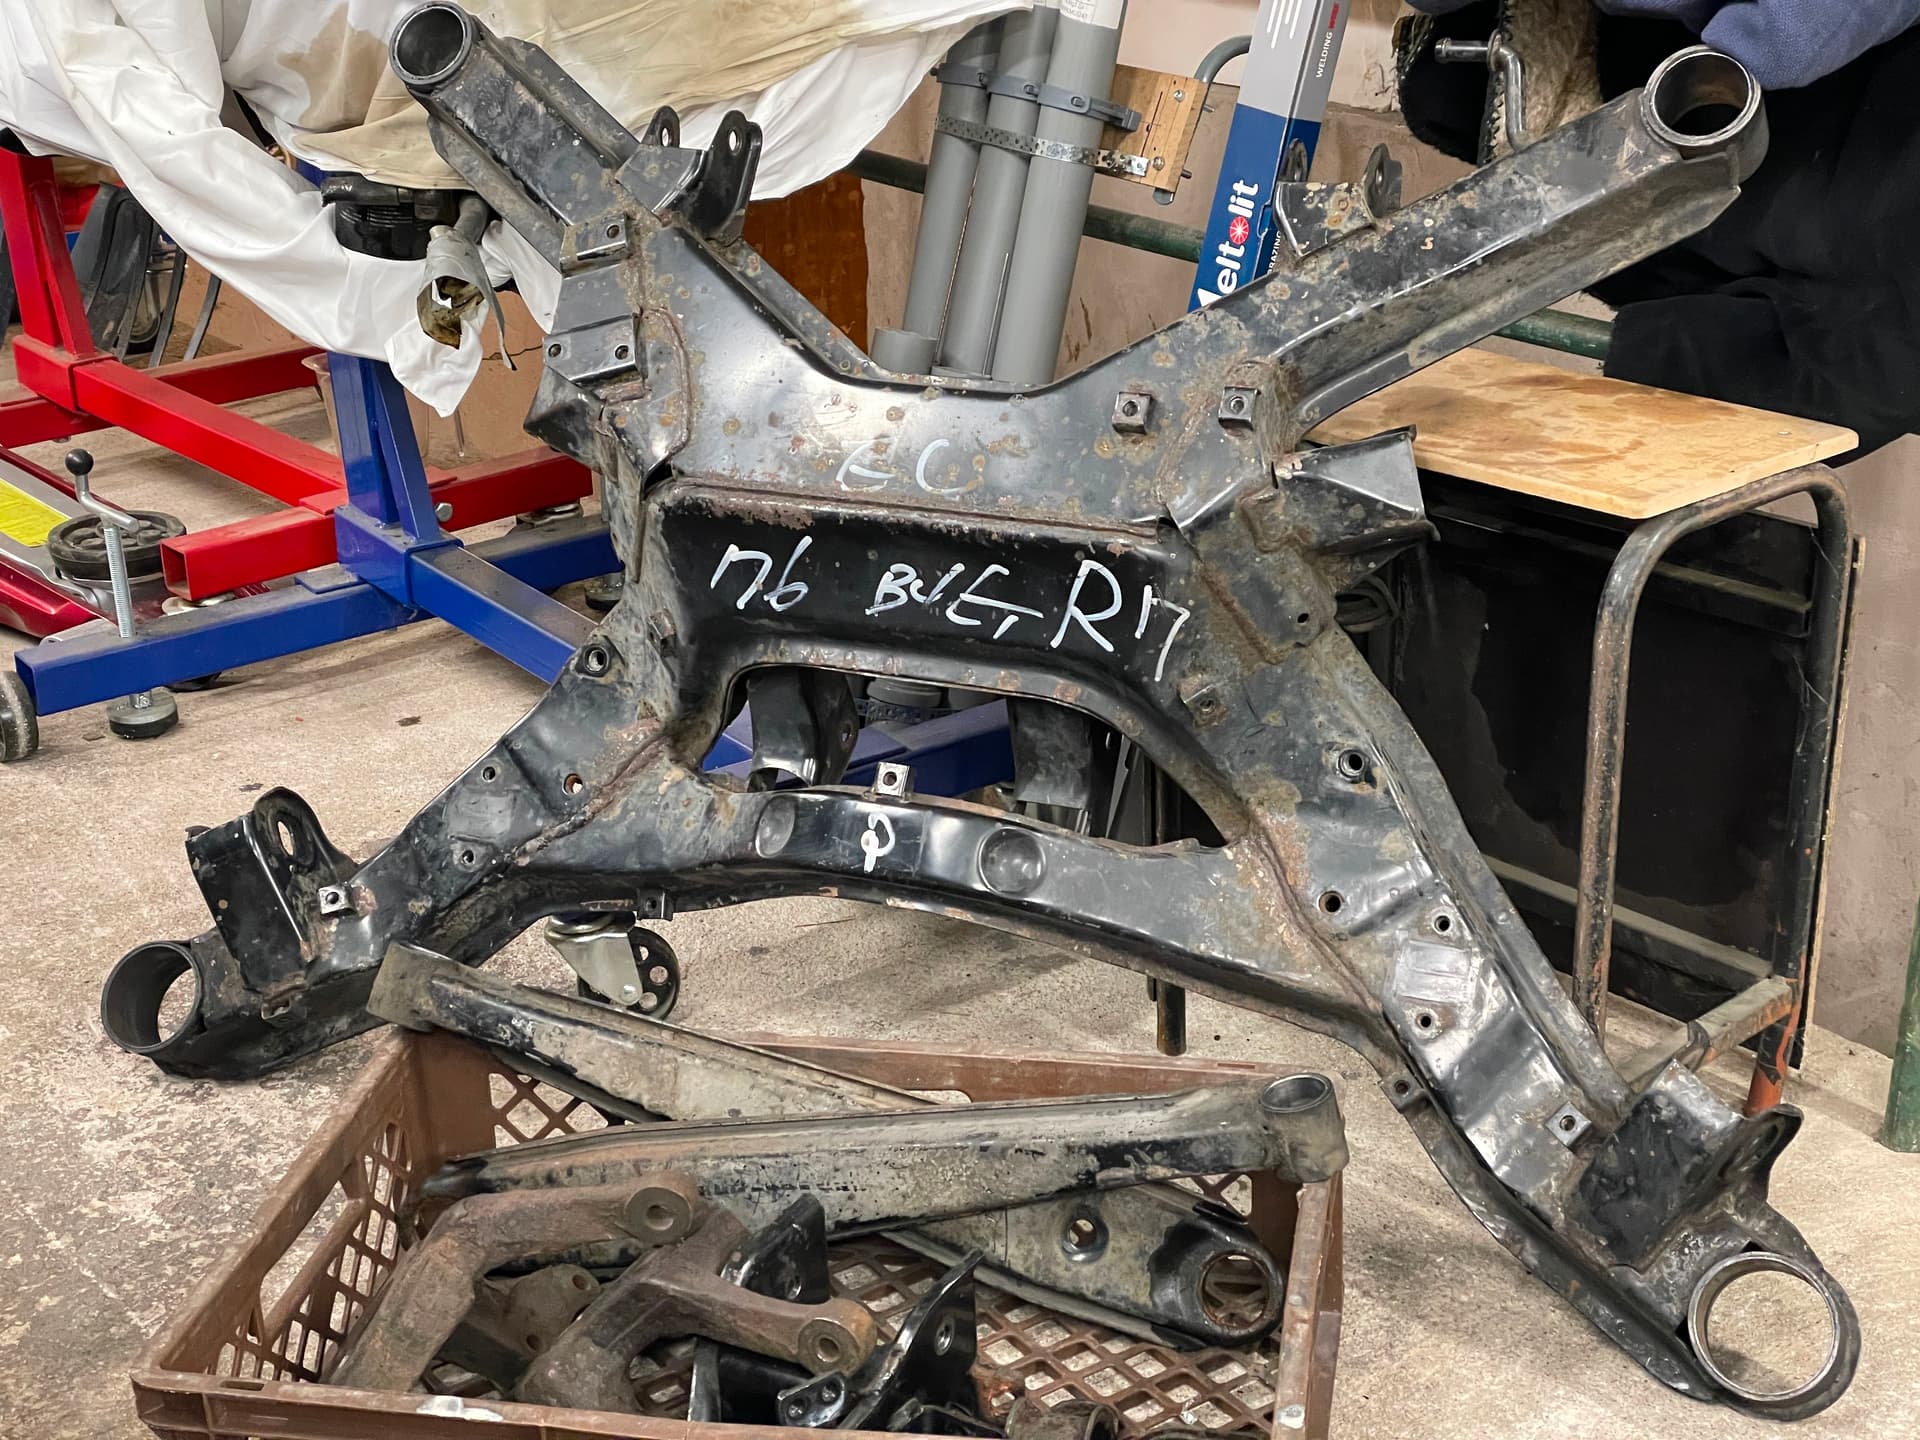
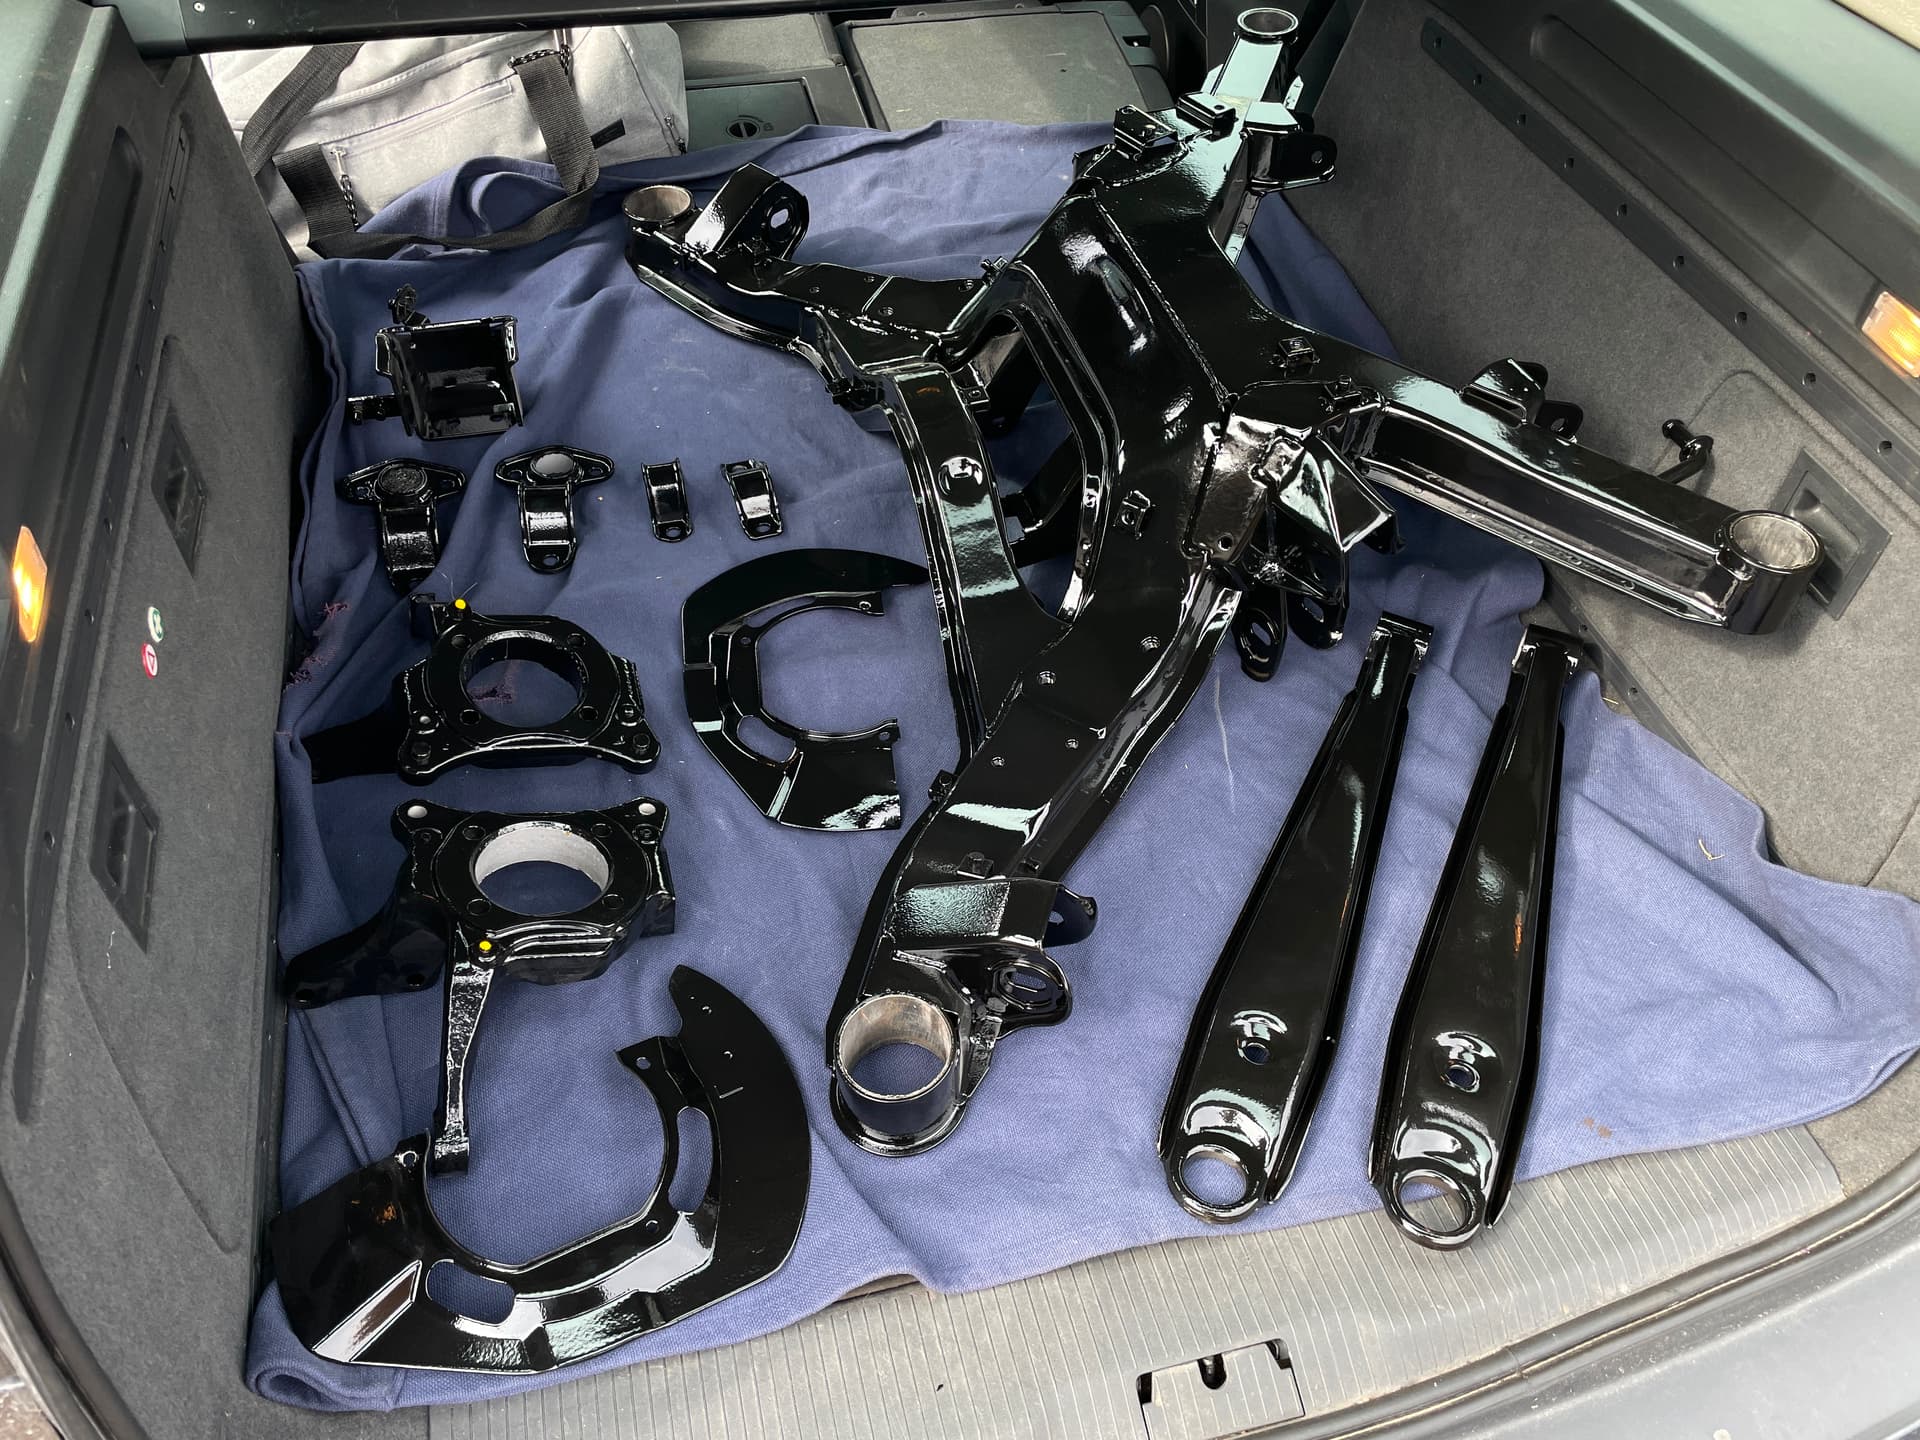
Found a new alternator setup in one of the fb-groups, about a year ago maybe, since I deleted the A/C several years ago I ordered parts to replicate this just to try it out and get rid of the heavy A/C compressor bracket and tensioner which I don’t really need - turned out to be a weight saving of about 4,7kg / 10,4lbs.
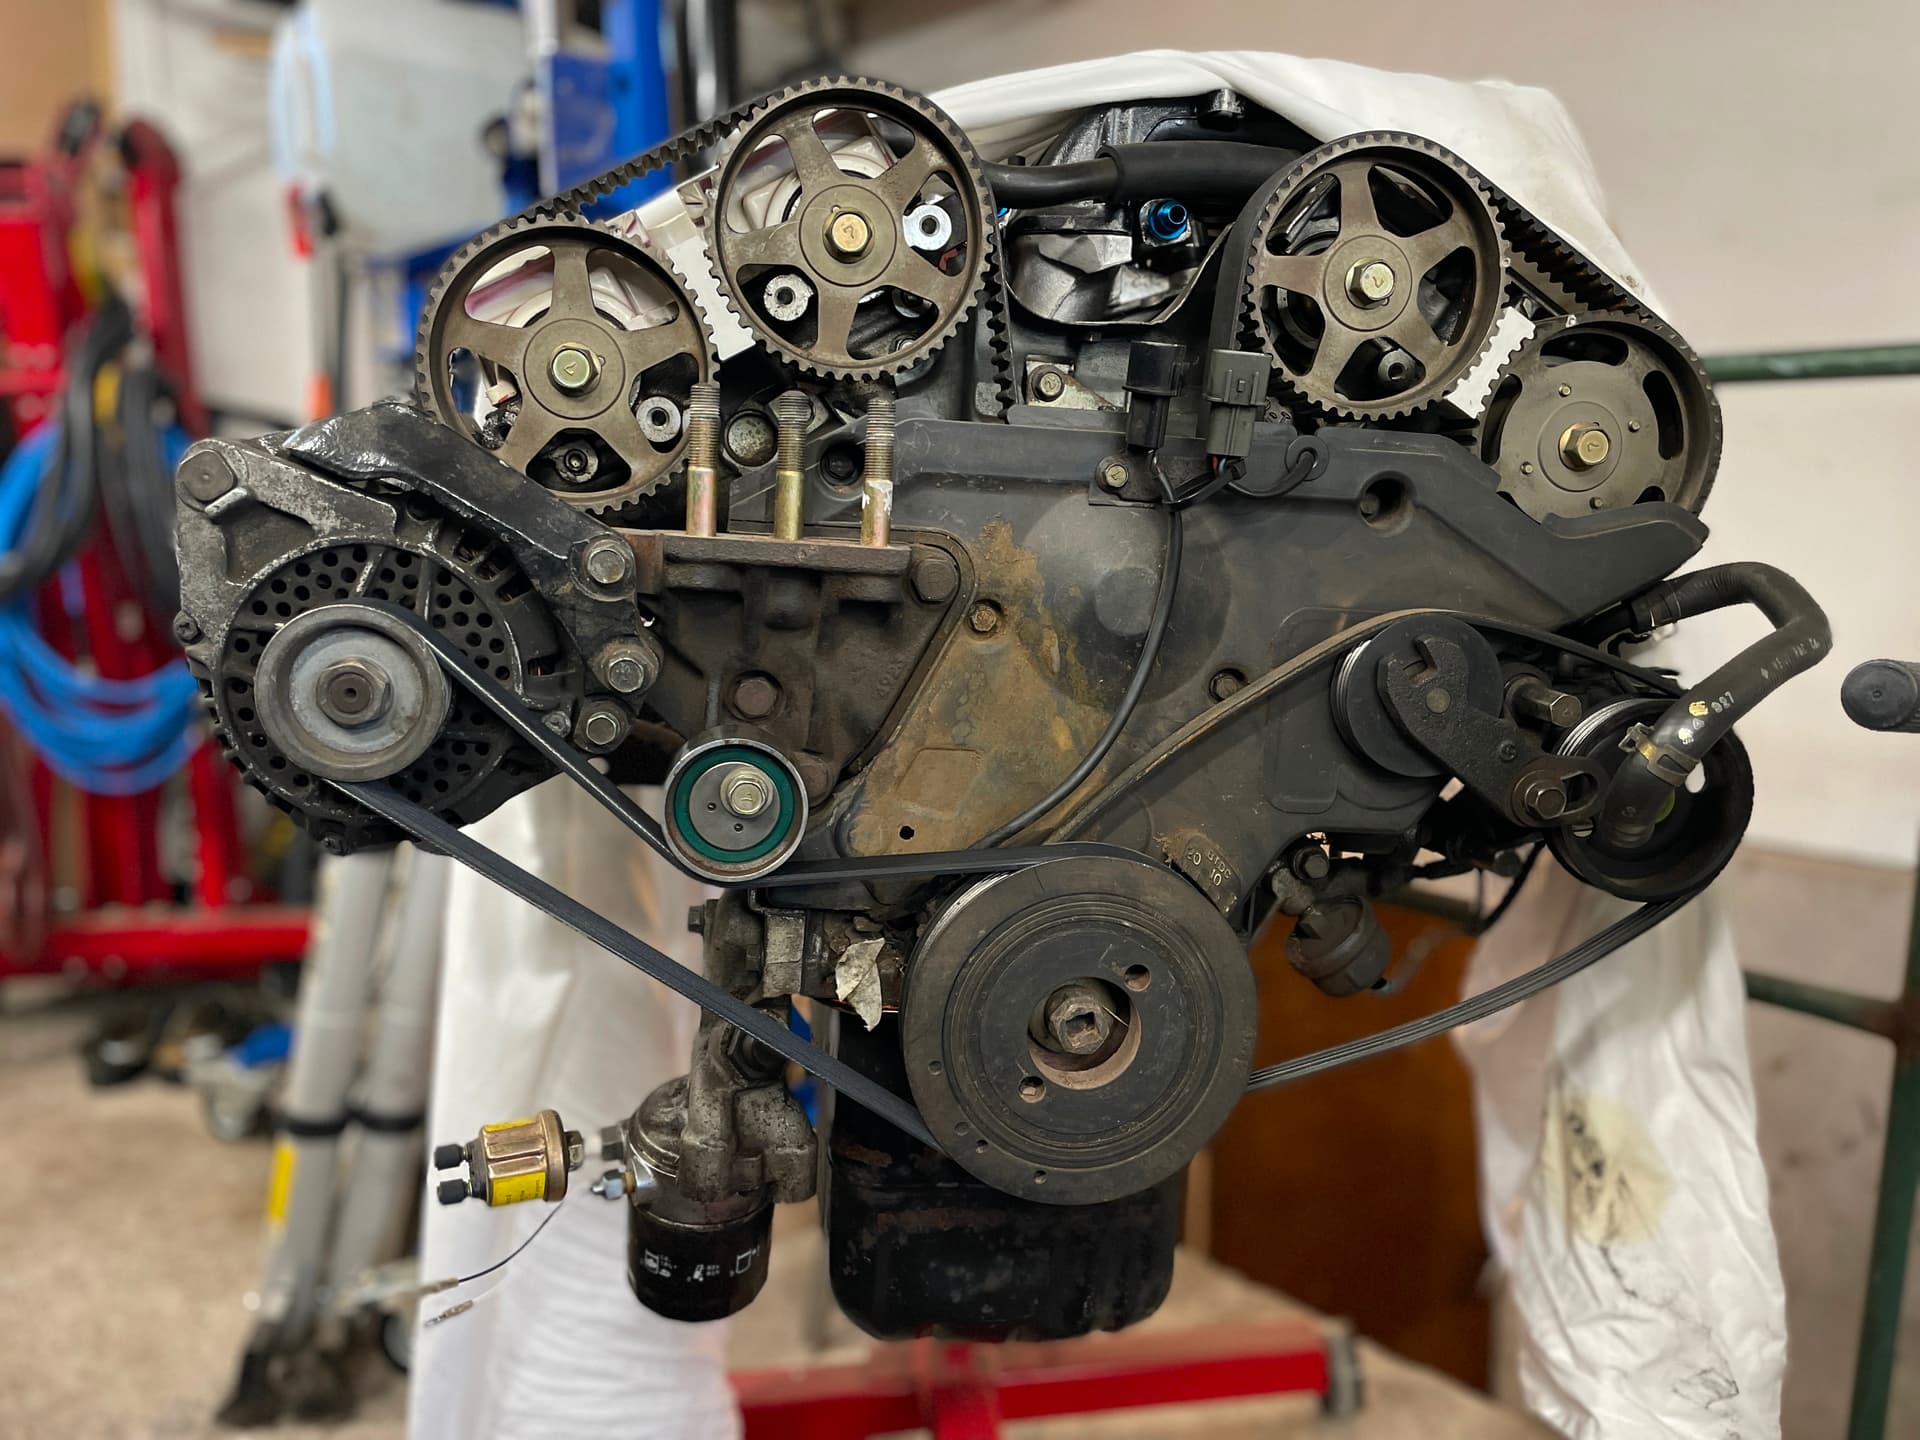
Some of the parts that I’ve acquired the past years are the following:

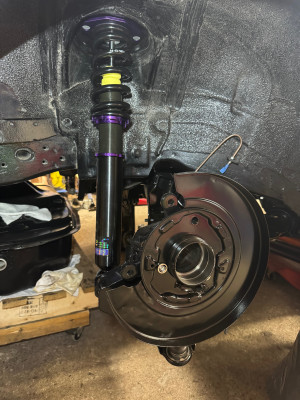
  • D2 Racing circuit coilovers with 14kg springs all around
  • SuperPro F+R swaybars
  • Replica Pit Road M bodykit & Voltex type 7 swan neck wing
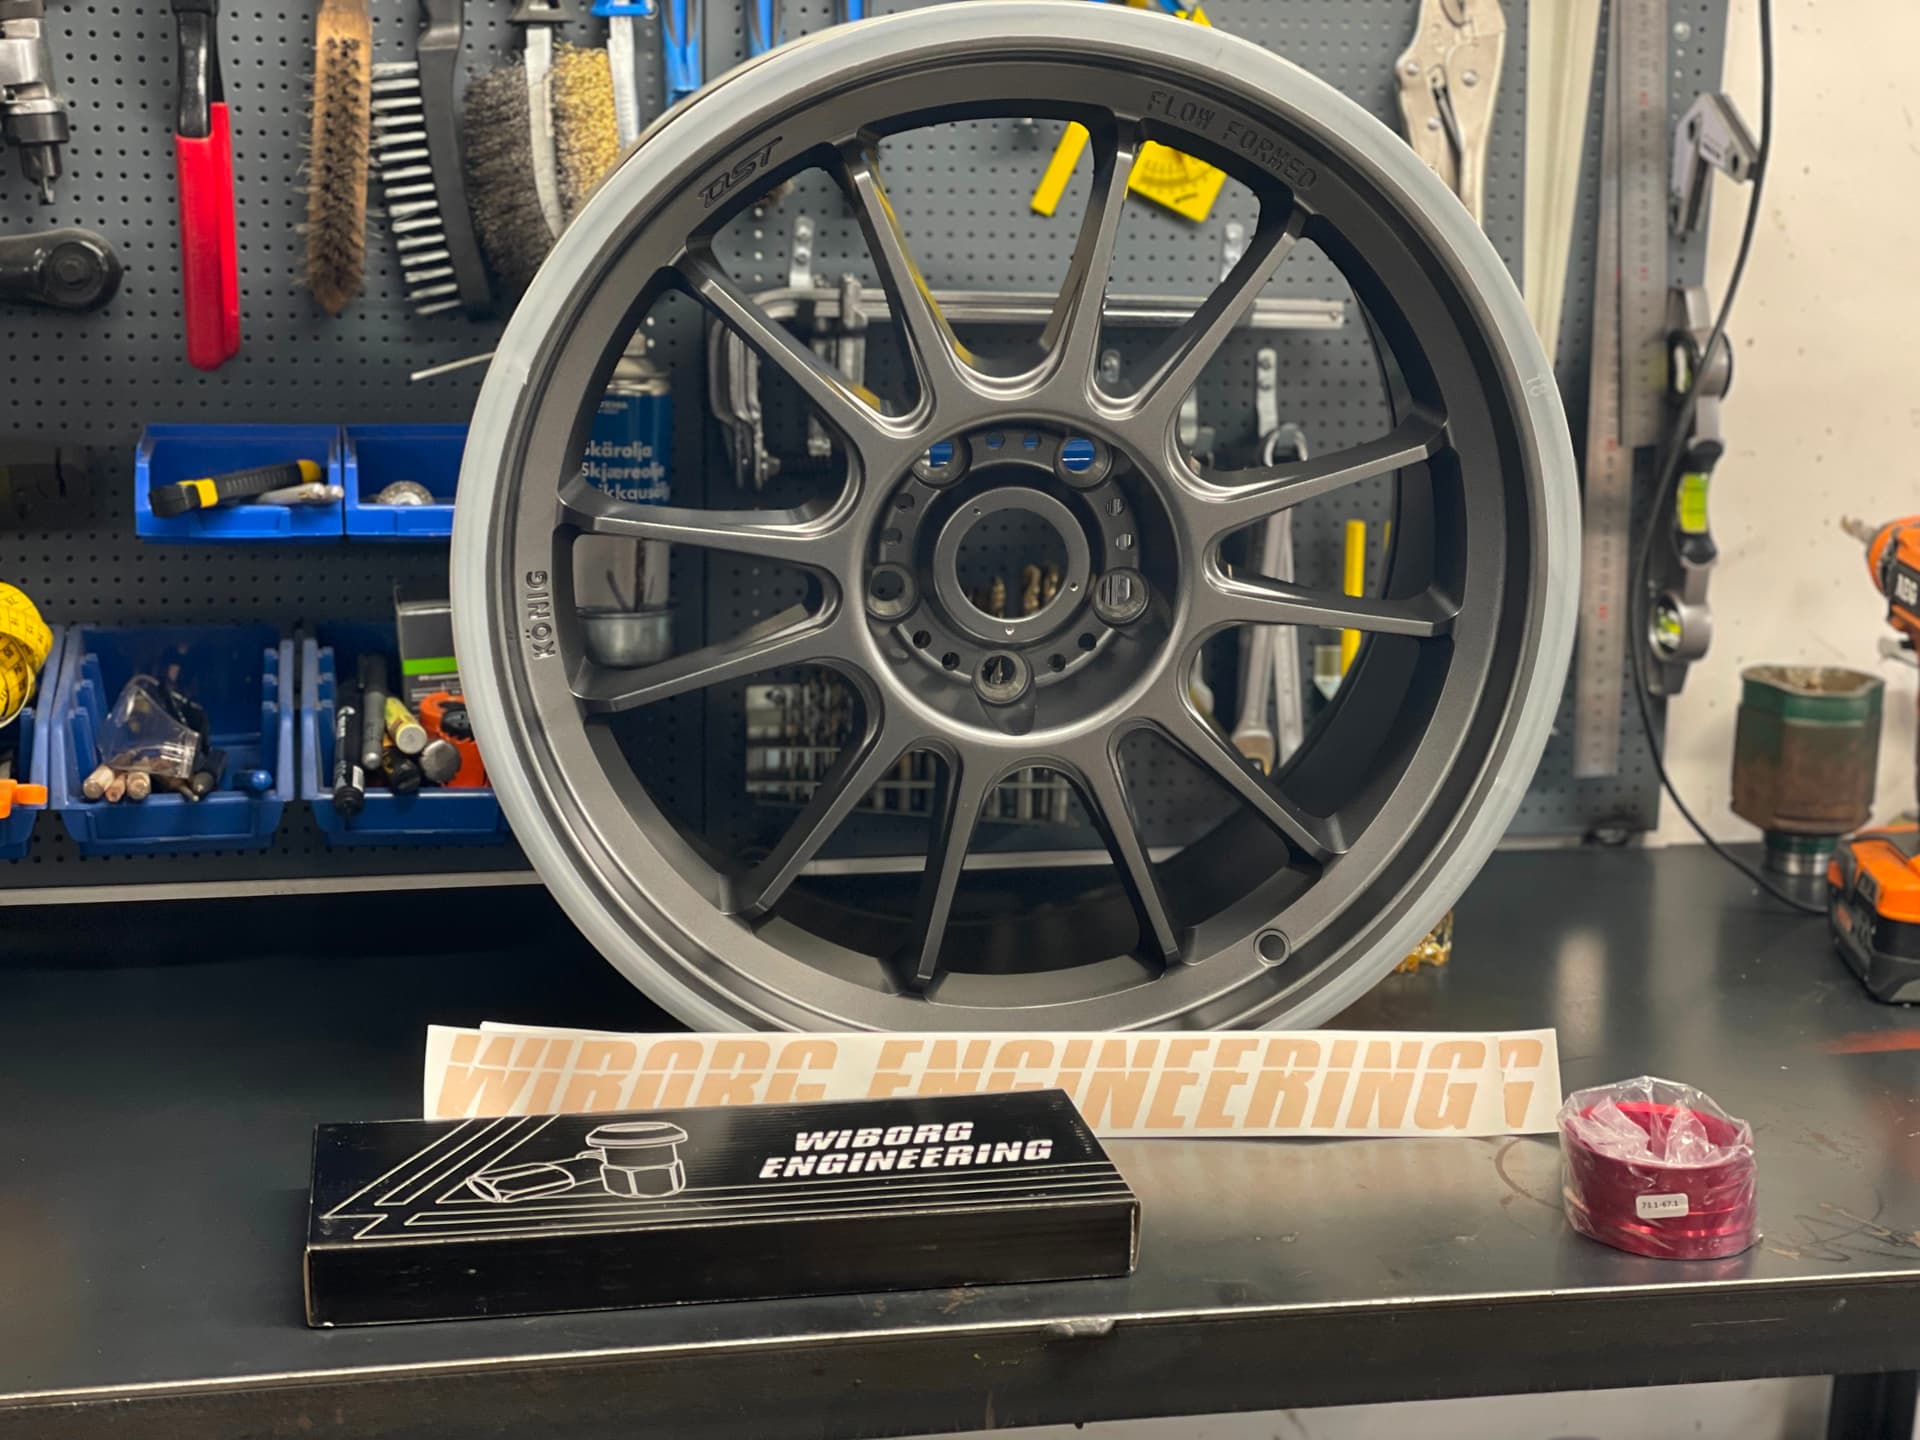
  • Lightweight König wheels 18x9,5 +35
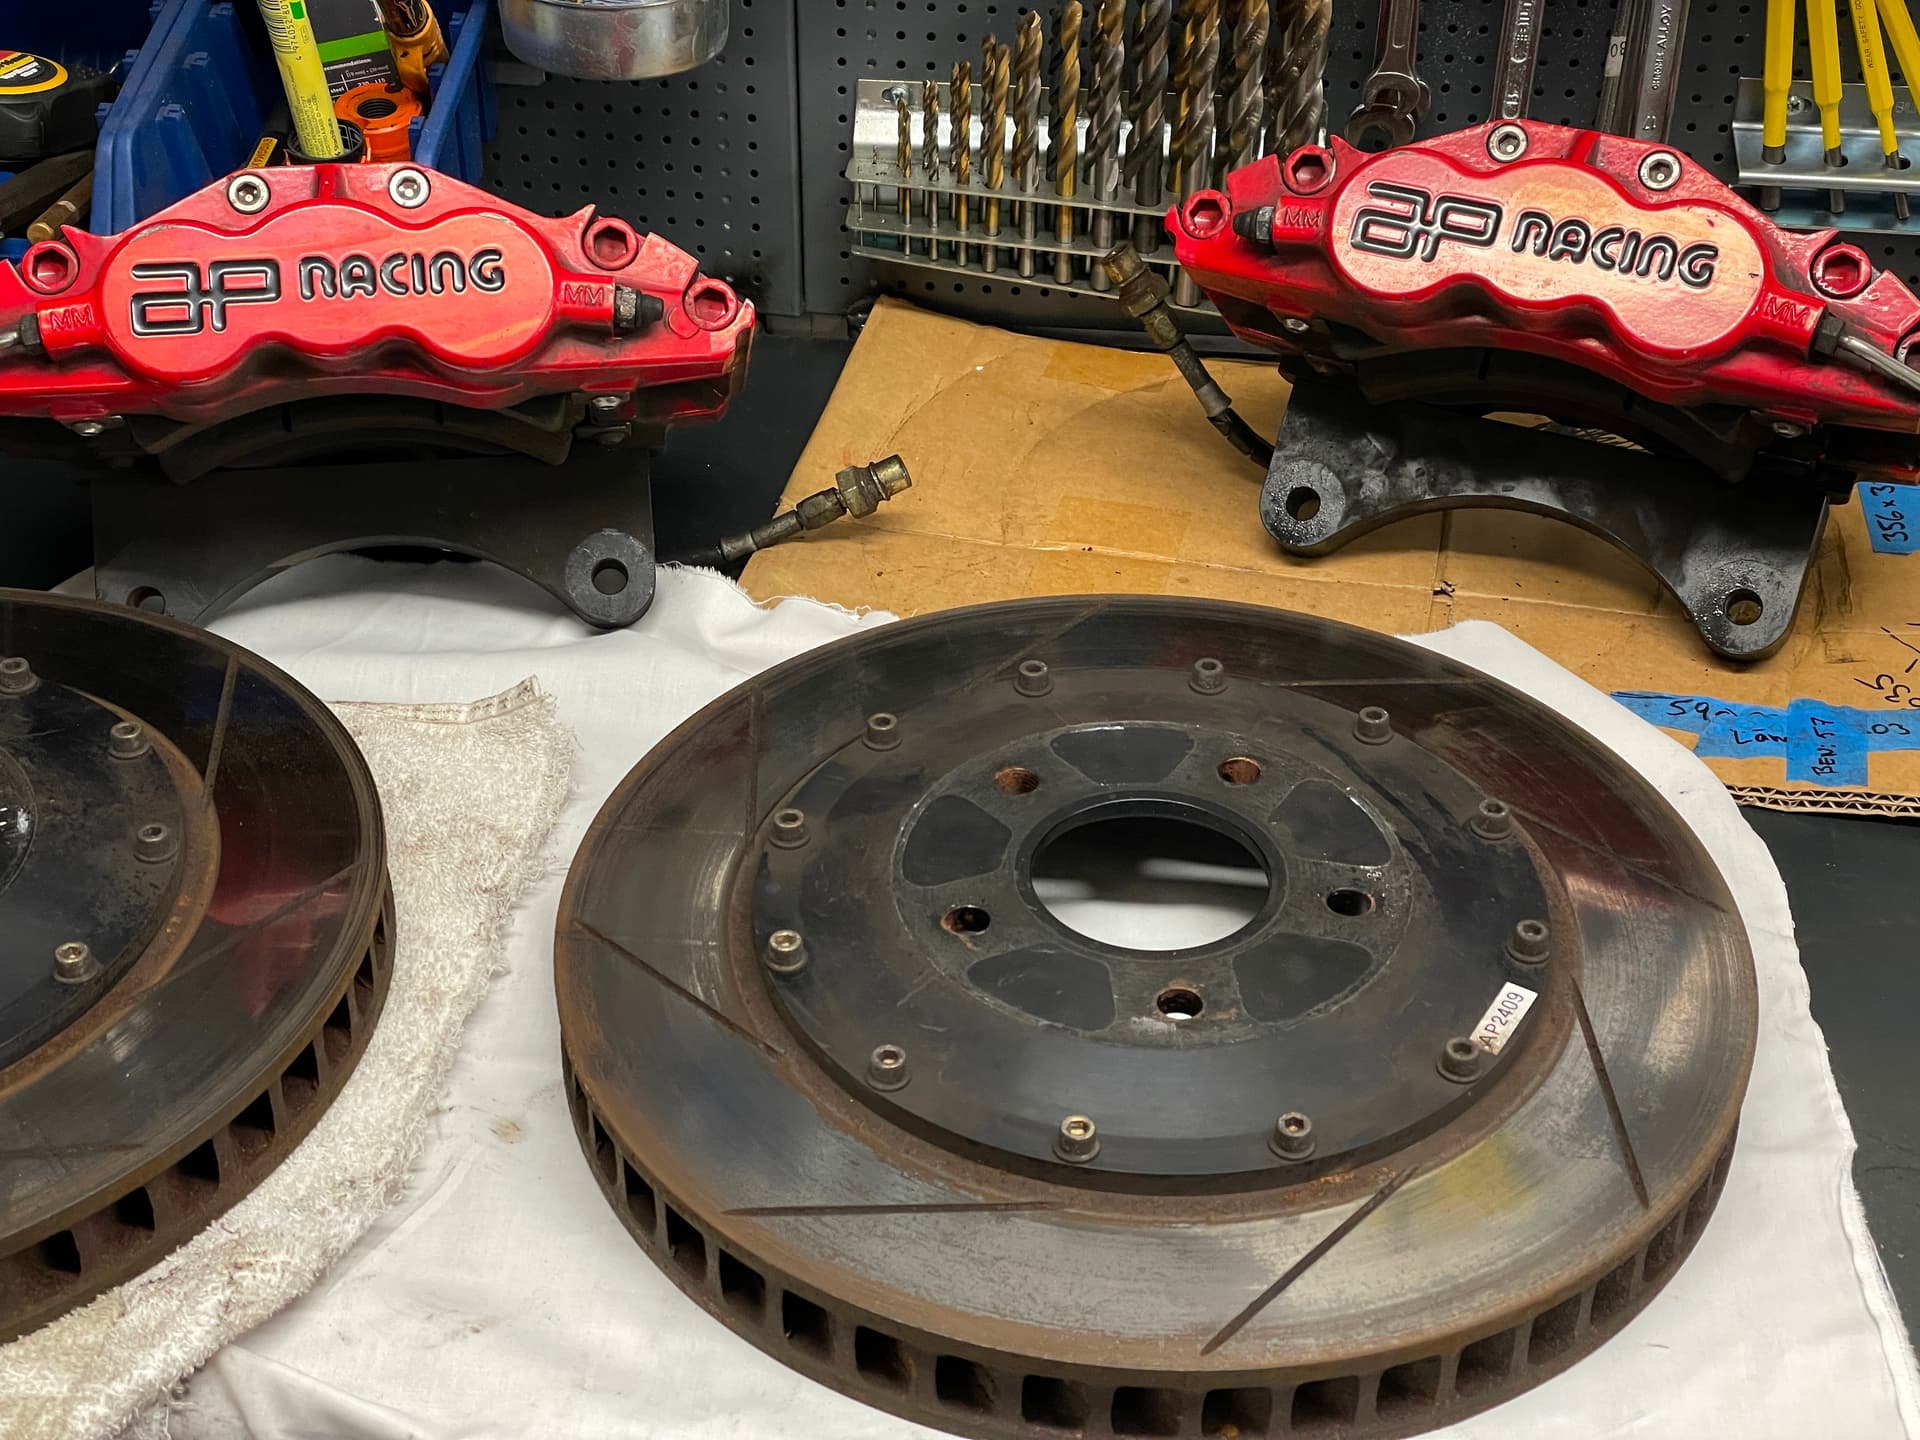
  • AP Racing big brake kit (old 3SX kit, not the factory MR option. Still gave me another weight saving of roughly 3,8kg / 8,4lbs compared to the XYZ kit)
  • Evospec billet aluminum diff cover
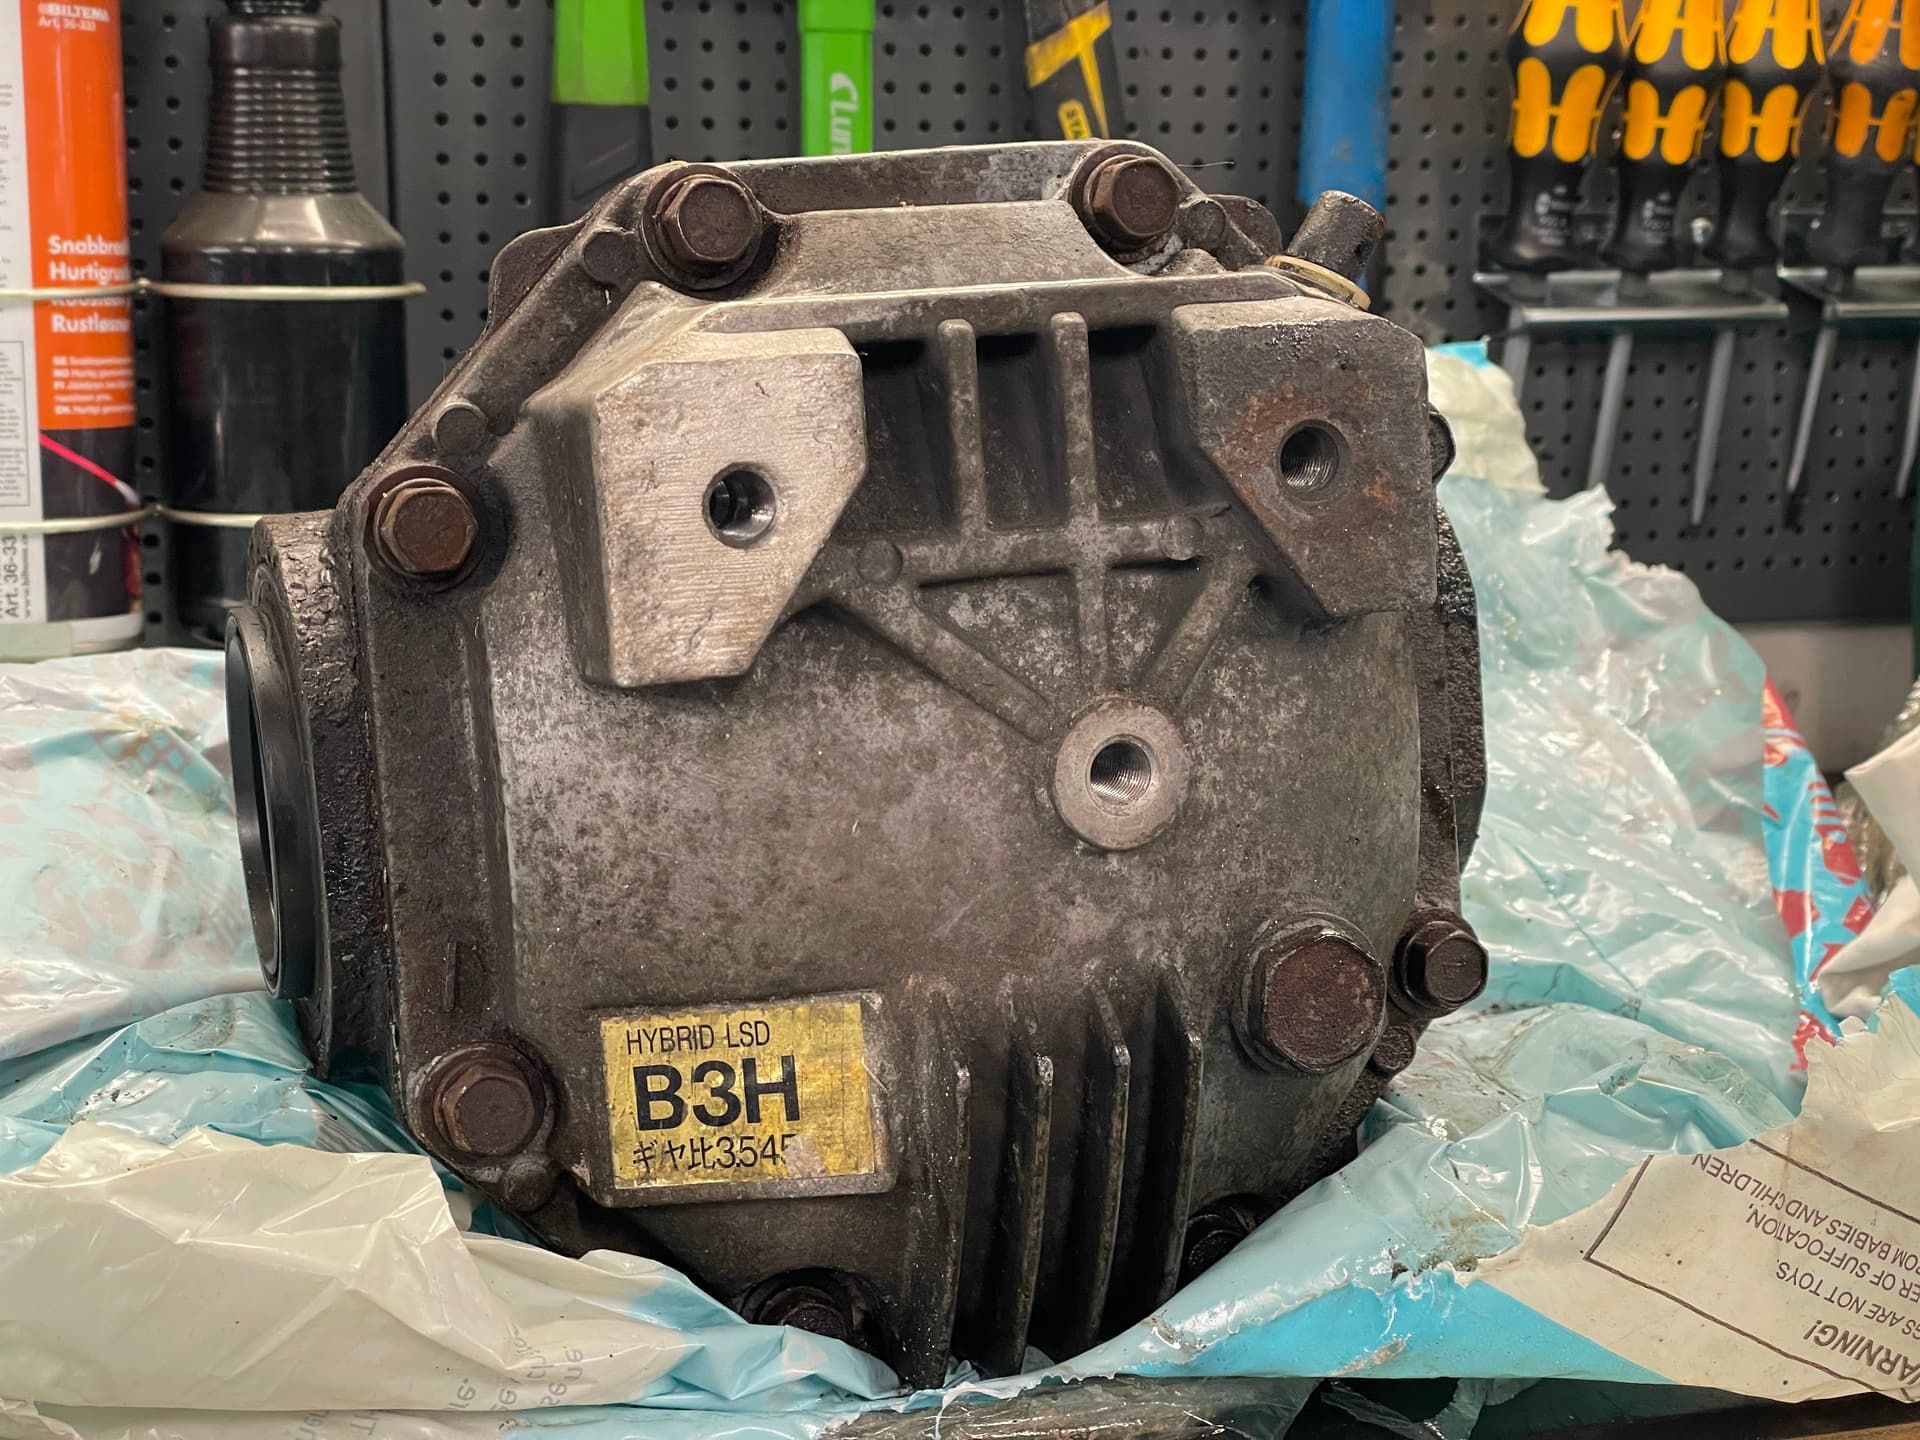
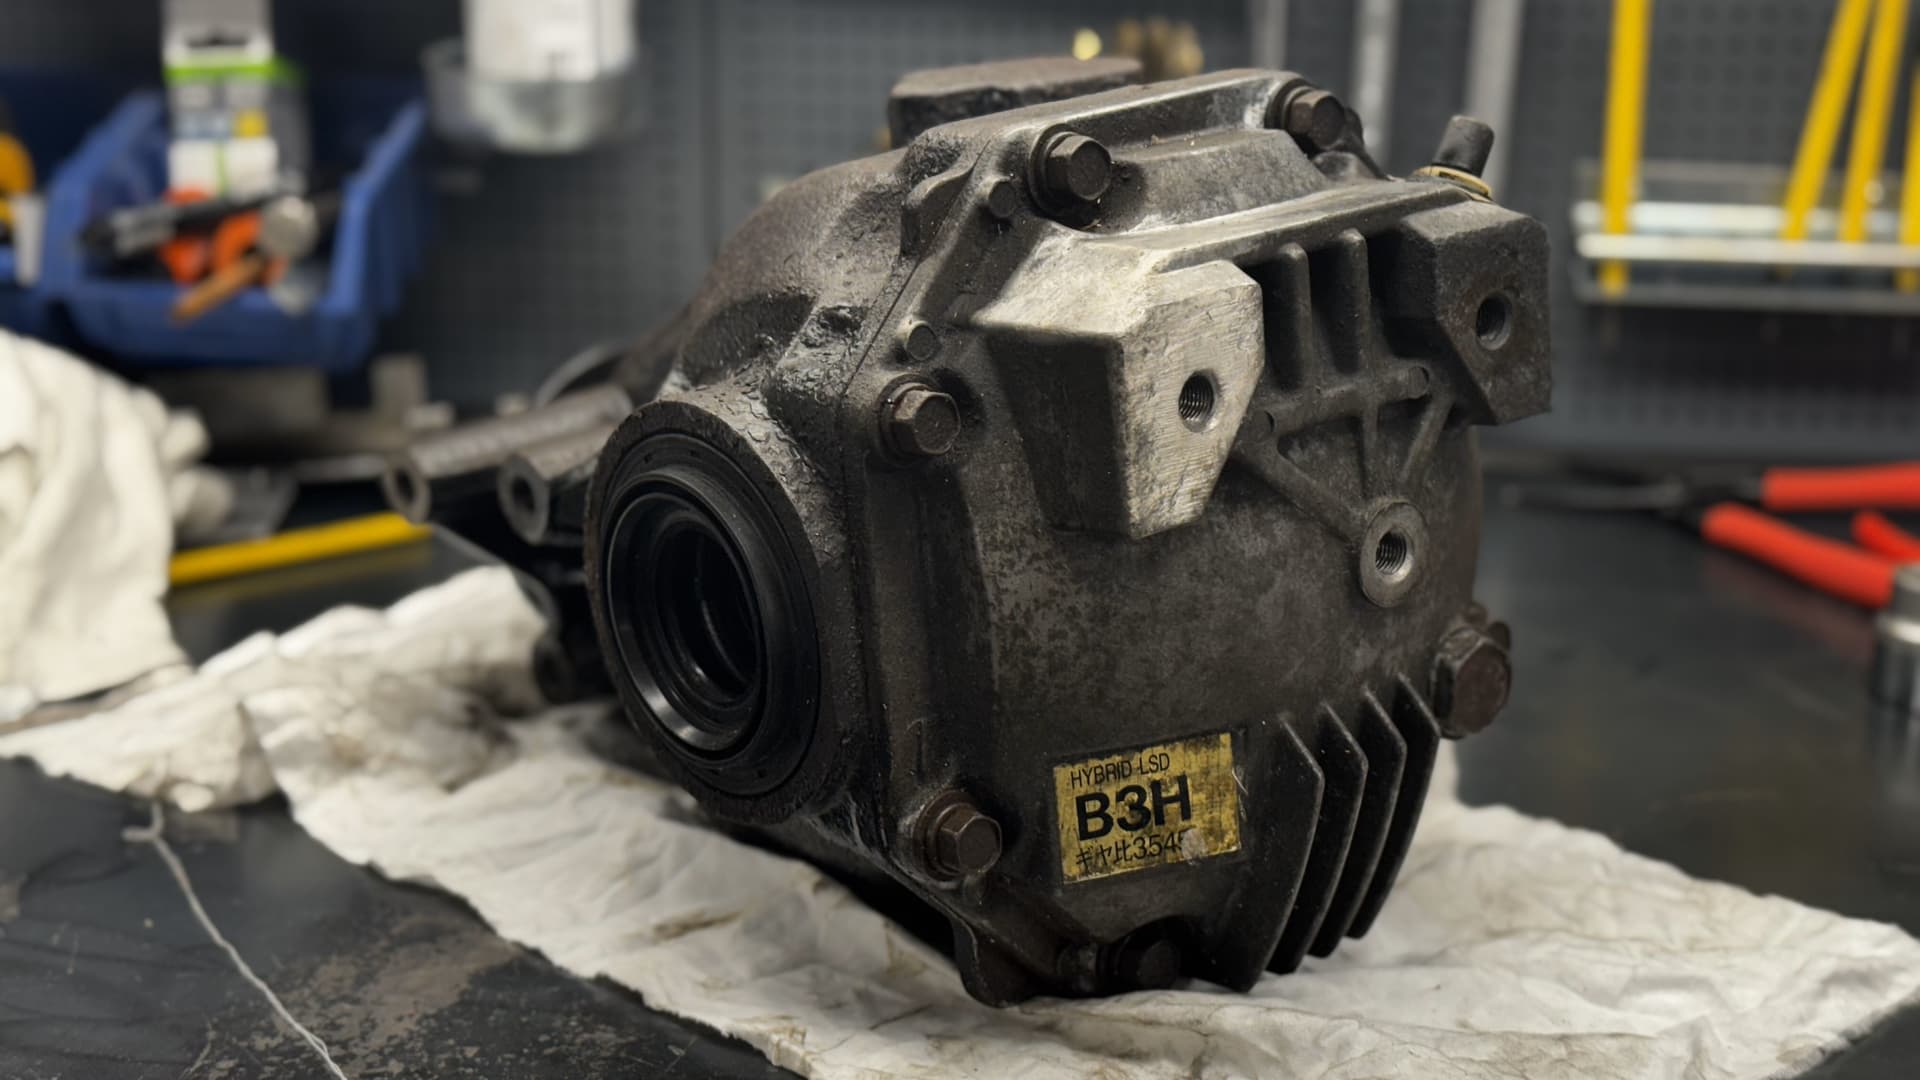
  • OEM option B3H differential
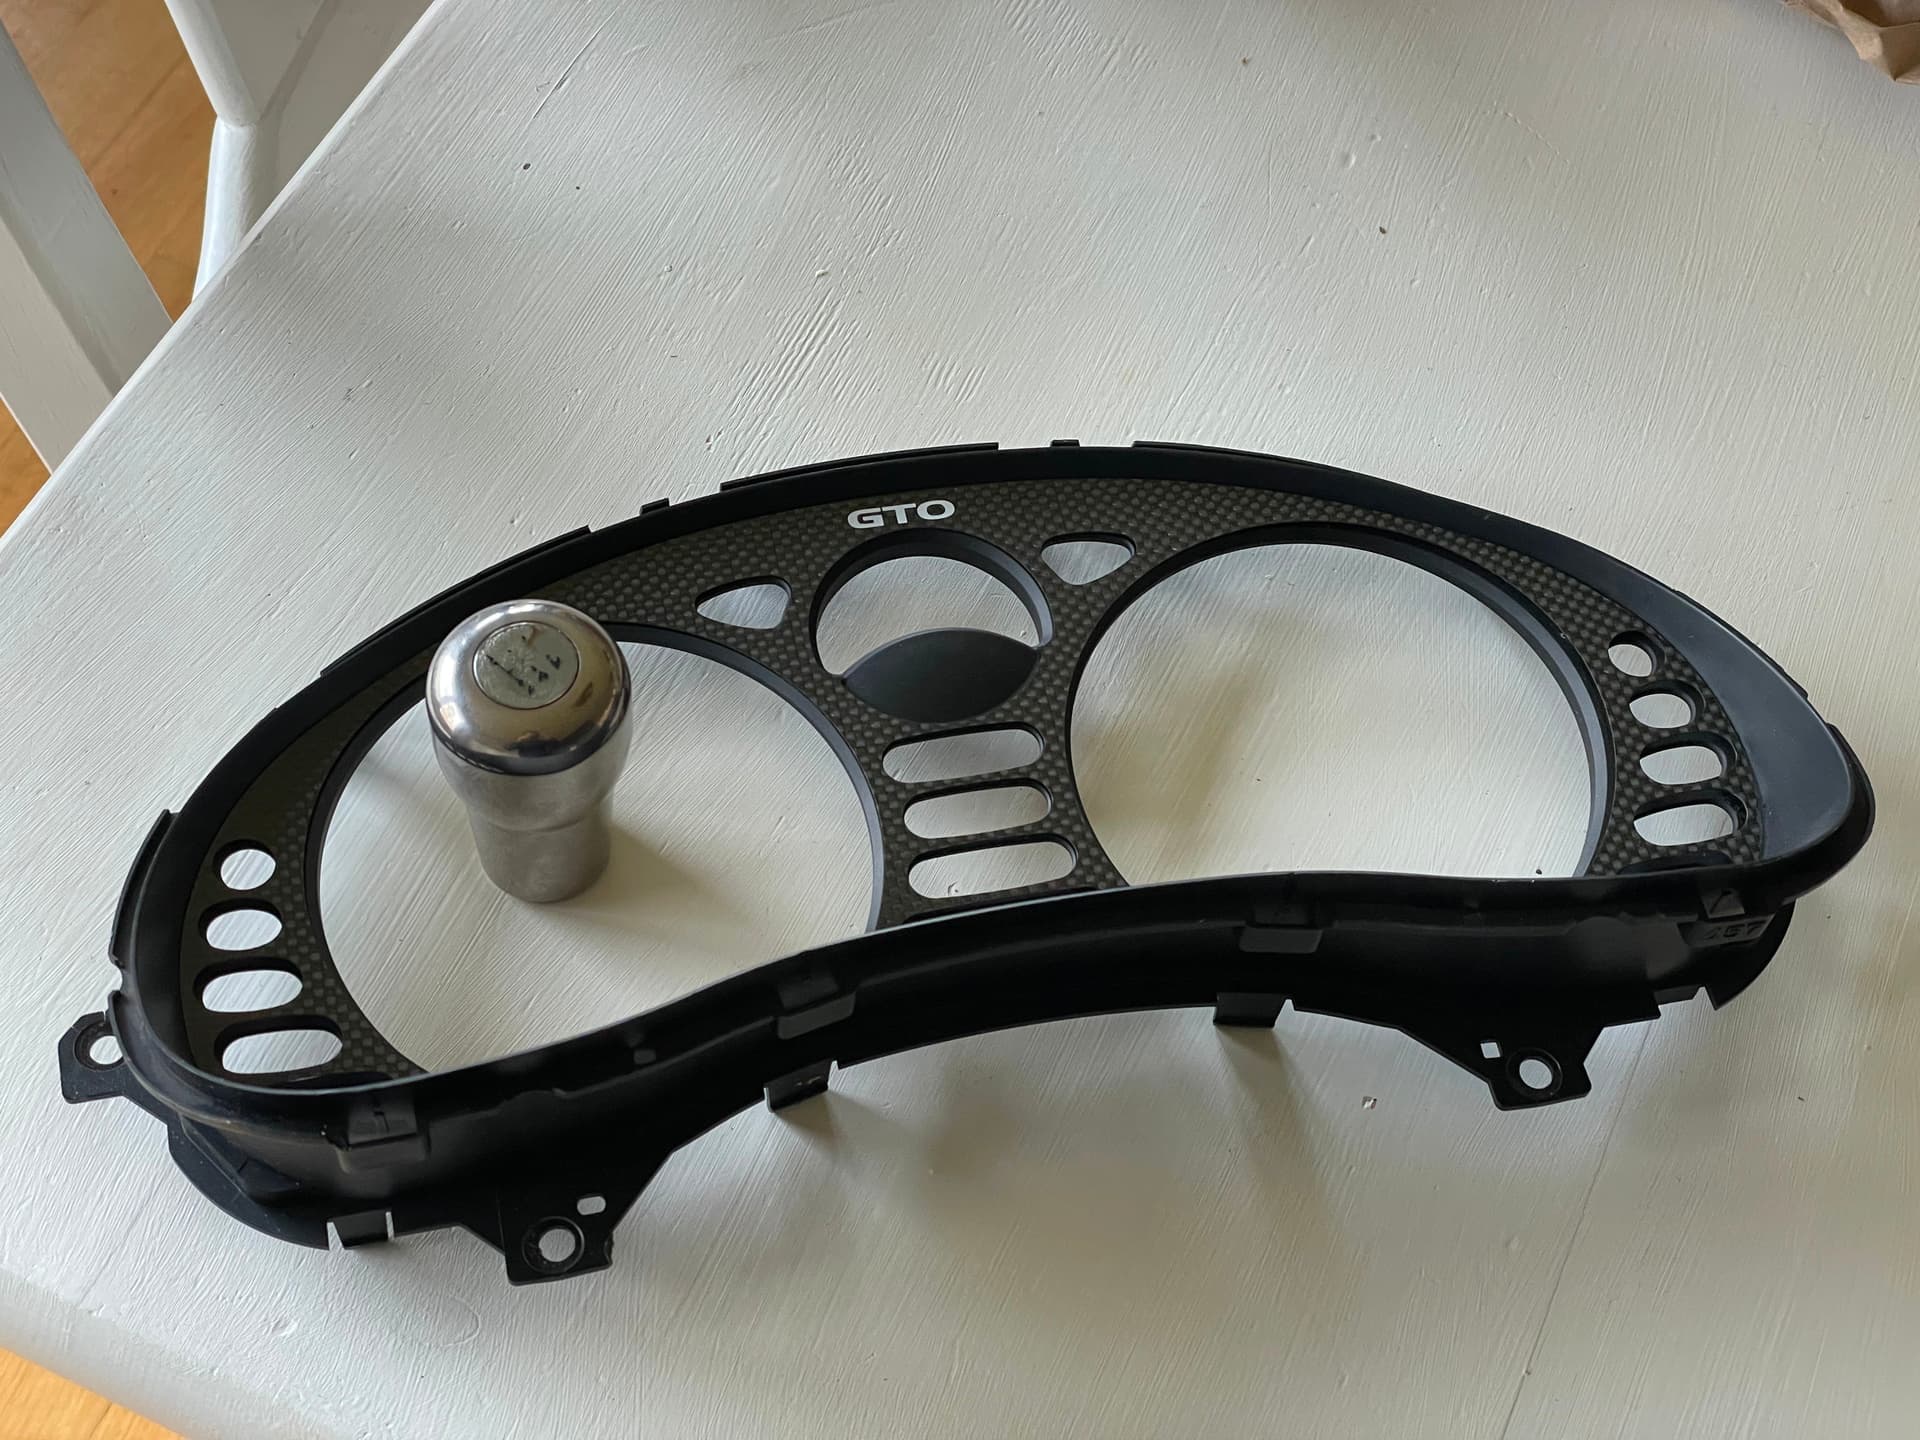
  • OEM option carbon cluster surround and titanium shift knob
  • Replica decals for the shift knob, B3G and B3H diff’s
  • KW Performance SMIS’s
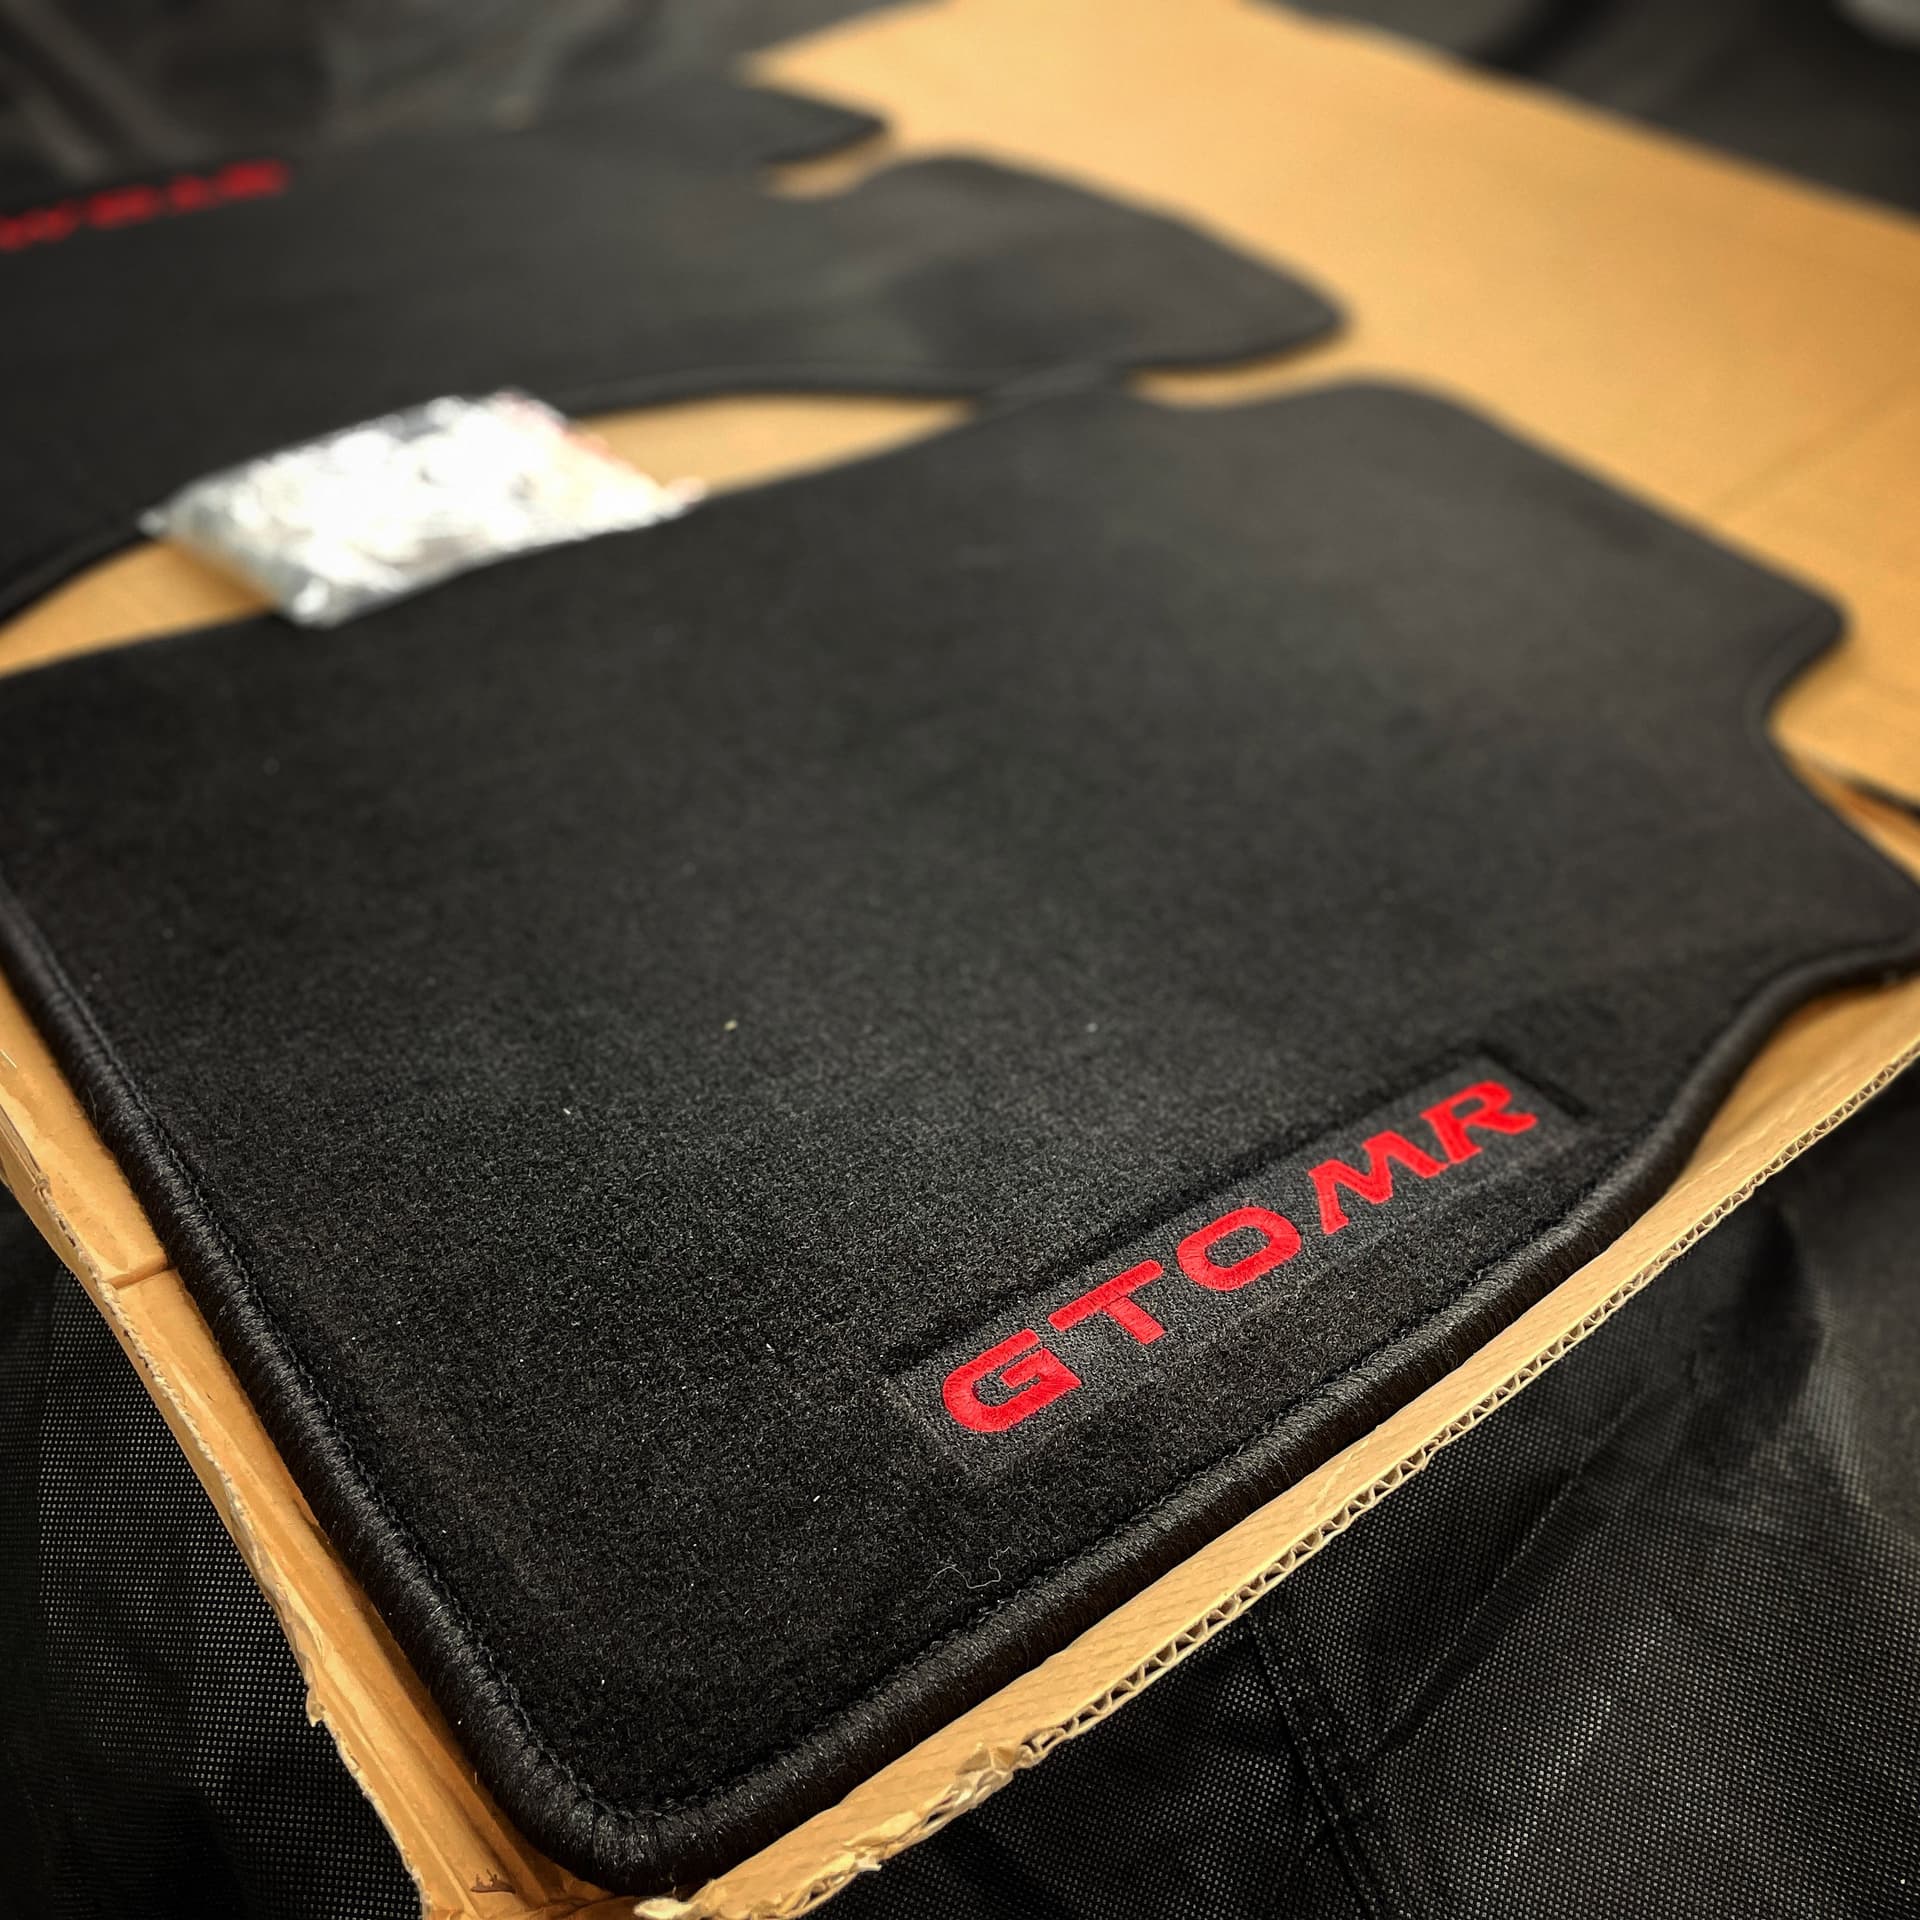
  • Euro3S custom floor mats
  • JDM/US -99 style third brake light
  • -99 combat wing for spare, FG pedestals with CF blade.
  • Fluidampr harmonic balancer


I sold 2 out of my 4 GT’s in total last summer, with the intention of hopefully getting my MR back out on the road again in a year or so. Plan is to try and have it rolling by its own sometime this year. Although it probably won’t be roadworthy until 2025 sometime, as the exterior modifications will take a lot of time to complete.
Weight wise, I´m aiming to have it clock in at less than 1400kg / 3086lbs as my next goal - yet being road legal.

Anyway - just felt like sharing a portion of my project and what the future plans look like, perhaps someone finds it interesting :slightly_smiling_face:

// Martin
10 Likes

Thanks for sharing Martin.

Looks good. Great work.
Btw, i just dont know what a “MR” is?

Very nice work indeed, however, apart from all the fancy cosmetics what sort of work has been done on the engine for performance and HP gains and if this work if has been done by you as a DIY or by shops?
Please share with pics :smiley:

MR is a specific model type for these cars wiki has more info on it

Thanks. Basically, the MR is a factory “lightweight” modell of the twin turbo. For example no ECS, AWS, active aero, active exhaust, no ABS (optional from -95 if I remember correctly) and no cruise control - just to mention a few differences.
94-95 cars had no fog lights, and originally came with BBS wheels I believe.
There was also various options you could choose from, like the AP Racing front brakes and the hybrid differential for example.

1 Like

I haven’t really started messing with the engine as of yet, it’s still unopened, although power is somewhat upgraded. Focus has mainly (apart from cosmetical stuff) been put towards having the car sorted out in terms of handling and stopping, serviced and refreshened (timing belt, gen.3 lifters, resealing the TC, poly.bushings everywhere etc.) - while at the same time shedding weight.

Performance upgrades done however, the old set-up roughly looked like below to sum it up:

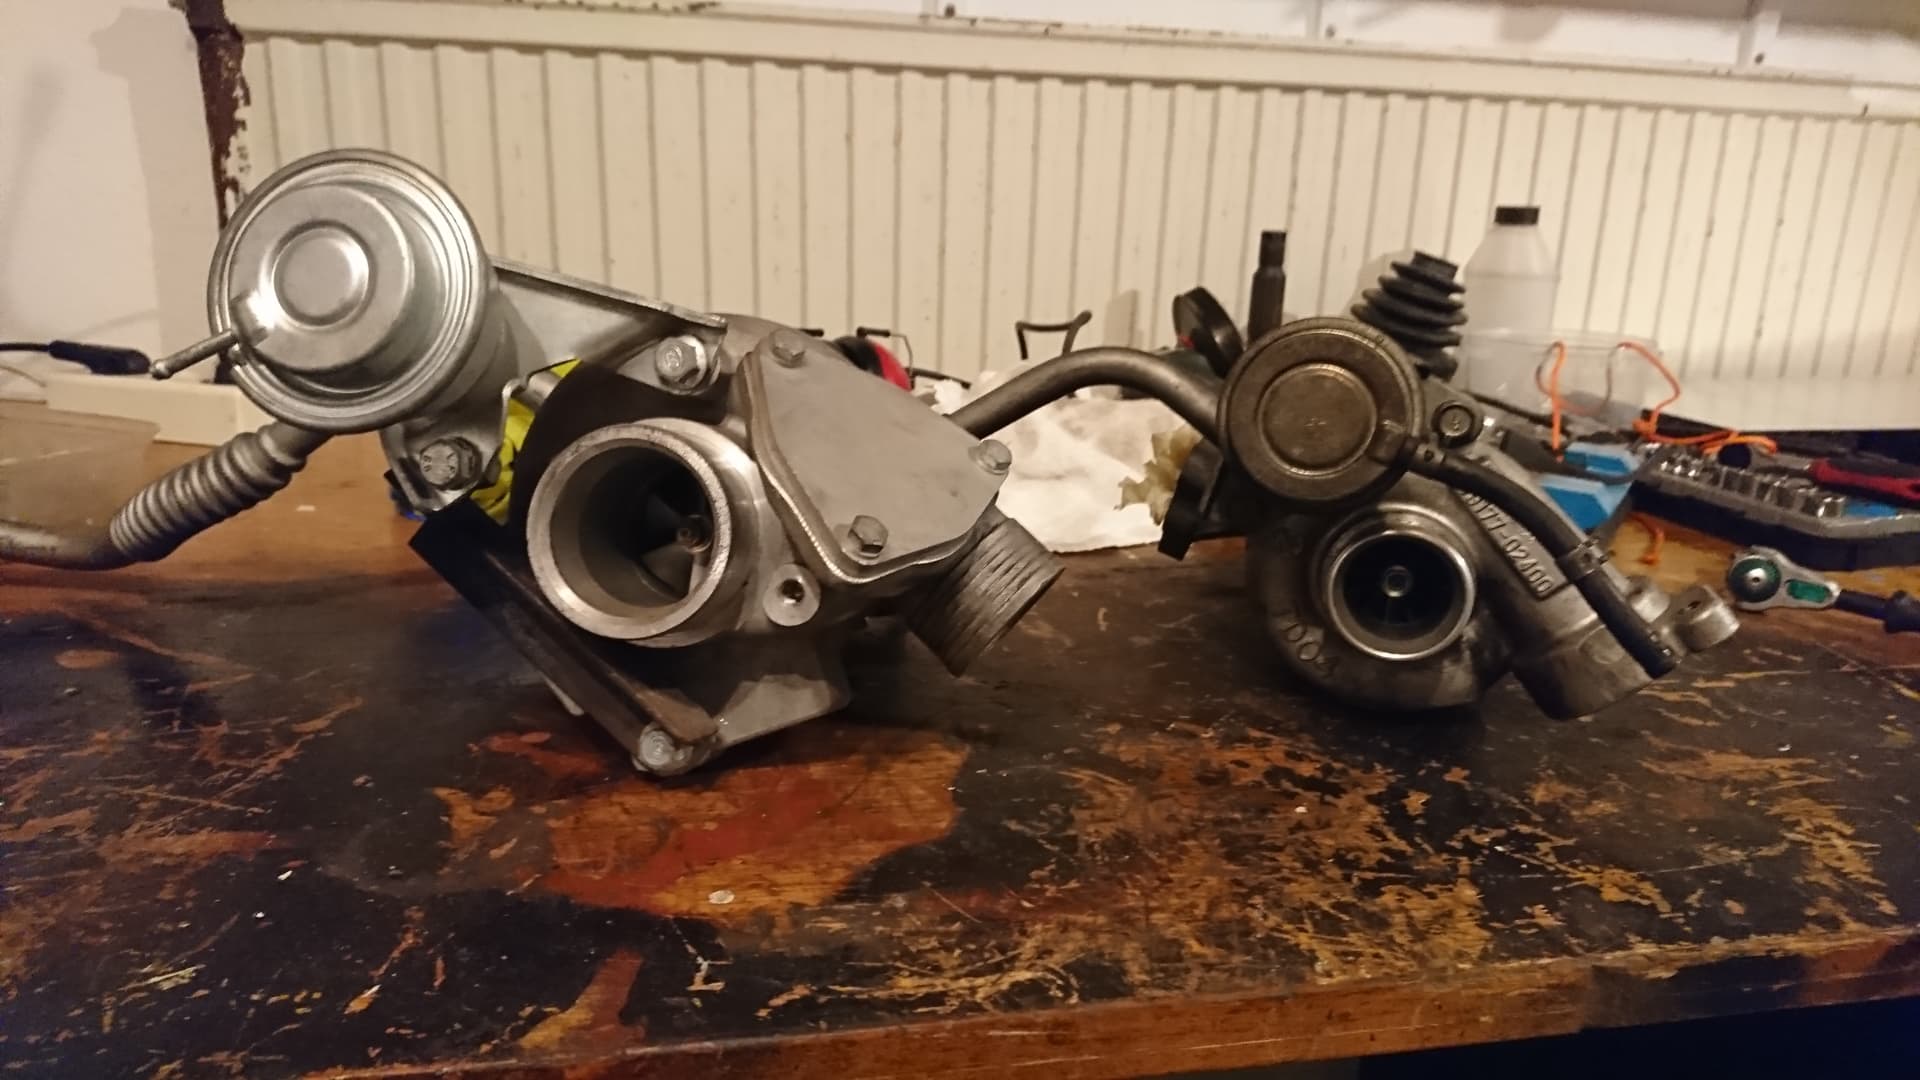
  • 16T “hybrid” turbos - volvo compressor w/ machined stock turbine housing
  • Fuel: hot wired upgraded pump, AN6 feed line w/ dual feed and AN8 return. EVO 8 injectors, Speeding FPR and bypassed fuel pump relay at the fuse box.
  • Air: Stillen 3" DP with a home made single shot. FMIC, aftermarket BOV, Evil Empire PTIP and a K&N filter.
  • Cooling: Mishimoto radiator and thermostat, aftermarket hoses w/ heat reflective tape.
  • Management: EU -99 ECU w/ conversion harness and Chrome software flashed onto it, Innovative wideband and a LCDBC controller.

I don´t have any numbers what it used to make as I went off the track shortly after it was last put together, but it pulled quite well since I had also saved a fair amount of weight.
The new set-up will be slightly different and the engine will remain unopened when I put it back, or at least that’s the plan as of now. But I have two engines in spare + an empty block so I do plan to have one built with forged internals.

I’m a DIY type of guy and do most of the work myself and enjoy trying/learning new things.
Front and rear subframe etc was handed over to a company to have it all sandblasted and painted, and I’ve had some assistance from a couple of friends over the phone when making the first adjustments in Chrome or when I’ve ran into some other issues - but otherwise I try and have it all done by myself :slightly_smiling_face:

Below is a few more pictures of what was done in 2017-2018, a comparison of the turbos, what it looked like in 2018 when I last drove it and how it currently sits.
Lastly, a bonus photo of one of the VR4’s previously referred to. A car that I also tore down to pieces, which more or less took all time and money since late 2019 until I eventually sold it last summer.


5 Likes

Looks great i always admire DIY projects

2 Likes

A brief summary and update of what’s been done since my latest post.

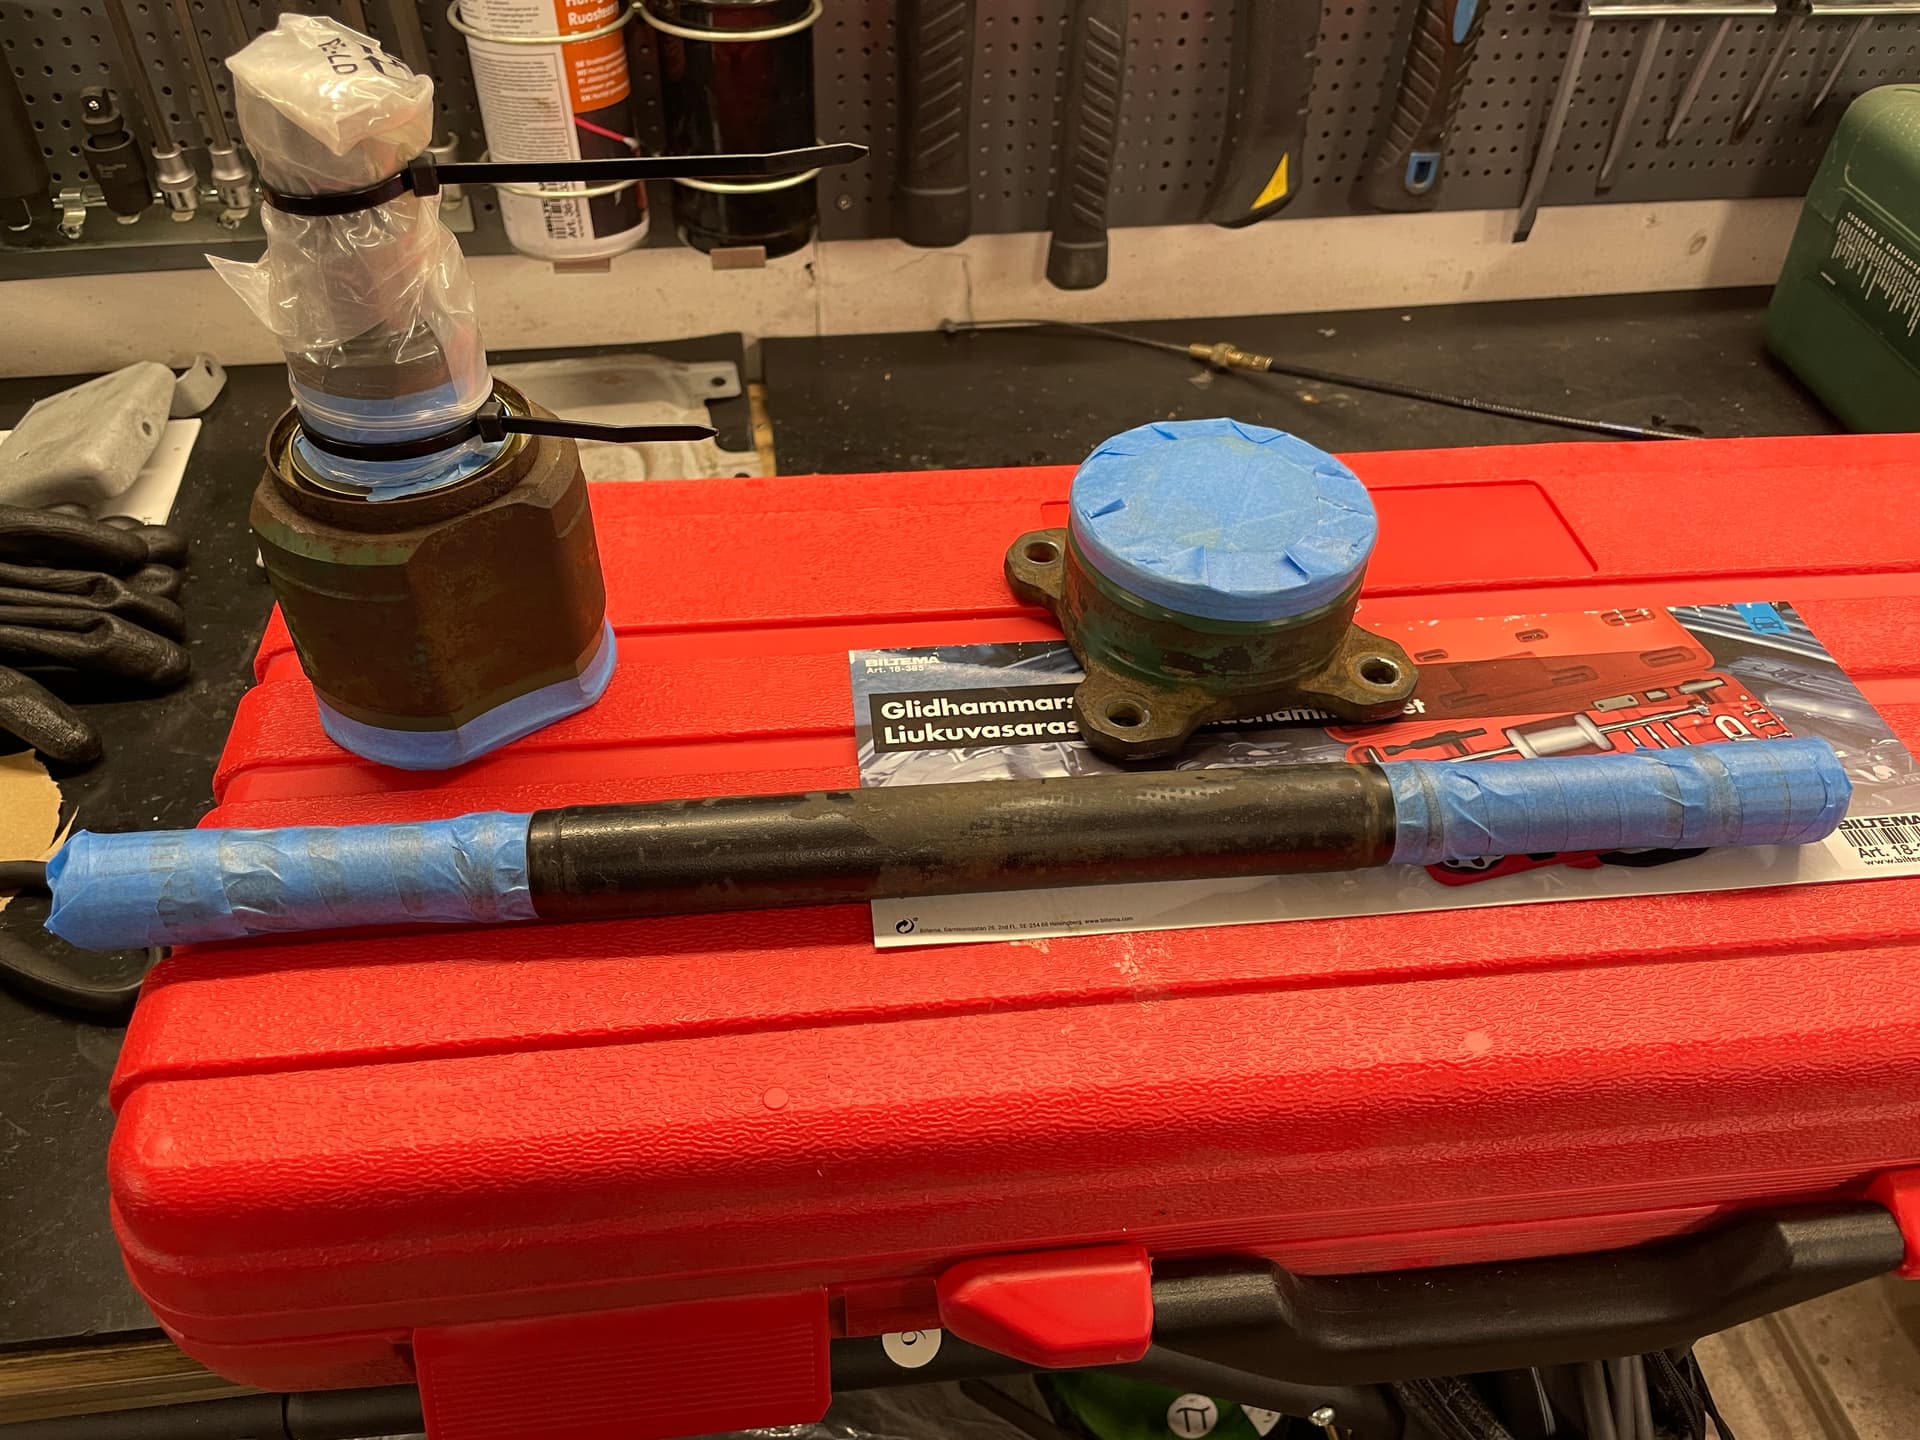
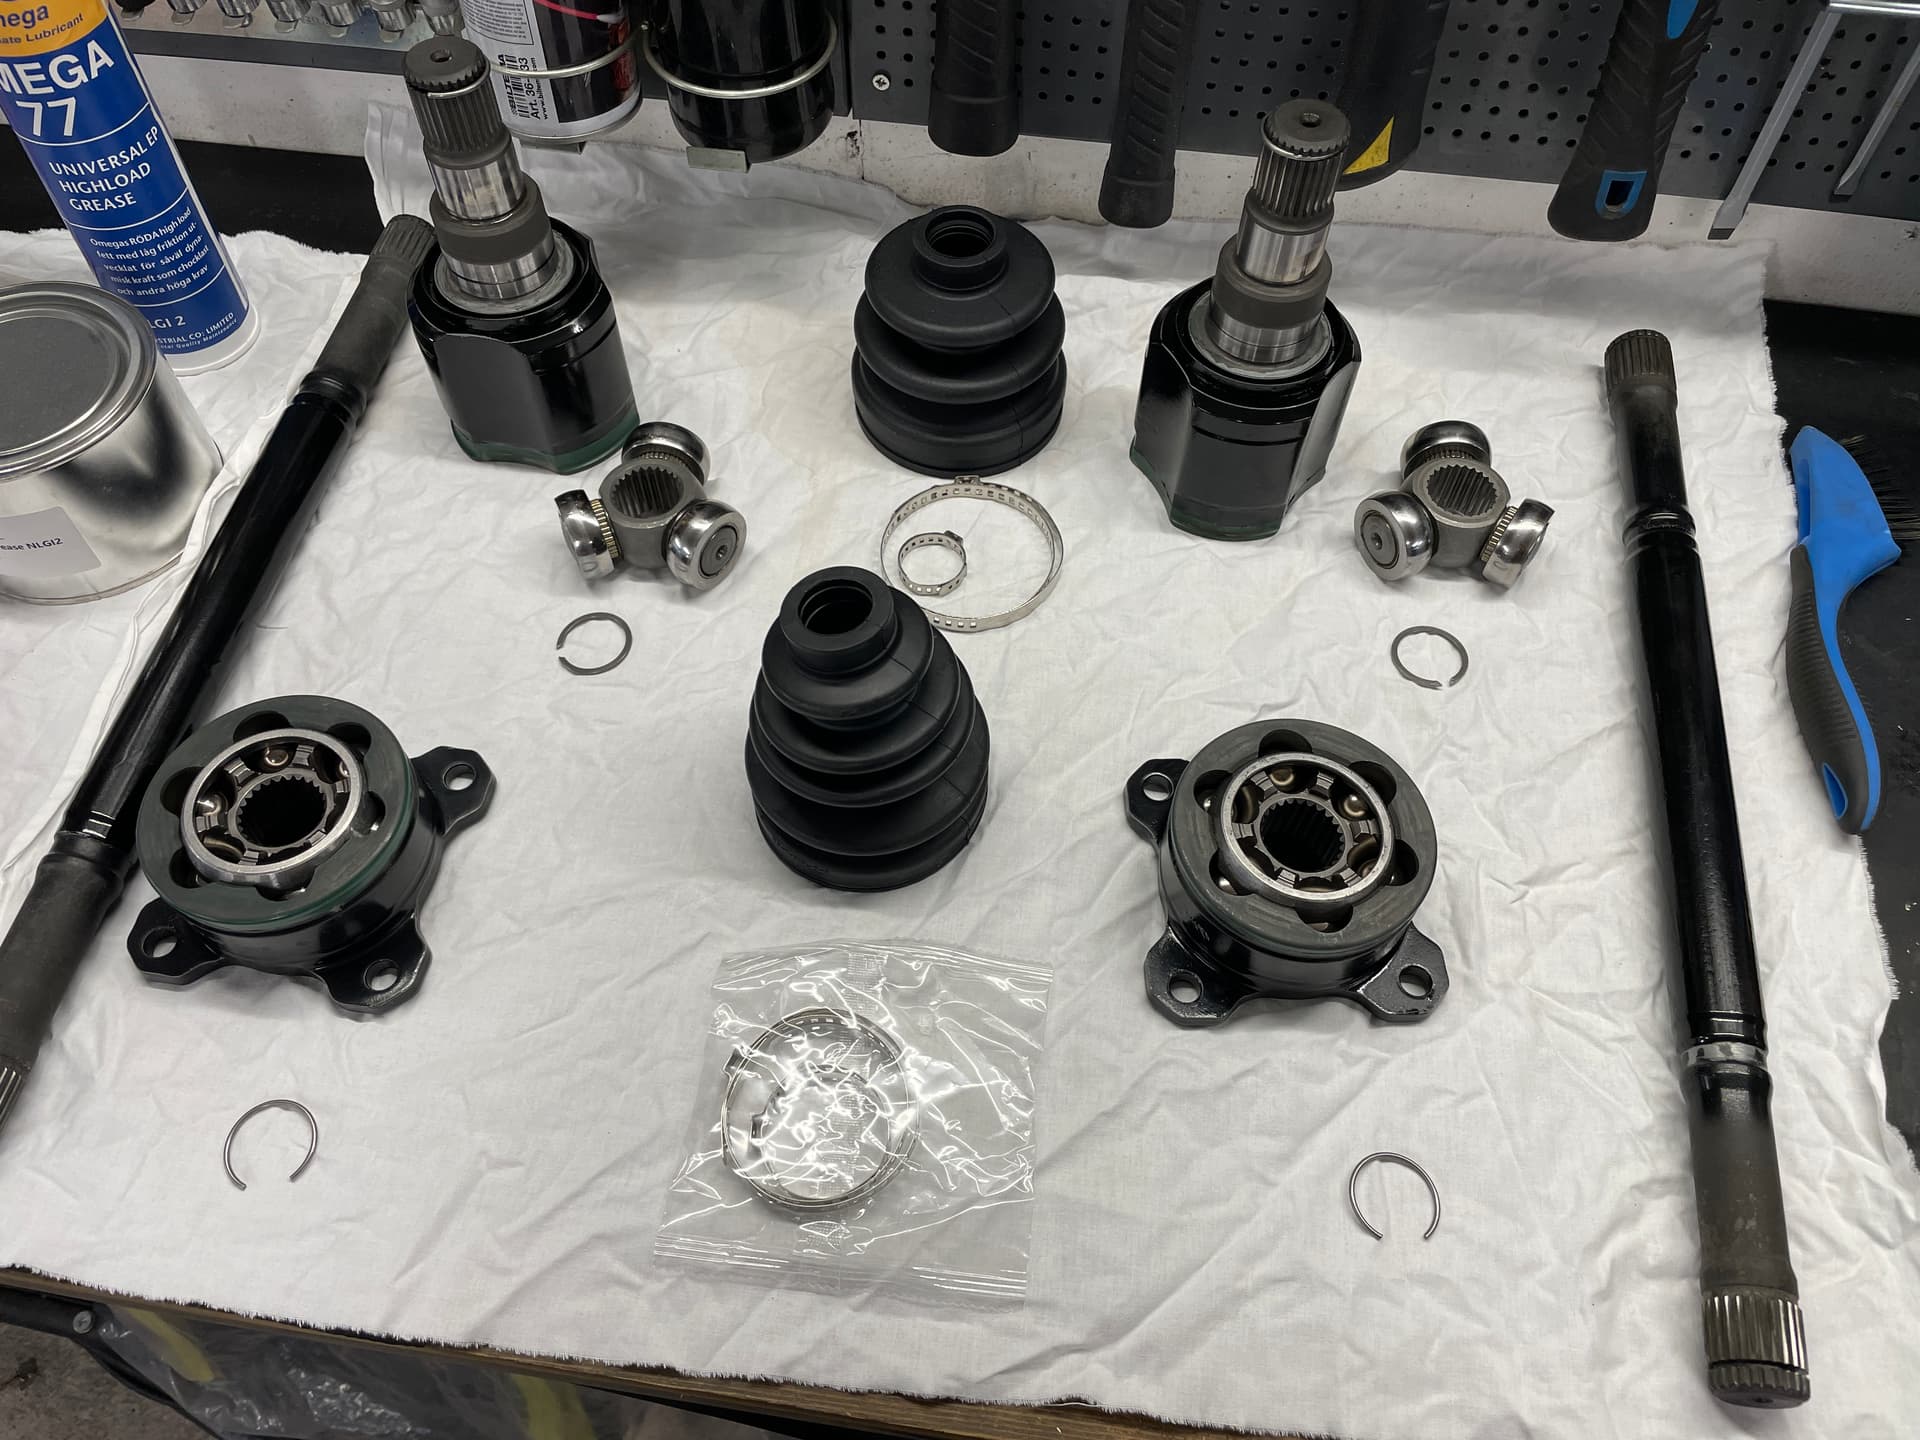
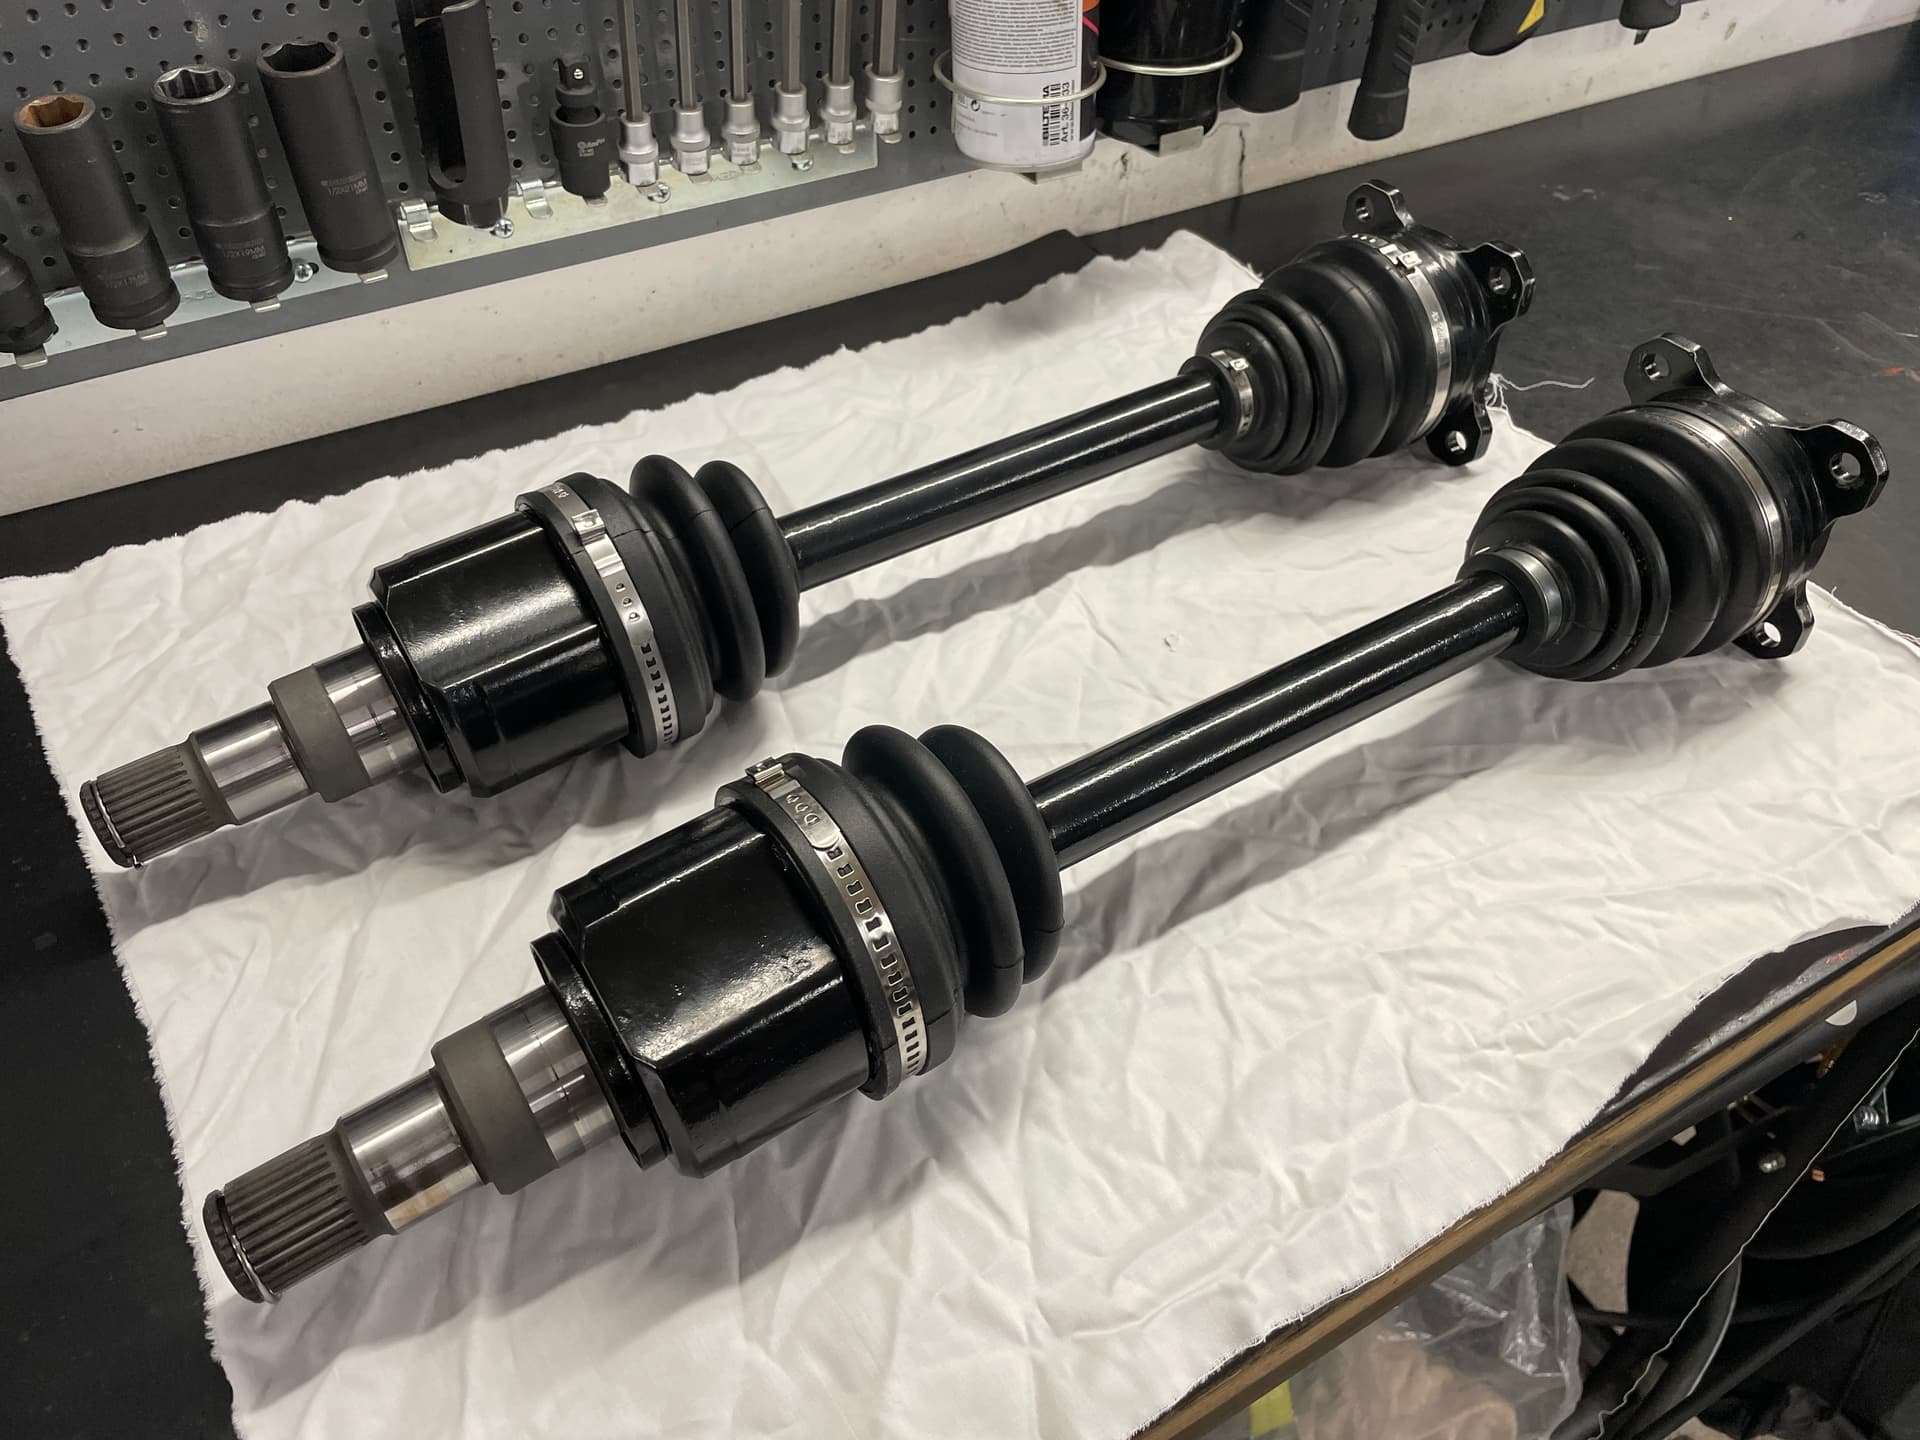
Since I’ll be changing the differential in favor of the rare B3H unit I decided to tidy up the shafts a bit. Tore the old ones apart and had all the grease cleaned out. Masked it up to then put them in my blasting cabinet, which I have filled with aluminum oxide rather than sand media.


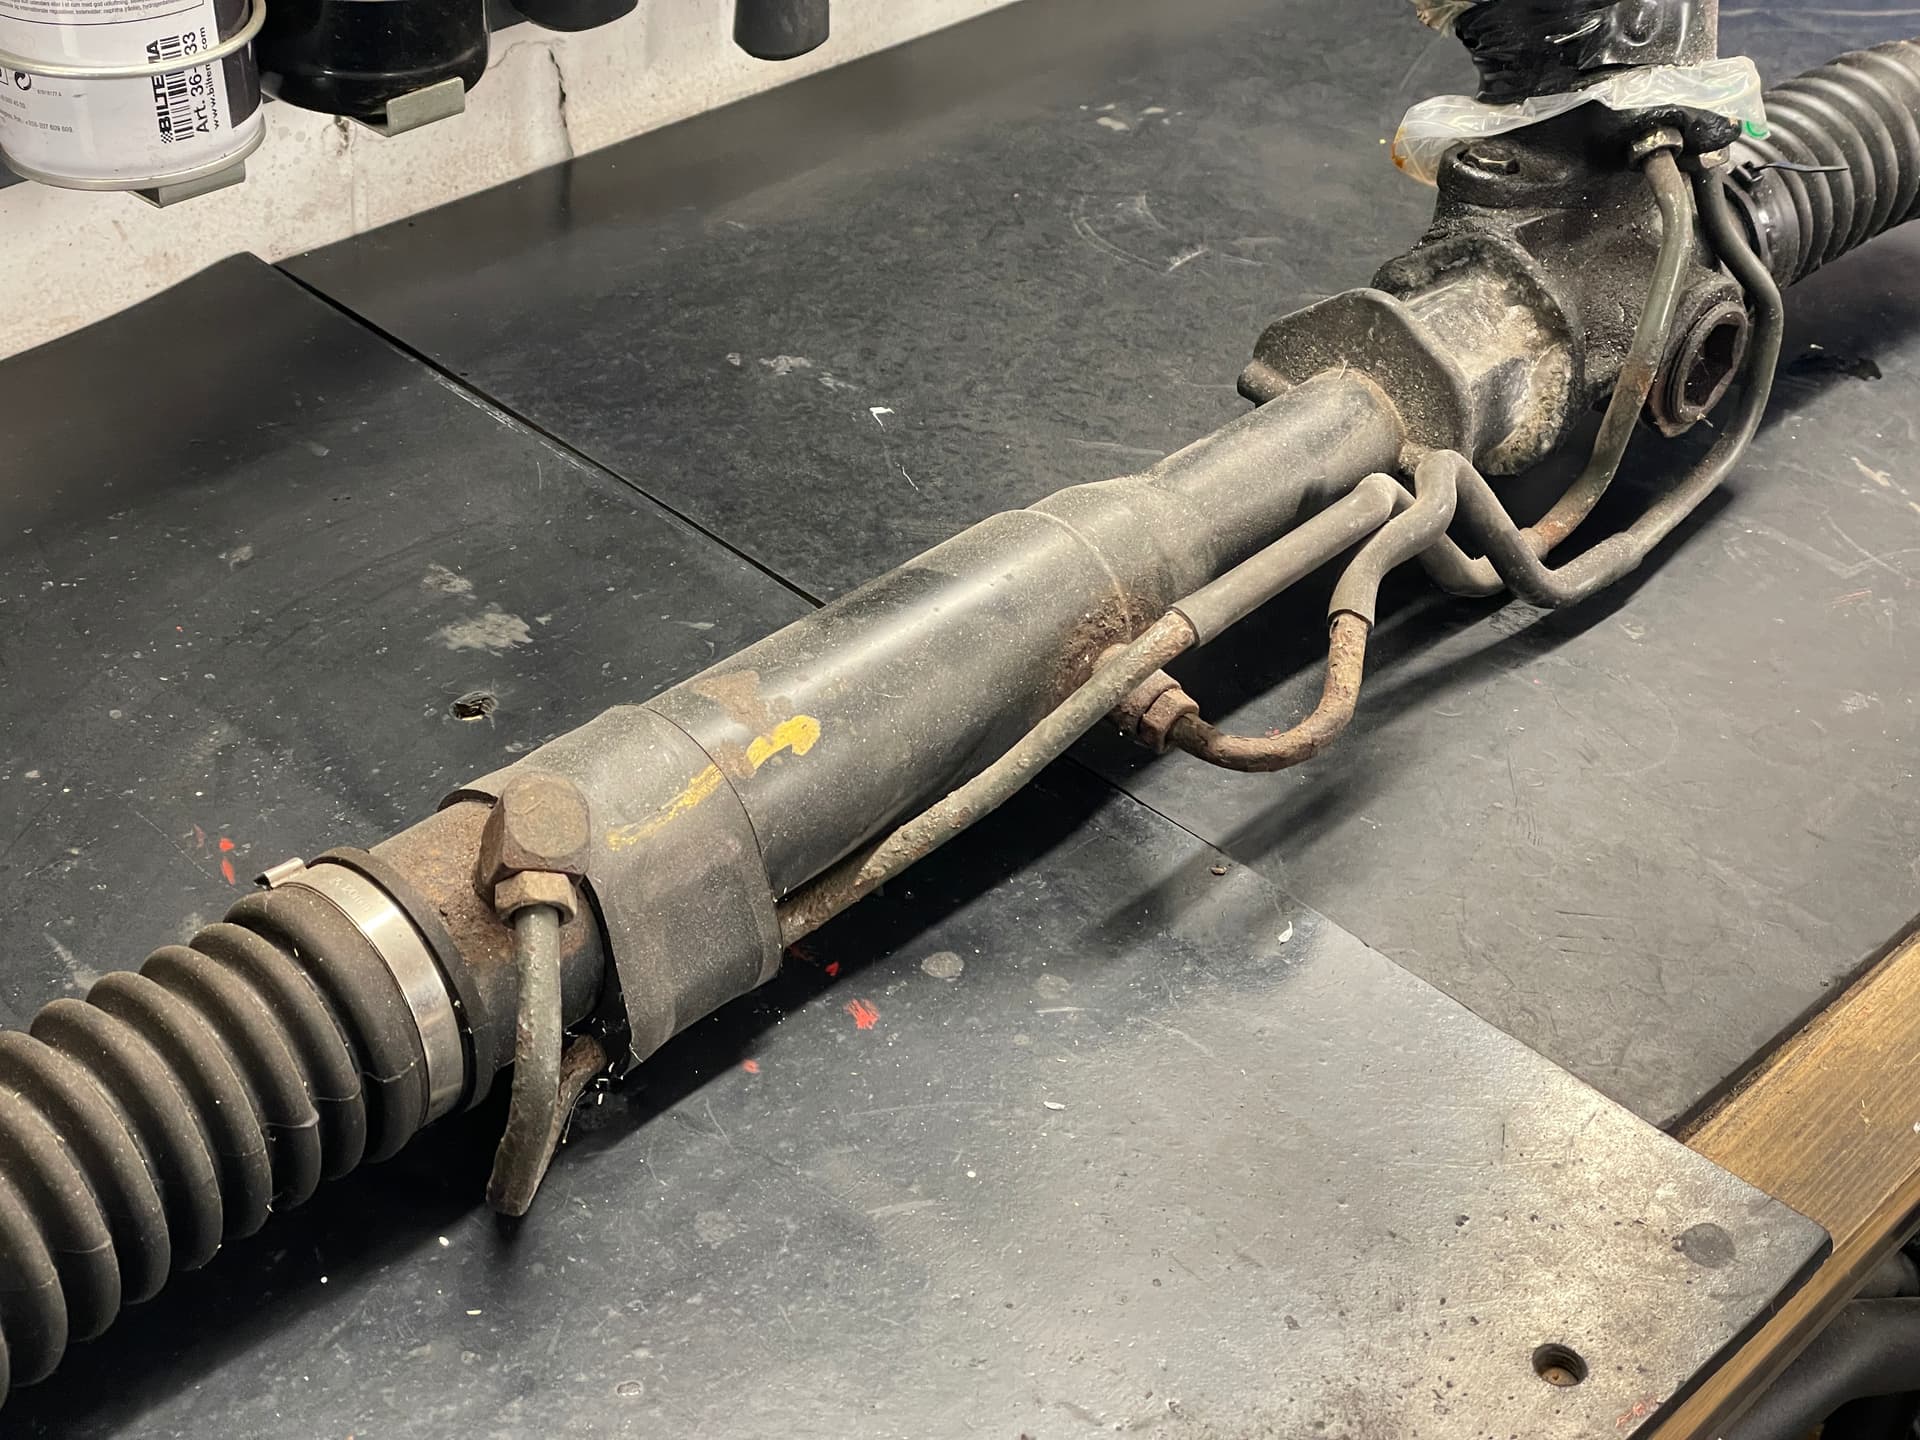
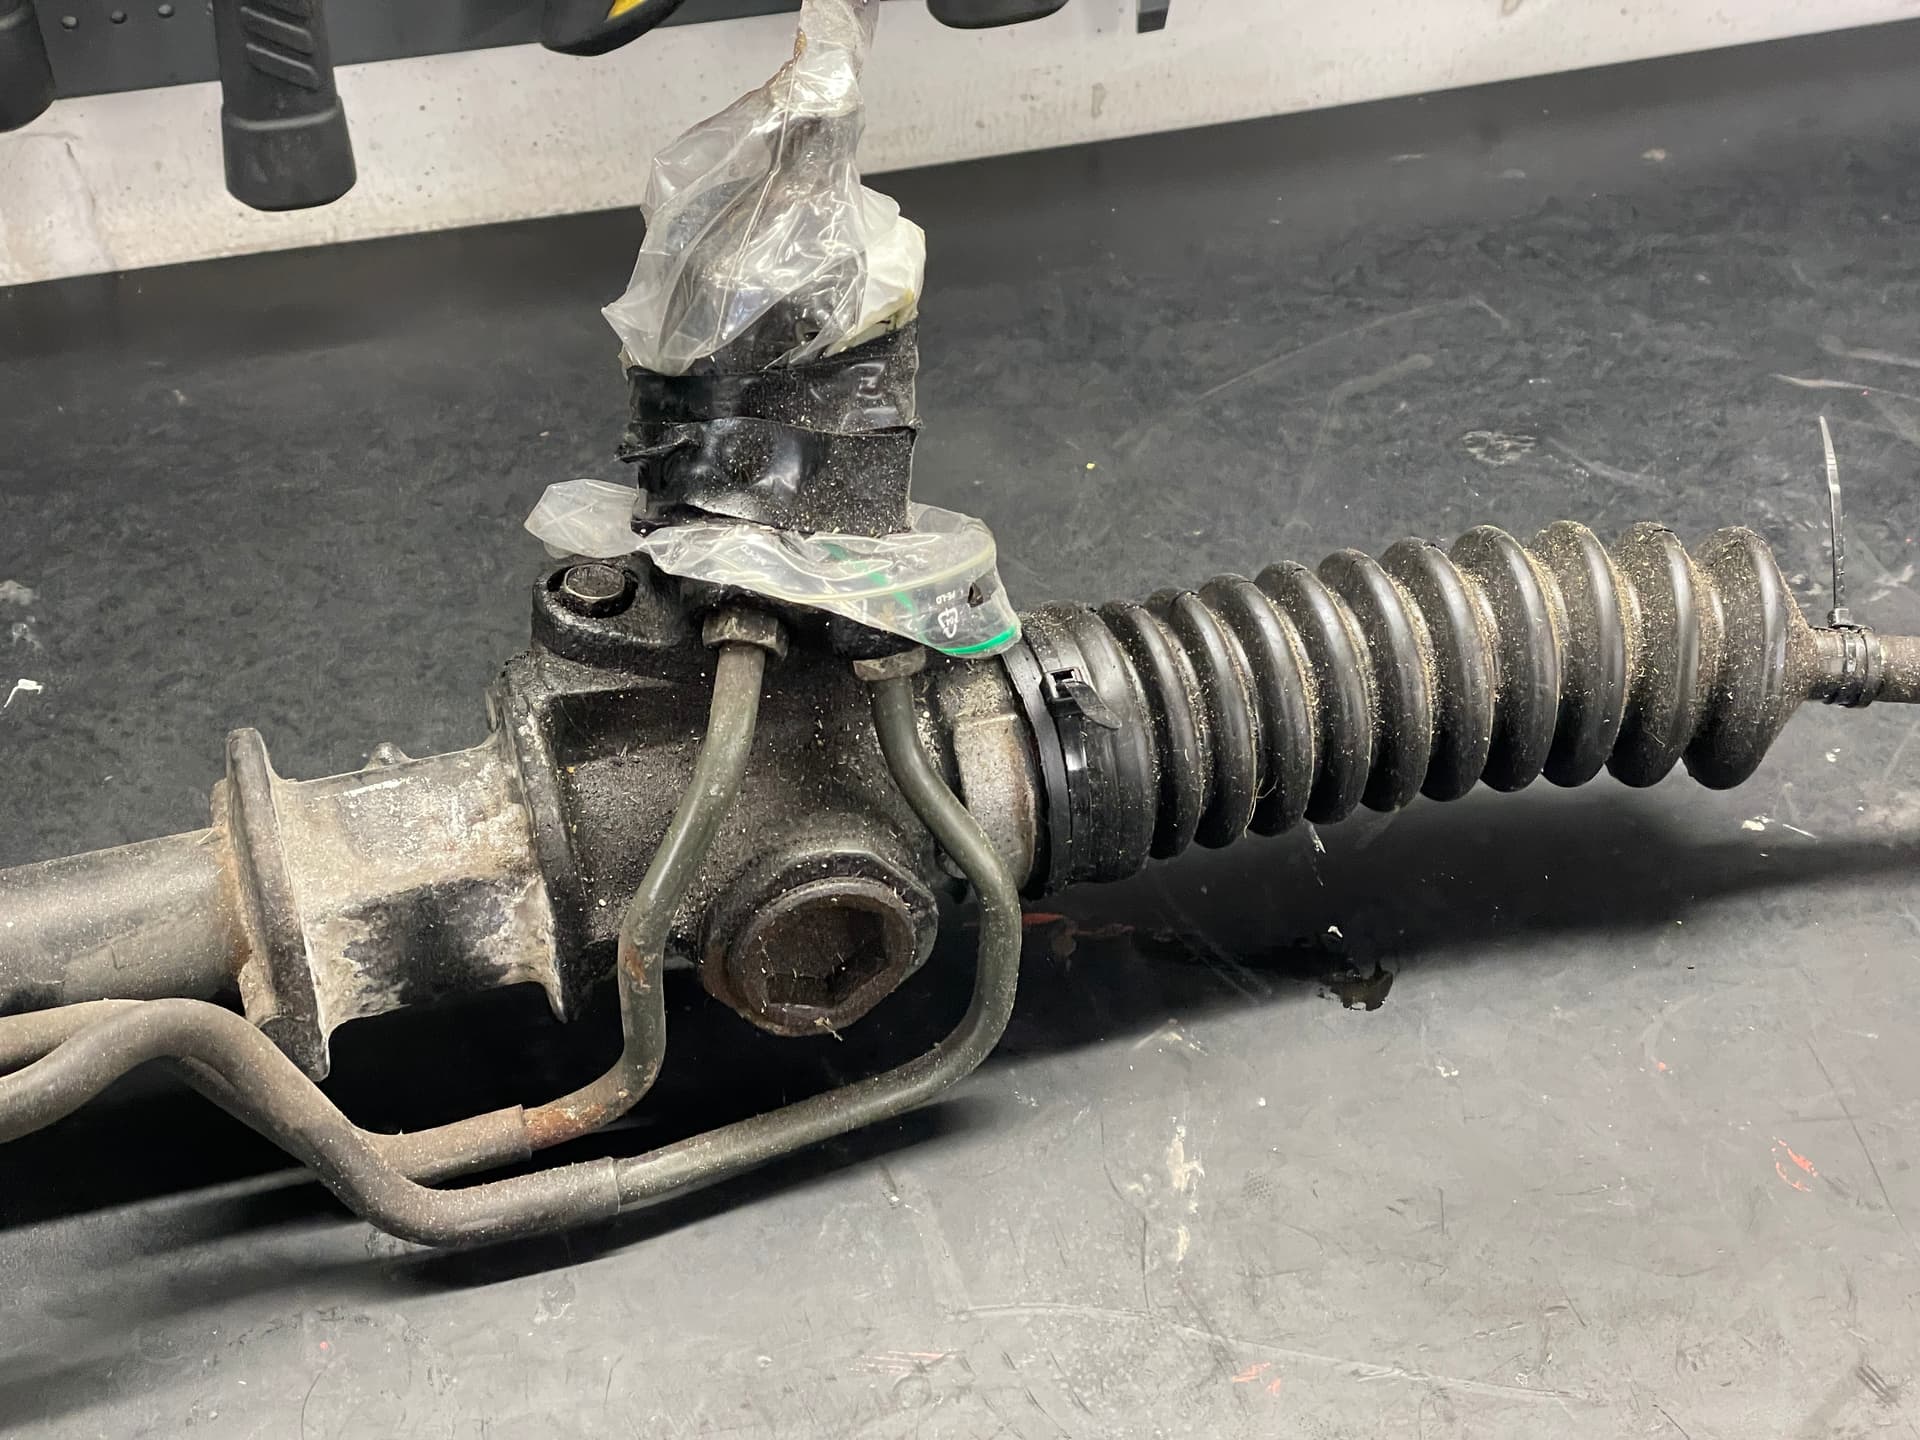
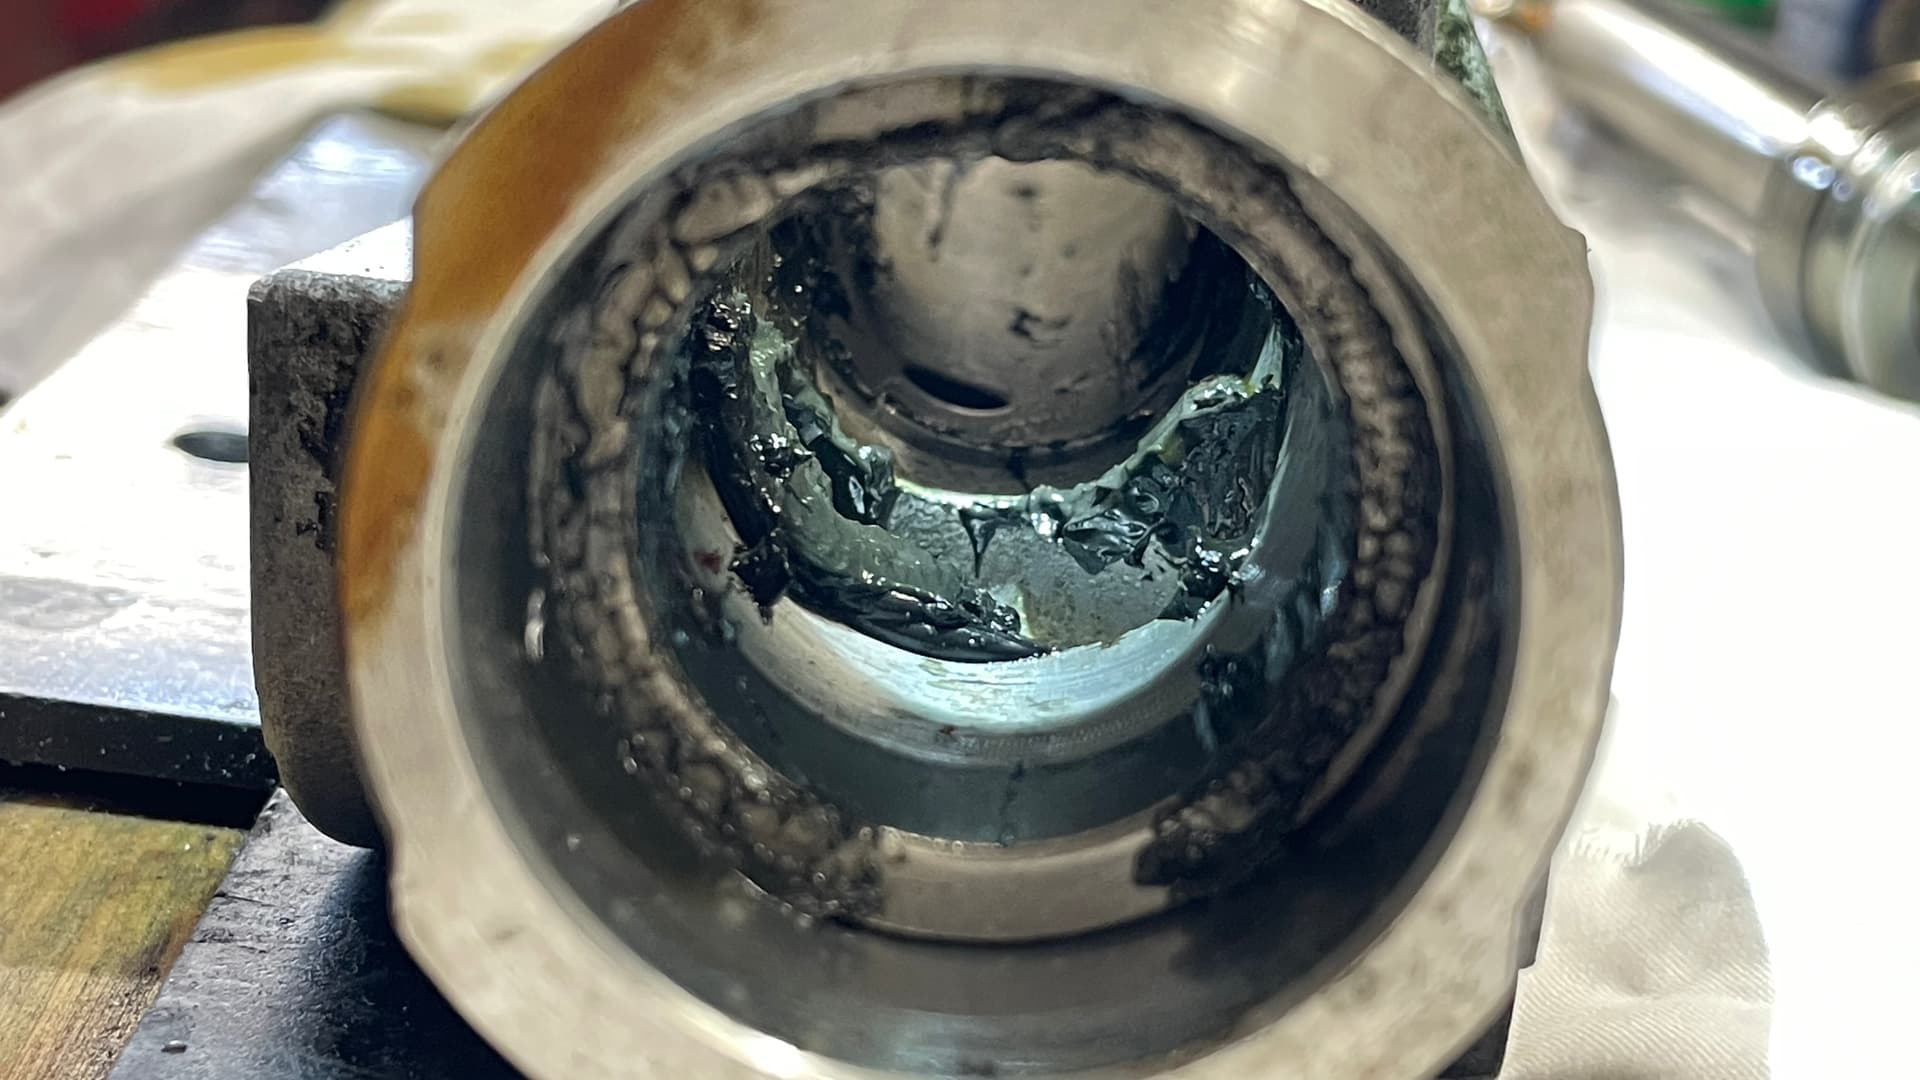
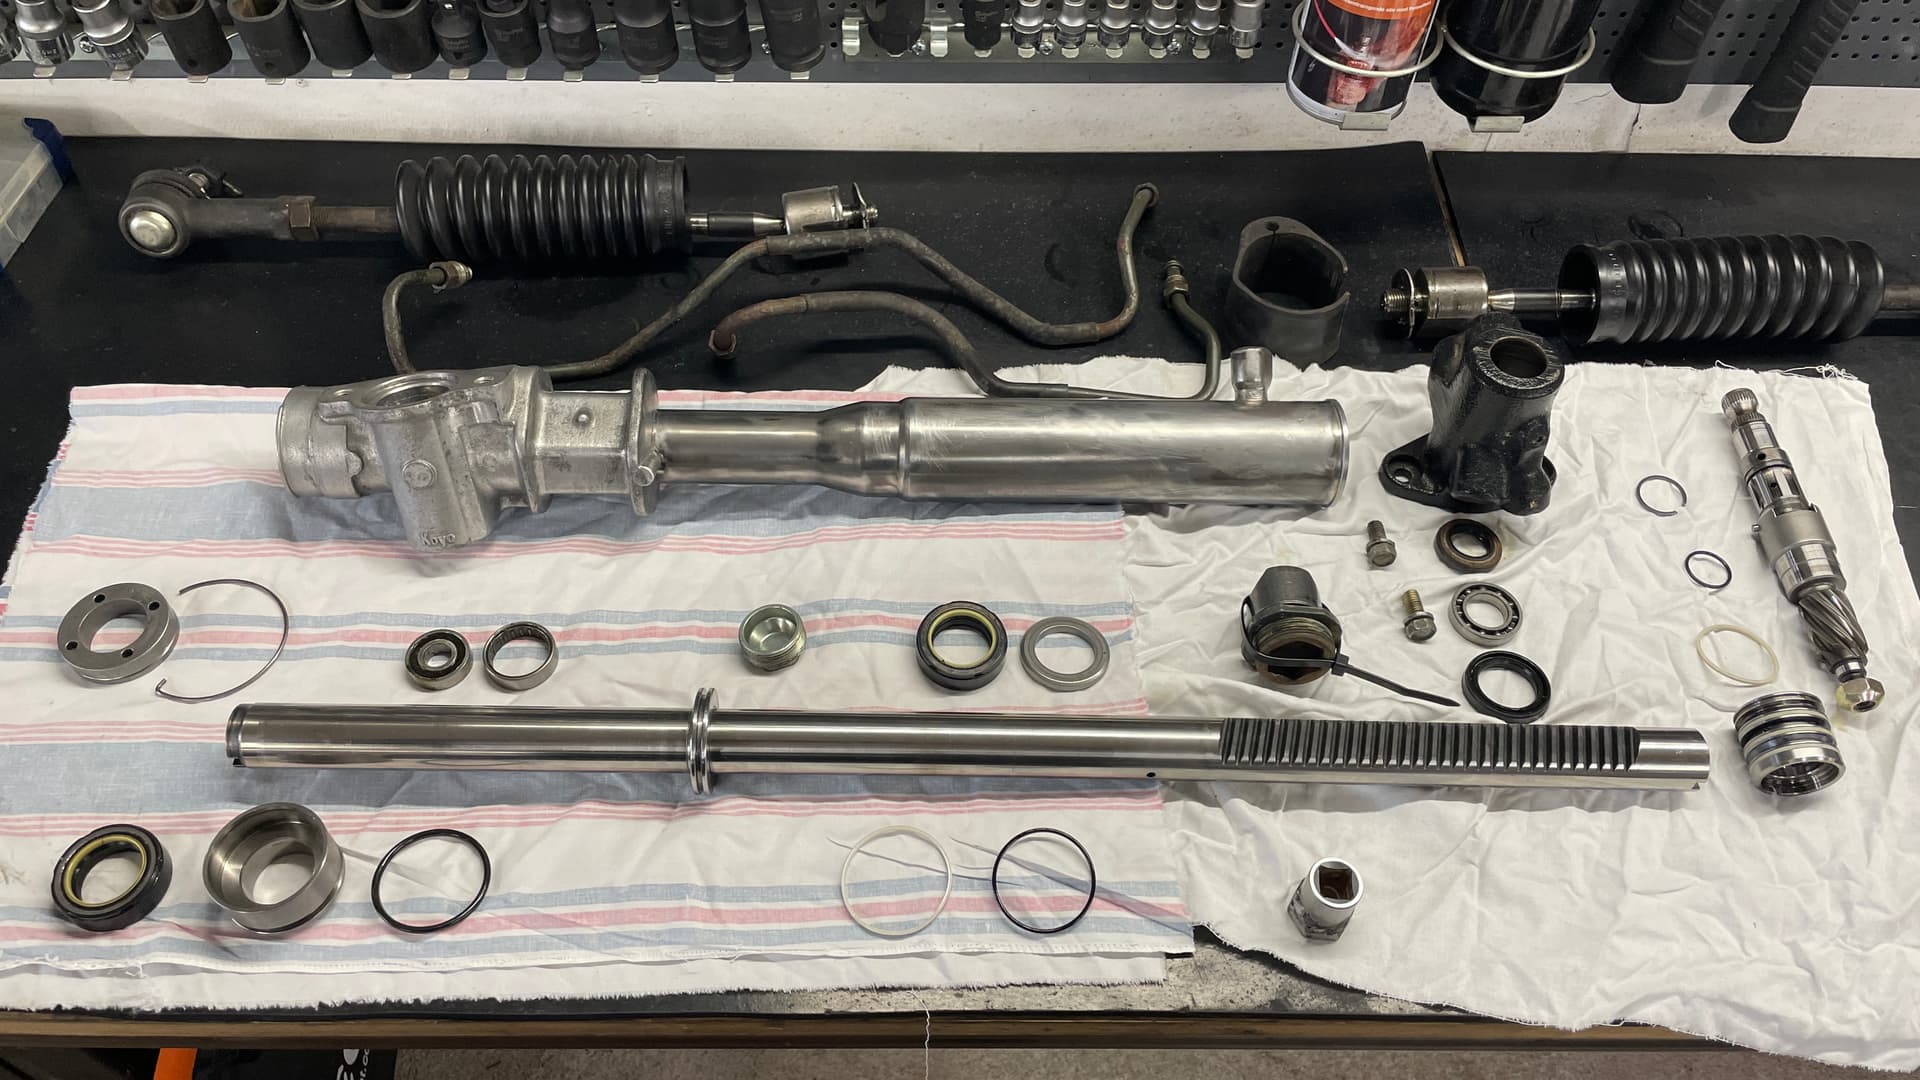
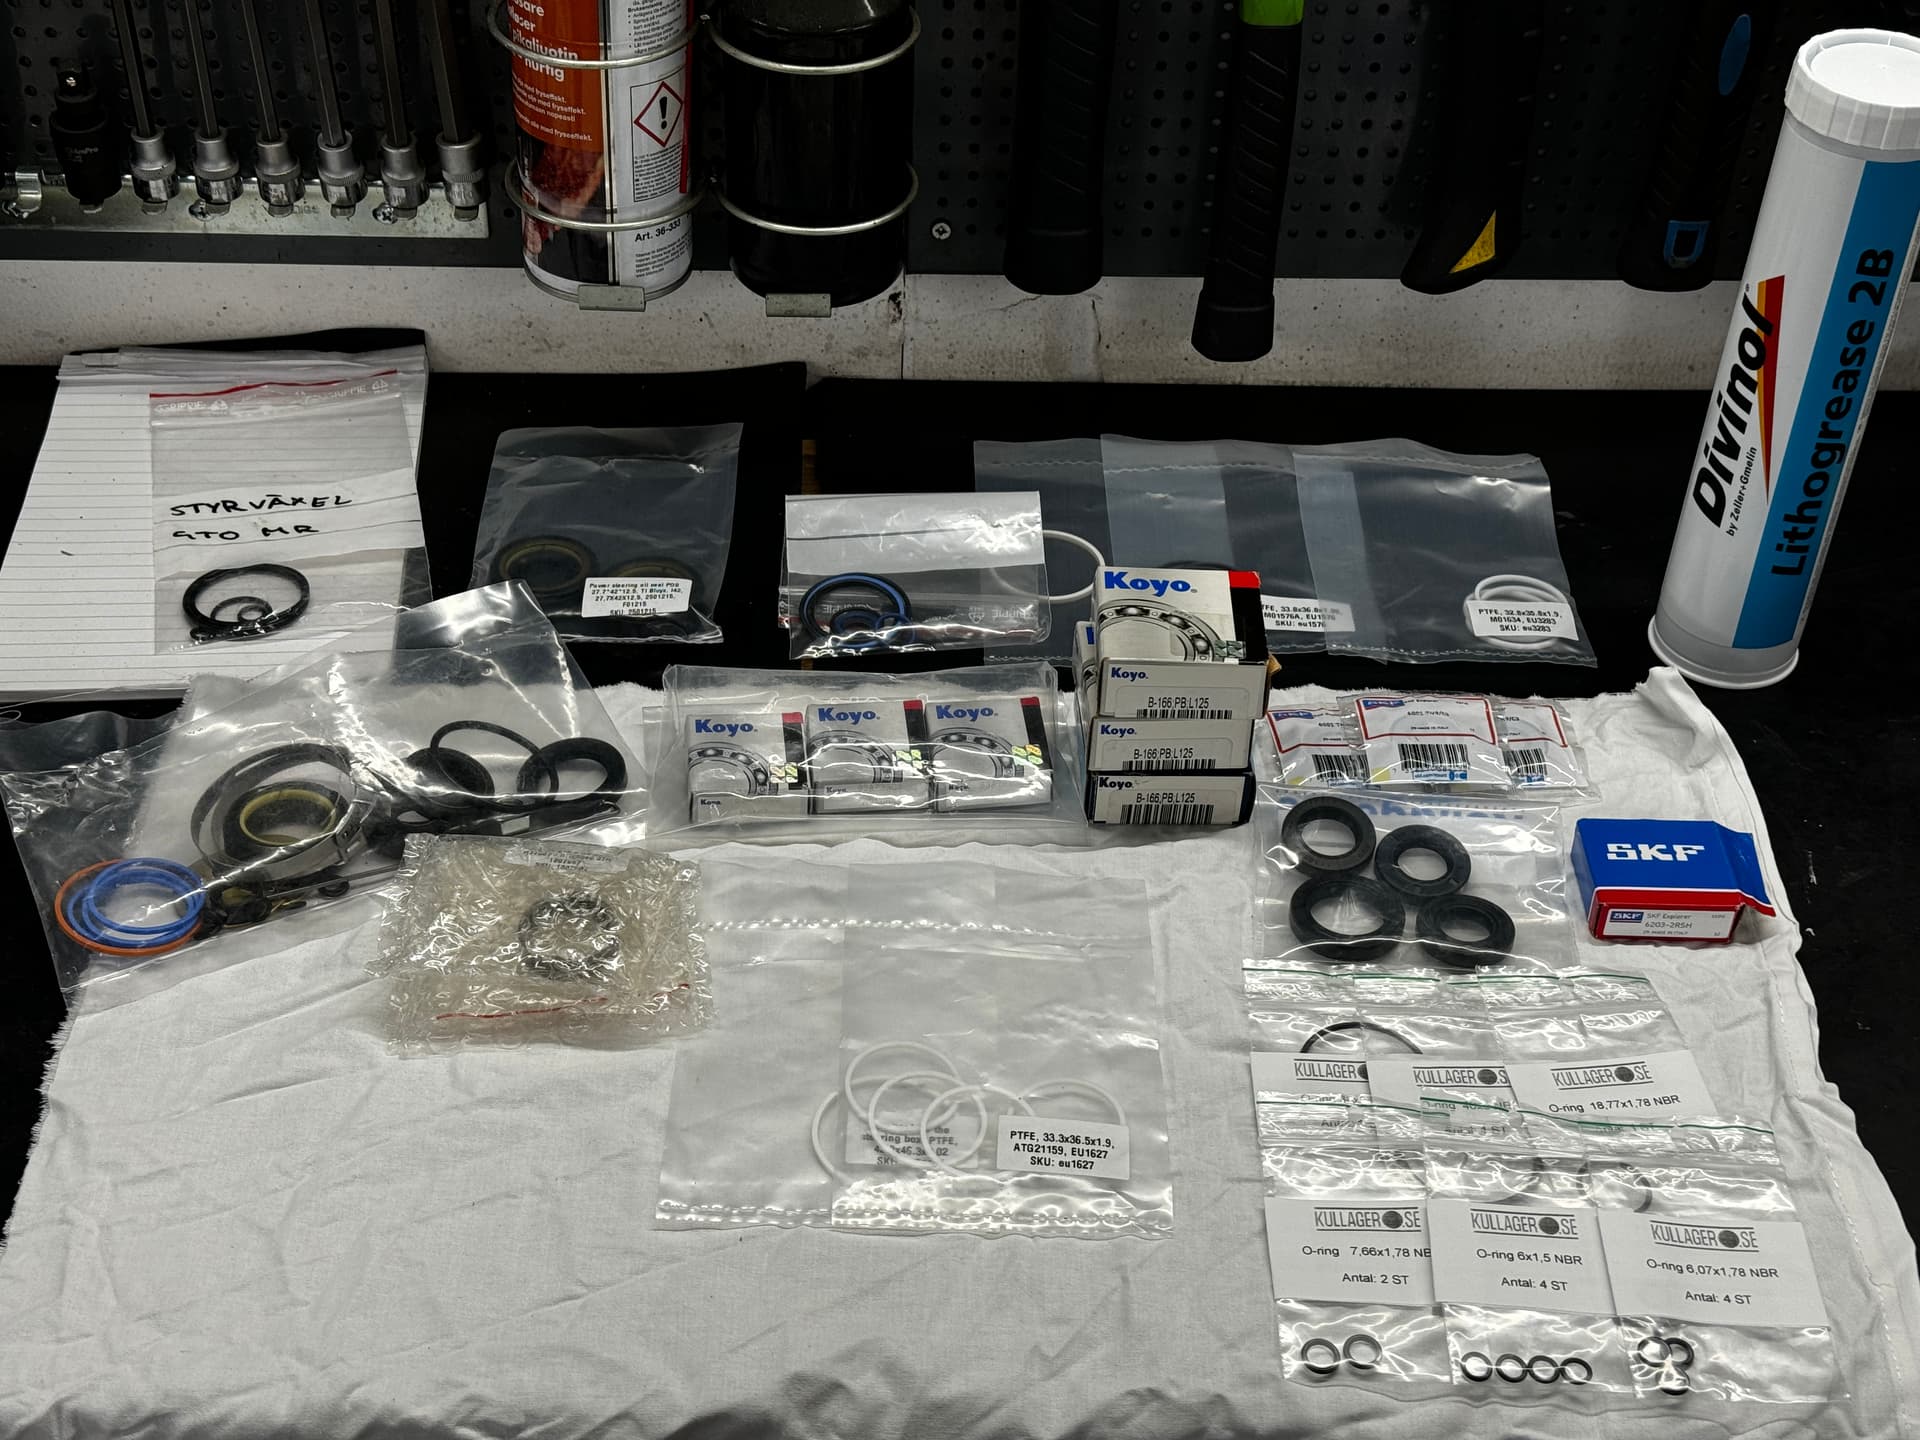
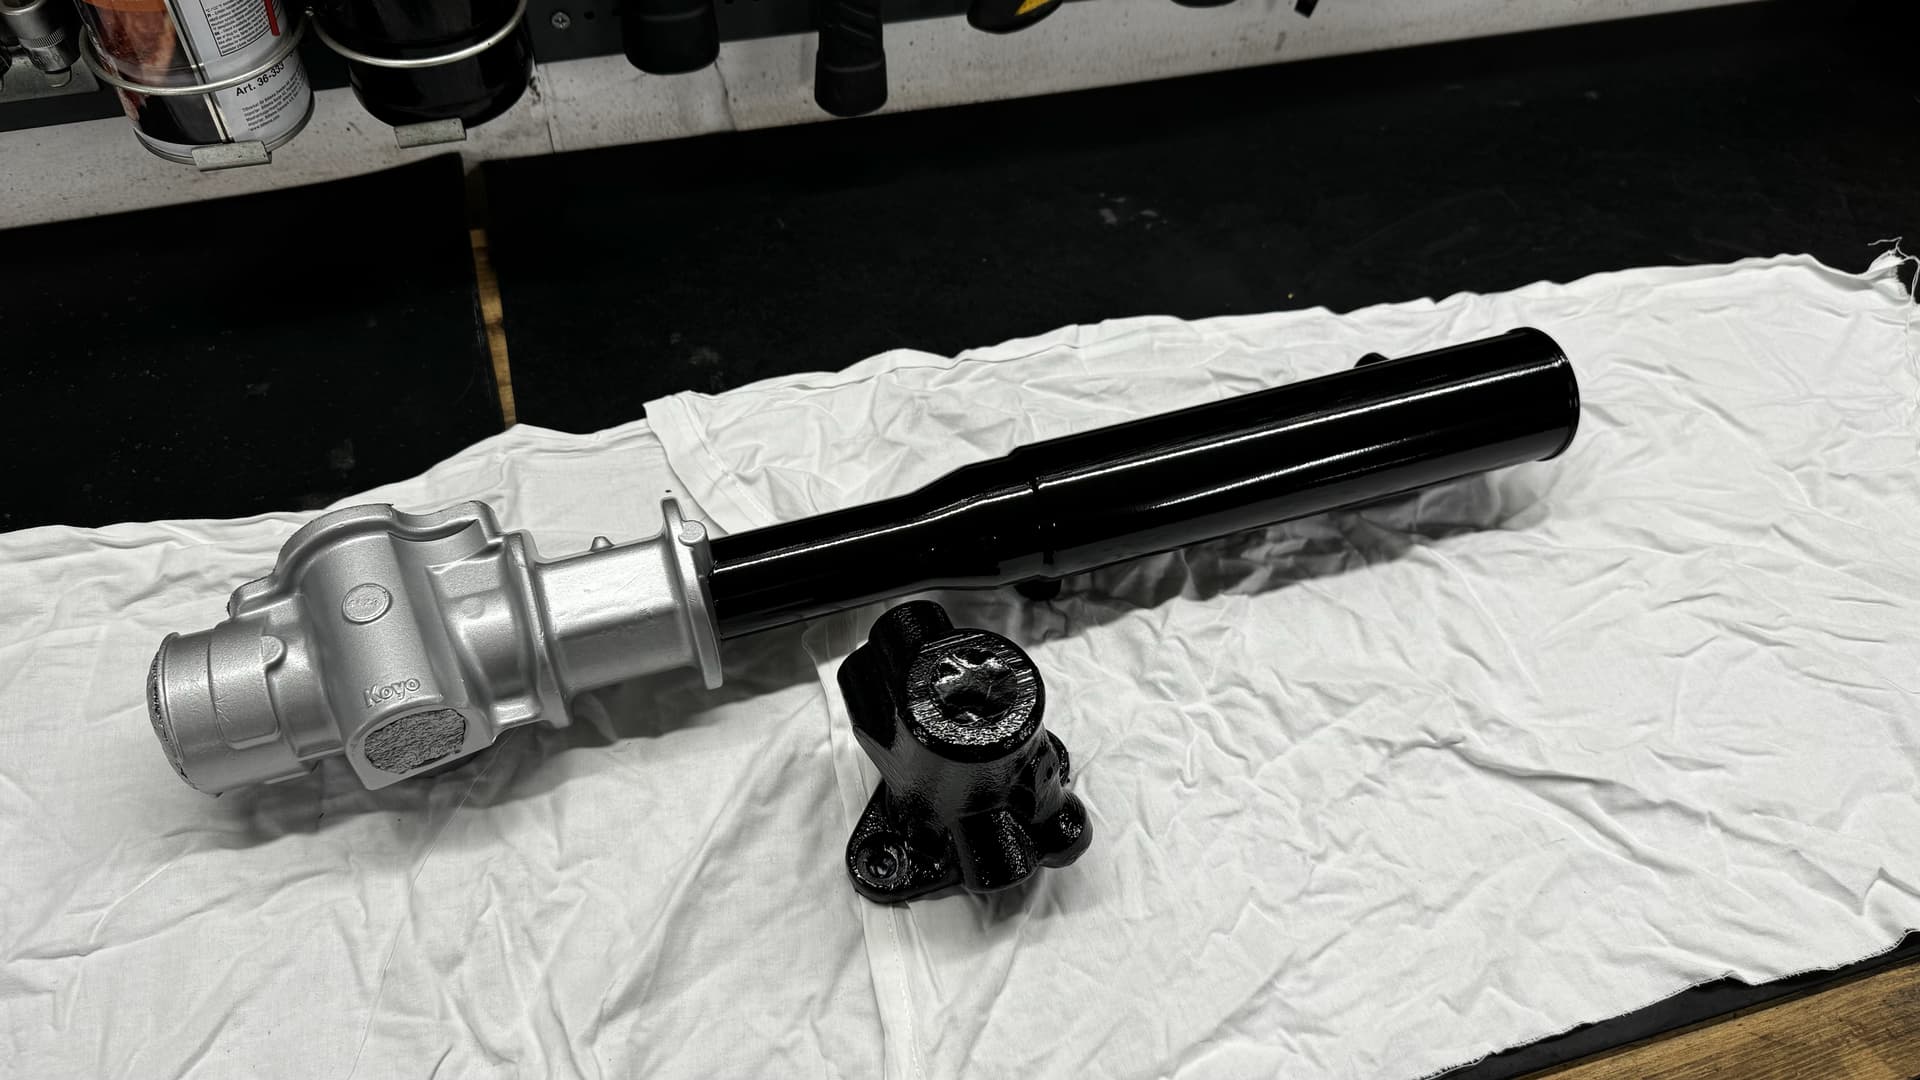
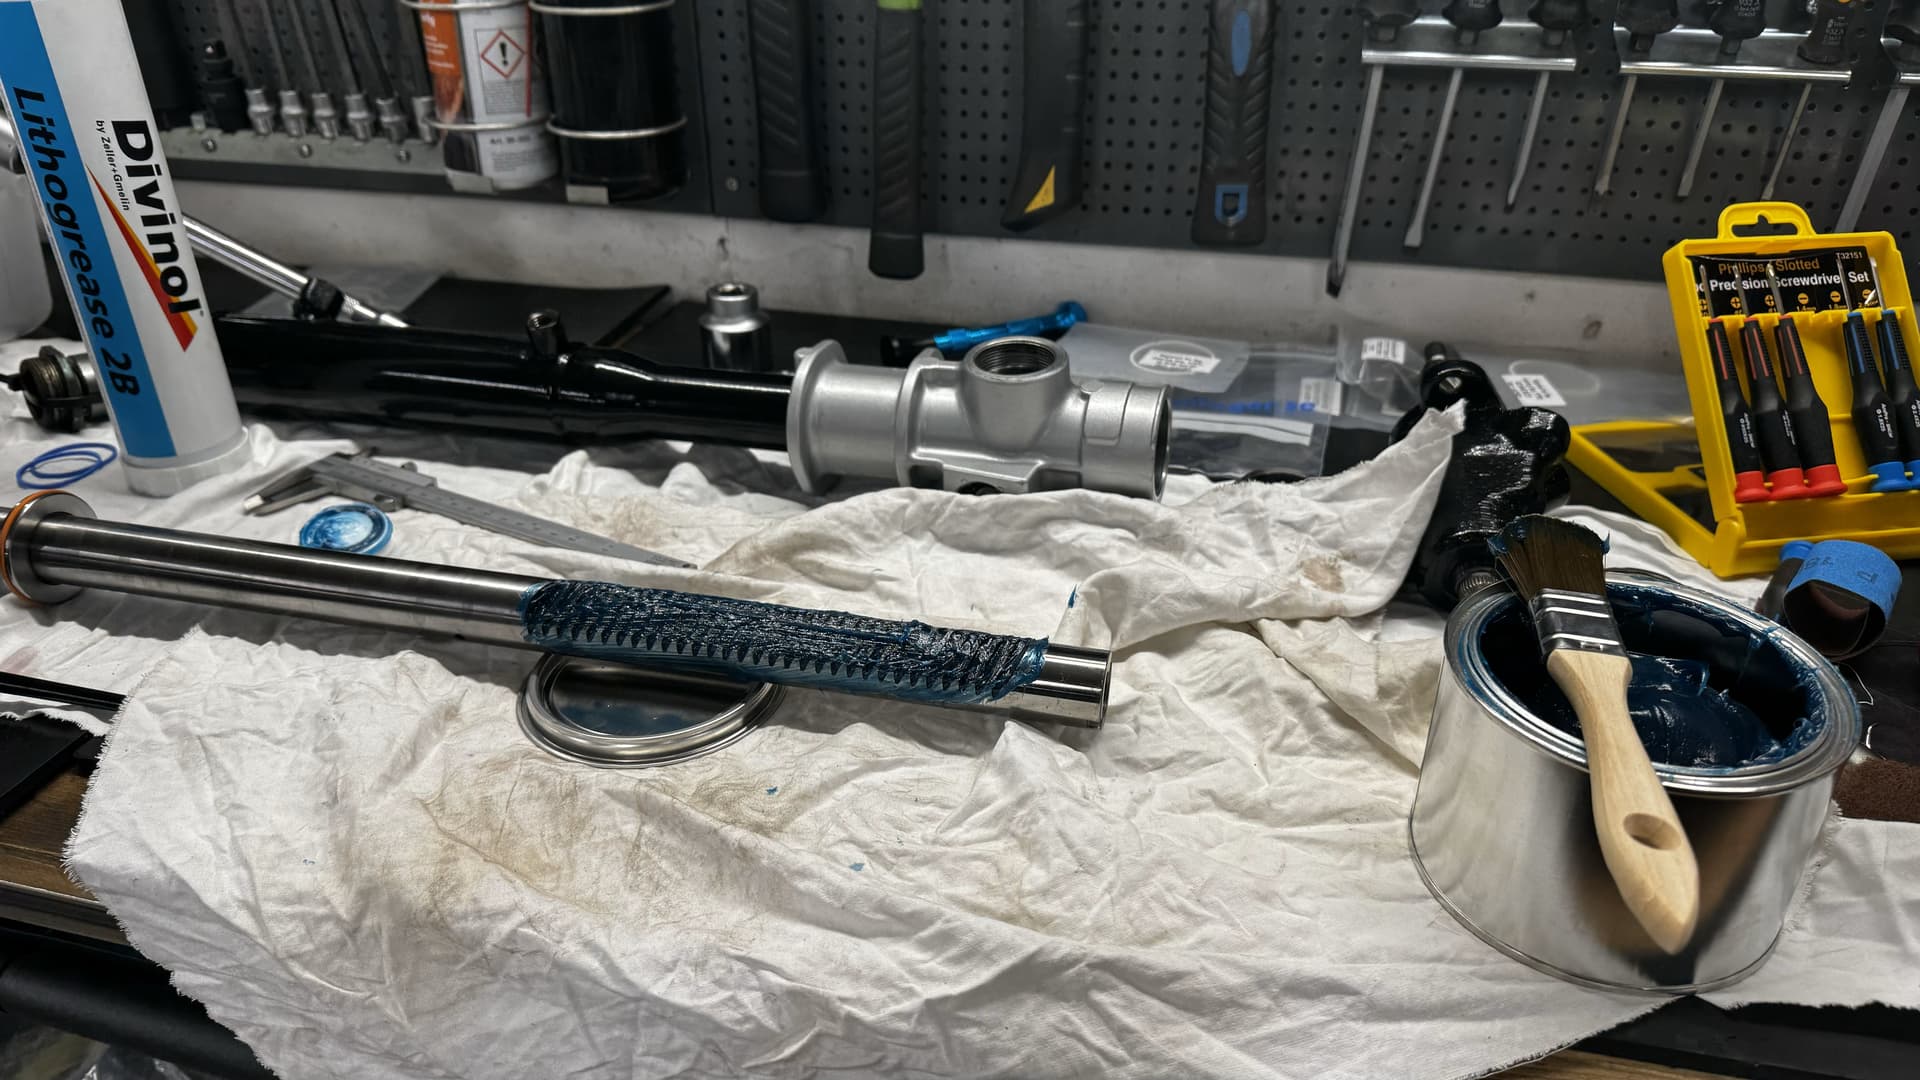
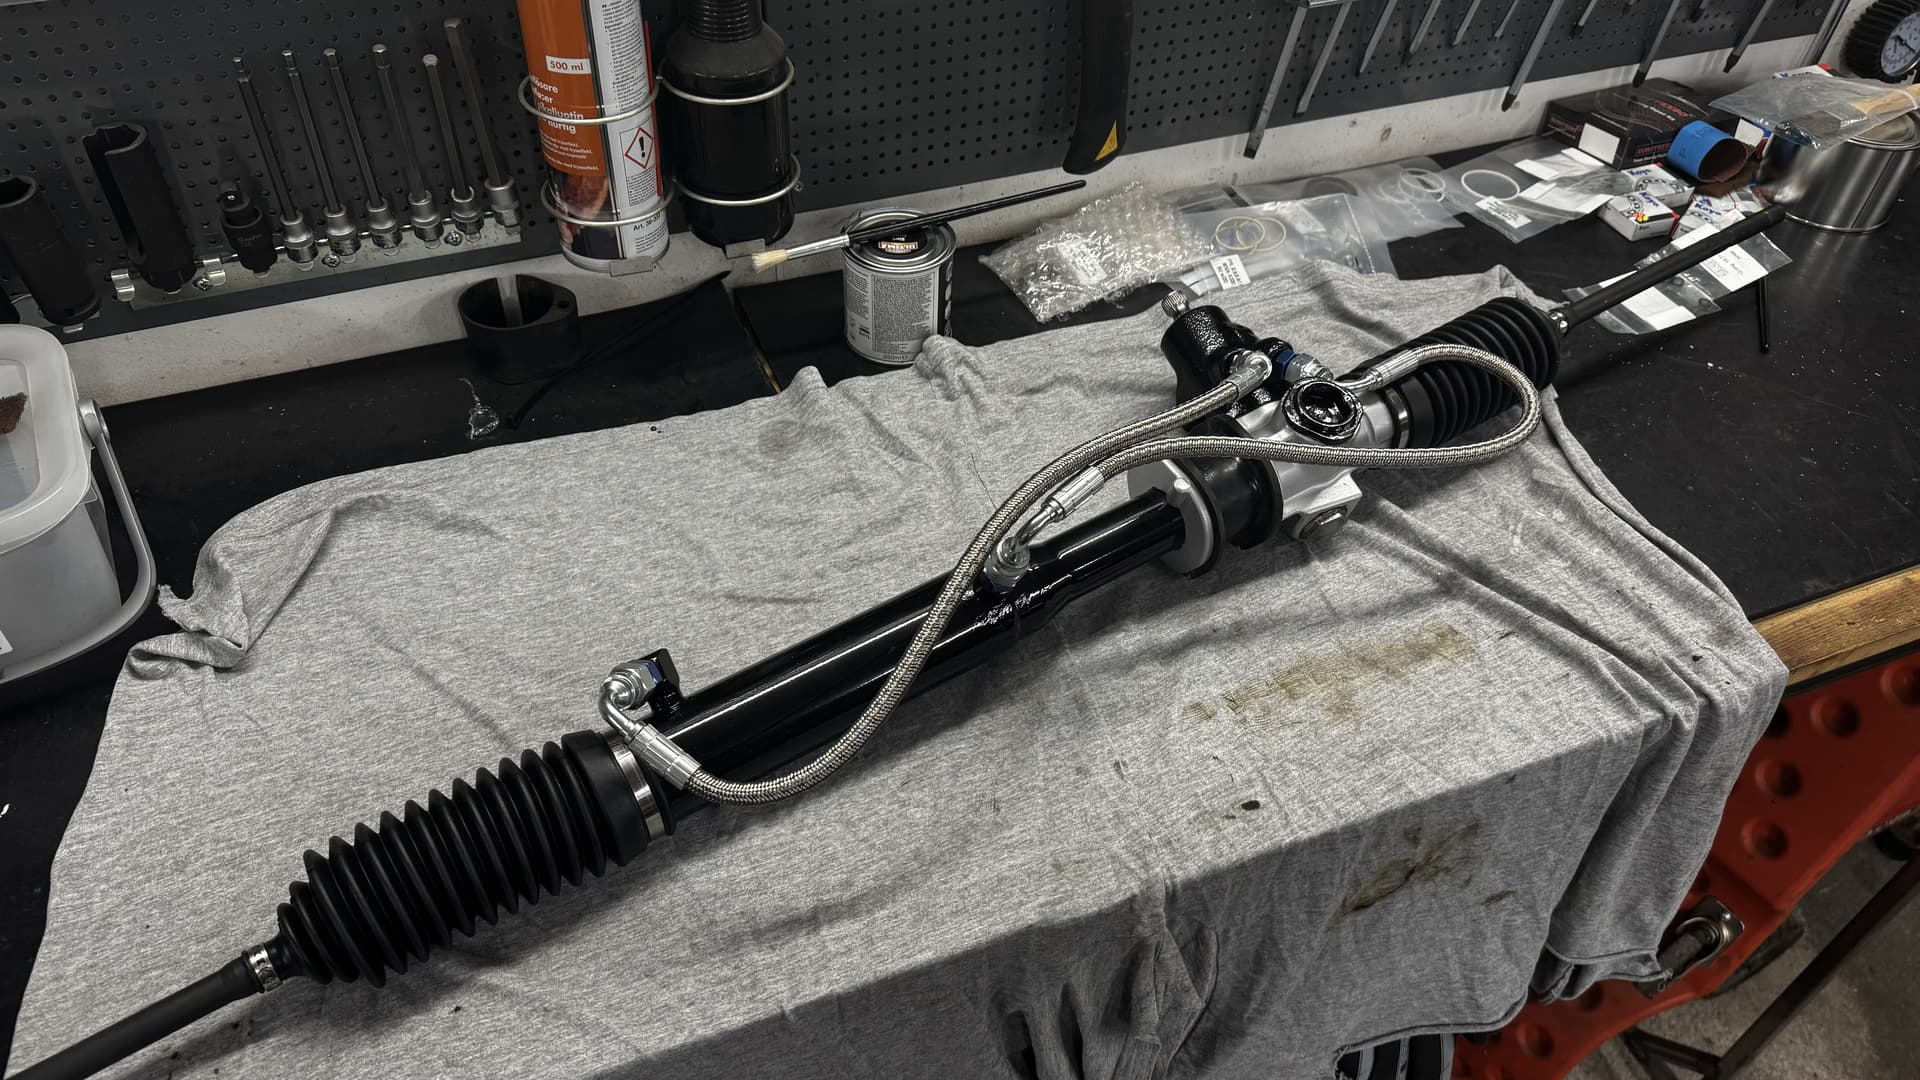
Once I were finished with those, I turned my attention to the steering rack - not really knowing what I got myself into to be honest. Main pita turned out to be sourcing the various parts, and especially the bearings took some time find but I eventually managed.


Next issue was to resolve the old pipes, which partially was quite rusted out, along with a couple of the connections almost getting completely rounded off upon disassembly.
Reached out to a hydraulic company an hour away which I’ve been in contact with a few years prior and, luckily, we managed to come up with a solution that’ll hopefully work out.
It required some rather expensive adaptors to be fitted, but they utilize an o-ring just like the stock pipes which felt good.
The hoses are a special kind of braided PTFE that allows extra flexibility. Front pipe that connects between the pinjong housing and the pressure line coming from the pump, will be replaced with a hose of the same kind but wasn’t fitted when the photo was taken. Also bought an adapter to eventually convert the cooling section as well, but that will be at a later point.


Attended a couple of gatherings during the summer, was happy to see that one of the GT’s I sold last year was still being put to use by the same owner :slightly_smiling_face: Kind of miss the car from time to time, but then again the sale of it allowed me to acquire parts for my MR.


Later during the summer, and after a bit of haggling from some friends within our Swedish community for these cars, I finally found the motivation to finish off the seat brackets I started with roughly a year ago so that I could put the seats back into the car. Current position feels much better compared to the Bride sliding rails I previously used. Not quite as low as I’d like, but still more centered towards the steering wheel which is a compromise I felt willing to accept.


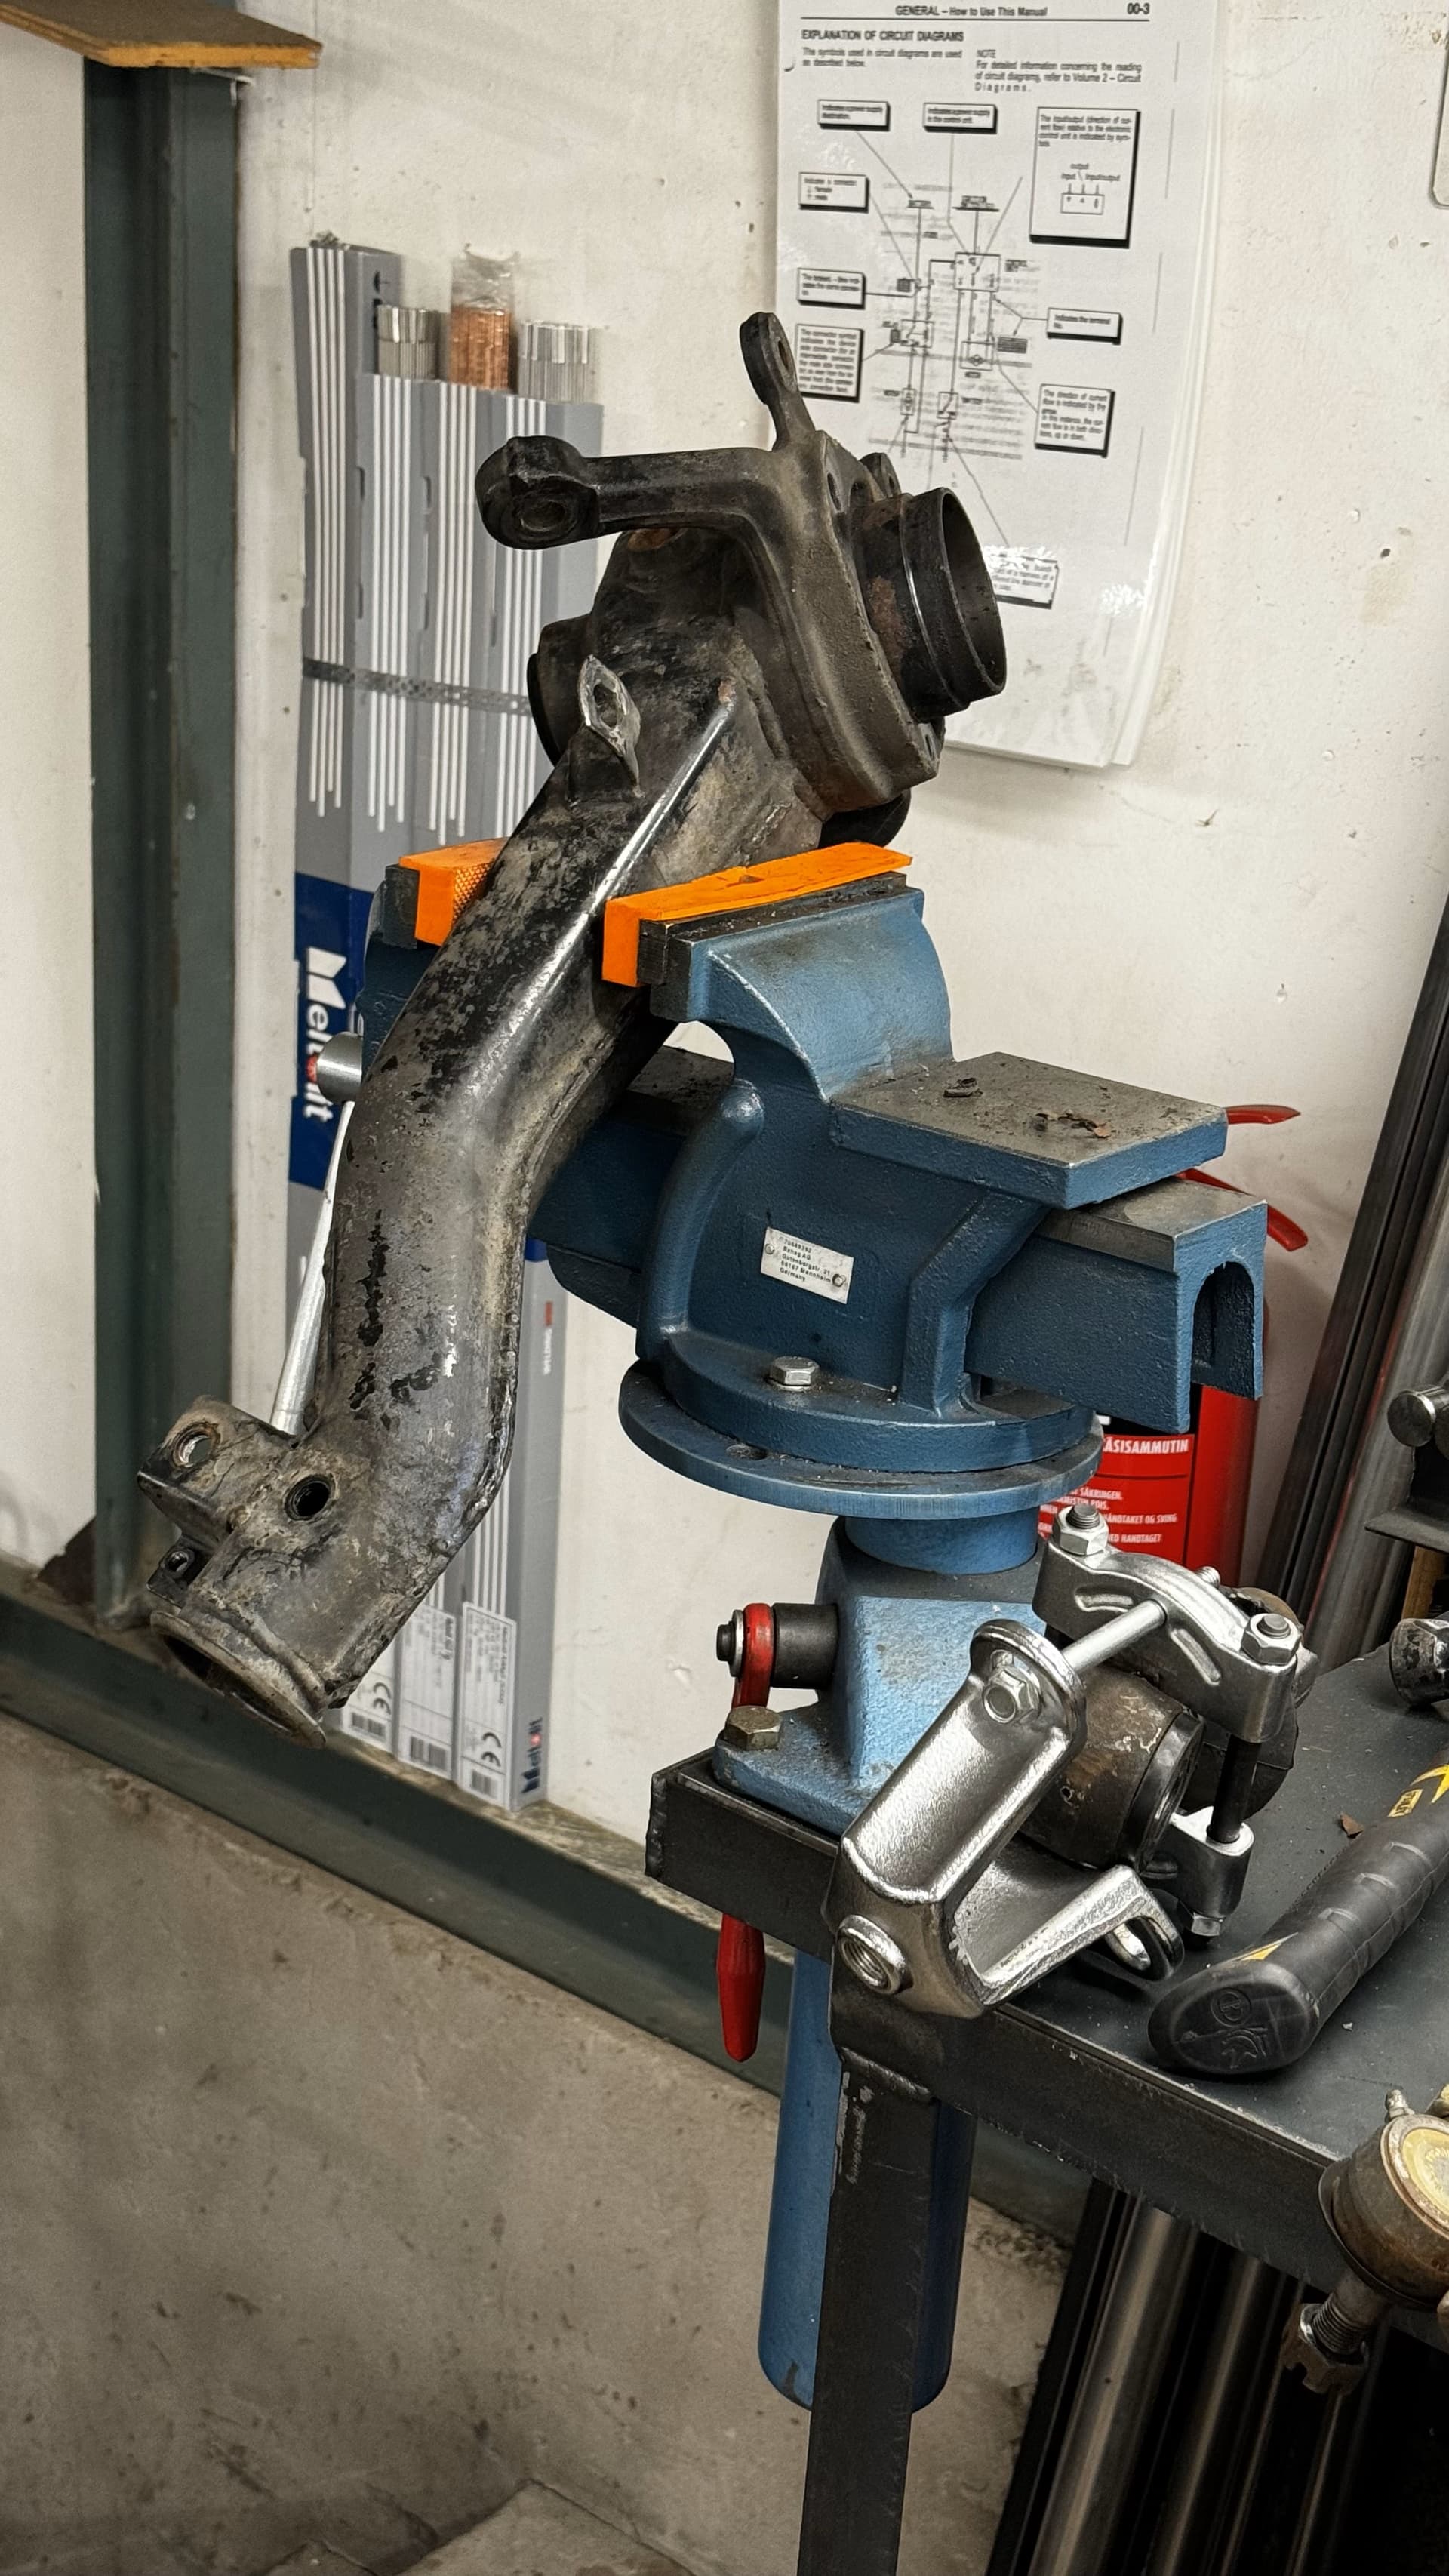
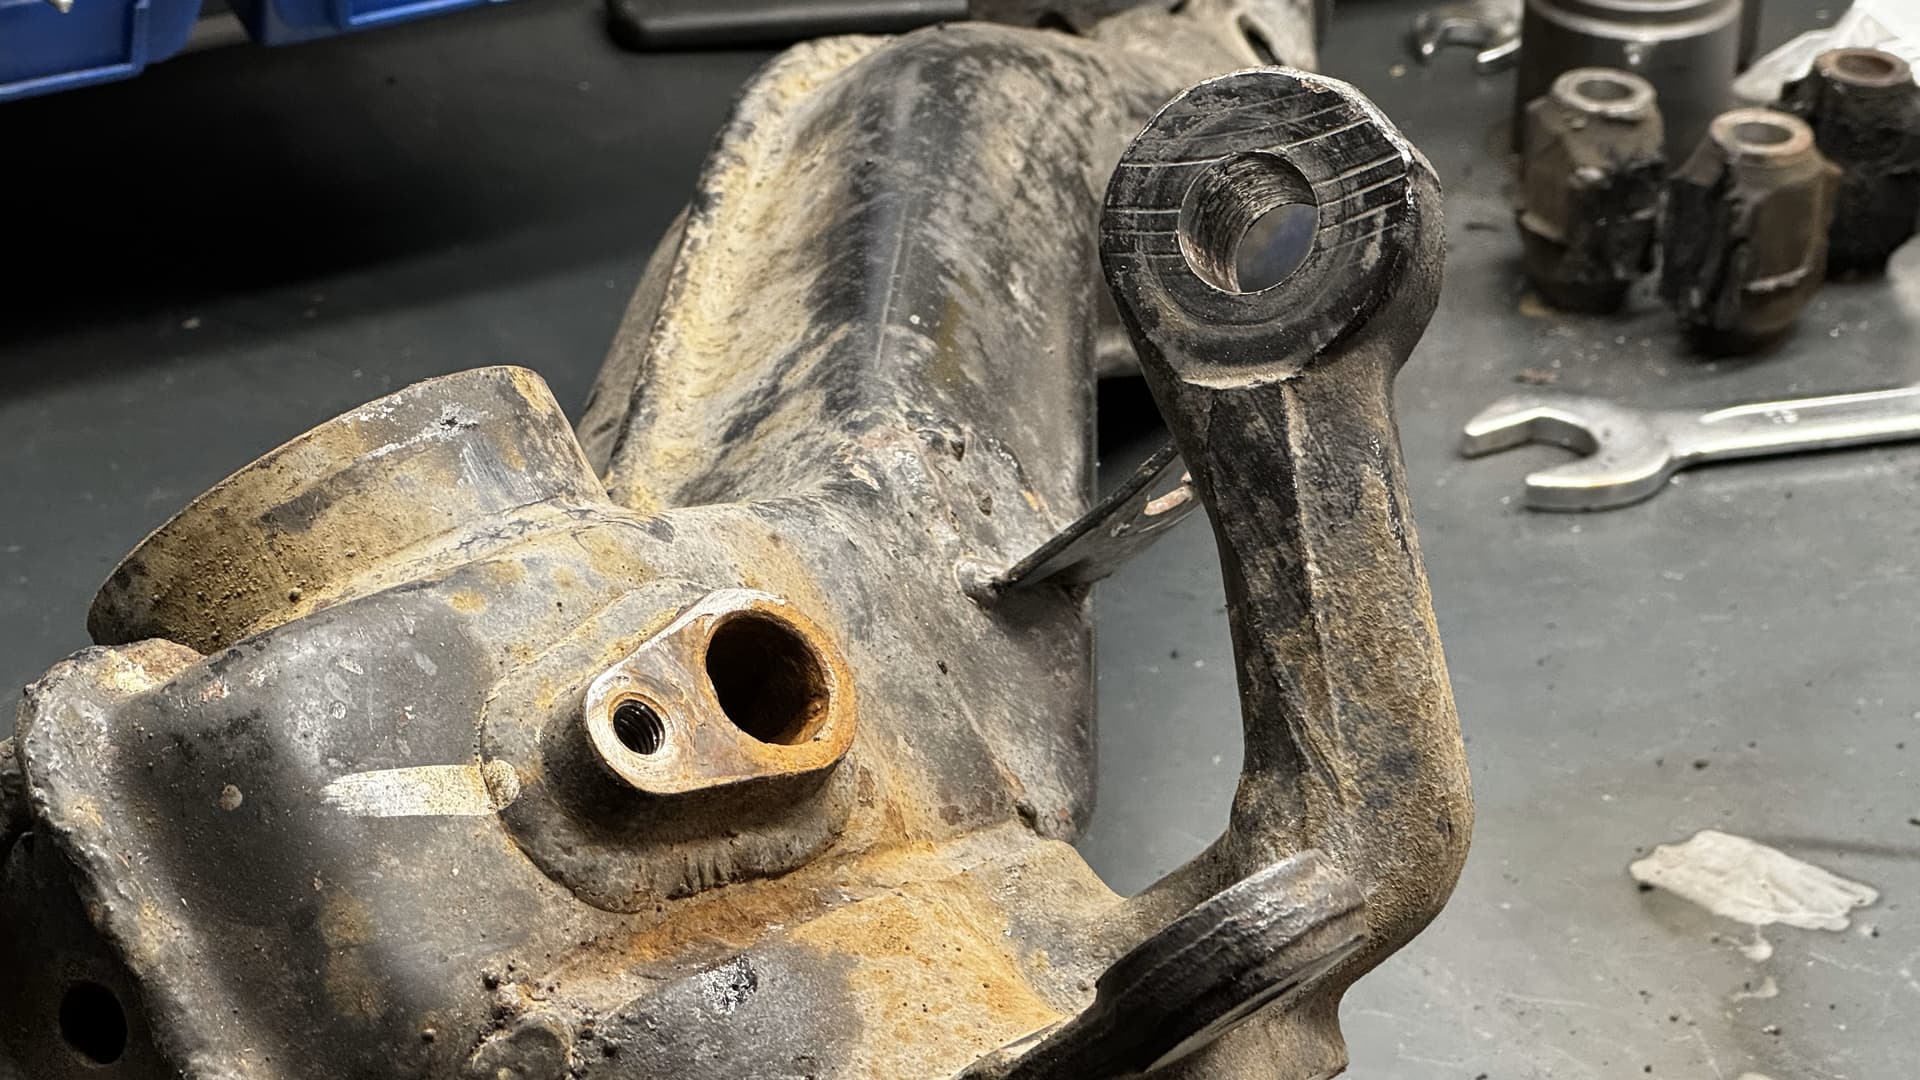
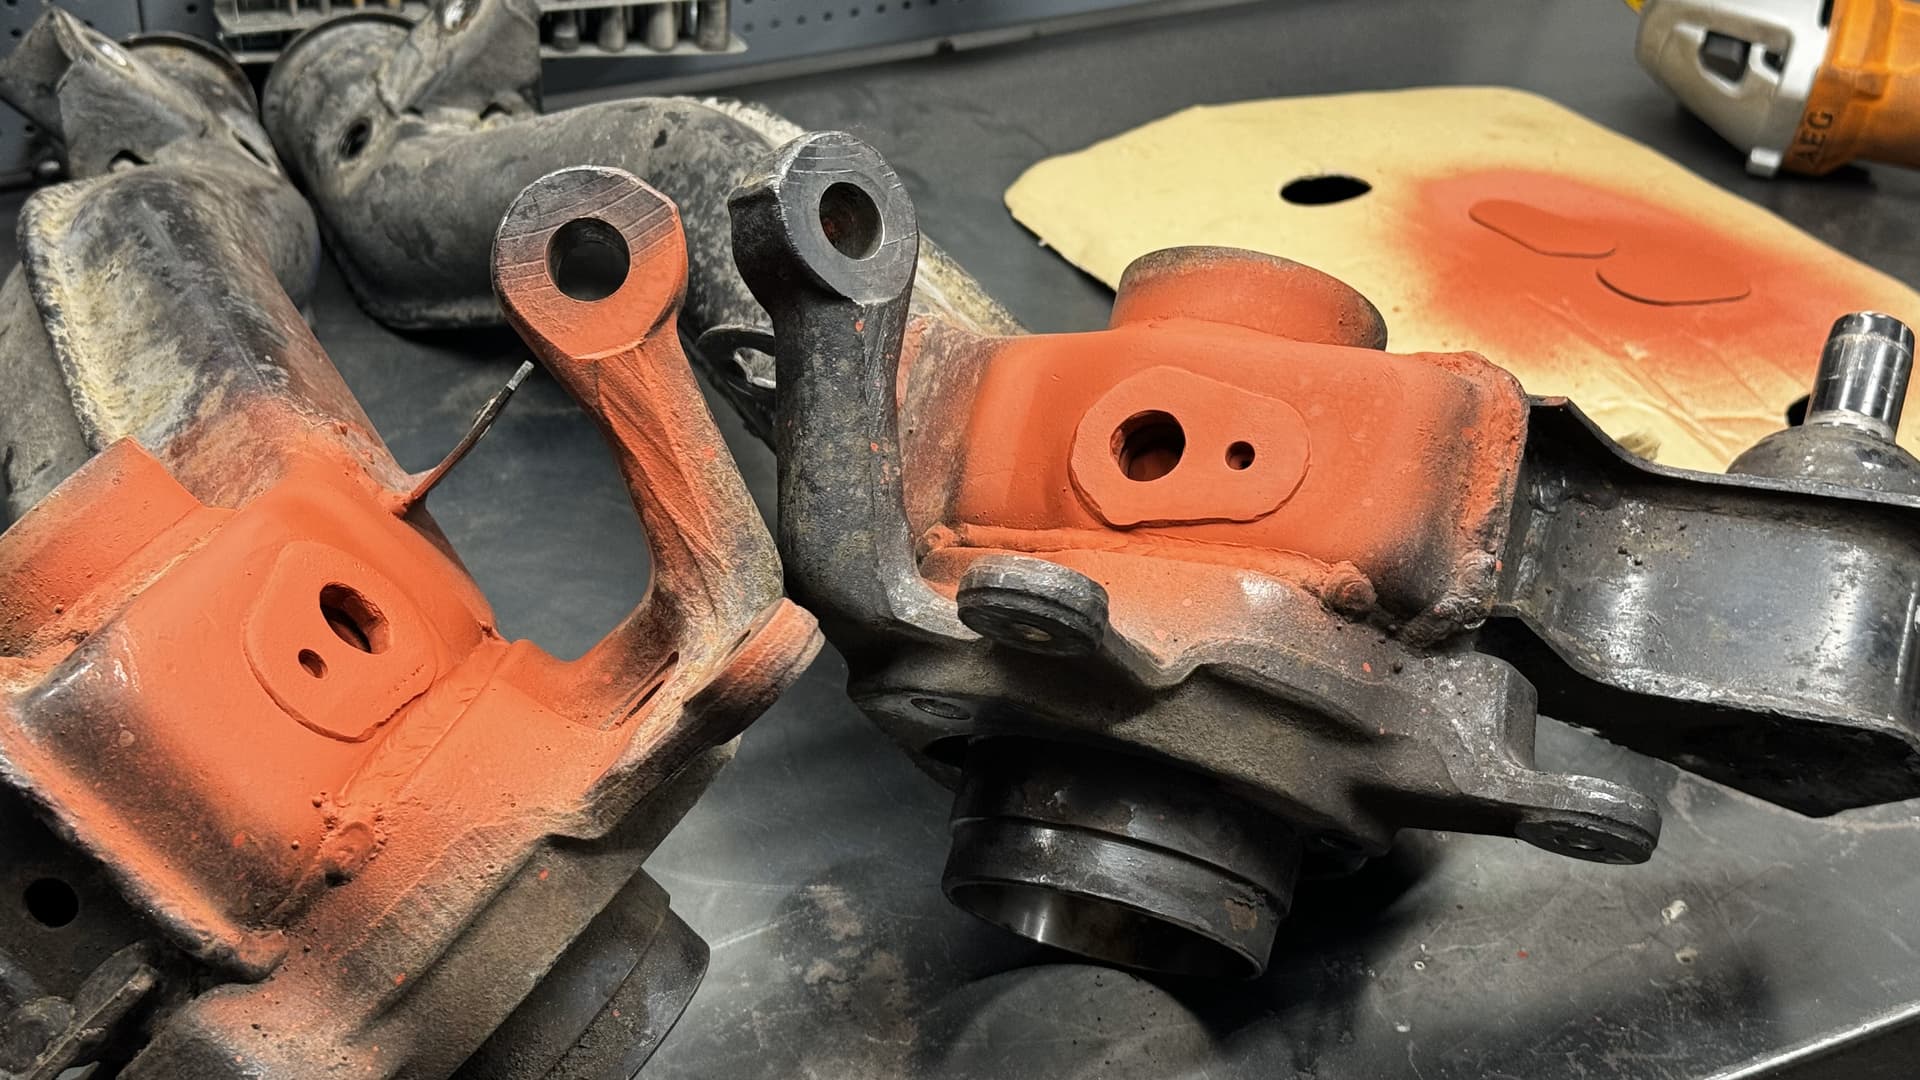
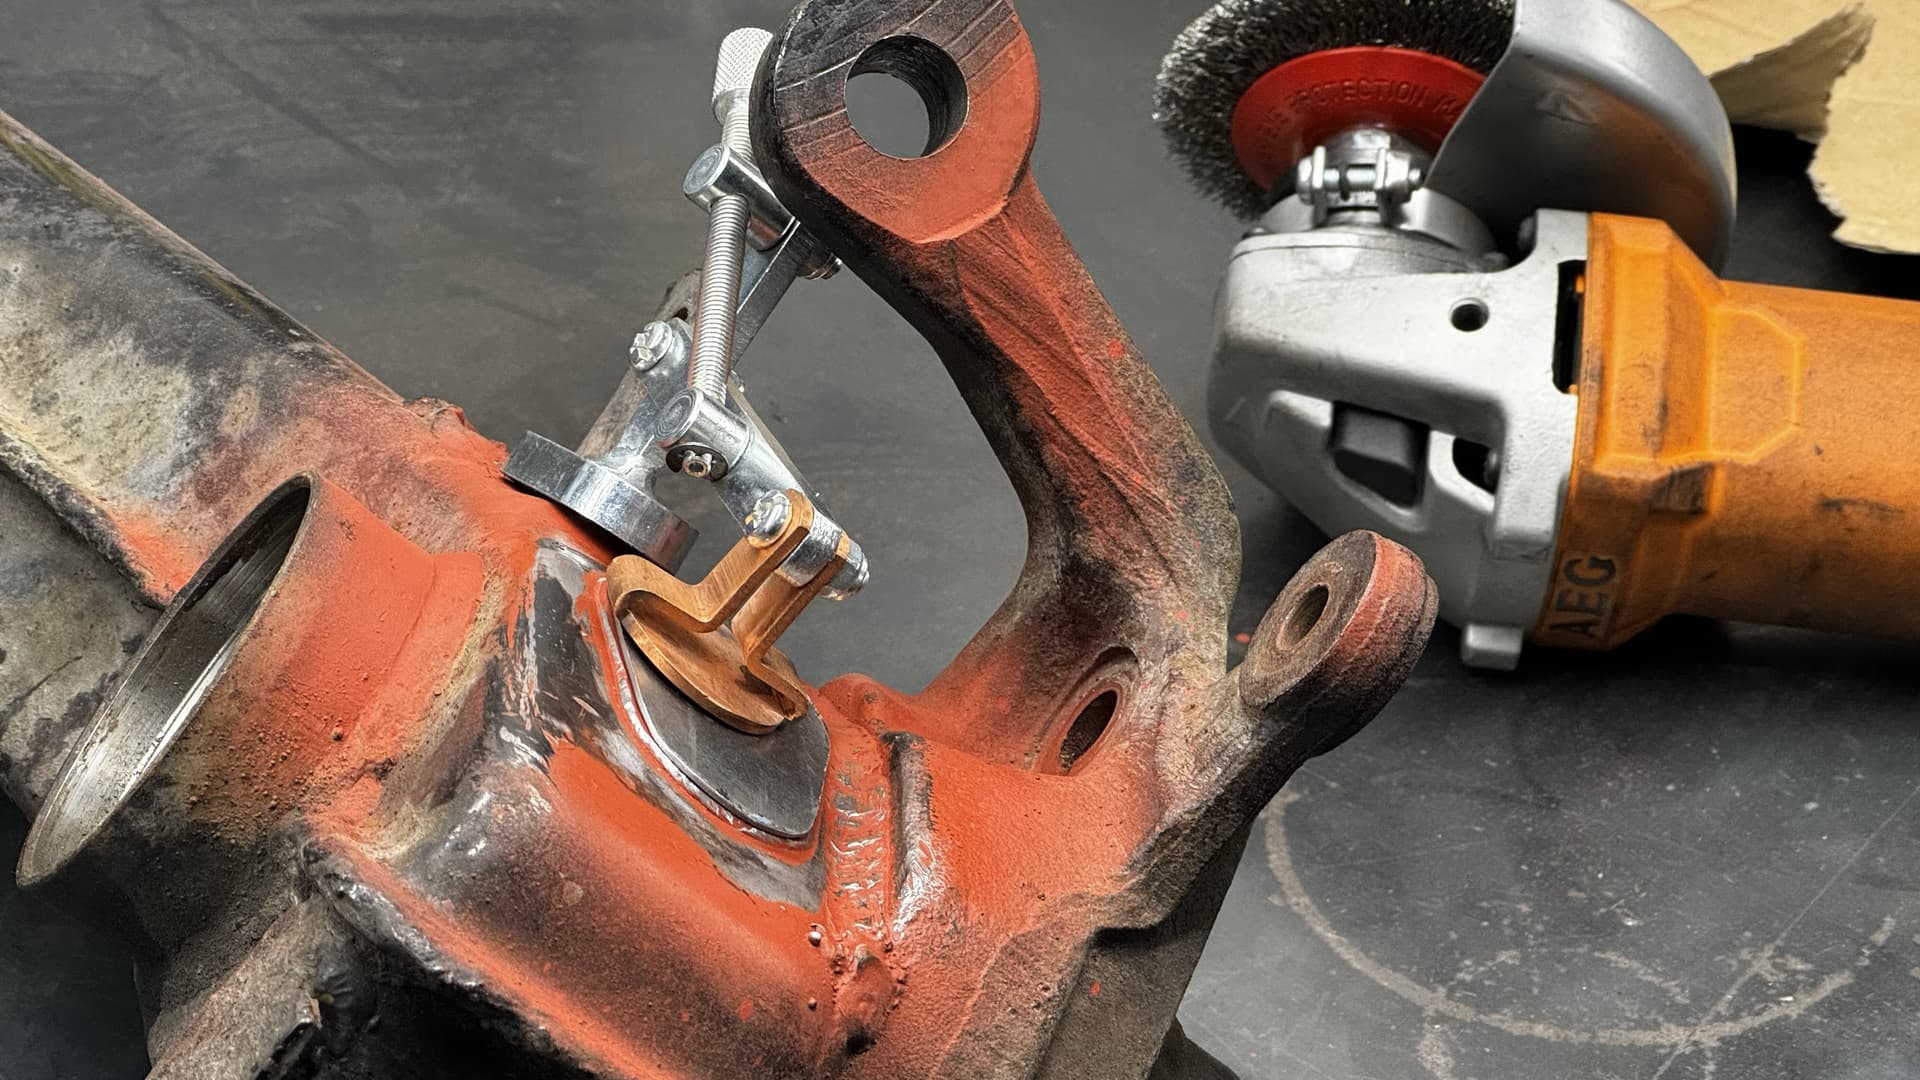
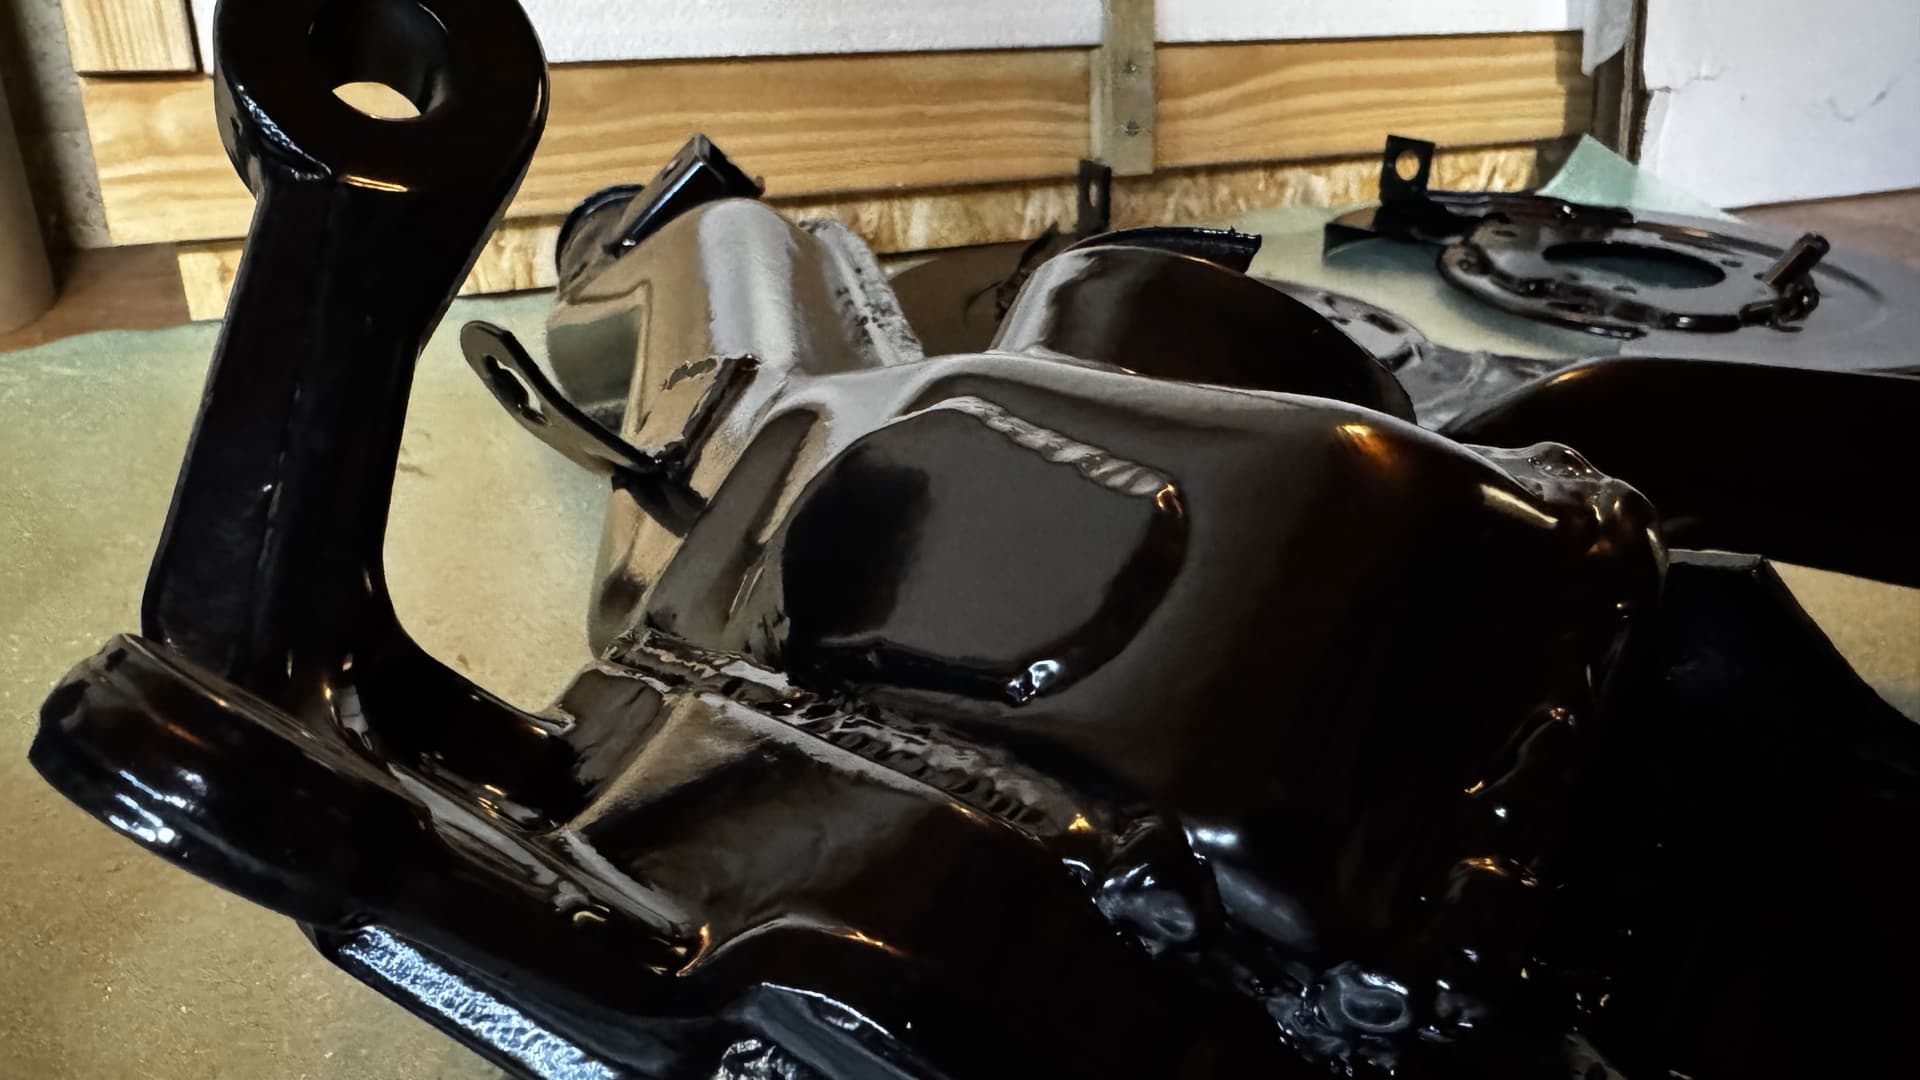
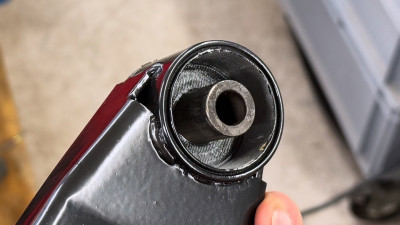
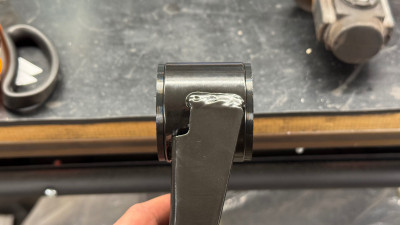
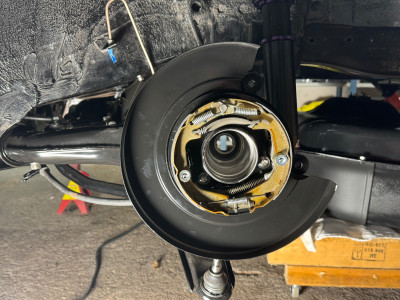
During vacation a few weeks ago, (and perhaps slightly influenced by a few too many beverages) I ended up modifying the rear trailing arms.
(Some years ago I changed the whole rear subframe for a Z16A due to the old one rotting away)
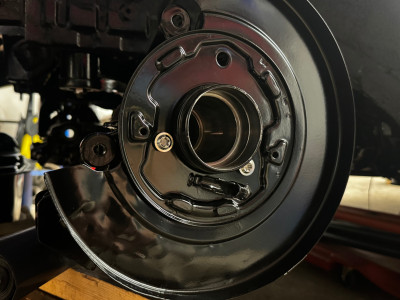
Being an MR it didn’t come with ABS, even tough it was later offered as an factory option.
A far easier decision would’ve probably been to just bolt some plates on and seal them off - but why make it easy :roll_eyes:
Either way, I feel satisfied with the result after handing over the parts for sandblasting and paint.


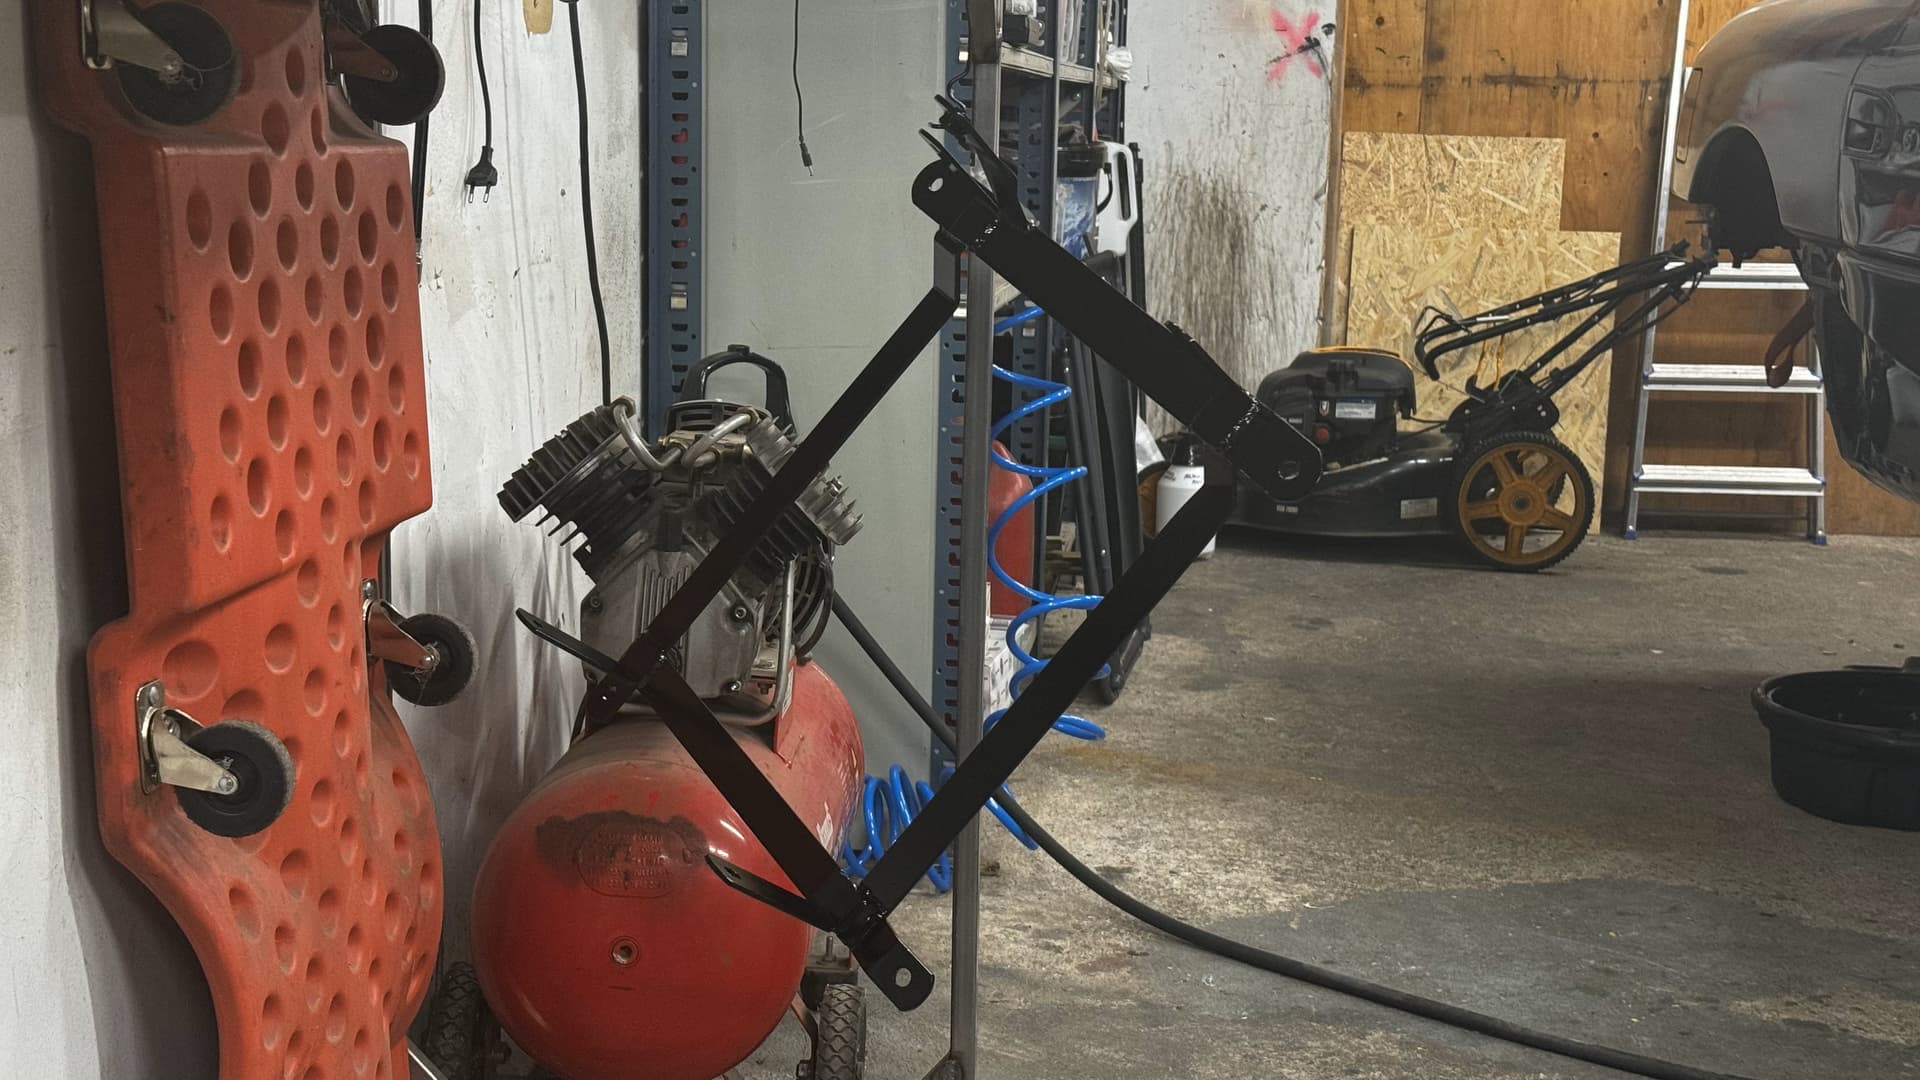
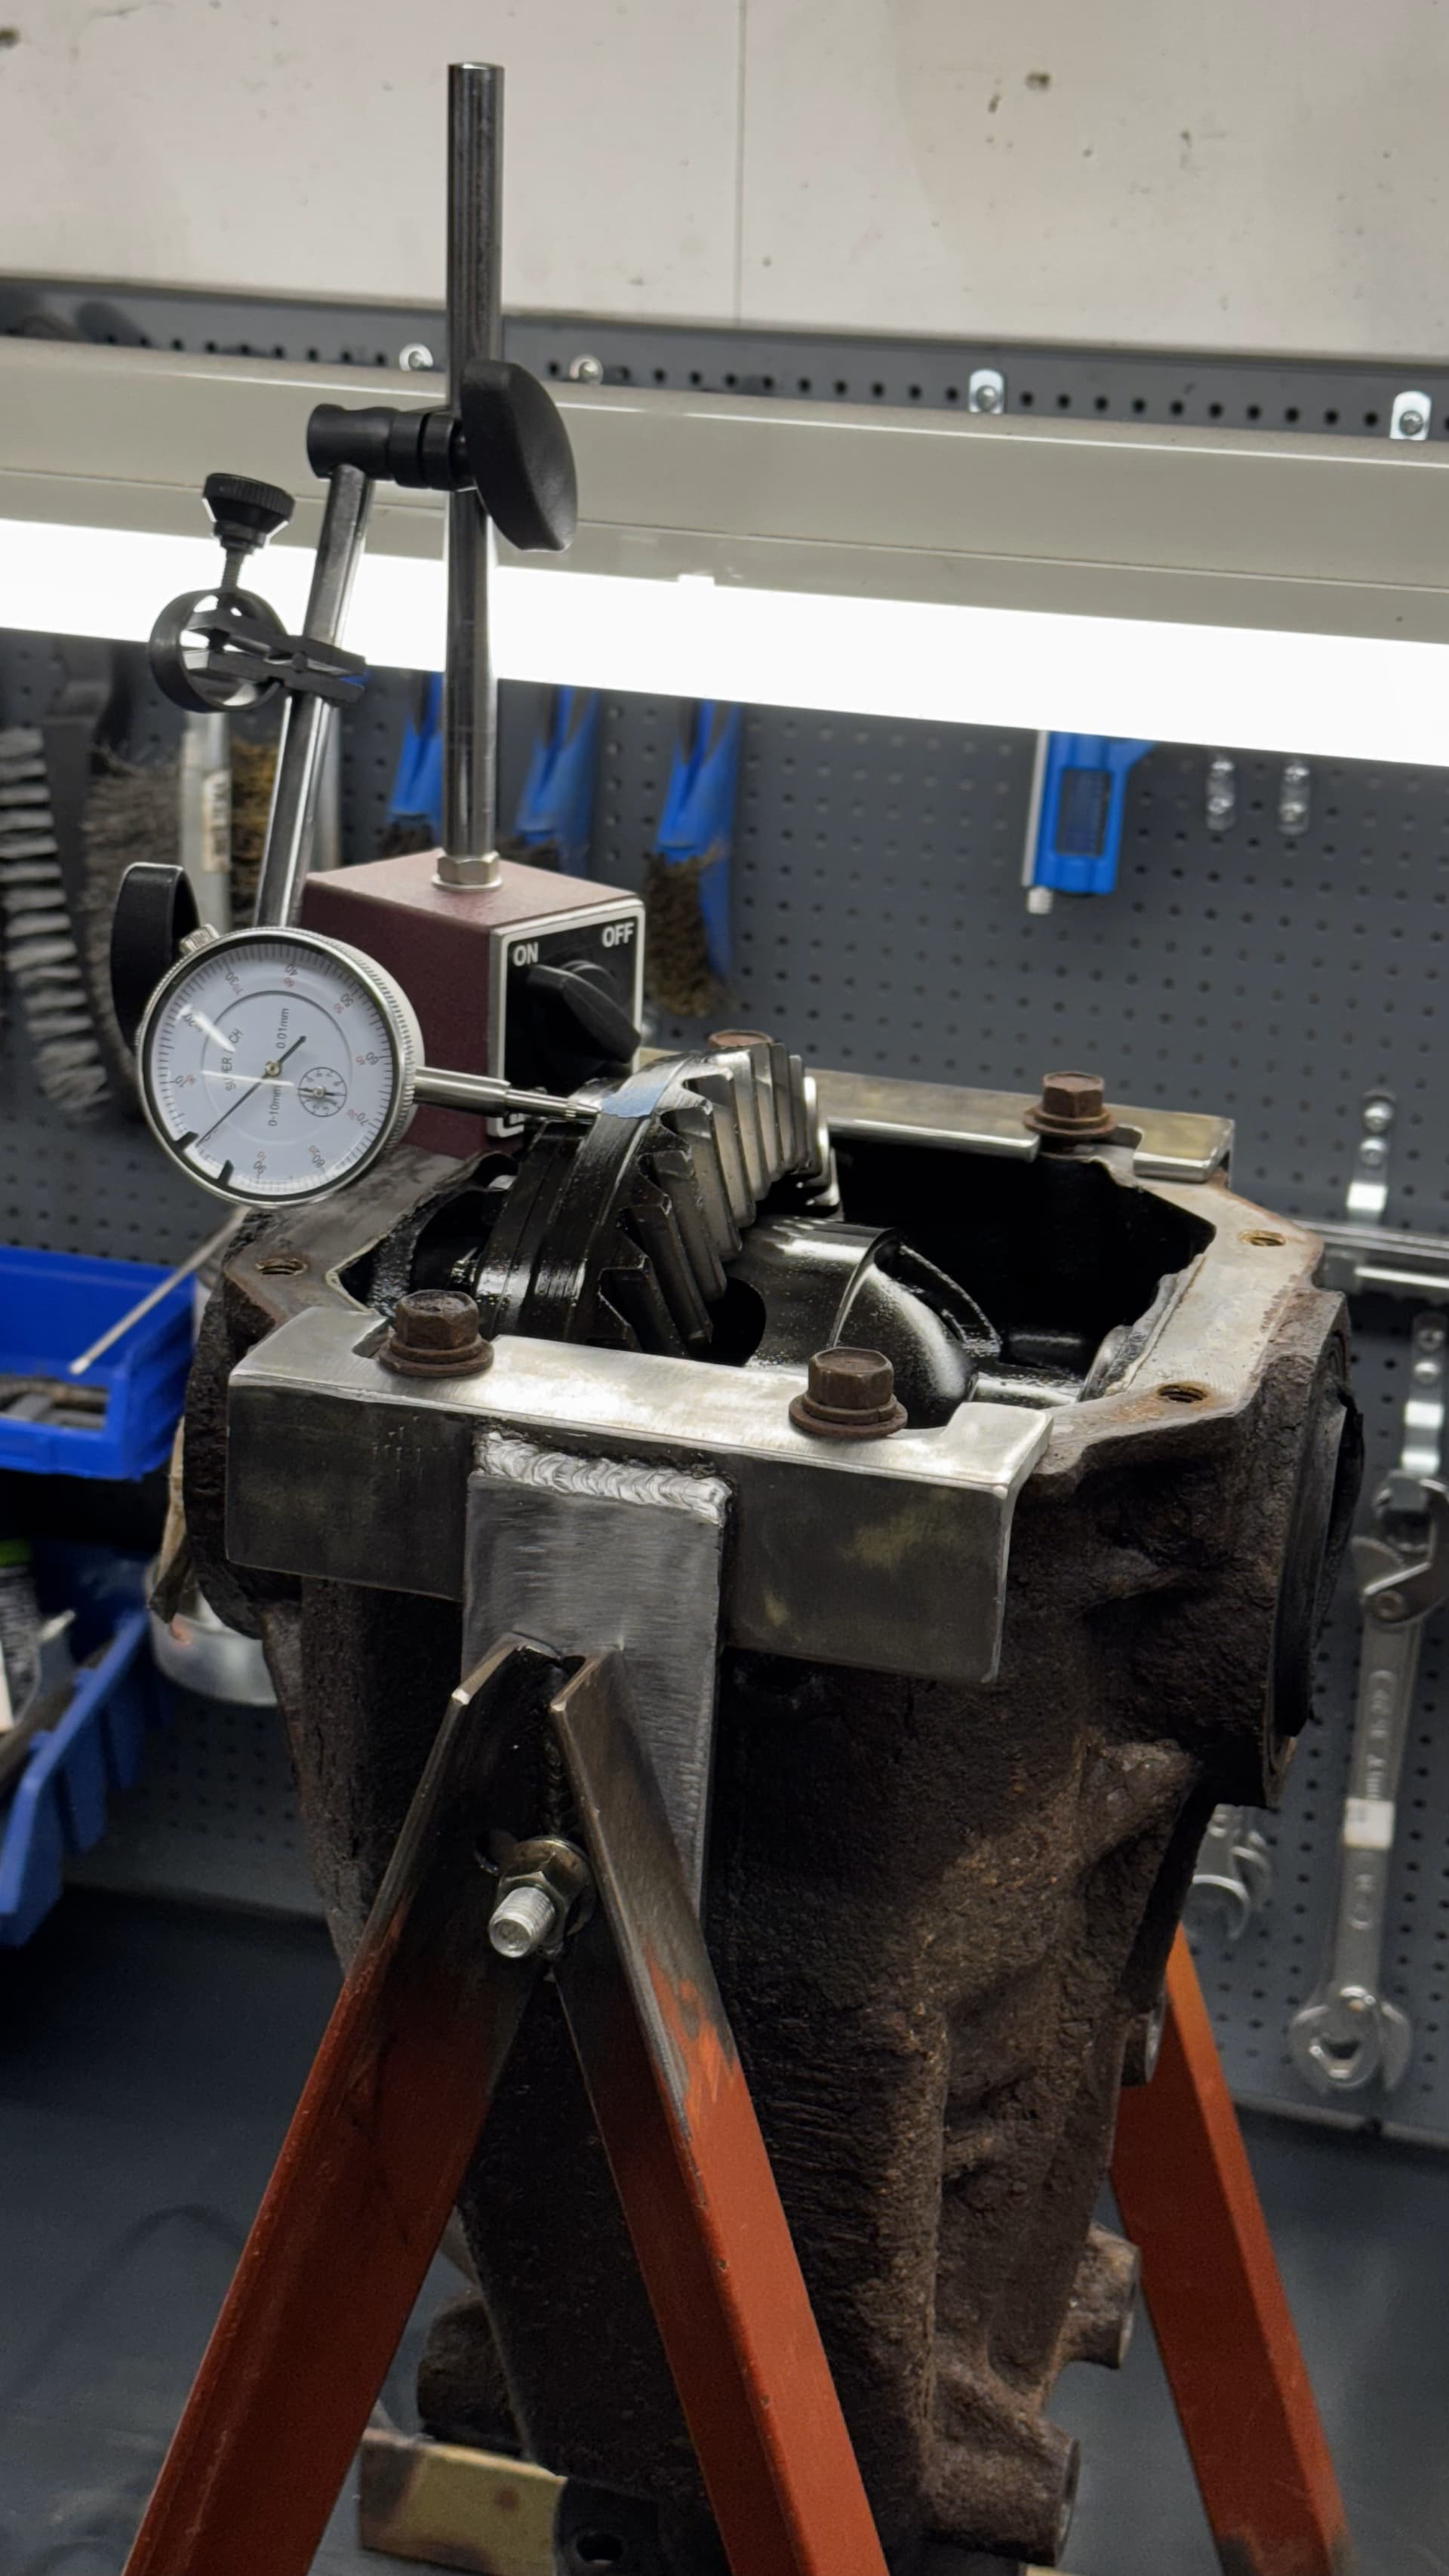
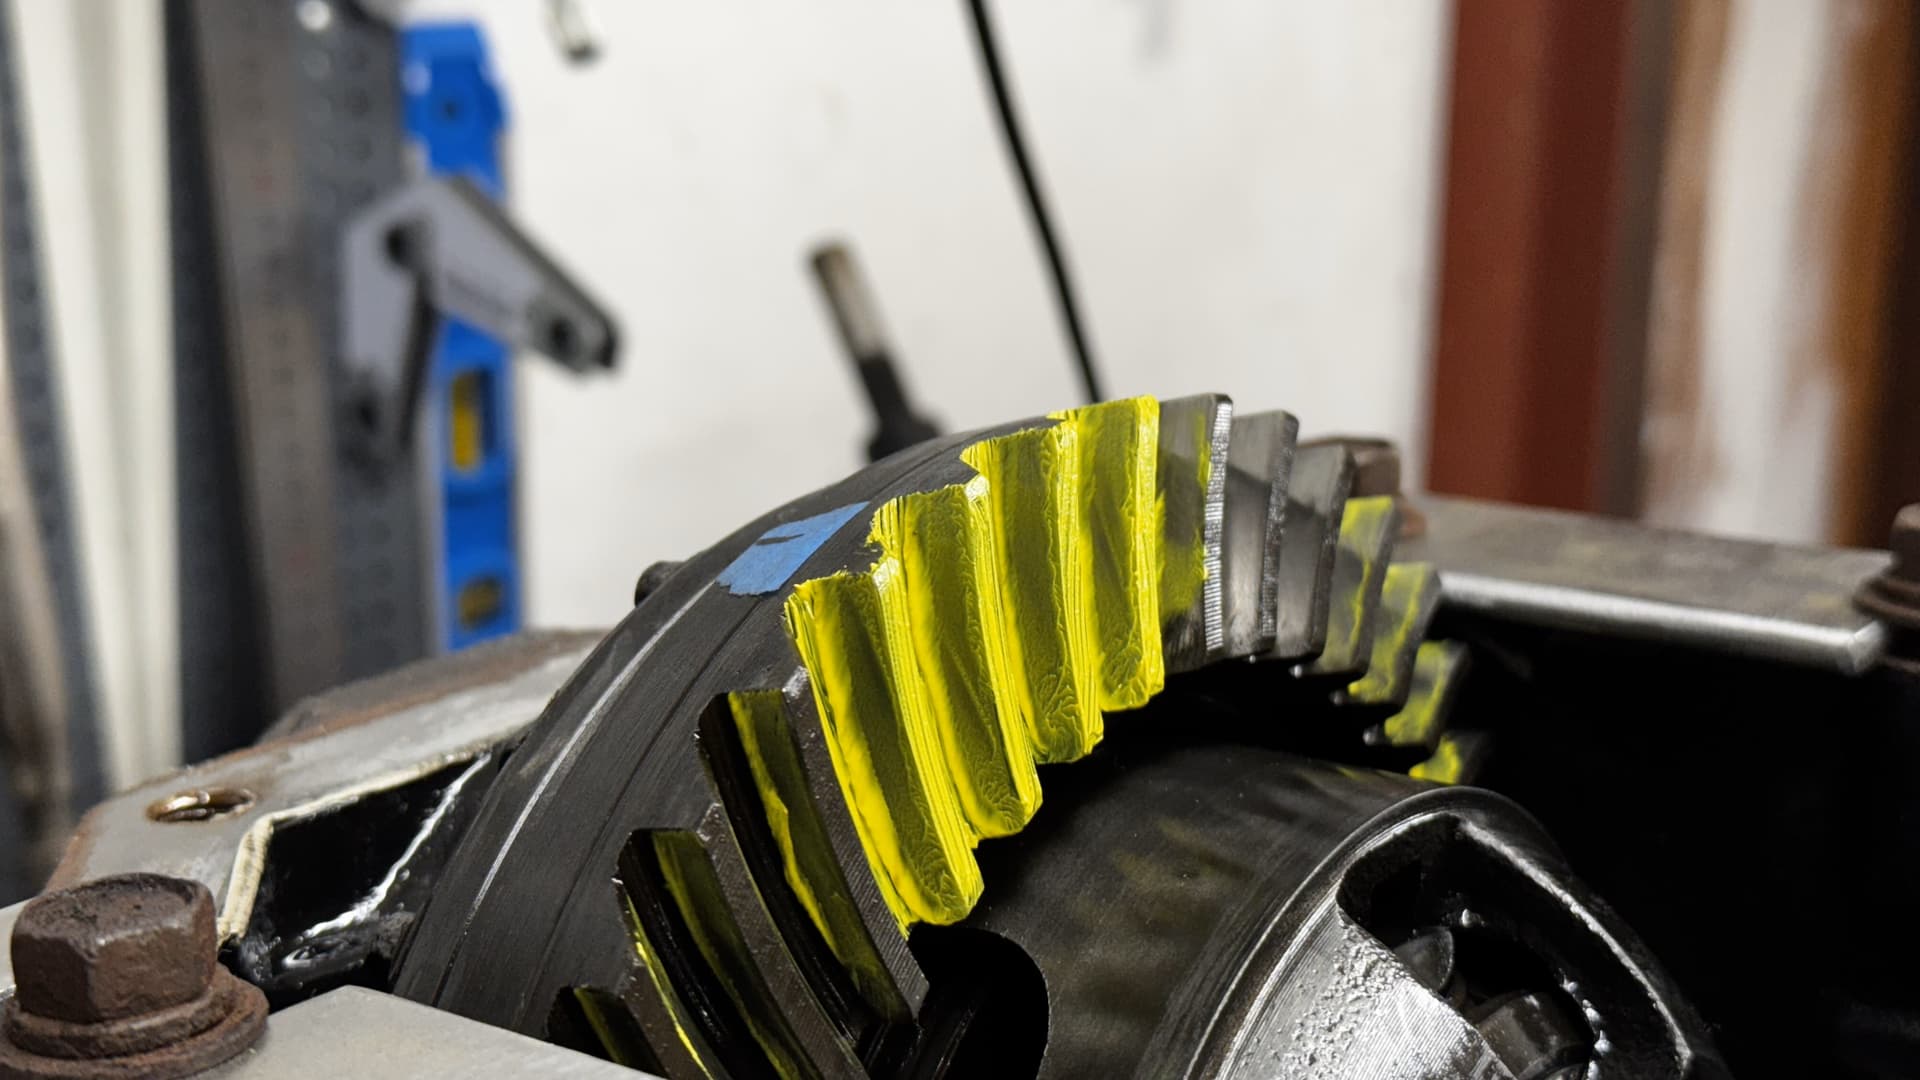
Only things remaining to have the whole underside refurbished is the differential and driveshaft. Welded a simple fixture for the differential, checked the backlash, run out and gear tooth pattern before tearing apart the stock B3G unit. Gear contact pattern was a bit tricky as I’ve never done that before, but have now acquired a couple of brass bars to more easily put pressure on the gear according to the procedure described in the WSM.


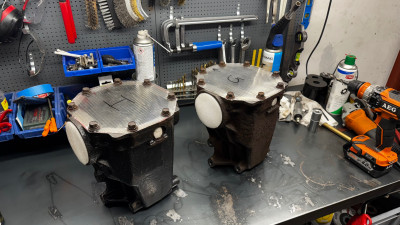
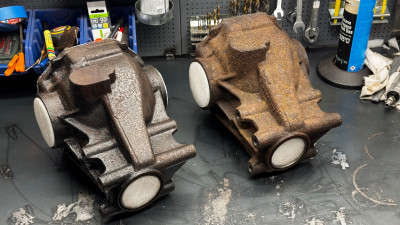
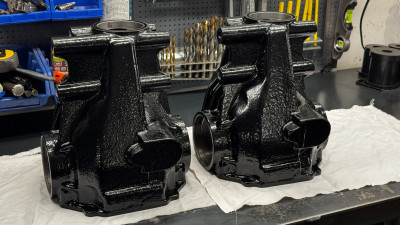
Plan for this and next week is to tear down the B3H differential, so that I then can send off both housings for sandblasting and paint with the same company that has done all the other parts.
Try to have a sort of “bench test” made for the steering rack to see if it seems free from leakage. Along with, finally, starting to assemble the front and rear subframes and suspension.

7 Likes

Been a while since my latest update, somewhat of a long read but here’s a summary of it all :slightly_smiling_face:

The hybrid differential got teared down as planed and the housings sent off for paint which turned out great. I have yet to reassemble these and have the steering rack tested for leaks however.

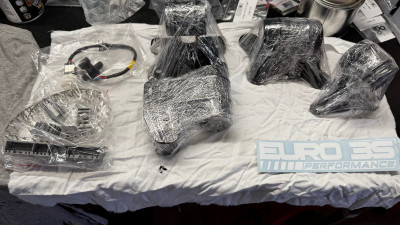
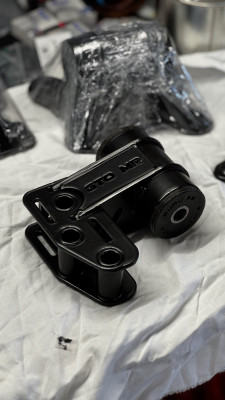
Ordered a new set of engine mounts from E3SP, and just like the front floor mats I ordered from them I decided to have these slightly customized as well.

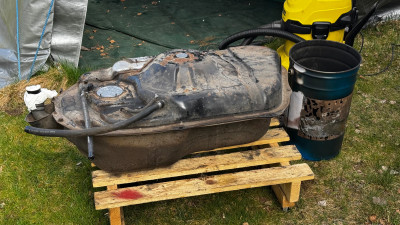
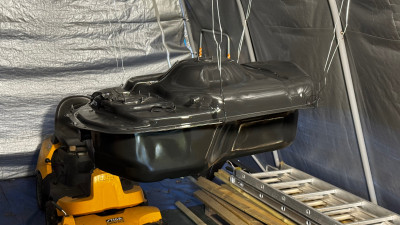
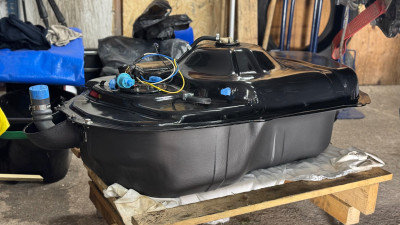
Pulled out the rear subframe in order to start preparing it for reassembly, but got “bored” and felt like the car was “too complete” :upside_down_face: Which resulted in pulling down the fuel tank and remaining bits of the fuel lines and breaking hardlines.
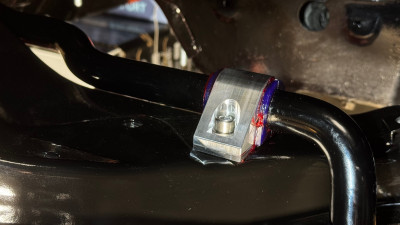
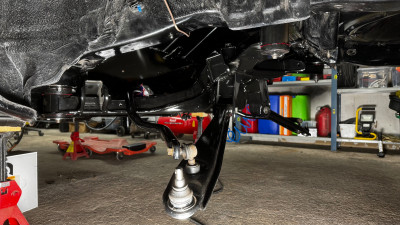
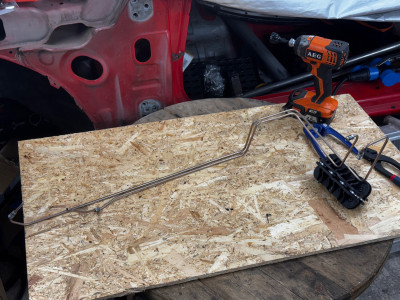
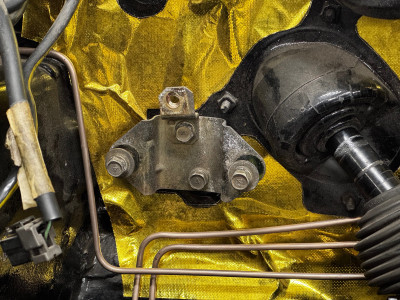
Having cleaned up the poly.bushings from the old grease, the rear subframe was bolted back after having fitted the SuperPro swaybar with some billet aluminum brackets that a friend of mine makes. About this timeline is also when you supposedly could say that I “hit my head” slightly, because it is now fitted with titanium gr5 hardware :slightly_smiling_face: Made my own braking hardlines for the second time, but this time out of copper/nickel rather than pure copper like the first time. Feeling more satisfied this time after I found a straightening tool on Amazon, and these are also bolted back with titanium hardware.

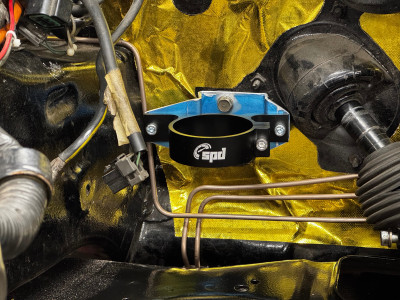
Since I´m going to run a all new fuel setup utilizing nylon braided PTFE hoses, I made my own filter bracket out of aluminum instead of the stock bracket.

Had a go at making my own 3D printed bushings for the differential out 95A TPU, satisfied with the result and fitment, however I’m somewhat torn whether I’m going to use these or not after having spoken with a friend of my whom ran a set of poly.bushings of a lower shore grade, mentioning noise primarily being the reason but also some minor vibrations. So since then I’m playing with the idea of printing moulds and have my own set casted instead, but we’ll see what I decide :slightly_smiling_face:

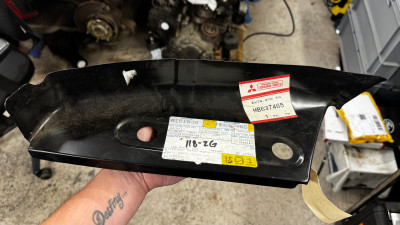
Fuel tank has been reconditioned, ordered some more Ti gr5 hardware for the valve covers and other smaller stuff such as the rear dust shields etc, a billet aluminium power steering tensioner, and believe it or not I actually also managed to find a LH replacement panel where the boot drainage hose comes out.

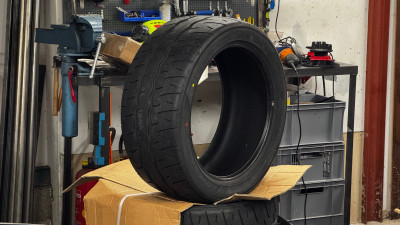
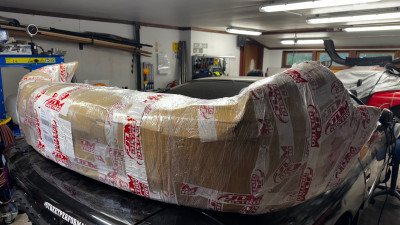
New tires have been delivered and I decided to go with a set of Yokohama Advan Neova AD09 this time, hopefully these will do just to get “acquainted” with the car again. Since I tossed my previous plans of a “Pit Road M replica” due to the lesser than poor fitment of the kit I jumped on, I reached out to JDM Distro in Ireland in hopes of maybe fulfilling my original plans of a -99 conversion. Unfortunately, due to how the auction was set up in Japan I missed the bumper I asked them to bid on, as the seller had to accept every bid before it was registered. But! Good thing is I still got a new bumper in the end, not too sad about it either, as it to this day here in Sweden - are more cars with the -99 front end than there is with the gen.3 bumper :innocent:

Assembly of the rear subframe have slowly continued.

My old carbon fiber sail panels got removed as I never liked the fitment/gaps that resulted with using these, I have a brand new set of OEM ones on the shelf, but for the time being I put back a set of used ones instead that I originally intended to take moulds of and make my own panels - but I think this will have to pushed forward if I’m ever gonna get it back on the road. The front subframe have also been bolted back, although just loosely for the moment.

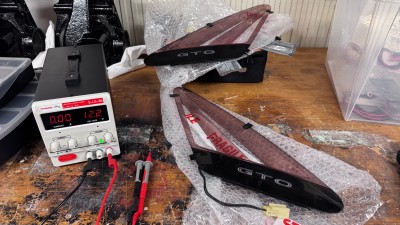
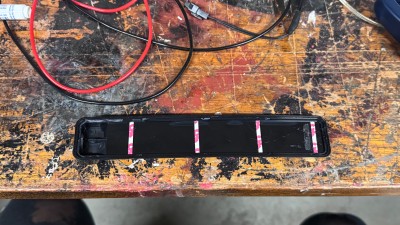
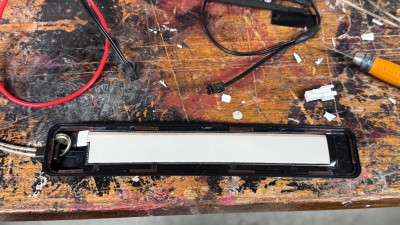
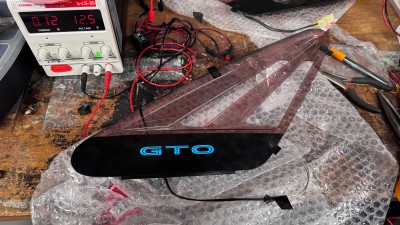
Having always enjoyed sourcing various parts, I couldn’t resist when I saw these being posted in the UK last year. Unfortunately, it turned out to be somewhat of a bigger project than I anticipated, as I at the time was unaware that these originally came with a specific harness and driver. Thought they just ran on 12V but I realized that wasn’t the case when I out power to them.

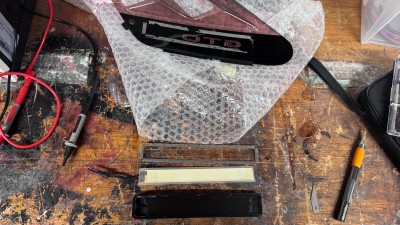
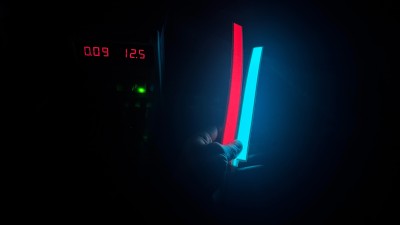
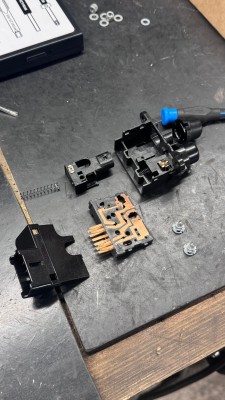
Ended up finding something called EL-wire/tape/panel and ordered some stuff from the UK, hadn’t heard of it before and couldn’t find much here in Sweden. With slight regret I popped one panel open to a go at modifing it, ordered a couple of colors as the theme of the car is black with red details - but the stock is more of a blue color with a tint of green to it. Red felt a bit too dull held up behind the panel however so I’ll go with the blue instead. What I’m torn between now is, whether to have them wired to turn on along with the parking light. Or, to have them wired to one of the buttons next to the speedo cluster. Being an MR, I only have the rear glas defroster - while the other three are blanks/dummys that can’t be pushed. I have the stuff already to go either route, and popped open a spare switch just to see what they look like inside. Bit uncertain still, but I do like the idea of being able to turn them off if I want to.

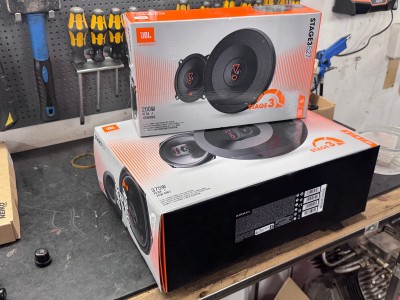
Now we’re getting to where I’m at to date. Since most of the interior is torn out anyway, I felt I might as well replace the remaining four speakers after having deleted the front ones with factory blanking panels. Not really a huge “nerd” when it comes to car sound, and this one being more focused towards track use anyway, but hopefully these will sound a bit better than the old Pioneers.

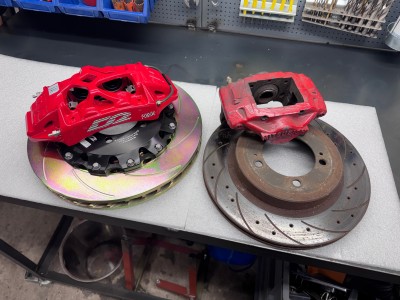
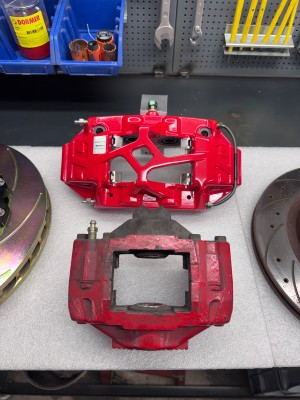
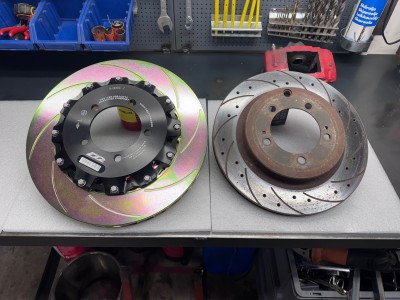
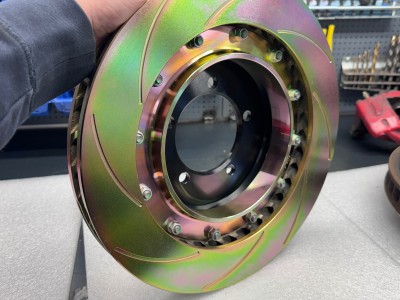
This Thursday I could finally pick up the result of a somewhat ‘whiskey influenced’ spontaneous buy last autumn. Been tempted for a few years, but I spent some time last year trying to calculate various setups of rear brakes and master cylinders etc… Calling it a jungle is to put it lightly :sweat_smile: Not to mention finding all measurements. Time will tell how much I’m going to regret this, but if I were relatively near or correct in my calculations - I’ll be going from a static difference of 69,3% to a 64,8% front bias, using the AP Racing kit I have stored.
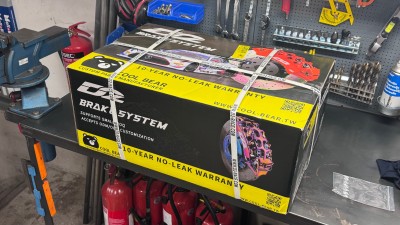
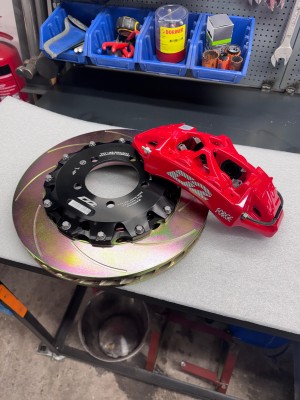
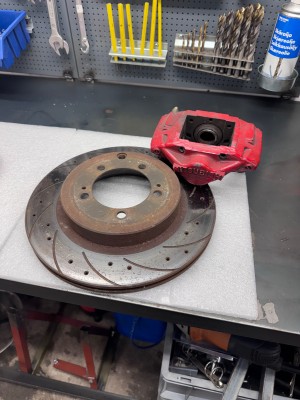
If successful: the setup will be about 343mm x 36mm fixed front discs with 6 piston calipers, paired with 330mm x 32mm fixed discs 4 piston calipers - that are supposed to be oe parking brake compatible.

4 Likes